

Papercraft How-Tos


How To: Make a recycled hybrid board book
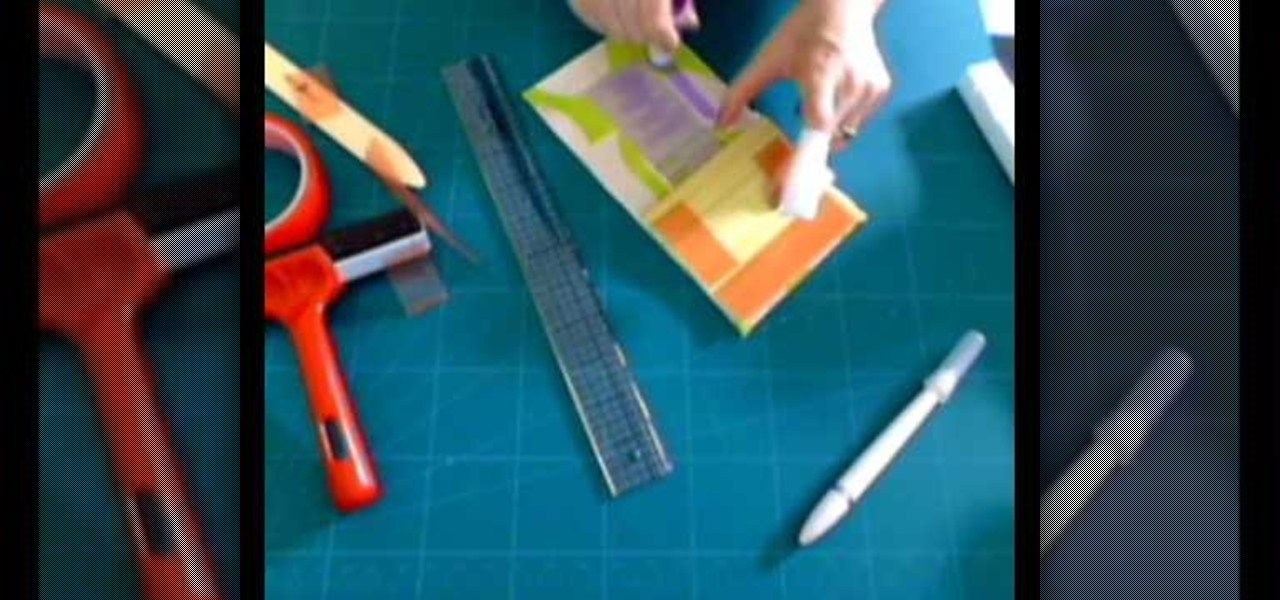
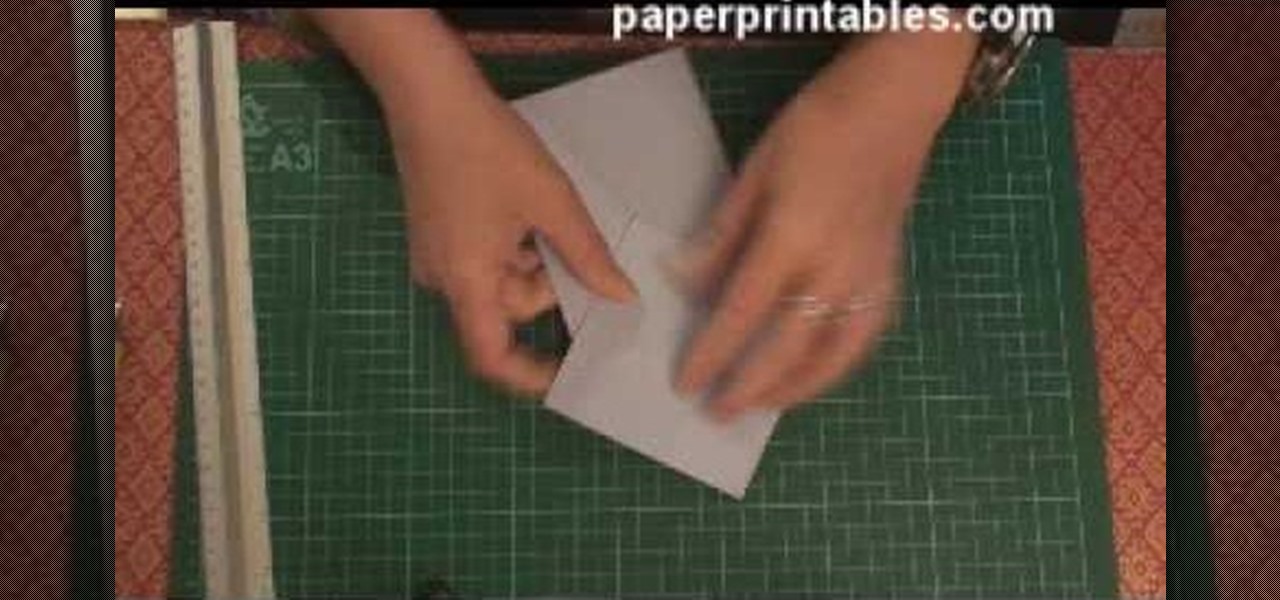
Creativity Prompt demonstrates how to make a hybrid board book. First, select printed paper of your choosing. Cut off the excess paper with a cutting blade and crease the paper for the spine. Fold and burnish the paper. Apply a generous glue stick layer to a recycled board book and adhere the paper to it. Burnish the paper with a brayer to strengthen the adhesion. Let the glue dry and trim off the excess paper. Cut the rest of the paper for the board book pages. Cut out photos and titles for ...
How To: Make a loud and annoying paper popper, step by step
This video demonstrates how to make a loud and annoying paper popper. Prepare a regular sheet of paper and lay it down on the table or a flat surface. Fold the lower portion of the paper at about an inch and a half (1.5") or two inches (2"). Fold it the second time at about the same length you did with the first. Then, fold the paper right in the middle in the opposite direction with your first two folds. Your paper should now be folded to resemble a nurse's hat. Hold one corner of the folded...
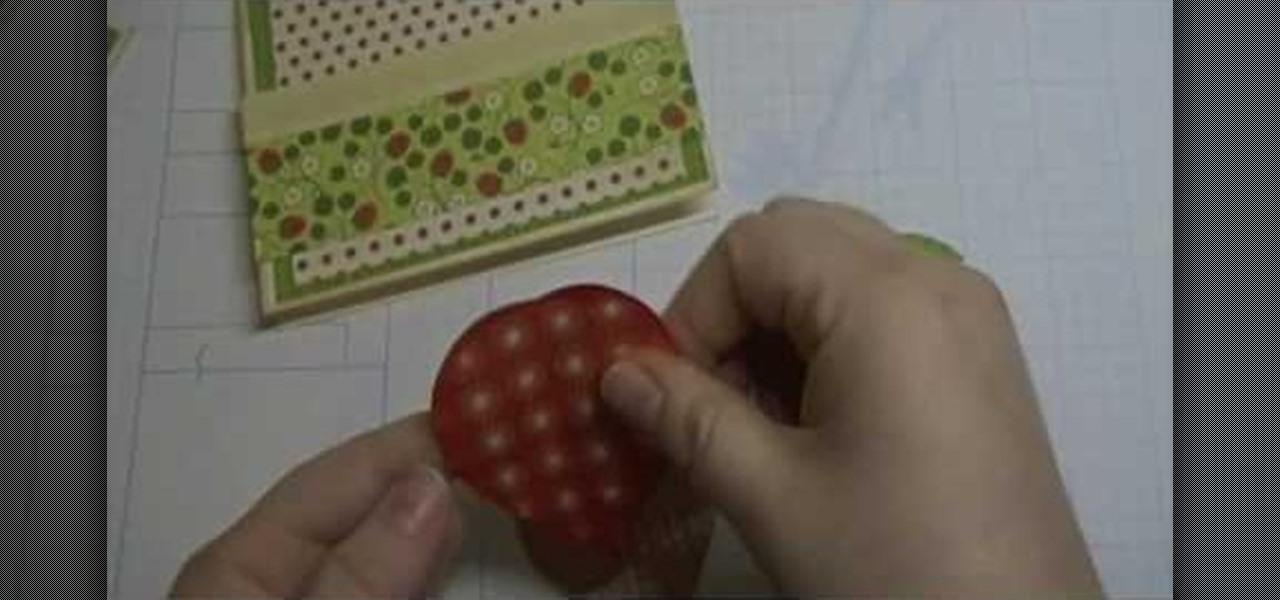
How To: Make an berry-themed card using Preserves Cricut
Simple Card Monday teaches viewers how to make a berry-themed card using Preserves Cricut! You'll want to use the Garden Variety Cricket Preserves paper for this berry-theme project. First, you should start off with an A-2 sized 5.5 inches by 4 inches sheet paper. Ink this using chamomile ink on all of the edges of the card. Next, add green onto the top of the card. It should leave a tiny border around. Now stick this strawberry paper with ribbon onto the polka dot paper. Cut your strawberry ...

How To: Decorate a cardboard sun mirror
Decorate a Cardboard Sun Mirror- Acrylic Painting Project- Art and Craft
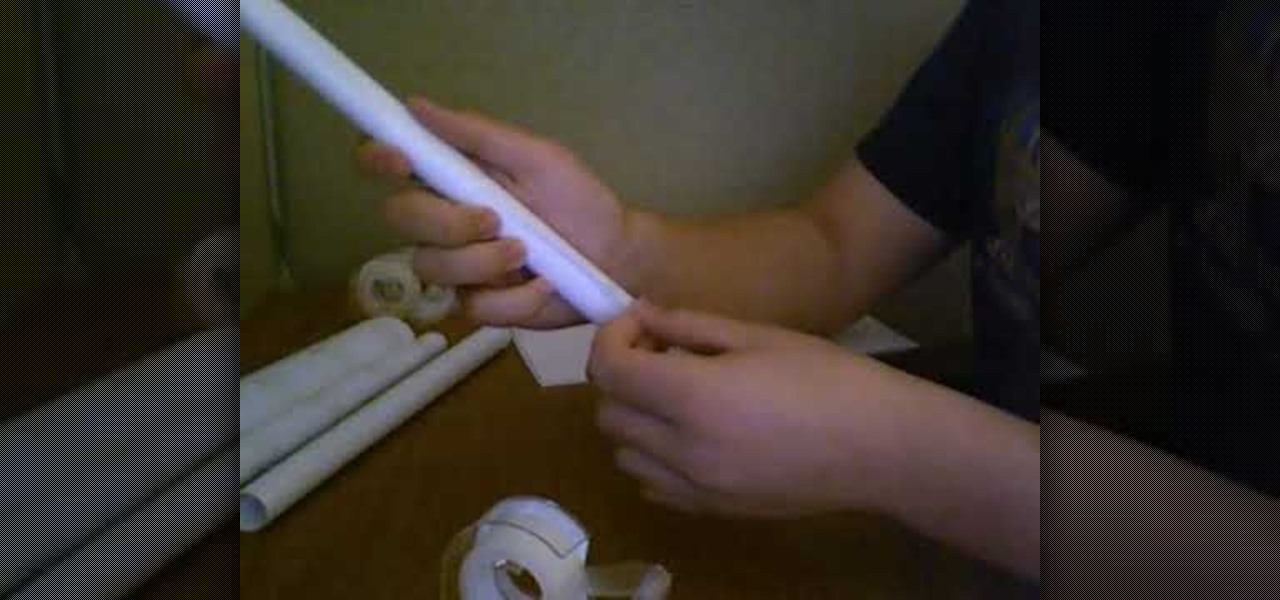
How To: Make a harrier style paper airplane
This is a demonstration of how to make a harrier paper airplane. First fold the paper in half lengthwise, making sure the corners line up. Unfold it and fold the corner toward the center line. Fold the top triangle down almost to the bottom of the paper. Fold the top corner in to the center line again. Fold in the first point. Fold the plane in half lengthwise. He demonstrates how to fold the wings in the right place so that the plane looks like a harrier. The plane can be customized and deco...
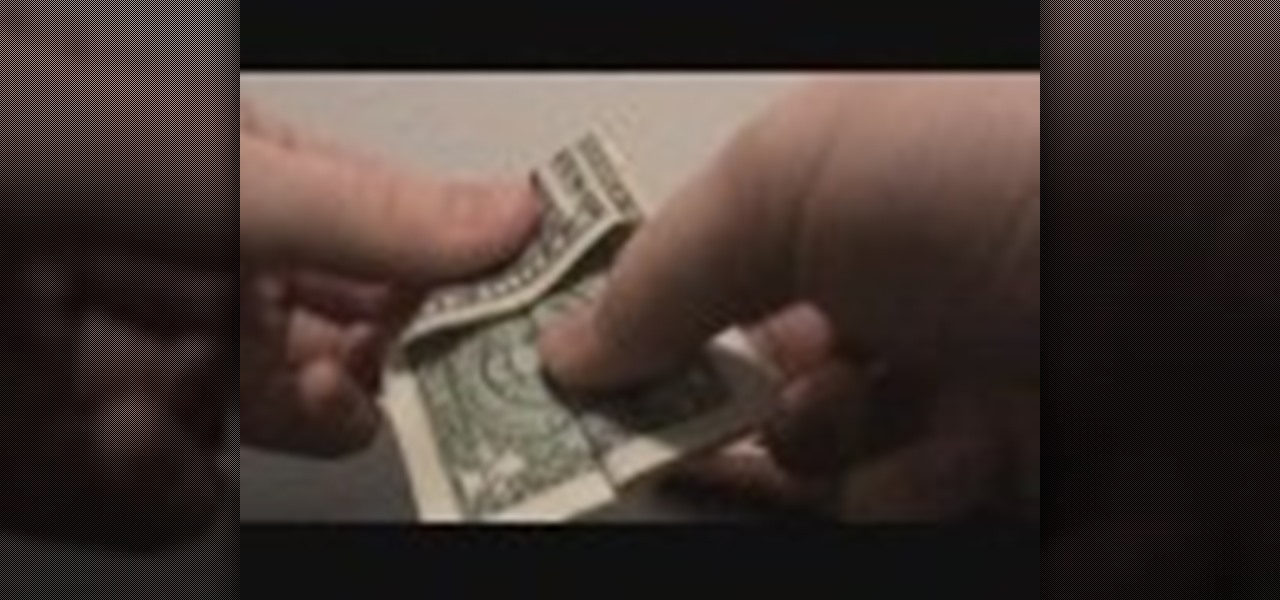
How To: Make a bow tie out of a dollar bill
we are taught how to make a unique bow tie from an ordinary dollar bill in just a few short steps. There are no tools are supplies necessary, just your fingers and a dollar bill. Folding the bottom up, then again in half. Opening the sides it forms a 'tent' like fold on either side. Fold up bottom, fold end down. Fold the corners to the center, turn around and repeat that same motion. Pull out while grasping the middle. Flatten it out and there you have in your hand a bow tie, created in just...

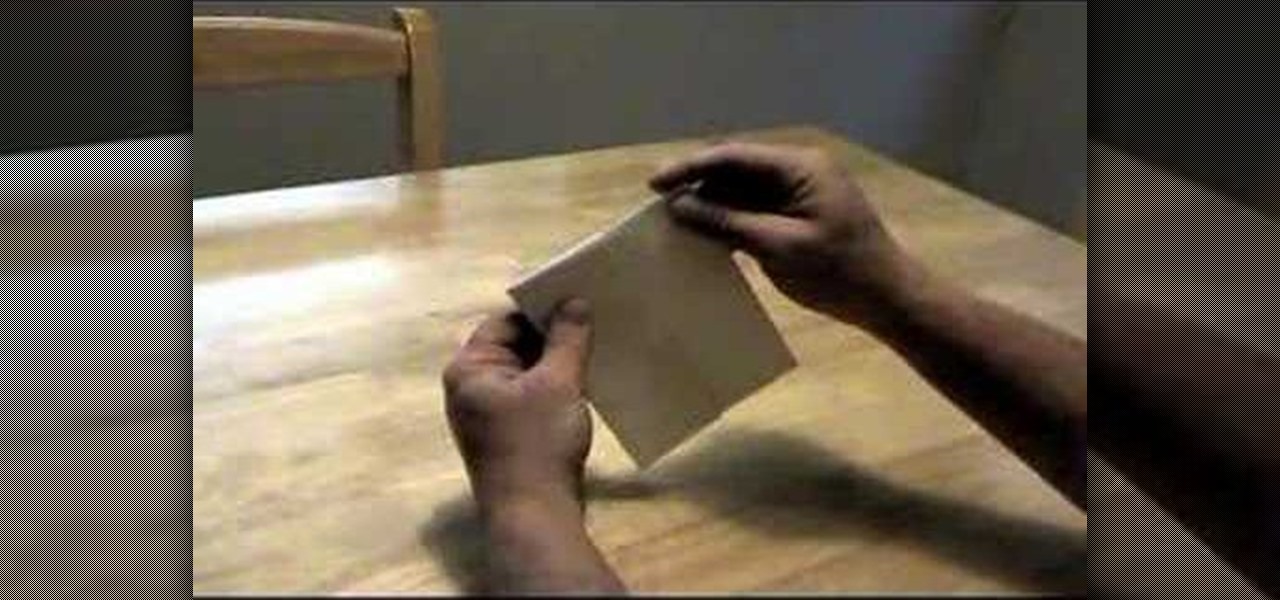
How To: Make a popper out of a sheet of paper
This video shows how to make a paper "popper" that you can use to make a loud popping noise. Start with piece of paper. first fold it in half the skinny way, then fold it in half again the other way. Set the paper down on a table or flat surface so that the flaps of the paper make an "M" shape. Now take the paper in your hands and grab the outer sheets of the "M" with the index finger and thumb of your right hand. Pull the inner sheets out with your other hand. Take the popper in your right h...

How To: Make an earth friendly paper wallet
This video illustrates the method of making a eco-friendly earth wallet at home. You will need a paper sheet , glue and a pair of scissors.This can be done as follows -Step 1Take a sheet of paper and fold it so as to create a envelope. Glue it properly to ensure it is bonded properly.Step 2Repeating the above procedure , make two more such paper envelopes - One with a smaller size while the other one a bit bigger.Step 3Stick these envelopes together. Now , using the scissors cut the ends of t...
How To: Fold a ninja star (shuriken) out of paper
In this Weapons video tutorial you will learn how to fold a ninja star (shuriken) out of paper. Take a square piece of paper and fold it in half and tear it off to get two pieces of rectangular paper. Fold each piece of paper in half lengthwise. Then fold one end of each paper like a triangle. Fold the other end in the opposite way. Now fold both the ends to get a bigger triangles and the final shape of the paper should be like ‘Z’. Put both the pieces over each other in the form of a cross. ...

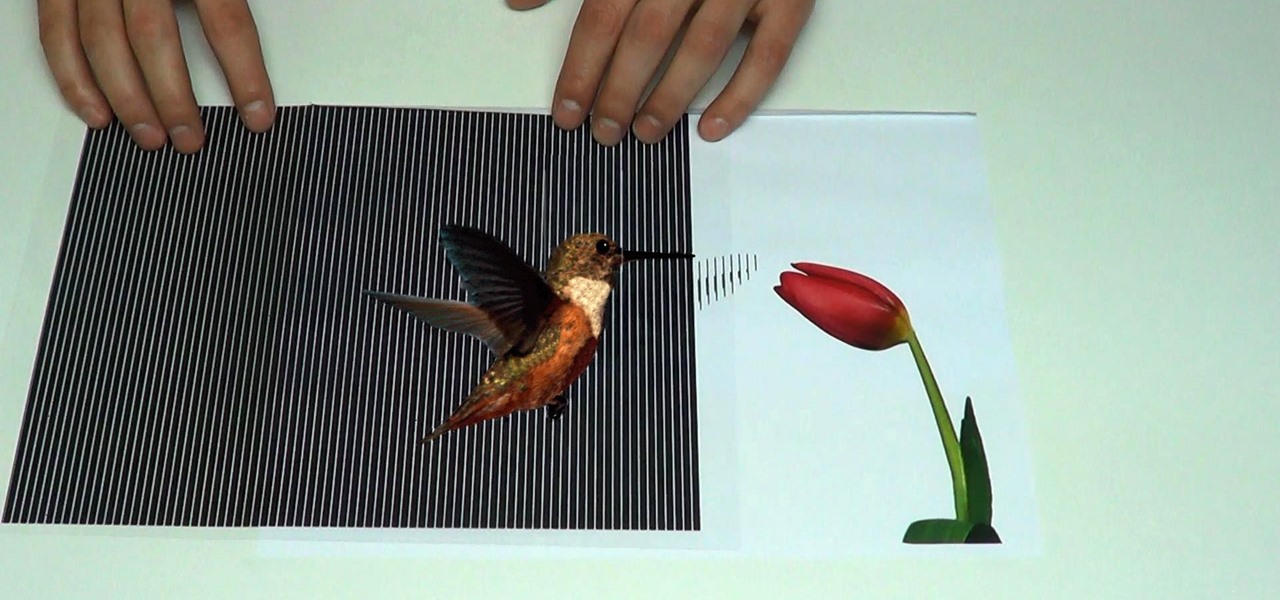
How To: Make an animated optical illusion out of paper
In this how-to video, you will learn how to make an animated optical illusion with paper. First, start off with one ball and copy it five more times so that it goes in a line to the corner. Make sure there are six balls in total. Next, create a striped pattern shown. There are black bars with small white lines in between. One white space equals one sixth of the black space. This is essential in making the illusion work. Once both patterns are printed out in separate pieces of paper, lay the p...
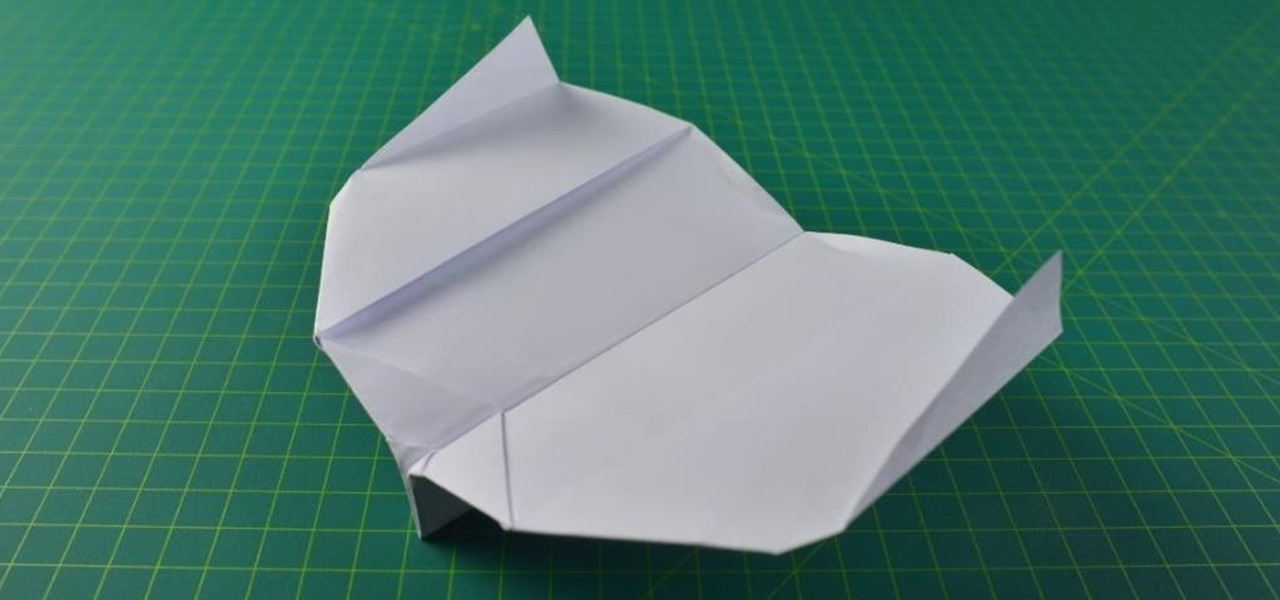
How To: Make the classic dart style paper airplane
That Paper Guy shows you how to make a simple paper airplane. First, get a piece of paper 8 1/2" x 11" and fold it in half lengthwise. Then fold on one side a triangle. Flip to the other side and fold a triangle as well. Fold the corners down in the same direction on both sides, making sure the edges meet the center fold. Fold the corners down one more time on both sides, again in the same direction. Open up the finished airplane so that you're able to grab the center with your thumb and inde...

How To: Make a boring paper clip into a really fun spinner
In this video tutorial, viewers learn how to make a plain paper clip into a spinner. The materials required for this spinner are a paper clip and a pair of pliers. Take the paper clip and straighten it. Now use the pliers to bend the tip of the clip at 90 degrees. Then bend it 90 degrees to left side and start bending the wire into a circular shape. The shape will look like a pretzel. Now bend the end tip of the wire 90 degrees to the opposite direction of the first bend. You should end up wi...
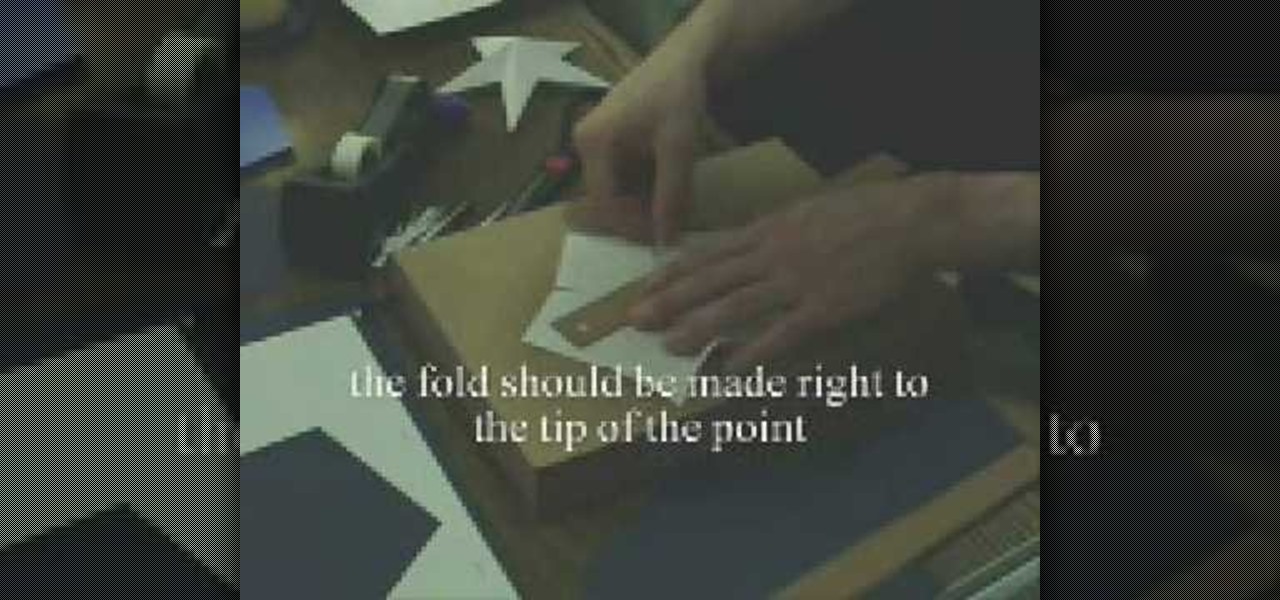
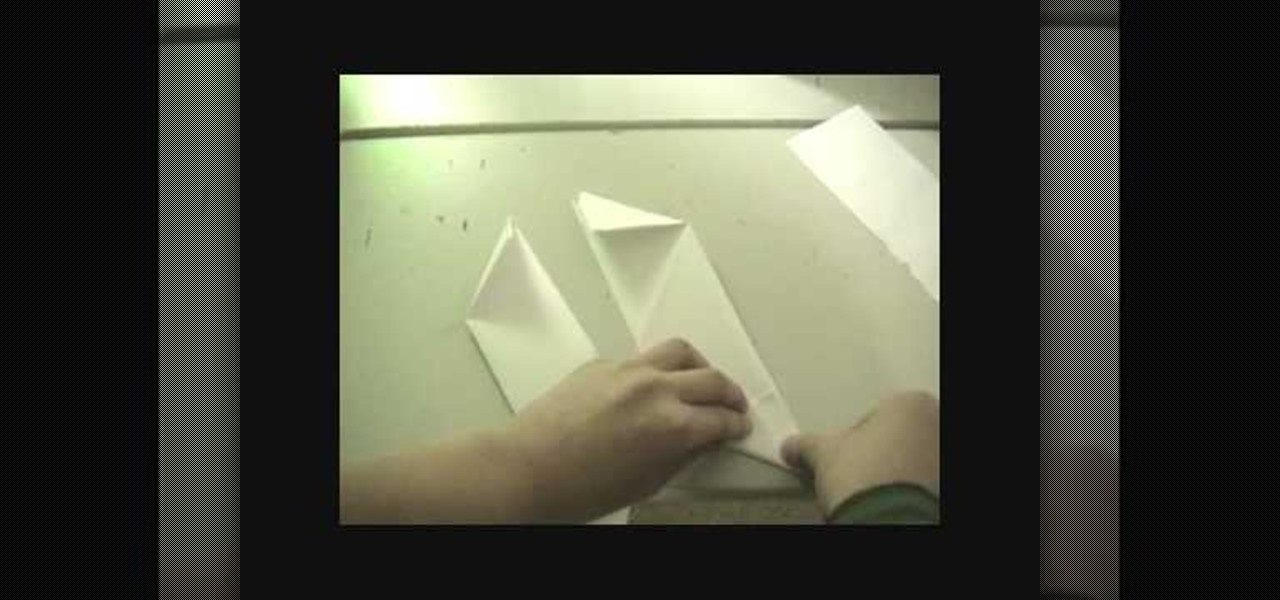
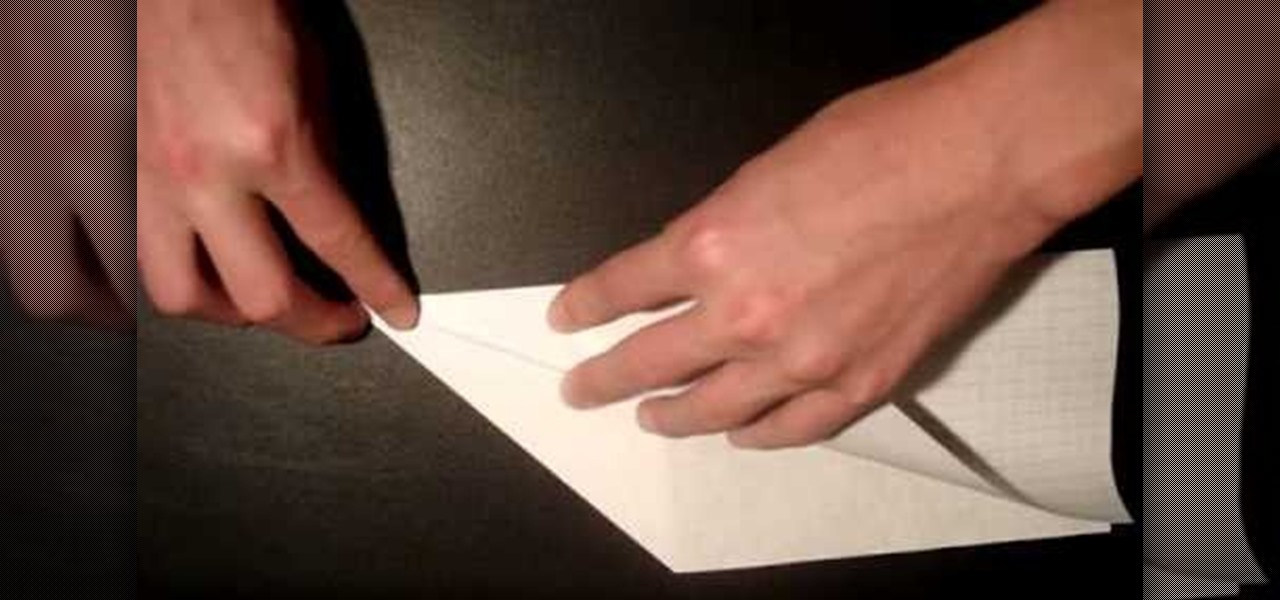
How To: Make a 3D five-point star from paper with origami
This video shows how to make a 3D five point paper star. First cut a pentagon using a sharp flat blade and a ruler. Folding halfway between each two corners to the opposite corner. These folds are the points of the star. Make a mark half-way between the edge of the paper and the center point created by the folds. Using the ruler and X-acto knife, cut straight along the fold from the mark to the edge. Cut two small triangles off of each side 1/4" up from the middle of the edge, cut a line stra...

How To: Make an easy paper popper
In this how-to video, you will learn how to make a paper popper. First, fold the piece of paper up once. Crease the fold and fold up again. Crease and repeat. Next, fold it vertically. Now, take the thinner corner of the center and pull back so you have a triangular cone shape. Hold it in front of the tip. Once you are holding it, quickly raise your hand and slam it down in the air. This will create a loud popping noise with the paper. This video shows you an easy way to make a paper popper t...
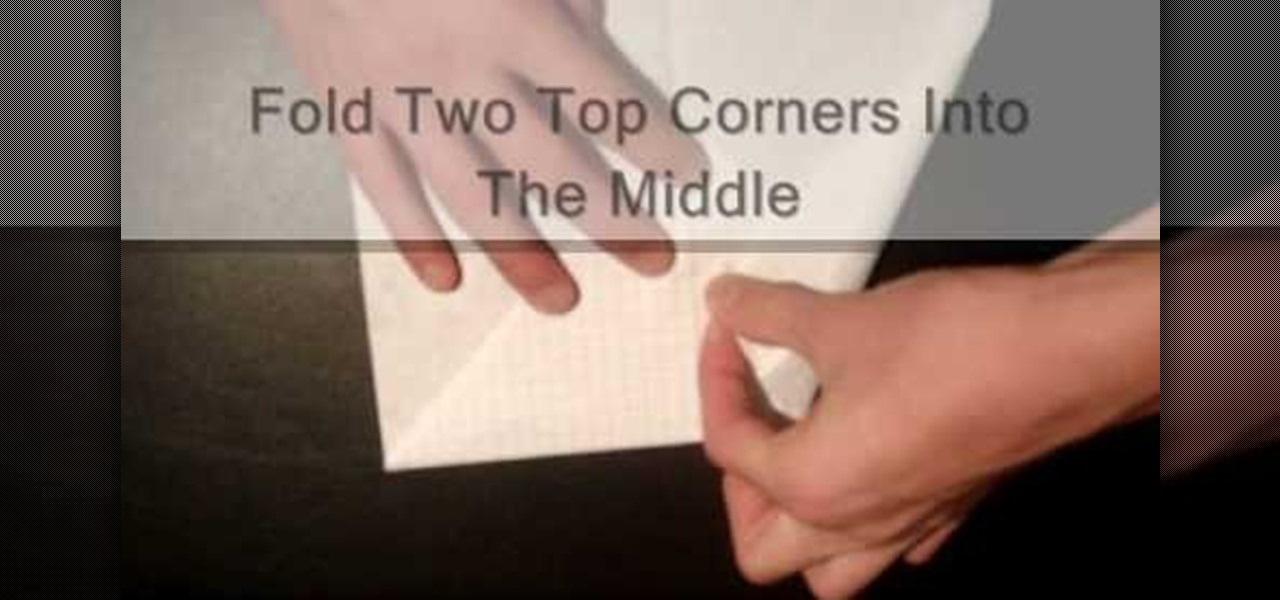
How To: Fold the Moth style paper airplane
This video shows a step-by-step demonstration on how to fold a moth style paper airplane. First fold the paper in half the long way. Unfold the paper, and fold the two top corners into triangles toward the middle crease. Fold the triangle down. Fold two top corners into the middle and fold the triangle up. Fold the plane in half and fold the wings up. Flip the plane and fold the wings again. Open the plane and you're done. This demonstration is easy to follow, with words on screen, so you'll ...

How To: Make paper ninja stars or shuriken with origami
This video shows us how to make a paper ninja star easily. Firstly you need is 2 sheets of paper, tape and scissors. Firstly take the first piece of paper and fold it into half and then fold it in half the same way. And then fold it in half in the opposite way and then do the same with the other piece of paper. Now using a scissor cut the closed end of the paper and make sure you don’t cut off too much and then in the second cut you have to make a one sided pointed and go diagonally to the ot...

How To: Make a neat paper hat
In this tutorial, we learn how to make a paper hat easily with only one piece of paper. First, take a piece of paper and fold it in half. Once you've done this, fold two triangles on both sides of the paper. Now, flip the bottom flap up. Next, flip over the hat and flip the back flap of the hat up. Now, pick up the hate and open up both sides of the hat! You can now decorate your hat and draw on it as you wish. This is a great project for kids to do with parents or with other children!
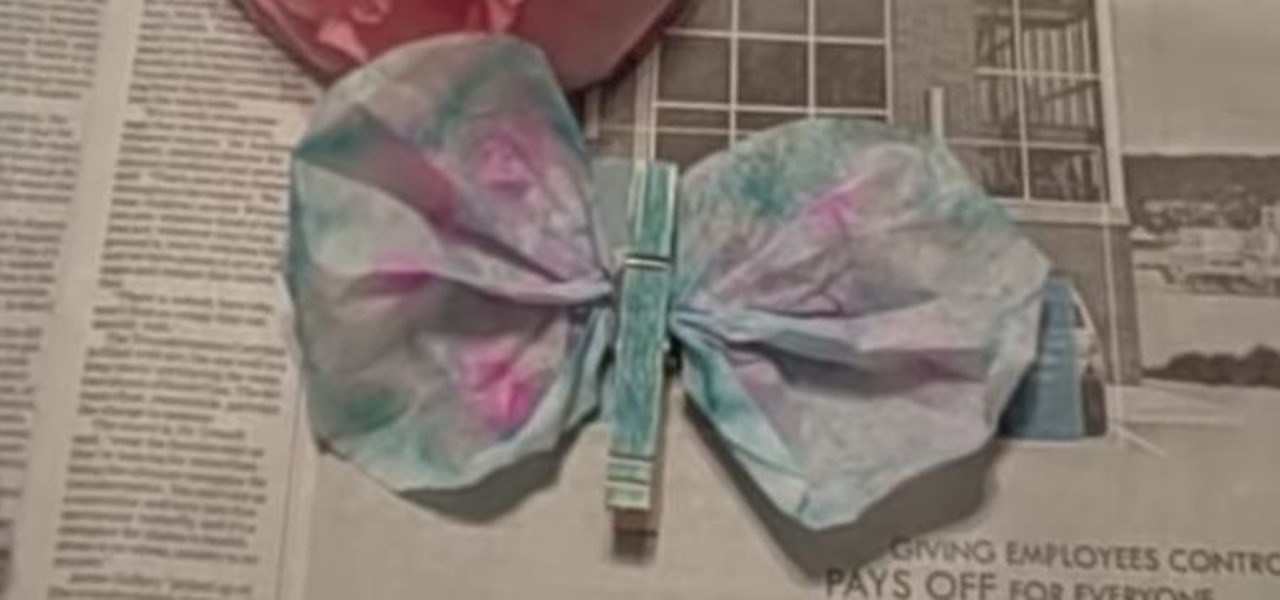
How To: Make Coffee Filter Butterflies & Flowers
Learn to make beautiful coffee filter butterflies and flowers by watching this video by Kim Janocko. The following materials are required to make them:
How To: Make a paper wind chime
This is indeed a great instructional video on how to make a paper wind chime. The products you need to make paper wind chime are mixing grinder, scissors, paper, business card, pencils and a thread .First you draw a circle using the cup on a paper. Cut a few circles out of the paper. Draw x in the middle of all circles. Then make a hole in the middle of all circles. Now place the circle in side the grinder and let it rotate fast. now you can add colors as you like. Similarly you can make all ...

How To: Make paper look antique in 5 easy steps
This video gives tips on how to make paper look antique in 5 easy steps. Step one is to smear the paper with the oil of olives. Step two is to place the paper in the microwave for more than 2 minutes. The video demonstration set the microwave at 2 minutes 30 seconds. Step 3 is to pull the paper out of the microwave after cooking for more than 2 minutes. Step 4 is to roll the paper. The video demonstration used a rolling pin to roll the paper on a counter top. Step 5 is to make the paper dry. ...
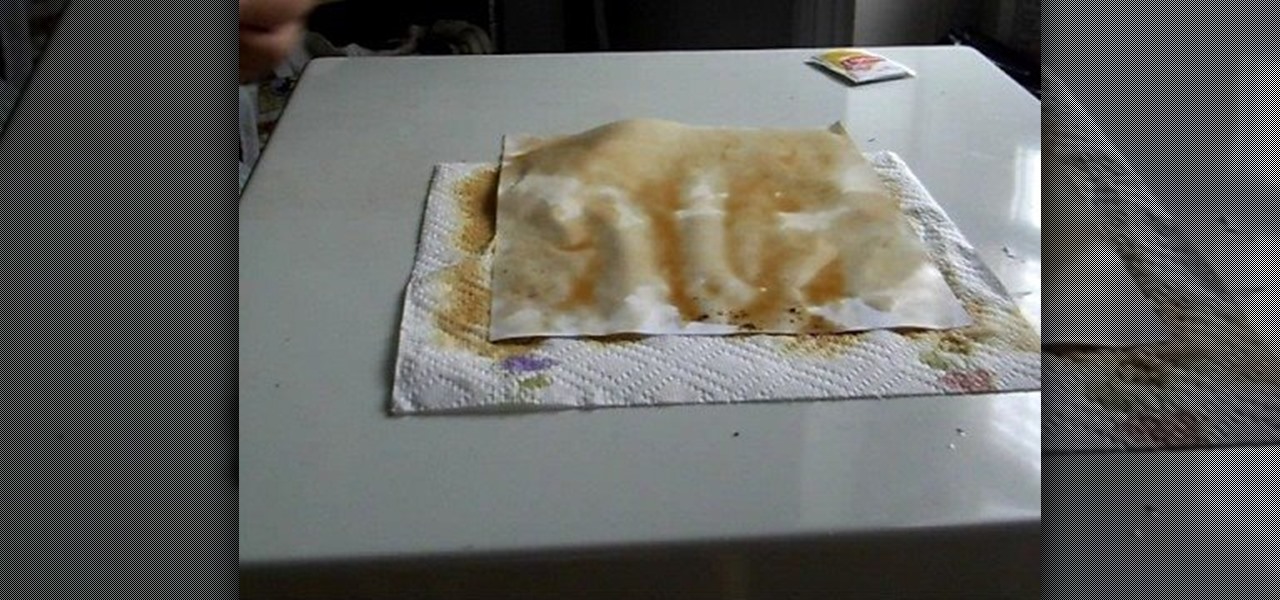
How To: Stain white paper to look antique
This video demonstrates how to stain a white sheet of paper and make it look antique. You'll need two tea bags (an extra one if the other tears open. Place the paper to be stain on a tissue or newspaper to avoid a mess. Take half a tumbler of hot water and dip a tea bag until the color becomes dark orange. Take out the tea bag and gently wipe all over the sheet of paper and also dab gently on the applied parts for a darker stain in some regions to look natural. Repeat this process by turning ...
How To: Make a spinner out of a piece of paper
This video shows how to make a spinner out of a piece of paper. Fist take out a normal sheet of paper. Then fold it in half. Cut at the crease for it to make two equal pieces. Fold both pieces in half. Then fold the two edges of the paper to make a triangle. Then do the same to the other piece. Now put one piece on top of the other. Fold in the flaps one by one but leave the final flap alone. Instead of folding the final flap tuck it under the black pocket. Fold the paper in to a triangle and...

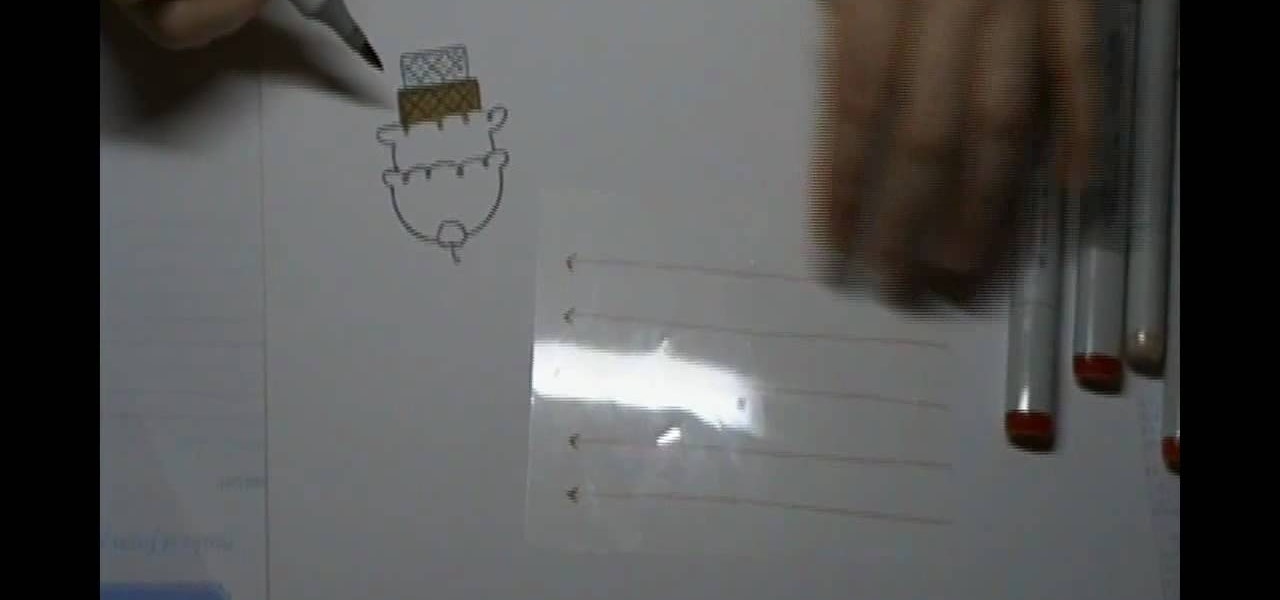
How To: Make a Santa Claus bookmark
In this Arts & Crafts video tutorial you will learn how to make a Santa Claus bookmark. You will need a card, craft paper, a ribbon, scissors, markers of different color, a punch and glue. Paste the card on to the upper part of the paper, fold the paper and paste it by applying glue to the inner part. Punch a hole on the upper part in the center. Draw 2 eyes and a nose with a marker. Draw 2 crescent shapes for the mustache and a ‘U’ for the mouth. Next draw 2 triangles for the eye brows. Draw...

How To: Make the X-hunter paper airplane
In this how-to video, you will learn how to create an X Hunter paper airplane. First, fold your paper in half vertically. Unfold the paper and fold the two sides to the fold in the middle. Fold the top into a triangle. Unfold it and do the same for the other side. Unfold the paper and flip the paper. Fold the top down. Flip the paper and make two wings on both sides. Fold the top into a triangle. Push the sides to make the top part come up. Fold the tip into a diamond shape. Fold the sides of...
How To: Make your very own paper spinner
Evil Penguin Master demonstrates how to make a paper spinner. First fold a regular sheet of paper in half, defining the lines well. Then, cut the paper along the crease with scissors or tear it with your hands. Next, fold the halved paper again lengthwise. Then, fold down the corner. Flip the paper over and fold down the other corner so it forms a slanted rectangle. Repeat the technique with the other sheet. Lay the sheets on top of each other so they form an X or a star. Fold each triangle i...
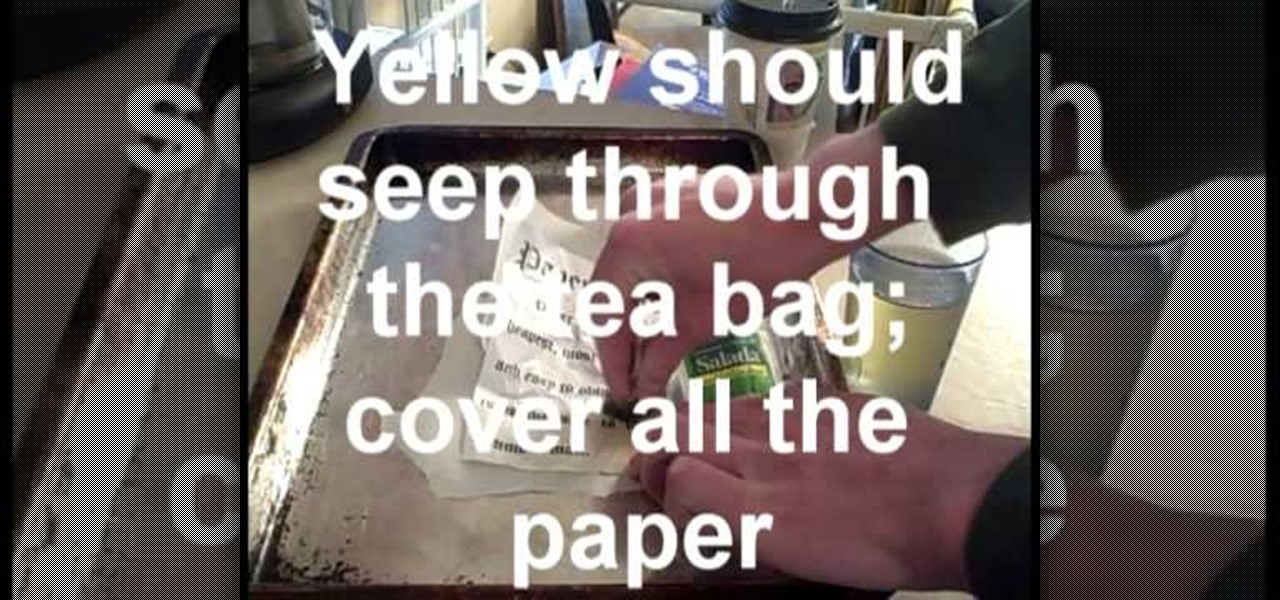
How To: Age a piece of paper so it looks antique
In this how-to video, you will learn how to easily age paper. First, crumple the paper up into a ball and then unfold. Next, set the oven to 200 degrees F and make some tea. Get a cookie sheet and lay the crumpled paper over wax paper. Take the tea bag and smash it against the paper. Yellow liquid should seep through the paper bag and onto the crumpled paper. Place the tray into the oven for about four minutes. Next, carefully take out the pan. Your paper now has an aged look. Viewing this vi...
How To: Make a decorative paper star
This is a great instructional video on how to make a decorative paper star. The materials you need are color papers, ruler, stapler, scissors, adhesive tape, pencil and cutting pliers. Take a paper and make a square of 20 cm side. Now fold the paper twice and get a triangular shape. Now draw four lines on it. Then cut along the lines with the help of scissors. Take the middle square and staple it. Then go to the back side and staple the ends. Repeat this process and get a star. You can make t...
How To: Make cool paper claws
How to make cool paper claws:Flameboy2202 shows us how to make cool claws with paper. They are really simple and can be used at Halloween. All you need is a eight and half by eleven sheet of paper. Take the paper, fold the top right corner; try to make it as even as possible. Now, take the top point and fold it to make a pyramid kind of formation. Now take the bottom two corners and fold them in. Fold the bottom upwards so that you have a perfect triangle. Flip it over and see, you have a per...
How To: Make an easy fabric-covered hardbound journal
You share your innermost feelings with it on a daily basis. Why, then, settle for something drab, prefab and impersonal? With this handy how-to, you'll learn how make a custom fabric-covered hardbound journal.
How To: Make brand new paper look antique
Whether it be for a school project or just a funky looking journal or letter, making your paper look antique is very easy. Antique paper is great for invitations, props, unique stationary..lots of things! This tutorial will teach you how to age your brand new paper instantly for a neat, old fashioned look.
How To: Use Copic pens for beginners
This video shows you the basics in understanding how to use Copics pens. In this video you'll focus on the basics of coloring. You'll learn the do's and dont's in order to achieve a perfectly colored piece for everyone to enjoy. This is a great video if your familiar with Copic pens or just curious how to properly use them.

How To: Fold a hat out of newspaper for parties
Save money on your kid's next party by making your own hats! These hats are made with newspaper, which makes them virtually free to create. Making your own hats is also a great activity to do with the kids at a party or anytime!

How To: Antique your own paper
Aging paper is a great way incorporate learning about antiquities from the past while doing a fun hands on project in the classroom. It's easy and really adds something special to projects or even to do just for fun in your spare time.
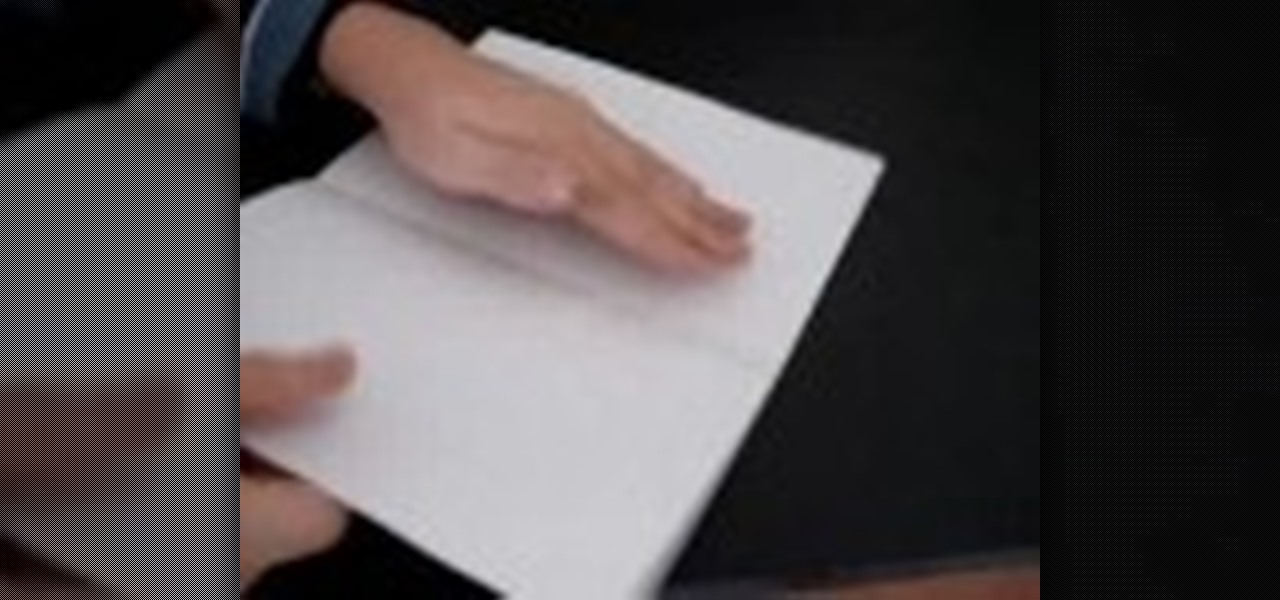
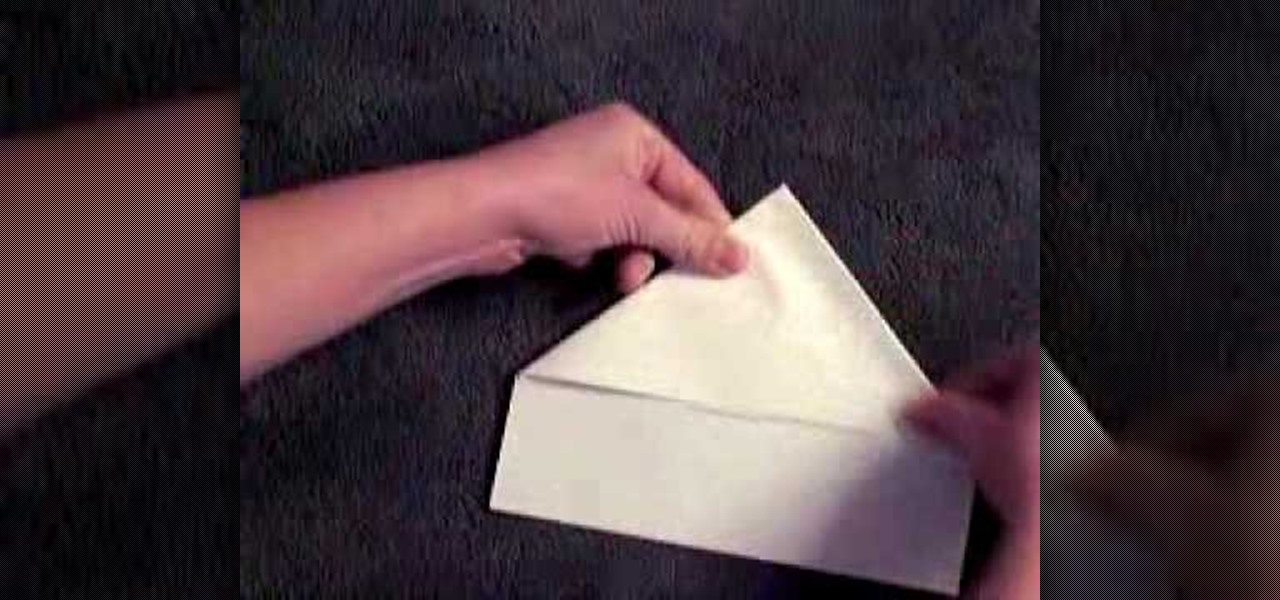
How To: Fold your letter into a cool shape
Sending a special note and don't have an envelope? In this four part series learn how to fold your letter into cool shapes so you can deliver them on their own. The only supplies you will need are your hands and your letter. Have fun!

How To: Make a mini paper corset for a paper doll
Artful Paper Doll demonstrates how to make a mini paper corset for a paper doll. Take two rectangular piece of hard paper which is of measure 4 by 5 centimeters. Cut the edges of the breadth part make it round. Cut the length part inward to make it into shape of a waist. Take a pattern cloth and paste it to shapes. Now take a lace with one end trimmed. Fold it in zigzag way. This should be pasted beautifully to the bottom of the corset. Now take a thin lace and paste it over the zigzag lace i...

How To: Make paper roses
This video shows how to make paper roses. Start with several die cut flowers, preferably with six petals. Take one and slit it so that you can fold one of the petals over the other one and glue them so that they are overlapping. Take another die cut flower and cut one petal completely out, again folding the two edge petals and gluing them together so that they are overlapping. Do another flower the same way but cutting out two petals. In the final product each of these will overlap each other...
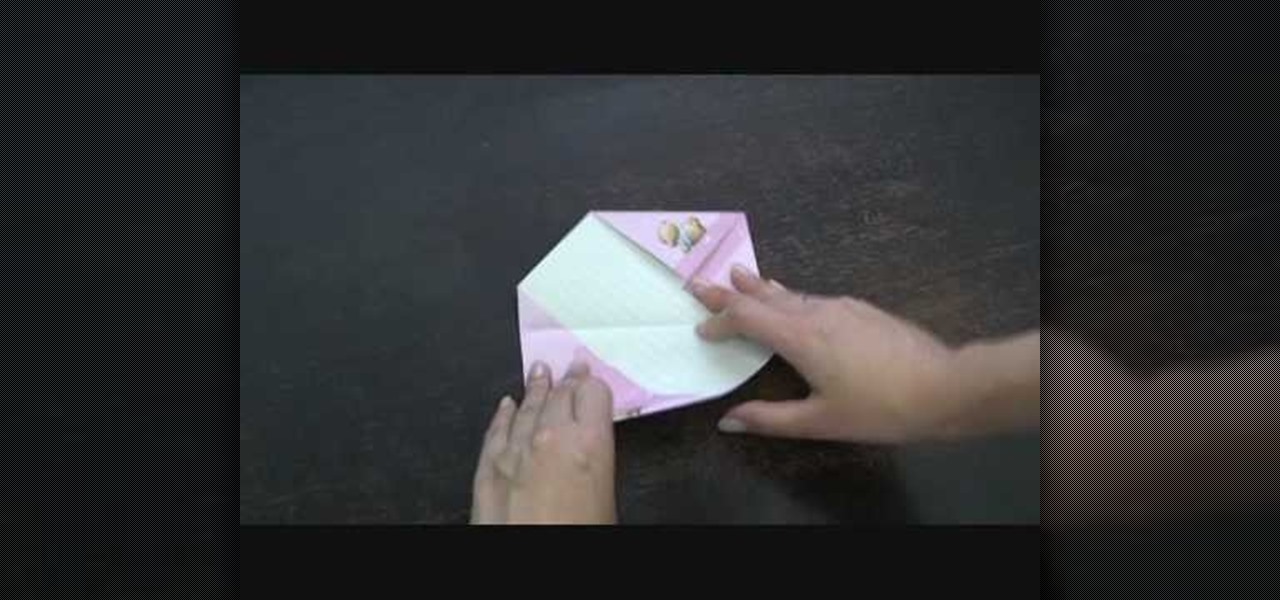
How To: Make a 3D diamond topped card
Watch this video to learn how to make a stunning diamond topped 3d card from a single sheet of A4 paper! 1. You'll need one A4 sheet of paper and some printed papers to decorate. 2. Score at 10. 5cm across length and 10. 5cm from one end. 3. Crease both scores in the same direction (mountain folds). 4. Turn card over mark 13cm from top on centre line an 17. 5cm from top on both edges. 5. Score from central 13cm mark to 17. 5cm mark on each edge. All printed papers used in this tutorial are av...

How To: Make a paper sniper rifle replica
Boys and their guns! Make paper replicas of guns is a great way to exude a sense of creativity and have some fun. This video will demonstrate how to create a sniper rifle replica out of paper.
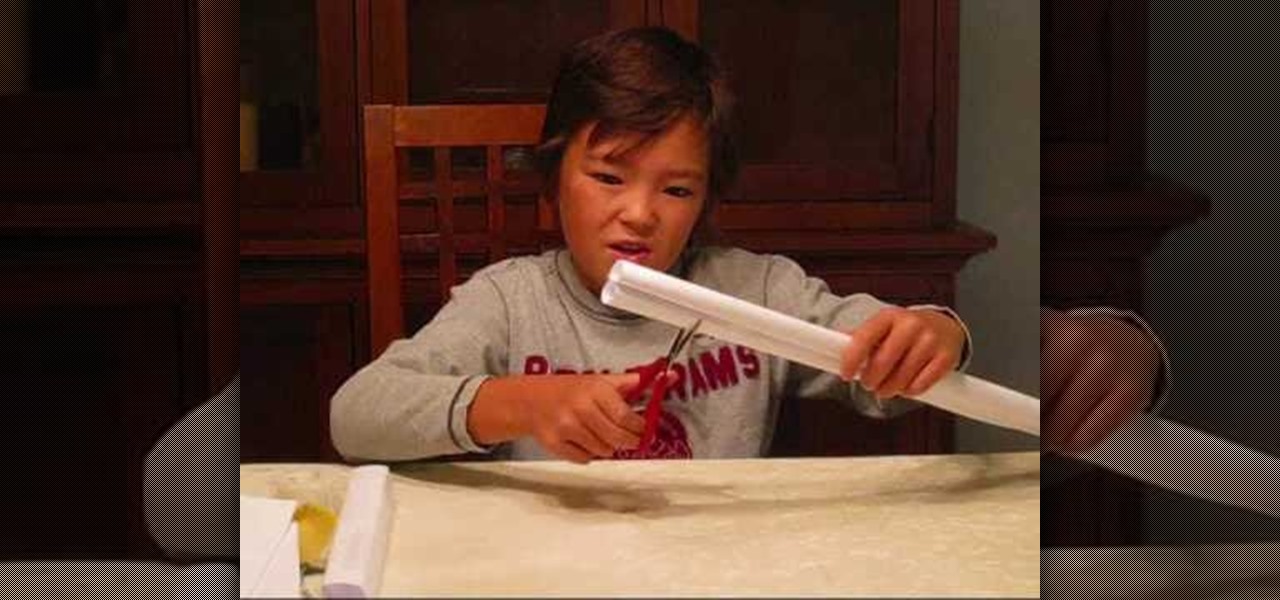
How To: Make a paper AK-47 replica
Boys and their guns! Make paper replicas of guns is a great way to exude a sense of creativity and have some fun. This video will demonstrate how to create a AK-47 (looks more like an MP5) replica out of paper.
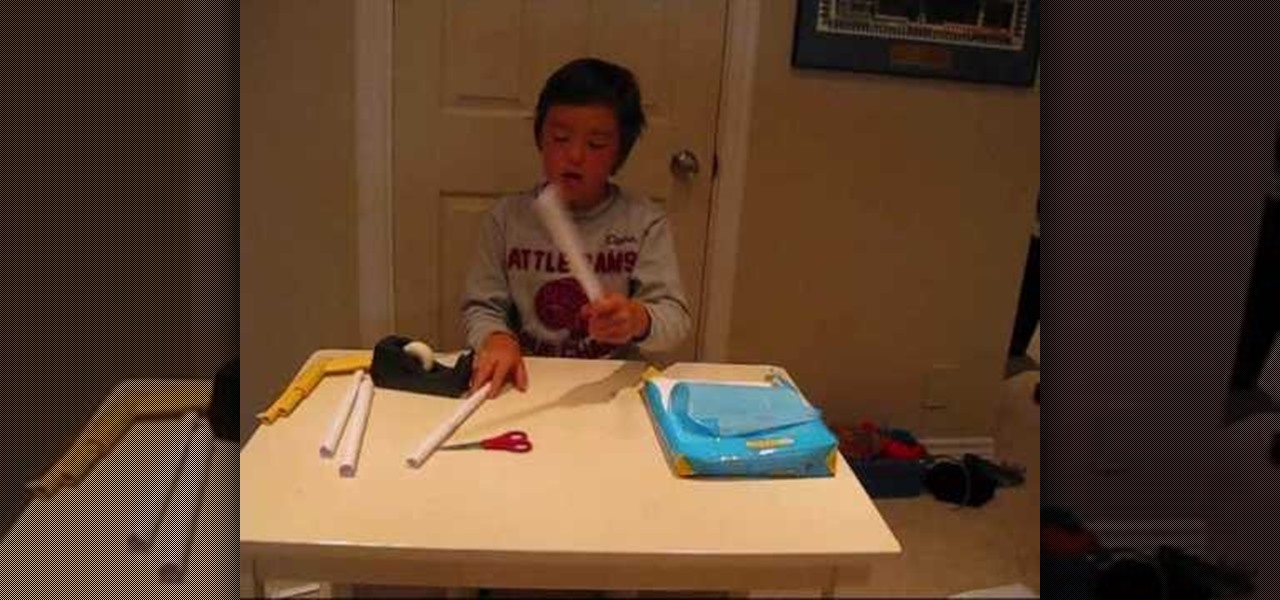
How To: Create a pistol replica out of paper
Boys and their guns! Make paper replicas of guns is a great way to exude a sense of creativity and have some fun. This video will demonstrate how to create a pistol replica out of paper.