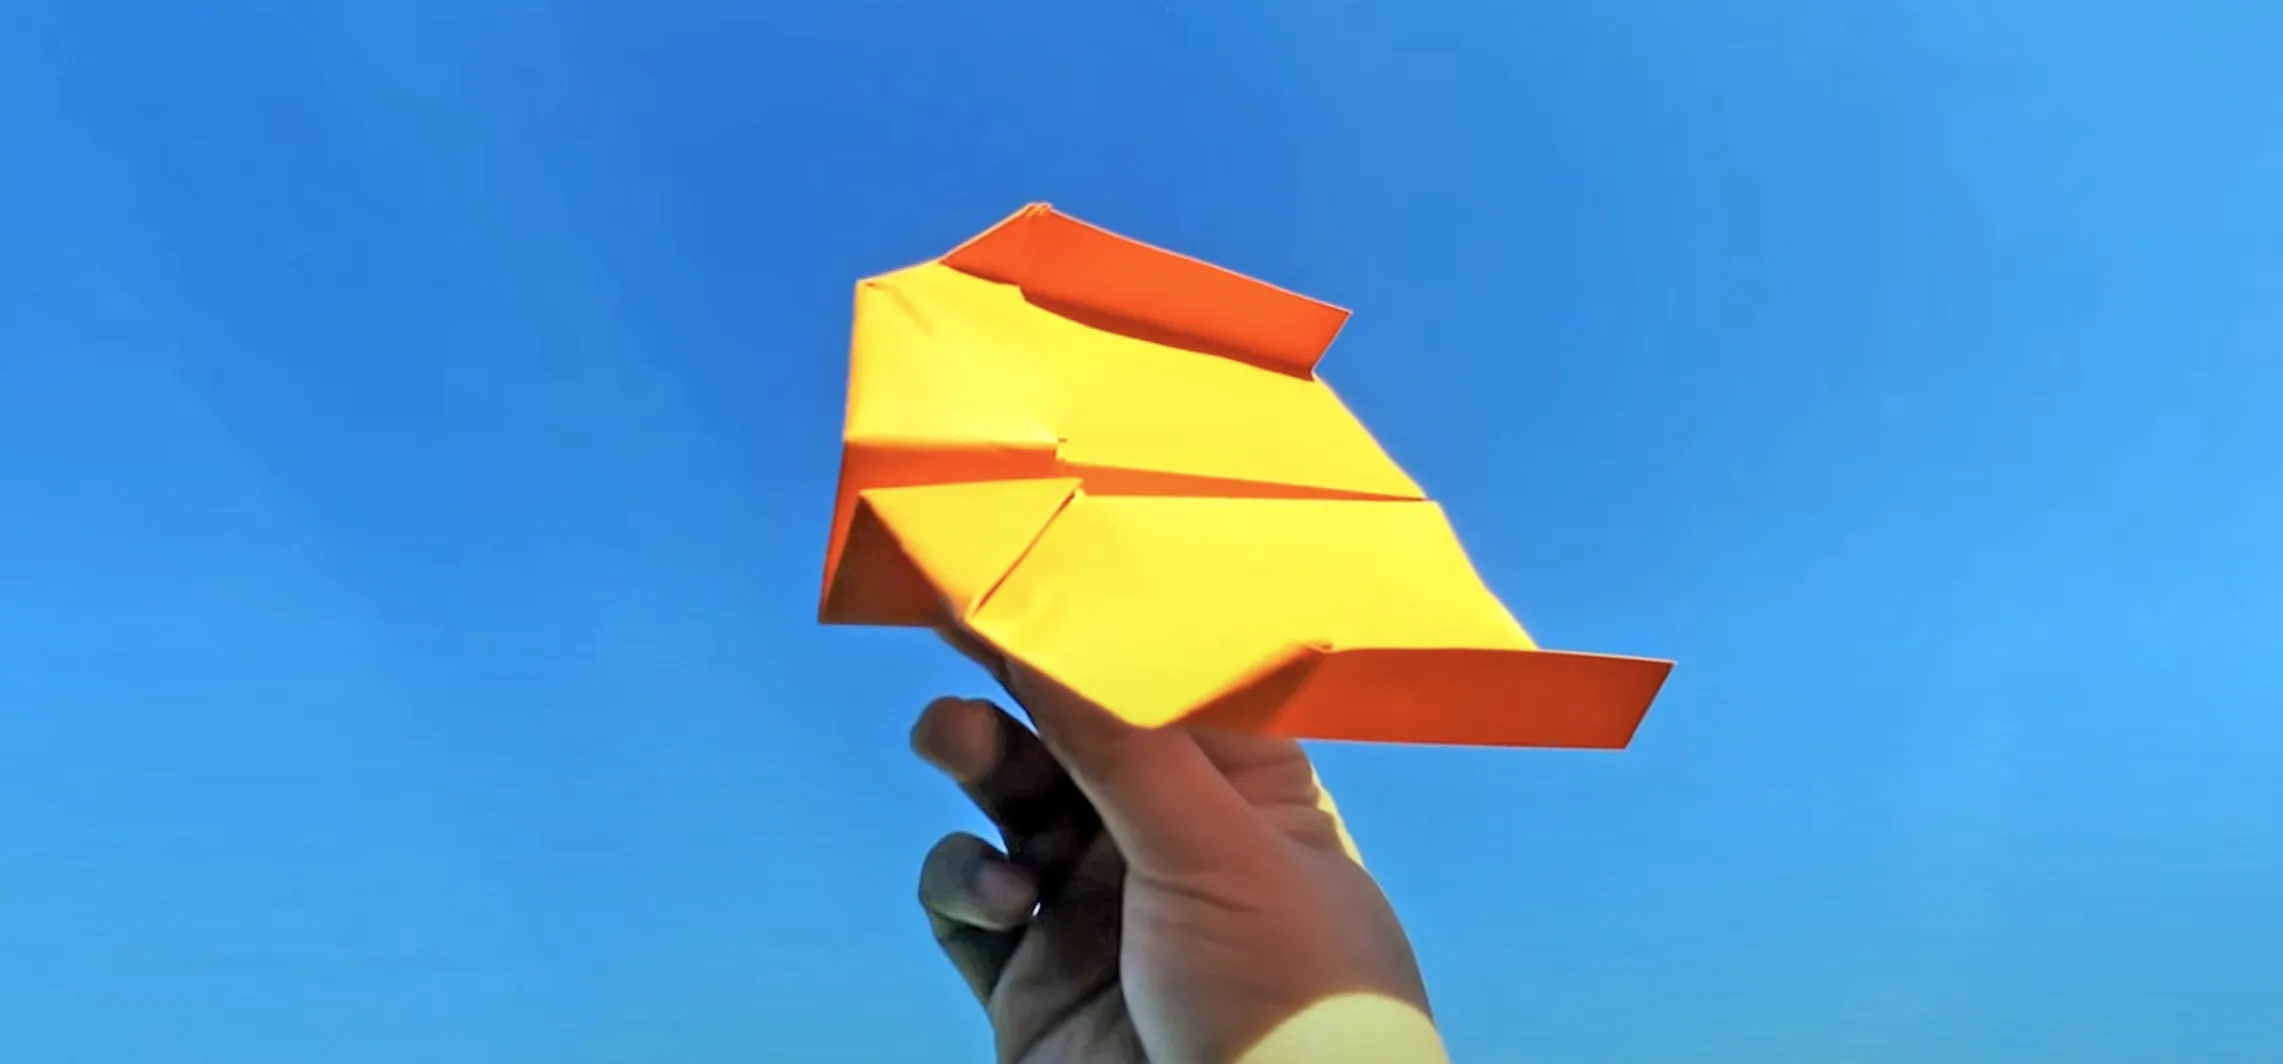
This paper airplane doesn't just fly — it comes back to you like a boomerang.
With the right folds and launch technique, this clever design loops through the air and can be caught mid-flight. It's fun to fly, easy to fold, and perfect for anyone looking to impress with a paper plane that does more than just glide forward.
In this tutorial from Tri Dang, you'll learn how to fold a lightweight, looping aircraft using just a standard sheet of printer paper. The design features curved wings and stabilizers that help create the return motion when thrown correctly.
🎥 Watch the full video below for step-by-step instructions and flight demos.
What you'll need
Use simple materials to get the best results:
Paper size: Letter (8.5" x 11") or A4
Paper weight: 15–20 lb. copy paper
Surface: Flat table or desk for folding
Avoid thick paper or cardstock — it won't glide or curve as effectively.
Step-by-step folding guide
This plane relies on symmetry and wing shape for its trick-flight behavior. Follow these folds carefully:
Create the center crease: Fold the paper in half lengthwise, crease firmly, then unfold.
Make crosswise creases: Fold the paper horizontally in half from top to bottom. Then unfold. Flip the paper and repeat again from top to bottom to form intersecting creases.
Start shaping the nose: Fold both top edges down to the center vertical crease to form a triangle. Then fold the triangle down flat.
Narrow the nose: Fold the outer top edges inward again to the centerline, creating a slimmer point. Press all folds firmly.
Fold in half lengthwise: Fold the plane in half so the previous folds are on the outside.
Shape the wings: Fold each wing downward at a slight curve. The bottom edge of each wing should be roughly 1.5 inches tall. The back edge should angle up slightly higher than the front.
Add stabilizers: Fold up small tabs (about 0.5 inches high) at the rear of each wing. These act as vertical stabilizers to help the wing loop.
Optional: Elevators Add small upward bends to the back edges of the wings. These help the plane lift and curve during flight.
How to throw it
Hold the plane near the nose and give it a light toss upward at a 30–40 degree angle, with a slight wrist flick. You should see it loop out and come back toward you in a gentle arc.
Practice with different angles and force to find the perfect boomerang motion. It's not just about folding — launch technique is everything with this design.


Comments
Be the first, drop a comment!