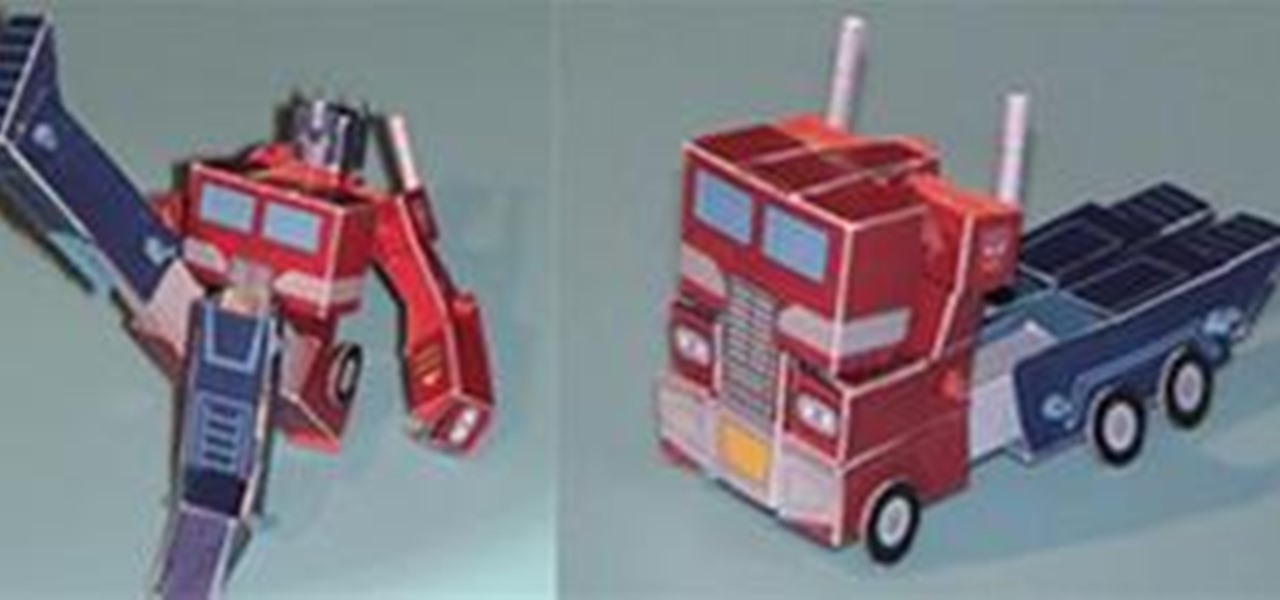
Hot Papercraft Posts

How To: Make a textbook cover out of a grocery bag or wrapping paper
Many teachers ask students to cover their textbooks in order to extend the life of book. You can make a book cover out of a brown grocery bag, wrapping paper, or even colorful construction paper. You won't have to go shopping for expensive back to school supplies, all you need is a little tape!

How To: Make a balloon that looks like an apple
Do you need some ideas for nature-inspired decoration? All you need for this craft are some balloons, paper and a little painting skill to make a fun, crafty balloon apple. Add this project to your next hobby day!

How To: Craft a game out of paper
This is a quick and easy arts and crafts project to make yourself a new toy. All you need are two sheets of paper, folded properly, to create a toy gun for your next game of cops and robbers.
How To: Make strong popsicle stick bridges using a cross hatch pattern
When we were five years old, there was nothing better to do at recess than to whip out a bag full of popsicle sticks of all sizes, some glue, and then piece together the pieces as if solving a puzzle. We'd make forts, bridges, and even stick people.
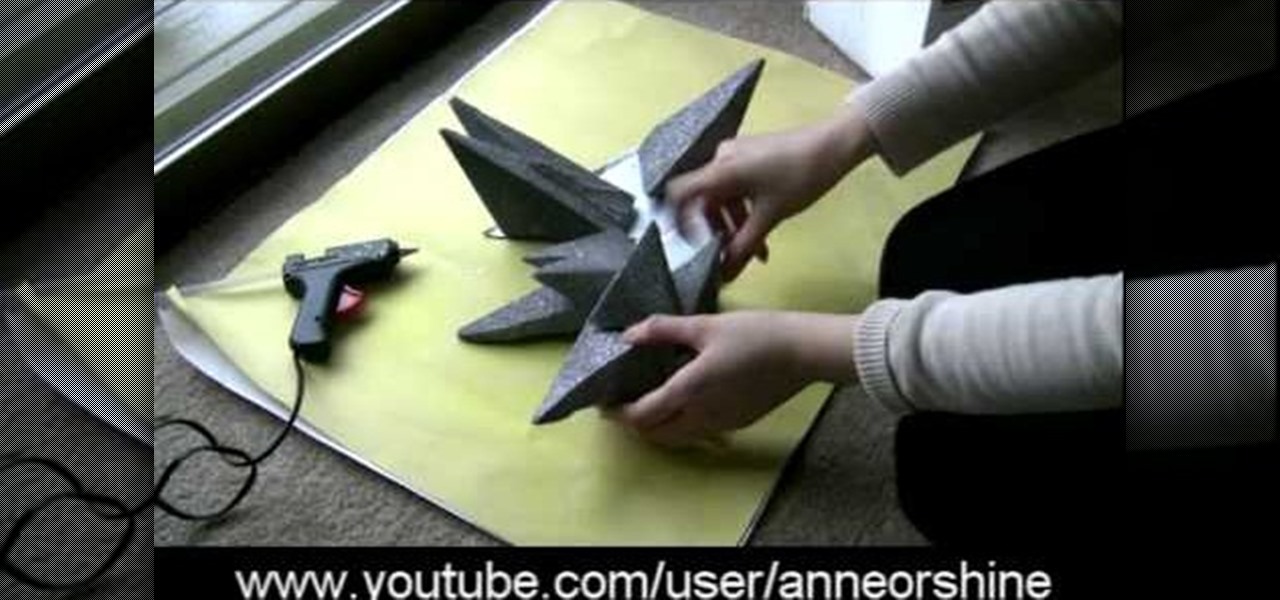
How To: Make Lady Gaga's crystalized spike abstract Grammys headpiece
When we first saw Lady Gaga donning this, well, gaga headpiece at the Grammy Awards, we were wondering what the Fortress of Solitude was doing on her head. The headpiece, composed of what look like stalactites crystalized with thousands of swavorski crystals, looked like an Abstract Expressionist sculpture, and made little sense.

How To: Make a French-style fabric memo board for photos and letters
This crafty project is inexpensive, it's easy to do and it's really handy for attaching things like letters, photos and to-do lists. This isn't like a cork memo board, because you won't need any push pins or cork pins! Watch and learn how to make this French memo board. This is the pretty alternative to drab store-bought memo boards.
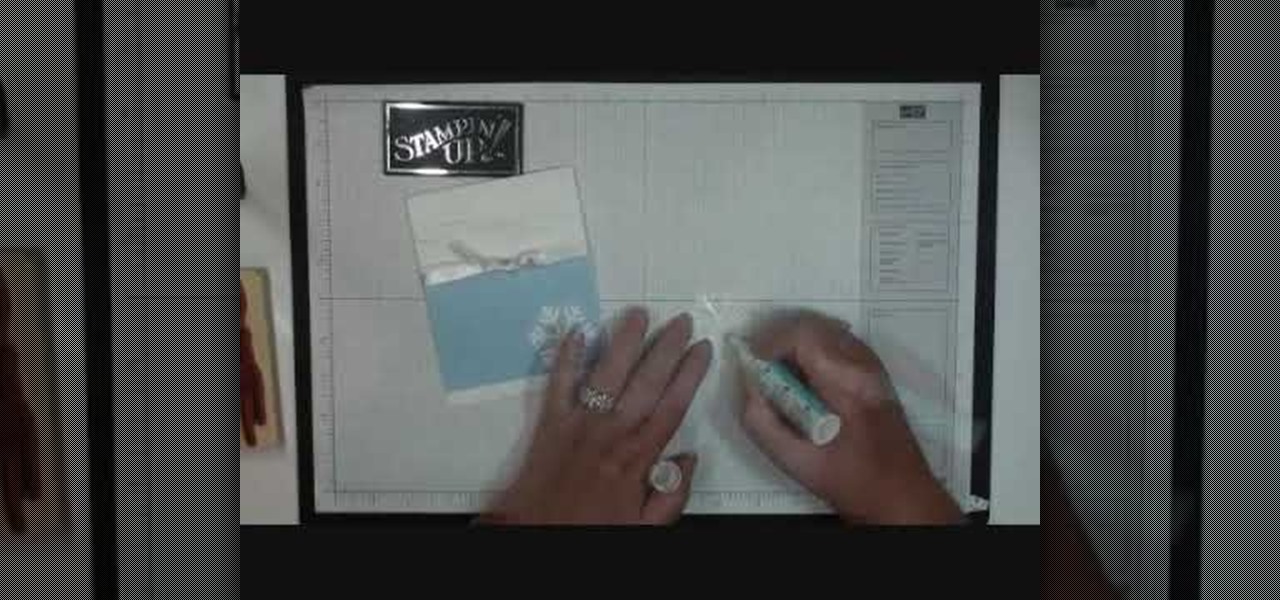
How To: Make a quick & simple Christmas card with Stampin' Up!
This video tutorial is in the Arts & Crafts category where you will learn how to make a quick and simple Christmas card with Stampin' Up! You will need the bashful blue classic ink, a bashful blue cardstock cut at 3" x 4 1/4", a piece of whisper white cut at 4 1/4" x 11" and scored at 5 1/2", a piece of whisper white organza ribbon and scrap cardstock for two snowflakes. Cut out the snowflakes with the jumbo snowflake punch. Stick the bashful blue on the whisper white cardstock. Using the hea...
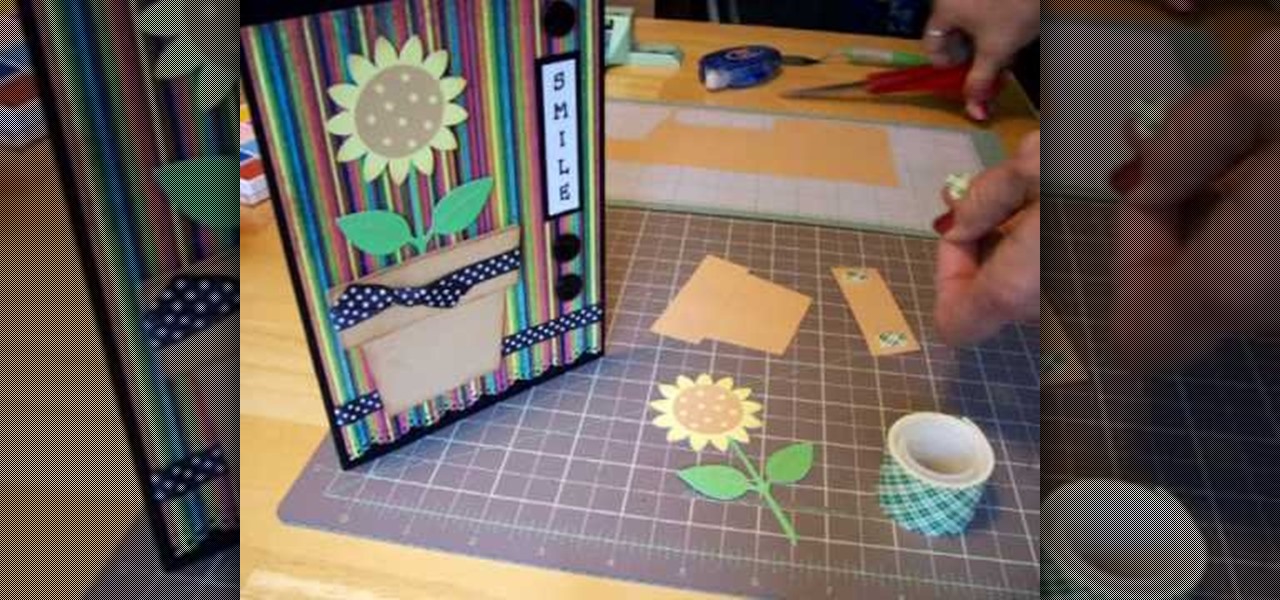
How To: Make a Cricut sunflower card
In order to make a Cricut Sunflower card, you will need the following: card stock, Walk in My Garden Cartridge, ribbon, decorative paper, chalk, scissors, 2-sided tape, an ink stamp pad, adhesive, and pop dots.
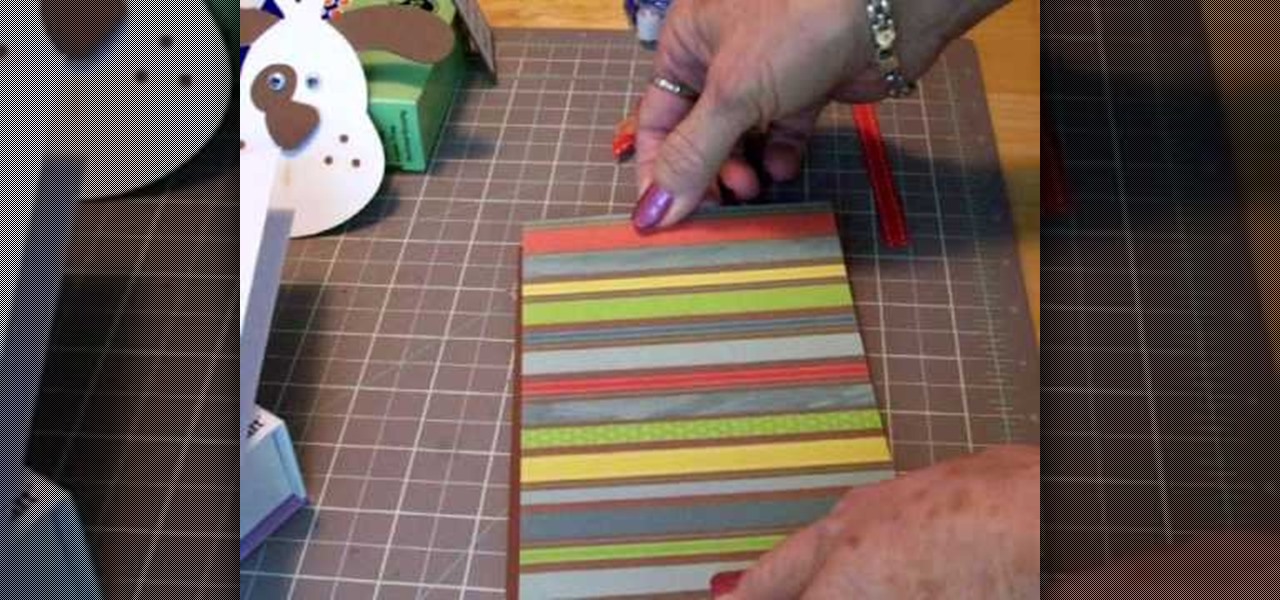
How To: Make a Cricut get well card
This video tutorial is in the Arts & Crafts category where you will learn how to make a Cricut get well card. Cut out the shape of a dog out of white at 4". Then cut out the ears and nose out of brown also at 4". Cut the dog again in brown at 4" for the background. Now assemble the dog as shown in the video and glue on two Google eyes. For the card base take a 10" x 7" card and fold it in half. Take out a brown sheet at 4 3/4" x 6 3/4" and a striped mat. Now apply glue on the card and assembl...
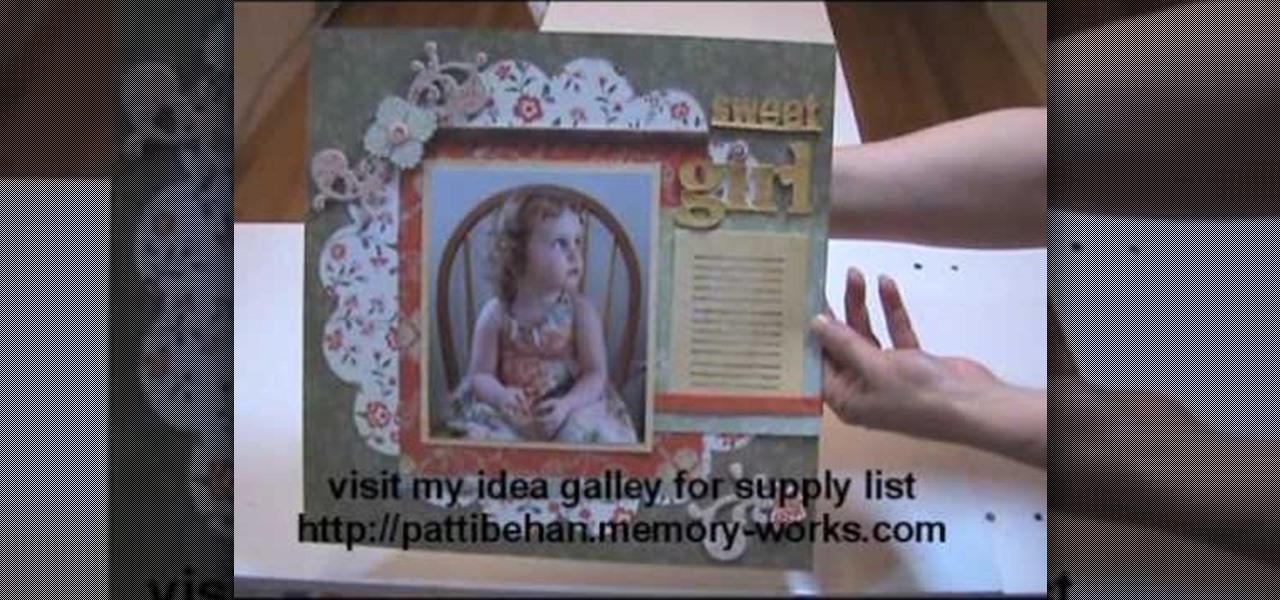
How To: Use your Cricut to save money on scrapbook paper
In this video, we learn how to use your Cricut to save money on scrapbook paper. First, place the mini monogram cartridge into your Cricut machine. Then, place your paper onto the 12x12 cutting mat. Now, load your paper into the machine, then press the scalloped circle and the fit to page buttons. Then, press cut and let the machine do all the work. Once it's finished, unload your paper from the machine and remove the outside portion of the image. Now, adhere it to the white piece of scrapboo...
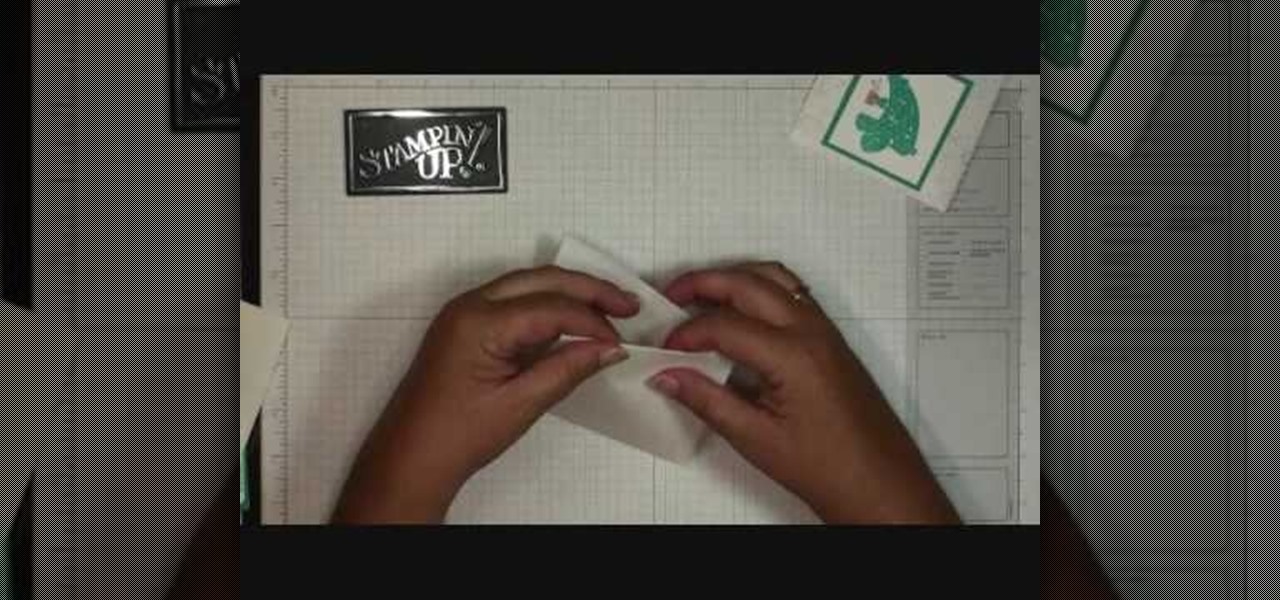
How To: Make a hot cocoa holder with Stampin' Up!
In order to make hot cocoa holders with Stampin' Up, you'll need the following: a whisper white Stampin' Up envelope, scissors, a paper cutter, cocoa, a jumbo wheel, ink pad, adhesive, stamps, ribbon, pen, stapler, glitter, and card stock.
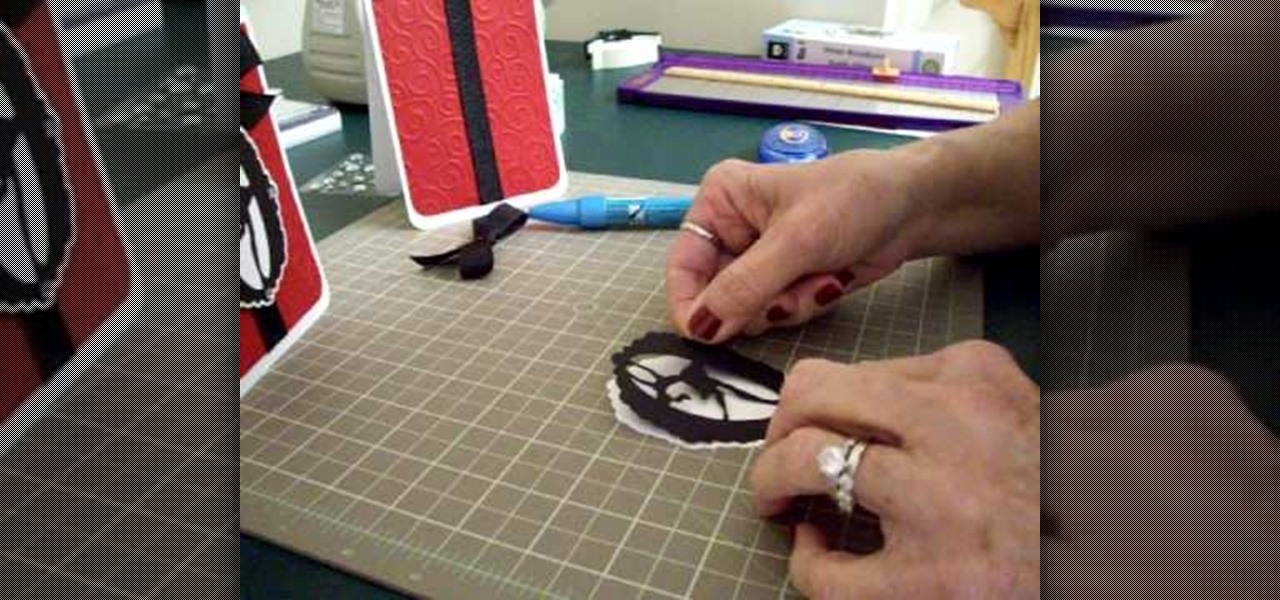
How To: Make a ice skater card using Cricut Winter Woodland
Make a simple, elegant card using Winter Woodland. Go to page 50 of manual. Cut tag and skater at 3 inches. Use 8 1/2 x 11 cardstock and cut vertically to 4 1/4 inch. Fold from top to bottom. Round corners of cardstock and red matte. Make red matte 4x5. Run red matte through cutter bug using swirls folder. Insert between two plates and run through. Place black grosgrain ribbon down the center. Stick to front of card. Glue skater to background. Place square crystals around skater. Create and p...
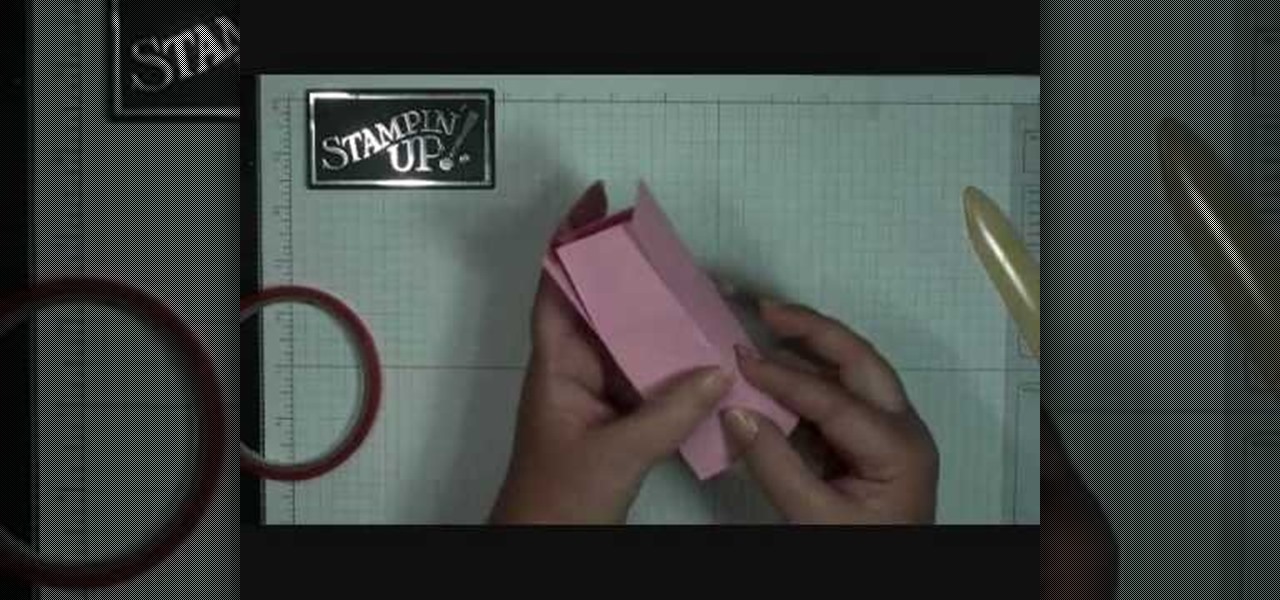
How To: Make a mini milk carton with Stampin' Up!
To make a mini milk carton, you will need the following a big shot, Mini Milk Carton Die # 117310 (Occasions Mini) card stock, a clip, and sticky strip.
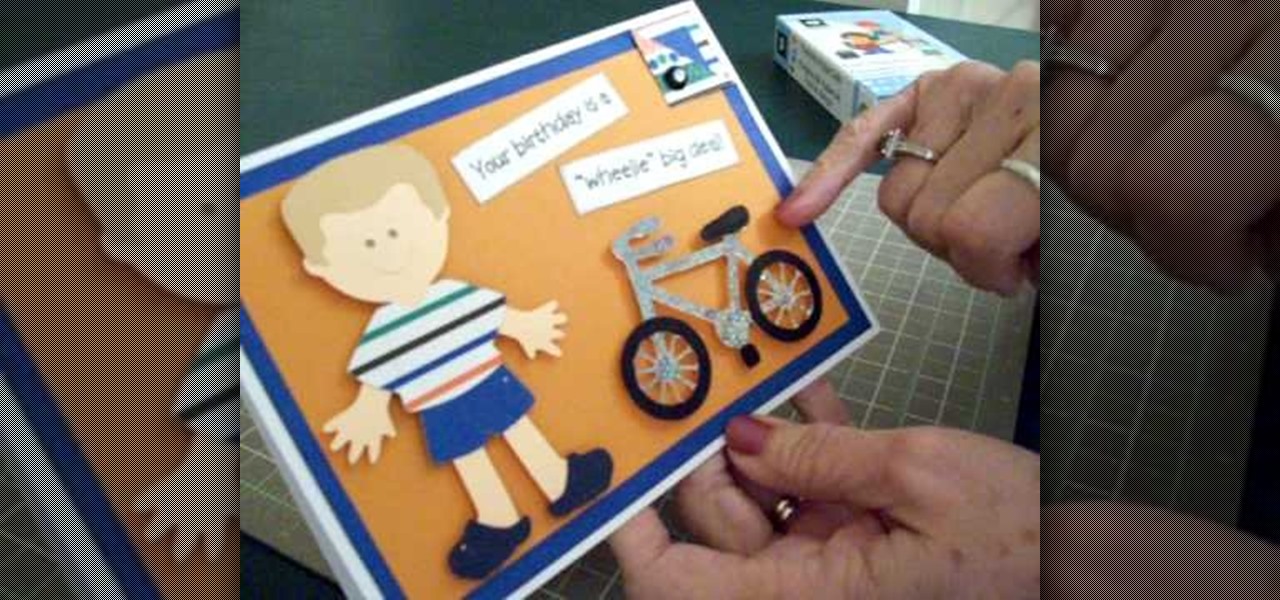
How To: Make a Cricut "biker boy" birthday card
In order to make a Cricut "biker boy" birthday card for a young boy, you will need the following: Everyday Paper Dolls cartridge, adhesive, and card stock.

How To: Make a side step Christmas card using Cricut Winter Wonderland
In order to make the side step Christmas card, using Cricut, you will need the following: card stock, cutter/trimmer, adhesive, rhinestone, ribbon, and a bone folder.
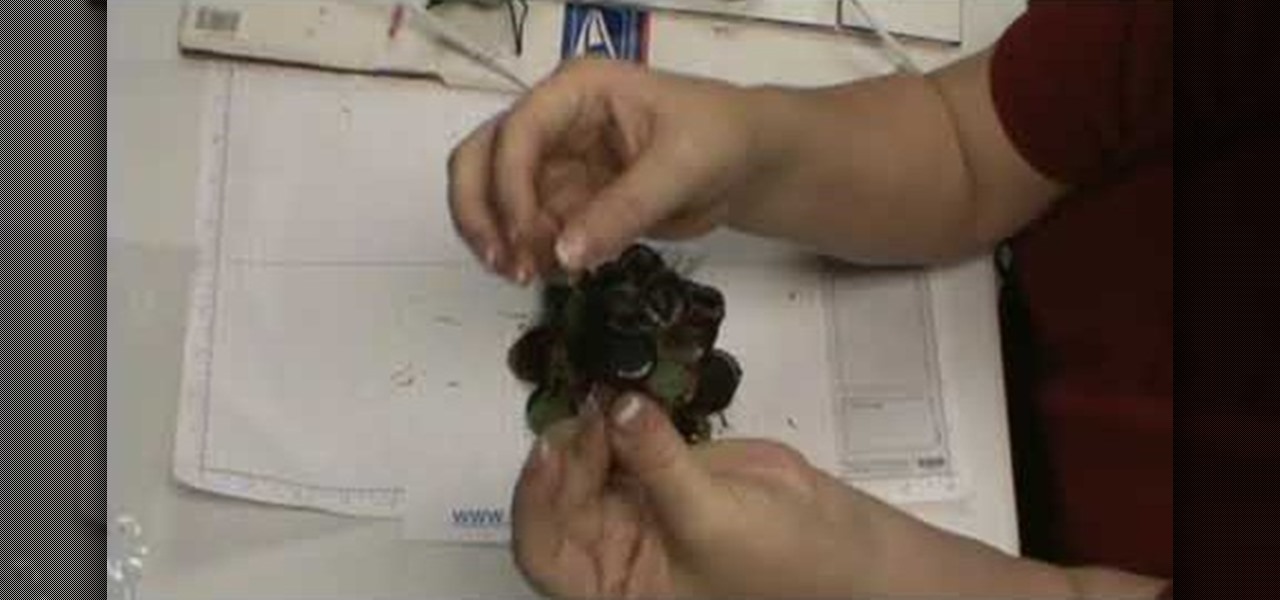
How To: Add netting to flower pin
In this video, we learn how to add netting a flower pin. Once you have already out your flower together, put a pin in the back so you can clip it to your clothing. Now, purchase netting from a craft store and cut out a small rectangle. Now, fold this piece up in half and then in half once more. Now, make a triangle at the bottom and open up the flower. Find a place to put the netting in, then apply hot glue inside and use a craft pencil to push the netting into the glue. Do this a couple more...
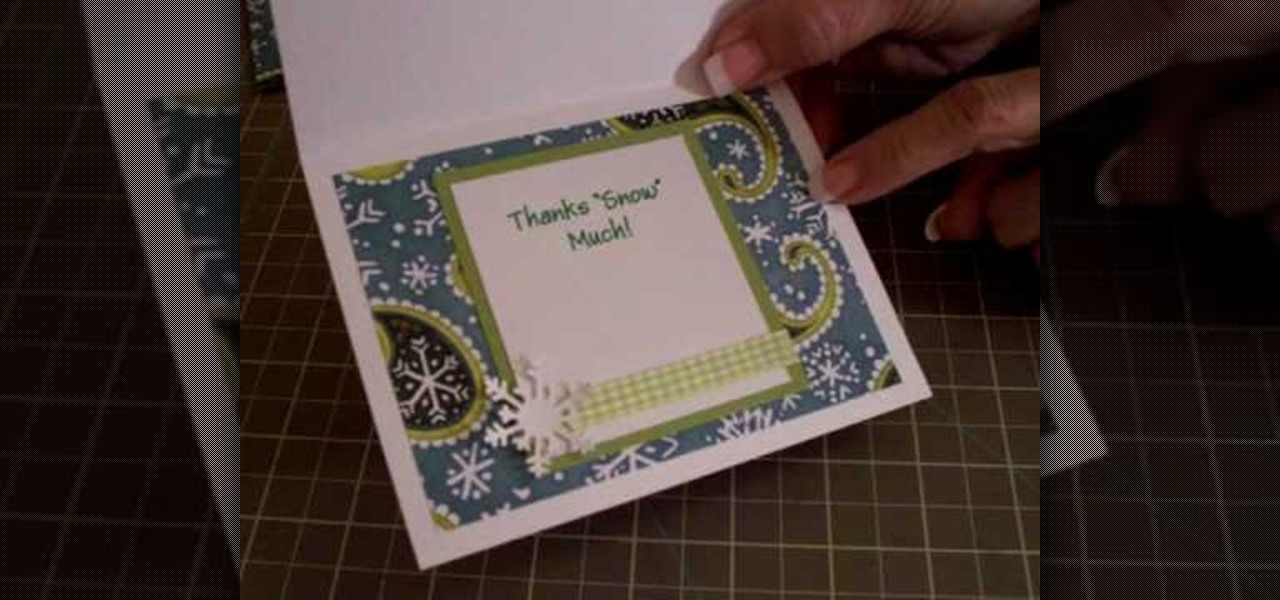
How To: Make a "thanks snow much" card using Cricut
In order to make a thank you card for Christmas gifts, you will need the following: Winter Woodland cartridge, glimmer misty, pop dots, adhesive, gingham ribbon, and pattern paper.
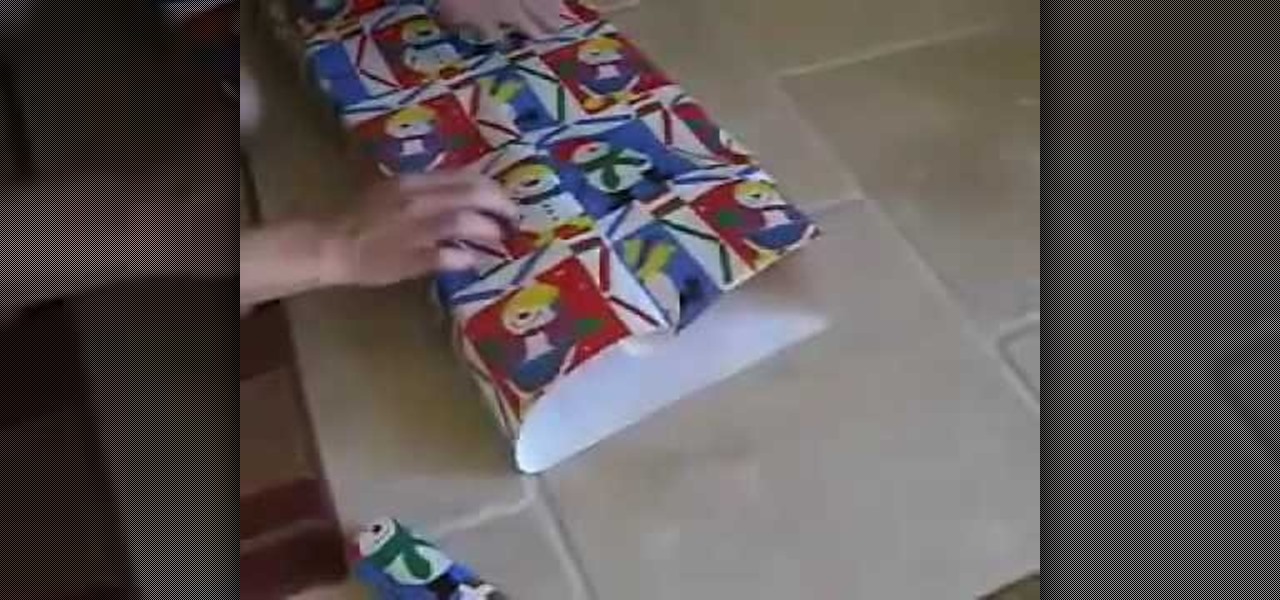
How To: Wrap a gift
In this video, we learn how to wrap a gift. You will need: scissors, your gift, tape, and wrapping paper. First, place your gift down on the rolled out wrapping paper upside down. Measure out the paper so you have enough, then cut the paper from the roll. Next, you will fold the edges of the paper down, then center the gift on the paper. Bring the sides of the wrapping paper into the middle, then tape it. If you have too much paper on the edges, cut it carefully with the scissors. Now, push d...
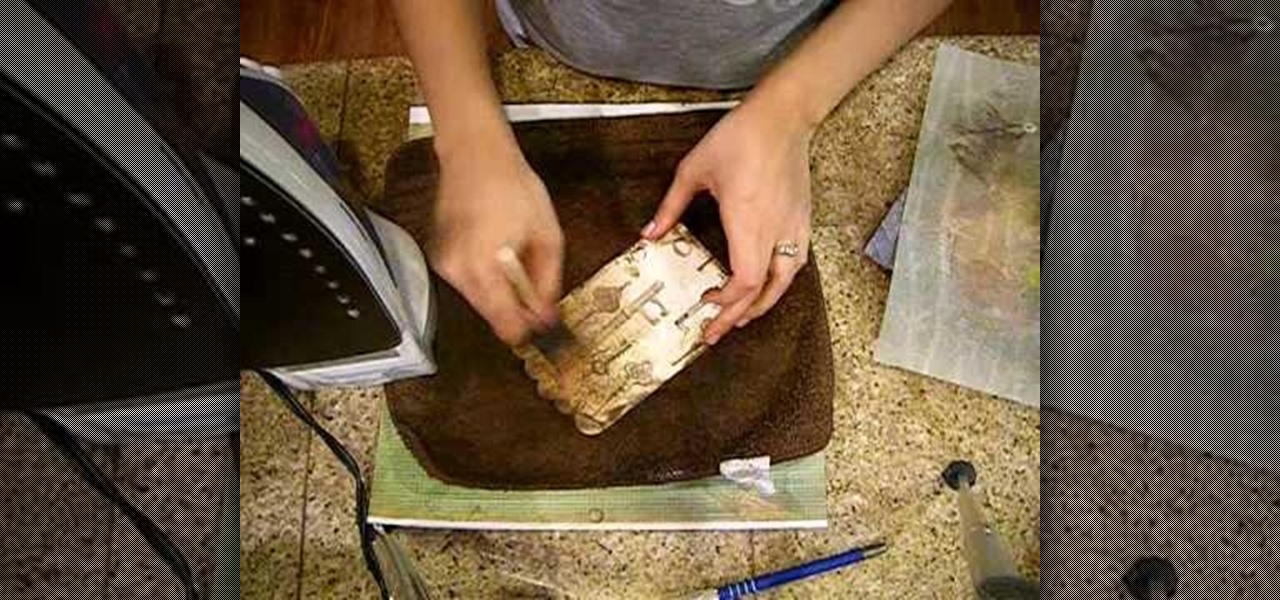
How To: Distress patterned paper
Crinkle top part and go over it with distress ink. Do edges front and back. Put extra ink on scallops. Spray with mustard seed and tattered jewels, olive vine and pine cone to add color. Place paper on pocket and iron on both sides. Spray with iridescent gold. Use brush to spread out. Iron again on both sides. This process makes it look aged. Take a film strip and spray with tattered leather. You want to use an iron when spraying grunge board with tattered jewels because it will make it seep ...
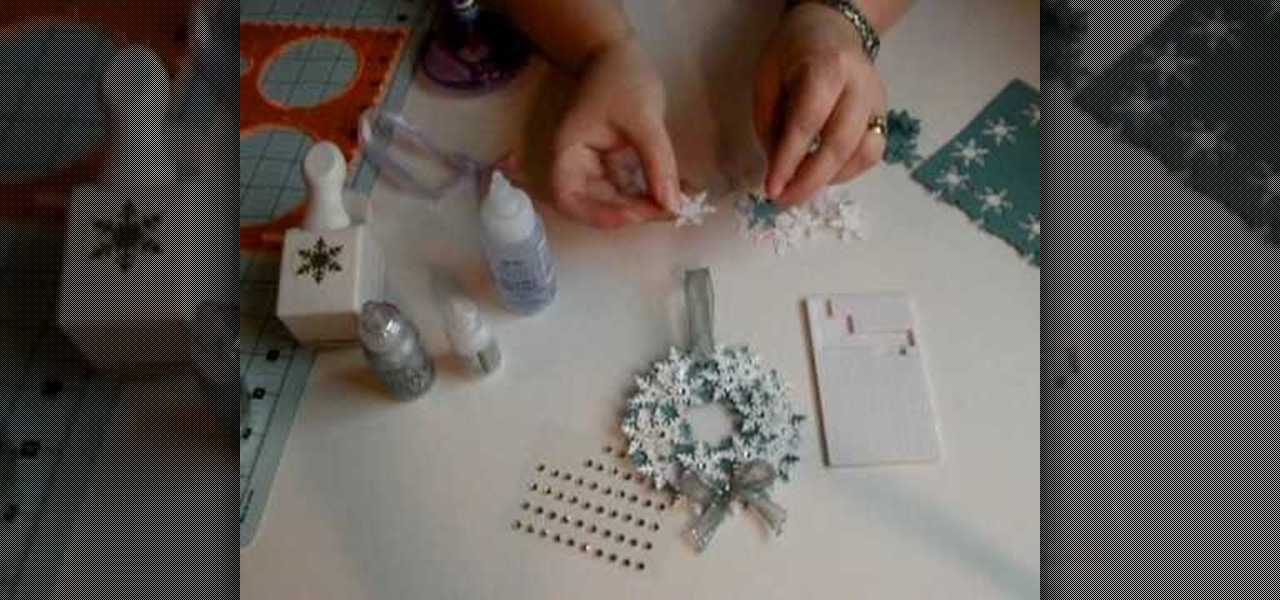
How To: Make a handmade snowflake wreath ornament
In order to make a snowflake wreath ornament, you will need the following: a snowflake punch, adhesive, foam, rhinestones, card stock, a hole punch, a circle cutter, scraps of paper, and ribbon.

How To: Make photo magnets
In this video, we learn how to make photo magnets. First, clean your glass with vinegar, make sure it's small enough for the magnet. After this, cut your preferred image to fit in the glass, then apply adhesive to the image. Apply the glass with the texture side down, then push it around to work out all the bubbles. Clean the glass off with a damp towel before it dries. Next, apply Diamond Glaze to the back of the magnet and then allow it to dry completely. When finished, attach a magnet to t...
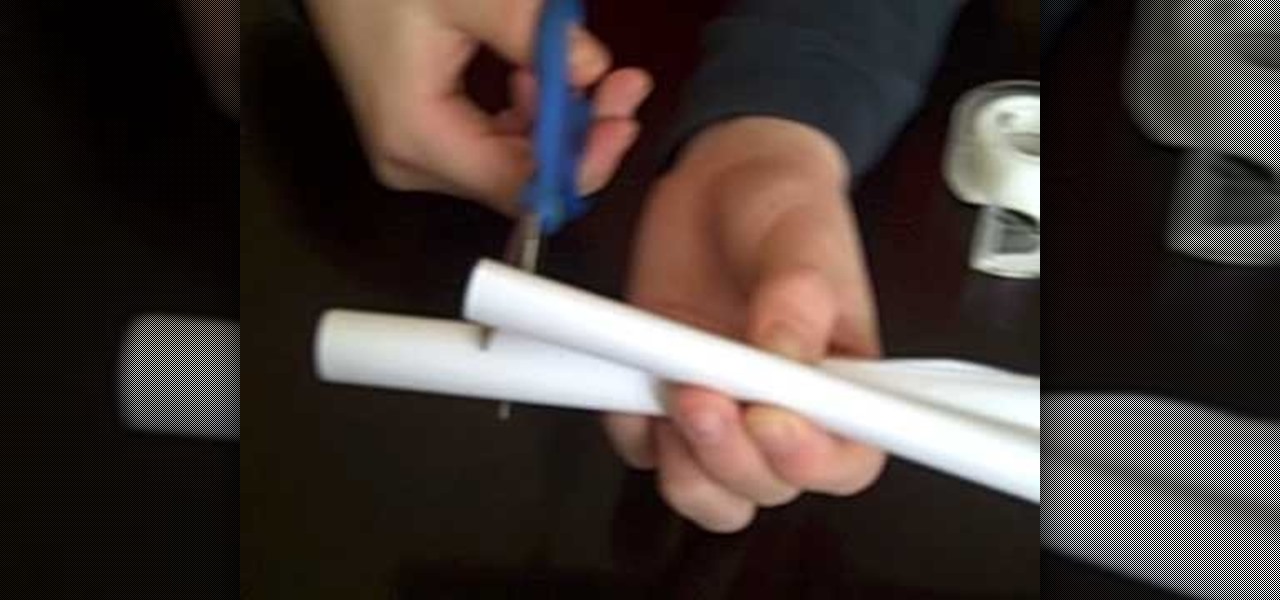
How To: Construct a paper bereta (paper gun)
If you have a little extra time and have a few sheets of paper and other school supplies, try to make something different. Like, maybe a paper bereta or paper gun.

HowTo: Build a Papercraft NSX Super GT Race Car
Is your love of race cars exceeded only by your love of elaborate papercraft? Do you have easy access to industrial-size printers and a surfeit of clean cardboard? If you answered yes to all of the above, odds are you're the Seiko Epson printer corporation, who recently set about assembling an impressive 1:1-scale 3D cardboard replica of a Honda/Acura NSX Super GT race car for the 2010 Tokyo Auto Salon:
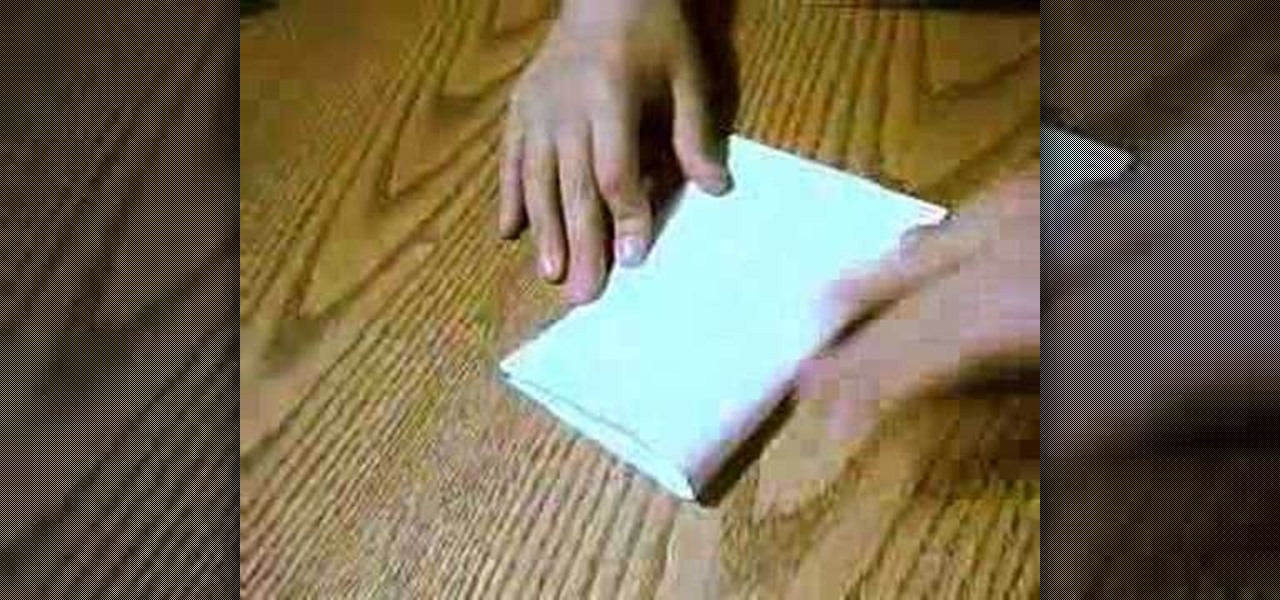
How To: Make a paper hat to wear on your head
In this video tutorial, viewers learn how to fold a paper hat. This task is very easy, fast and simple to do. Begin by folding the paper horizontally in half. Then fold it vertically in half. Now open the fold and fold down the top corners to the center to form a triangle top point. Then fold the bottom flap over the edge of the triangle point. Do the same on the other side. Now open the bottom to shape the hat. This video will benefit those viewers who are interested in making origami, and w...
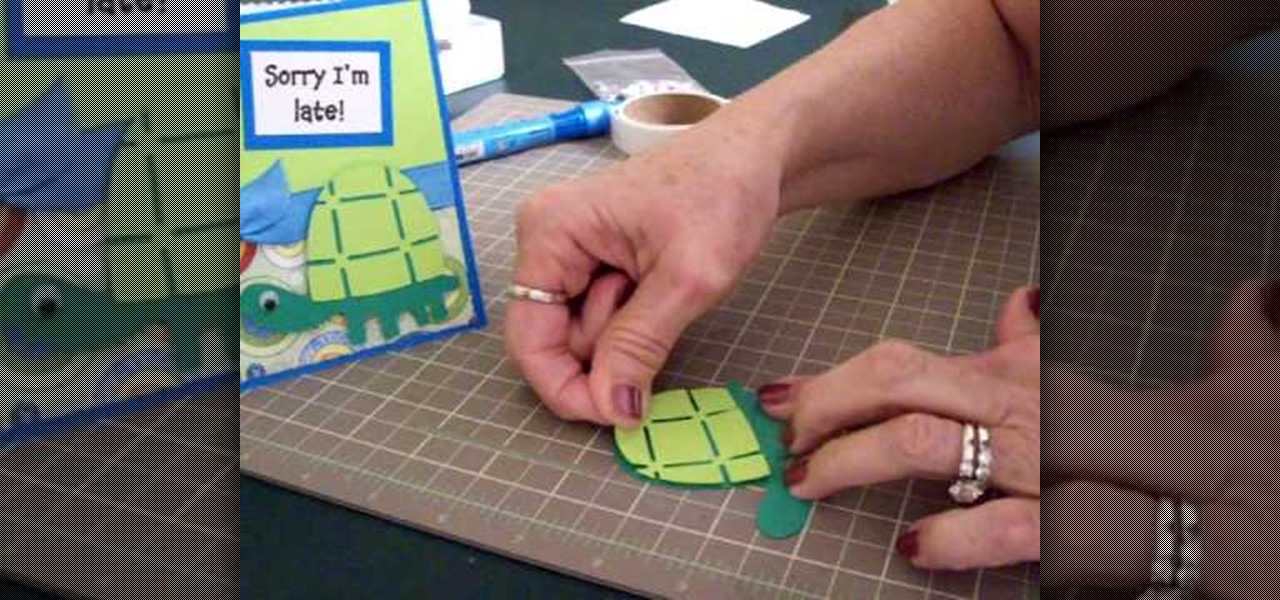
How To: Make a Cricut belated birthday card
In this tutorial, we learn how to make a Cricut belated birthday card. First, cut the turtle out using the Walk in my Garden cartridge. After you cut this out, add in details to the shell using different colors. After you put the turtle together, place it on a blue card stock that has a pattern over the bottom of it. Next, place a ribbon around the middle of the card. On the top, place a message in a framed piece of card stock that says "Sorry I'm Late!". After you make this, fill out the car...
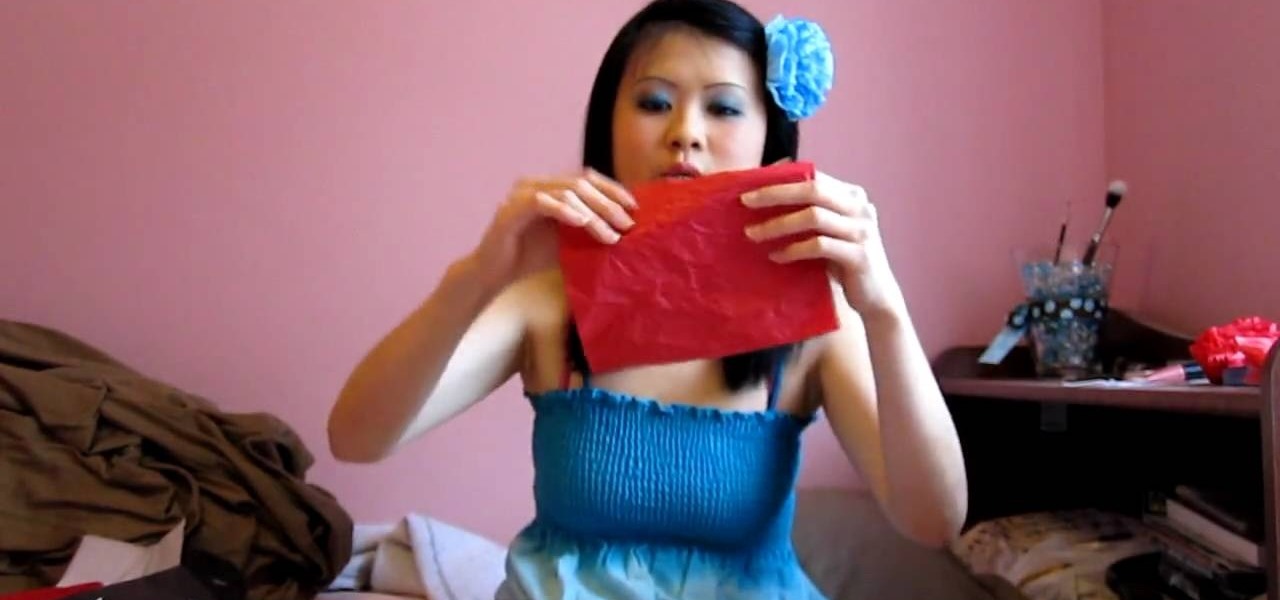
How To: Make a flower hair accessory from shopping bag tissue
In this video, we learn how to make a flower hair accessory from shopping bag tissue. First, grab your tissue from any shopping bag and fold it down until you have a rectangle, then cut on the sides to make several different rectangle shapes. Next, start to accordion these together until you reach the end of the papers. After this, grab the middle of the tissue paper and tie a rubber band around it. Next, start to push up the tissue from both sides until you reach the bottom. After this, you ...

How To: Make an easy art journal
In this video, we learn how to make an easy art journal. You will need: card stock or thick paper (10 pcs), fabric, scissors, ruler, clips, string, and a button. First, fold your paper in half and push down the crease so the paper stays folded. Now, lay your fabric down onto a flat surface and measure it out so it fits over the paper while laid flat. Now, place marks an inch into the side of the crease of the paper. Now, line the edge of the fabric up with your paper and mark on the fabric wh...

How To: Make a mouse hat with construction paper
In this video, we learn how to make a mouse hat with construction paper. You will need: 2 small pompoms, 1 large pompom, poster board in blue, black, white, and yellow, lace, scissors, and glue to make this. First, cut the blue piece of construction paper on once side, then twist into a cone shape and tape it together. After this, take the rest of the blue paper and cut it into half circle shapes for the ears. Now, take the yellow paper and cut it into a smaller half circle and place inside t...

How To: Make a stylish Halloween bag tag
In this tutorial, we learn how to make a stylish Halloween bag tag. You will need: ink blending tool in black soot color, black paint, orange paint, white card stock, stencils, cutters, scissors, and glue. First, place your white card stock underneath the stencil, then cut out the shape of a house. After this, mark lines in opposite directions onto the shape. After this, you should have the shape of a spider web. Next, add the ink pain on the top to highlight the spider web and you will be ab...
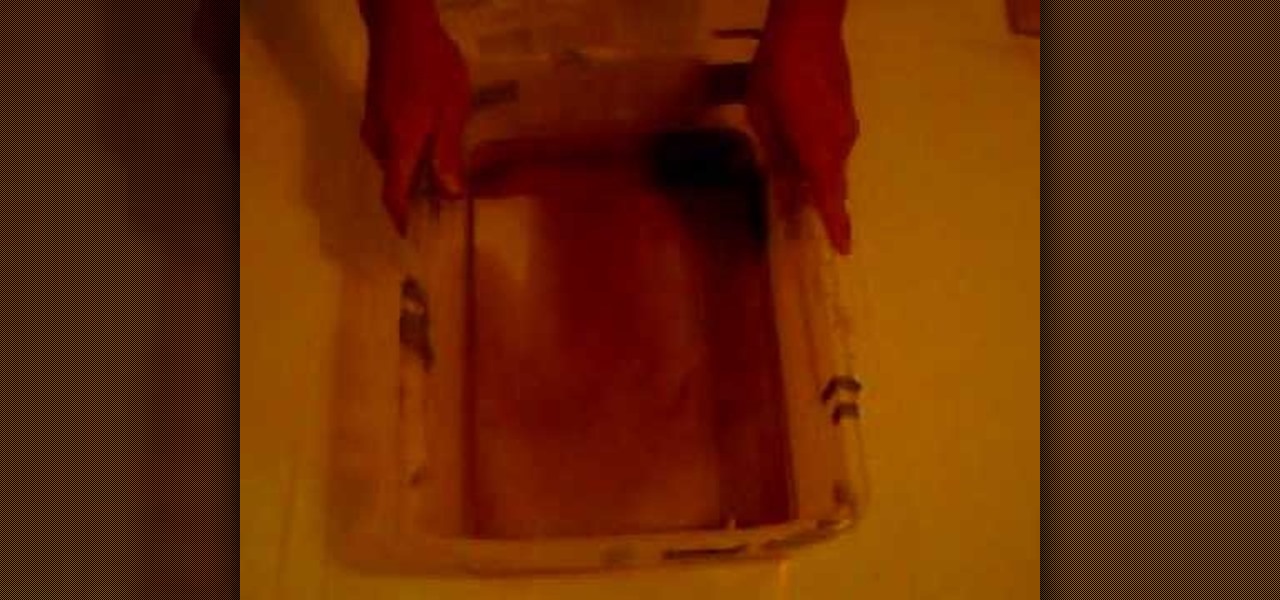
How To: Make paper look old with tea
In this video, we learn how to make paper look old with tea. First, make tea in a plastic container by placing warm water in it and leaving a couple tea bags in. Next, take a normal piece of copy paper and submerge it in the water. Get all the air pockets out so it is completely soaked into the water. Next, press down on all the areas of the paper and leave there for several minutes, or until you have your desired color. When this is done, lay the paper out to dry. When it's done drying, the ...

How To: Make a box
In this video, we learn how to make a box. First, fold the piece of paper into a triangle, then another triangle. Now, unfold the paper and fold all the sides into each other, making a square. After this, fold in the sides once more, making sharp creases on the edges. Now, open up the paper and do this again on the other sides, opening up again when finished. Now, fold the sides of the paper and turn it upside down. Follow the creases that you just made to fold the box up into a secure box. M...

How To: Make a "puppy love" box for Valentine's Day
In this video, we learn how to make a "puppy love" box for Valentine's Day. To key to creating this box is a thin strip of paper that has teeth (pointy spikes) at the end of this. Turn this into a heart shape, then tape it around the heart to make a perfect box. It will be easier to find your center and cold it in half, then place it on the box. Glue the heart onto a black card stock to situate it, then tie a cute ribbon along the edge of the heart. This is very cute and a great idea for Vale...
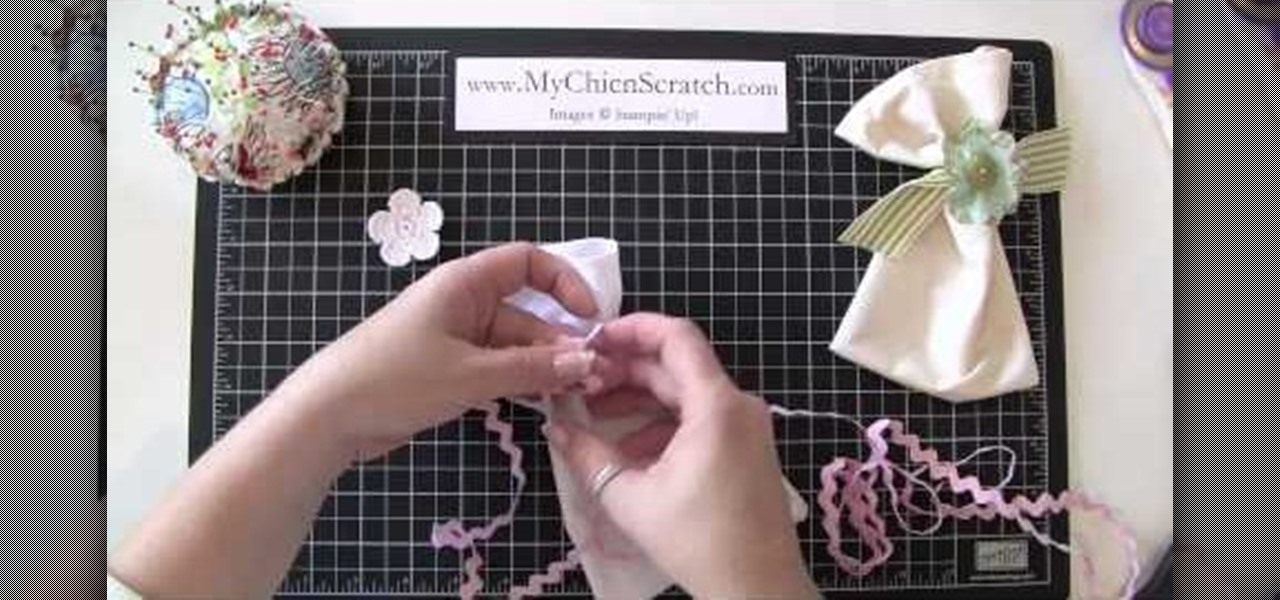
How To: Make a fabric gift bag for any occasion
In this tutorial, we learn how to make a fabric gift bag for any occasion. First, you will need to grab any type of fabric with any design that you want the bag to be in. Next, you will fold in the edges of the fabric so it has a hemmed look, then sew them down. After you do this, sew the two sides of the bag together, then sew the bottom. Next, grab a piece of ribbon that you don't want and wrap it around the bag. Top it off with a felt flower and sew a button into the middle of it. Glue thi...
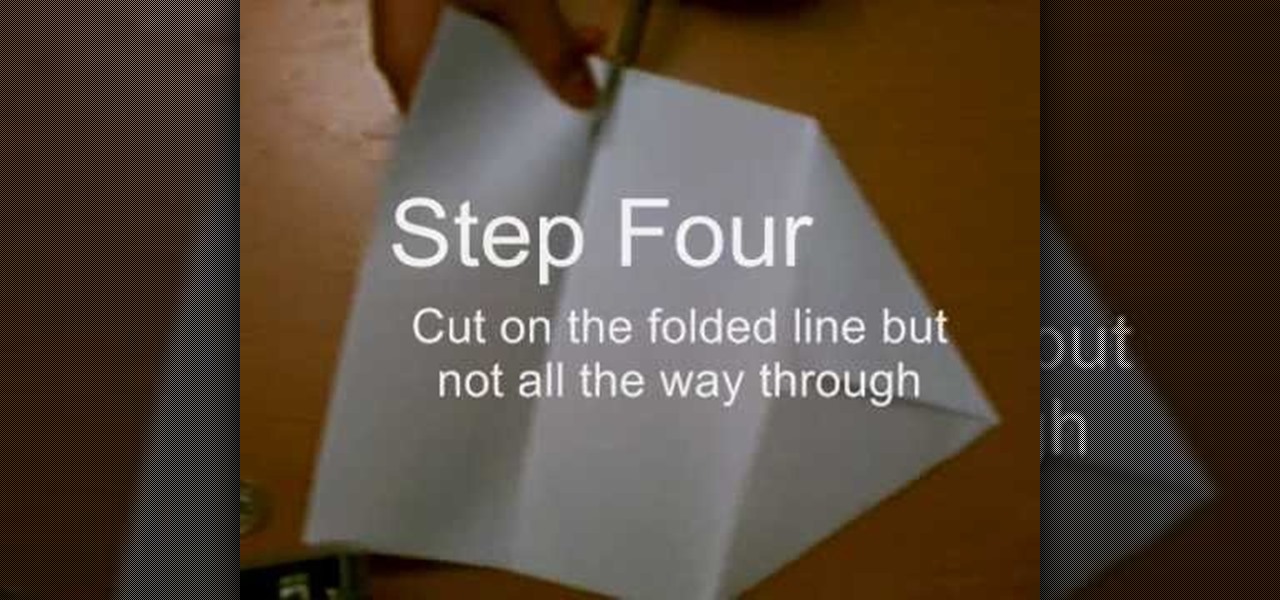
How To: Make a whirlybird paper helicopter from printer paper
In this video, we learn how to make a whirlybird paper helicopter from printer paper. First, fold two triangles together on the paper. Next, fold the back to the triangle you just created. Next, fold the paper back and, then cut on the folded line but not all the way through. After this, fold the middle flaps until they reach each other. Then, cut through the middle of the bottom and fold one flap on the top, then fold the other flap on the flip side. Now you will be finished with your helico...
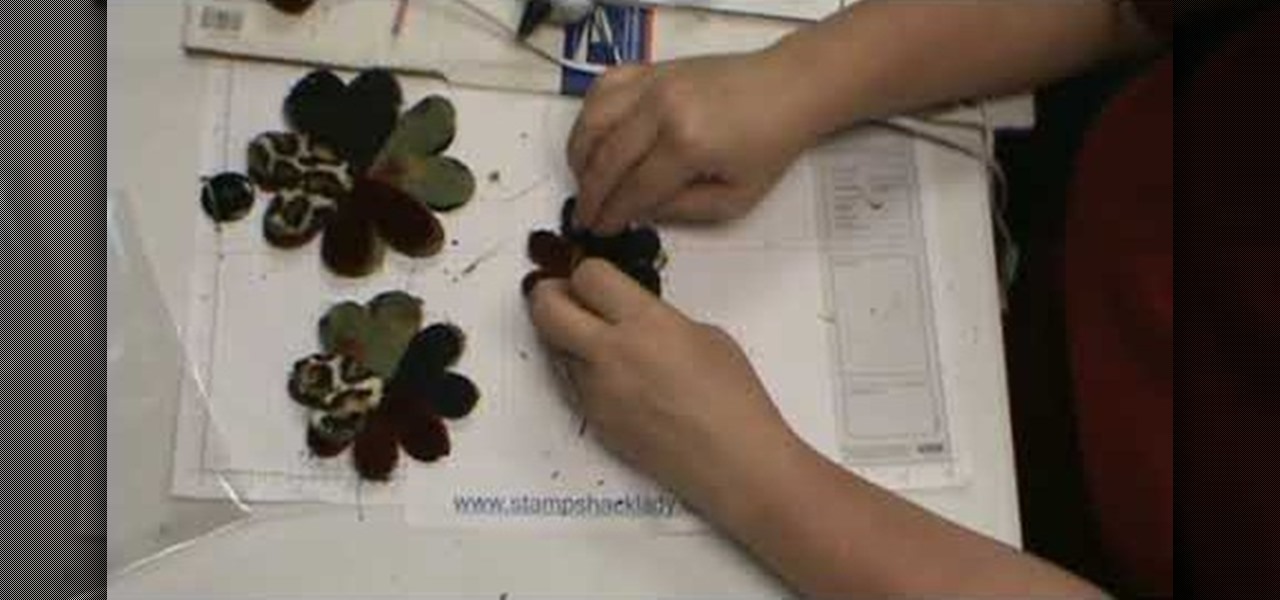
How To: Assemble a flower-fold die-cut flowers w/ a glue gun
In this video, we learn how to assemble a flower-fold die-cut with a glue gun. First, cut out different fabrics in the flower shape. Put them all into different piles according to their sizes. After this, put hot glue into the middle of the fabric and fold the flowers in half. When finished, put the pieces together with hot glue going in a circle. Continue to do this with all the different sizes. When you are done, all the colors of fabrics should show, then place a button in the middle with ...

How To: Make January thank you notes with Stampin' Up!
In this video, we learn how to make January thank you notes with Stampin' Up. First, you want to choose what you want your notes to say. You can use a small card stock that is 3" x 3". Then, use a border hole punch and apply it on in different colors you prefer. After this, you will want to stamp on a message that says thank you in black on the front of the card. Next, you can lay a heart punch out on top of the card to give it more personality. You can also place the heart on first and let t...
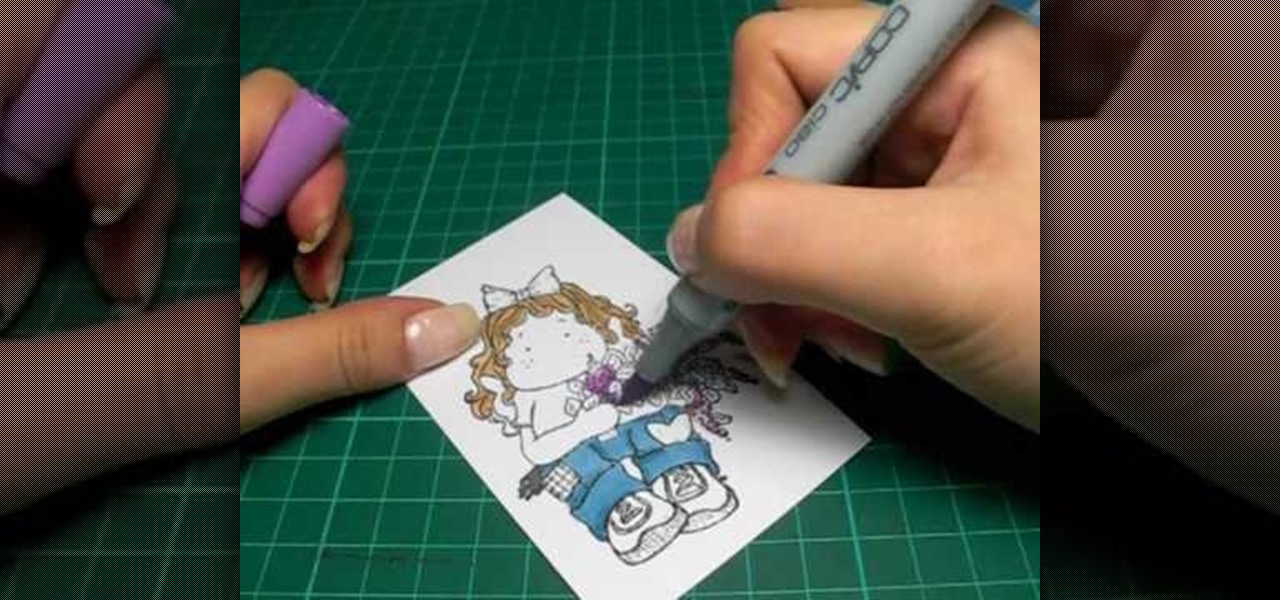
How To: Color with Copic pens
In this tutorial, we learn how to color with Copic pens. First, grab a picture that you want to color with your pens. After this, start to color in the picture with your different colored pens. After you fill in the colors, use a darker colored pen to add in shading and make the lines darker along the sides. Continue to color in your picture, adding shading where you prefer. Add in different colors and make the lines darker when you want them to look more bold. Make sure to add in highlights ...

How To: Fold your own paper envelopes
In order to make your own envelopes, you will need a piece of paper, glue, scissors, and optional decorating tools/stickers.

How To: Make an "I love you mommy" card
In order to make an "I love you, Mommy" pop-up card, you will need the following: scissors, card stock, glue, and markers.
How To: Make creative calendars with stamps, calligraphy and photographs
Calendars are usually pretty drab, lacking creativity and focusing on the basics… year, month, day, and holidays. Besides a usually visually striking picture for each month, these store-bought calendars are nothing to look at, but they can be with a little modification!


