

Hot Papercraft How-Tos


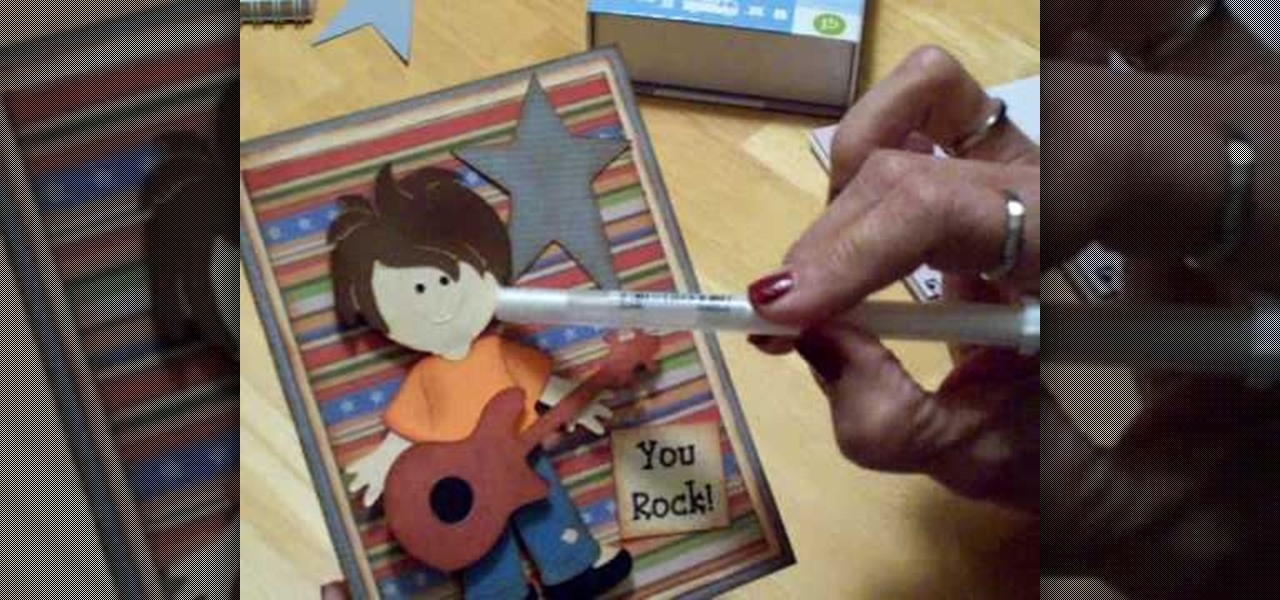
How To: Make a Cricut "you rock" birthday card
Mary shows us how to make a Cricut "you rock" birthday card in this video. Use the Cricut paper dolls cartridge to find a little boy and the clothes that go on him. Cut all the pieces at four inches, then use the joy cartridge to cut out a star that will go behind the paper boy. Next, place a sentiment that says "you rock!" on it, then use a gel pen to make tufts in the hair. Use chalk and ink to go around the clothes and cheeks to make a hairy look. This makes a great unique birthday card fo...
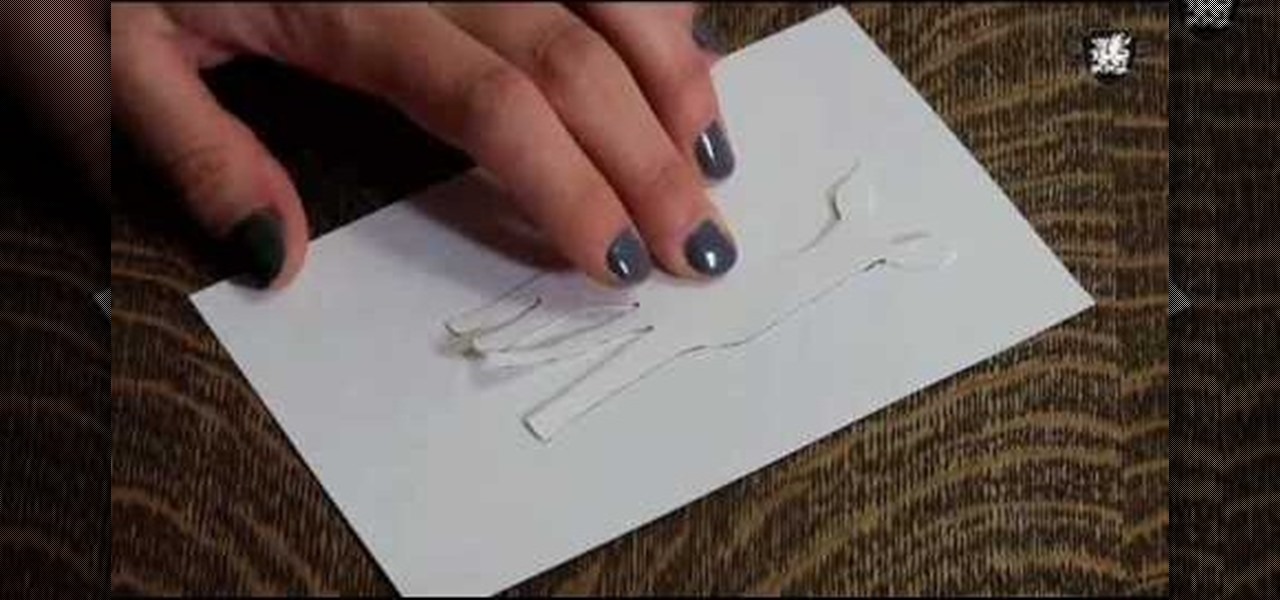
How To: Make ghosted images with white ink and distressed ink
In order to make ghosted images with white ink and distressed ink, you will need the following: a heat gun, Adirondack ink pads, distress ink pads, blending tools, stickles, stamps, card stock, stamp press, a stamp press, scissors, glue dots, adhesives, brads, paper trimmer, and nonstick craft sheet.

How To: Make a Cricut matchbox mini chocolate bar holder
In order to make Matchbox Mini Chocolate Bar Holders with Cricut, you will need the following: Tag Bags Boxes & More cartridge, card stock, a bone folder, two sided tape, a cuddlebug, Stampin' Up stamps, ink pad, ribbon, a circle hole punch, and adhesive.
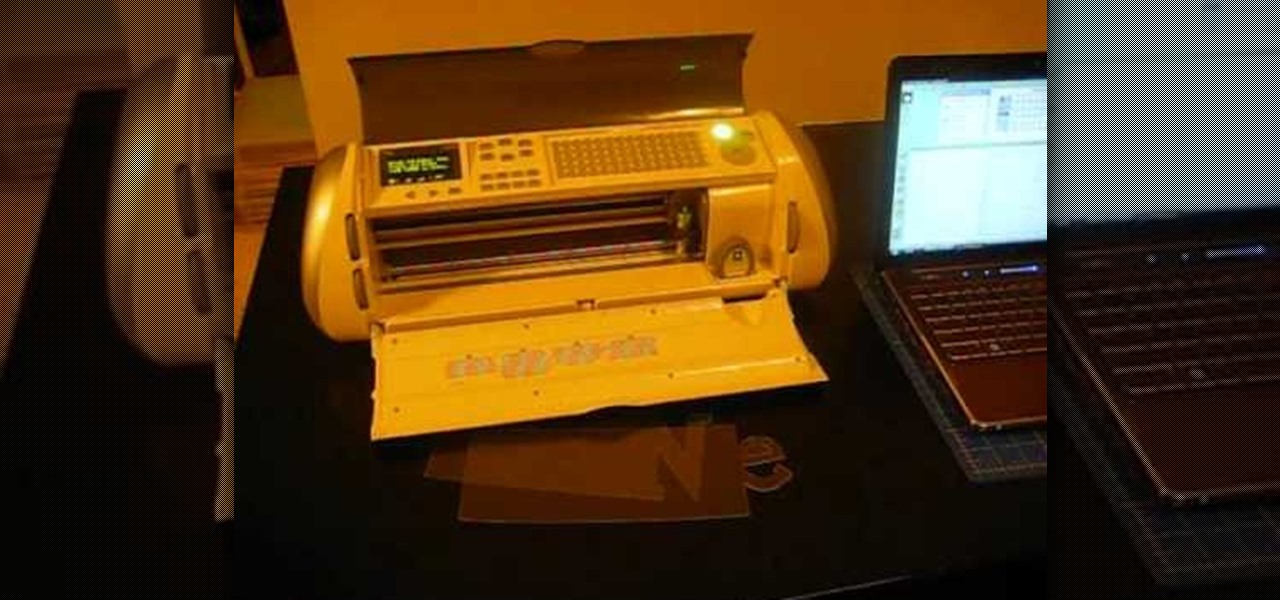
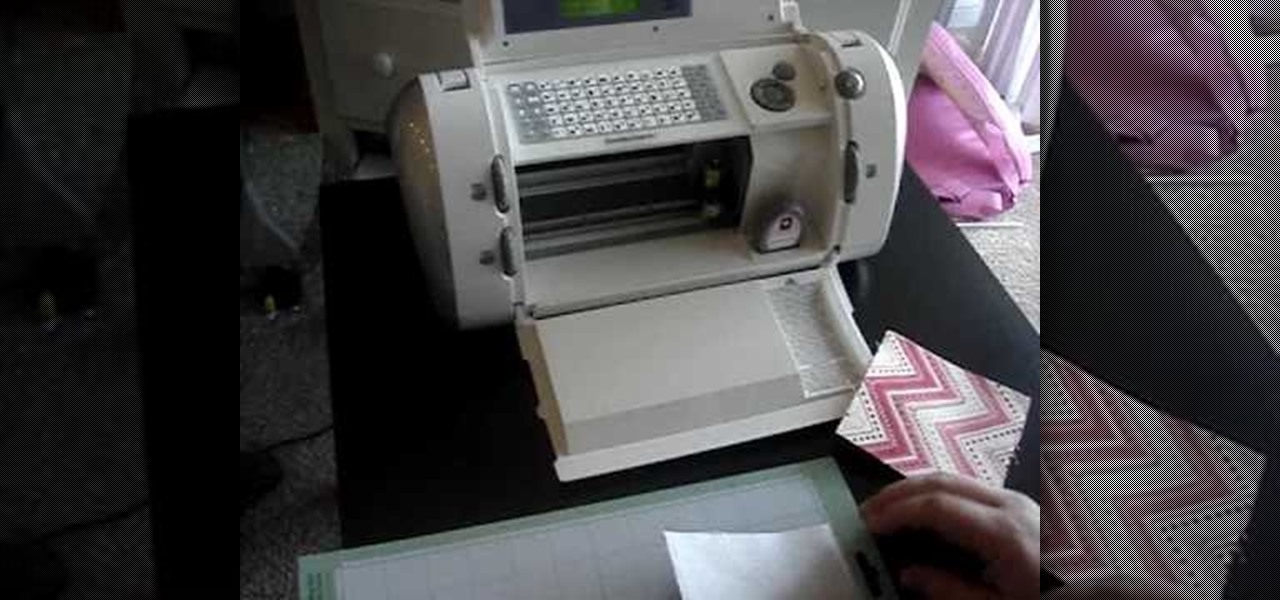
How To: Cut acrylic on the Cricut Expression
In this video, we learn how to cut acrylic on the Cricut Expression. First, you will need to have an acrylic cutter installed on your Cricut Expression. Now, place the acrylic on the mat and insert the mat into your machine. After this, choose the type of cut you want, then make sure the blade depth is at six and the pressure is at maximum. Now you can start to cut the acrylic, and when it's finished, it will pop back out of the machine and be finished! You can then use the acrylic for what p...
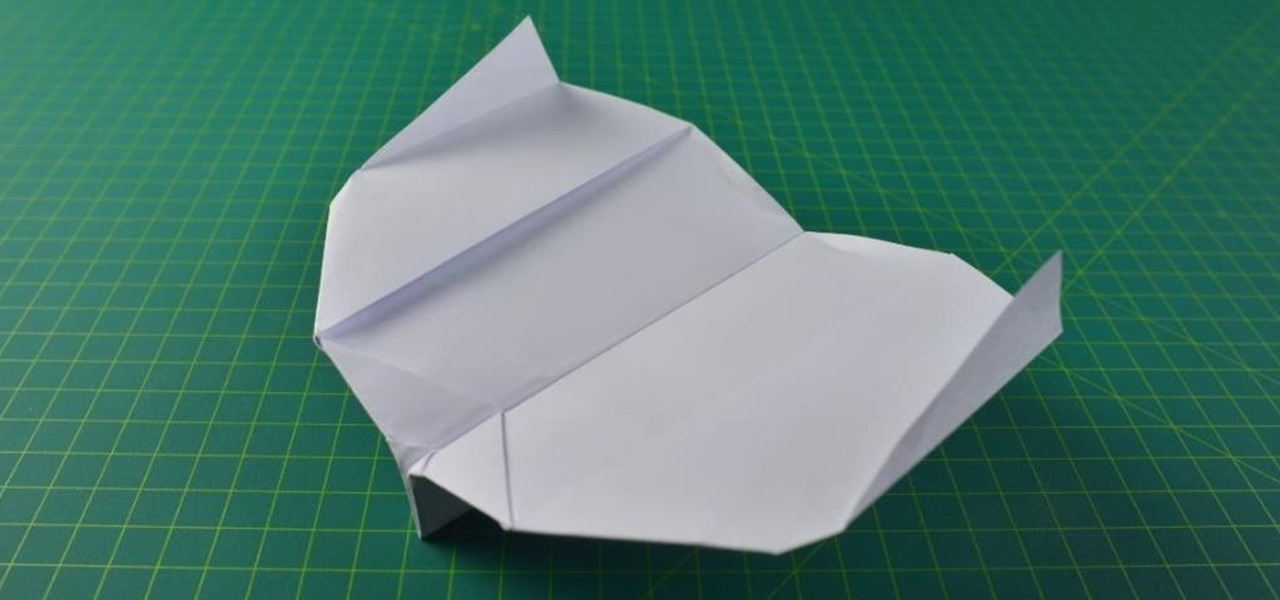
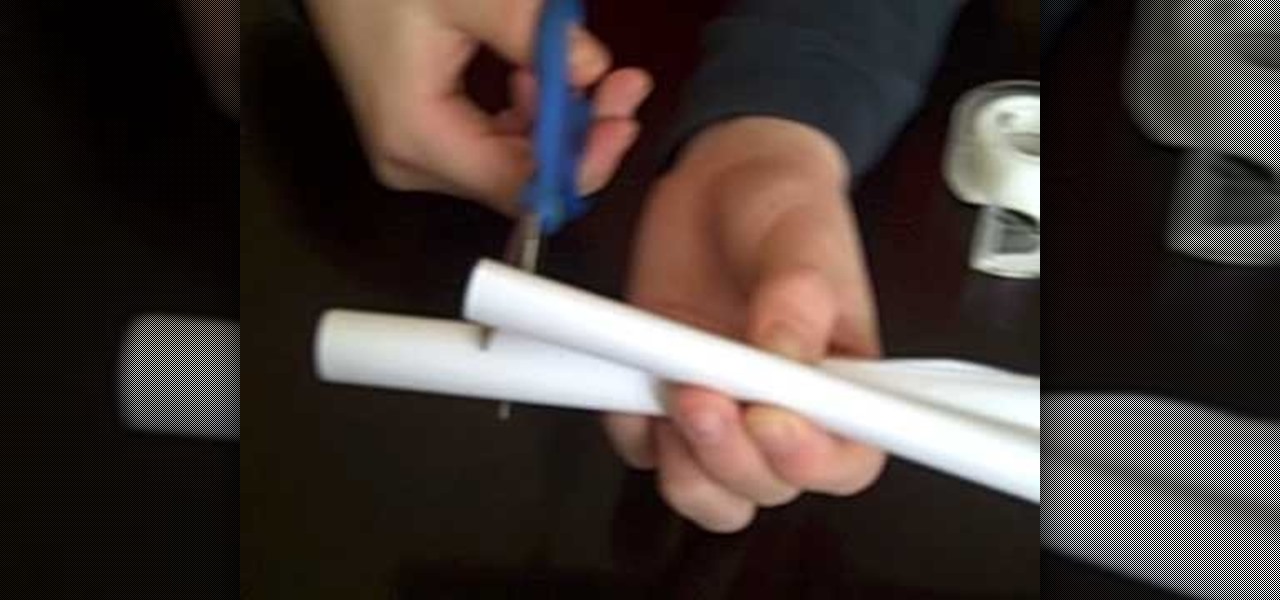
How To: Make a cool four-sided boomerang that works
What's better than one origami boomerang that comes back to you all cool-like? Two origami boomerangs taped together, of course! Now of course you're thinking, "but that's not a boomerang at all and it won't come back to you!," but check out this video and you'll see there's a way to put together two boomerangs so that they'll create a super large and sexy boomerang.

How To: Make a Cricut spinner pinwheel card
In order to make the Spinner Pinwheel Card with your Cricut, you will need the follow: the Cricut Wild Card cartridge, card stock, ribbon, brads, printed/patterned paper, adhesive, and an ink pad.
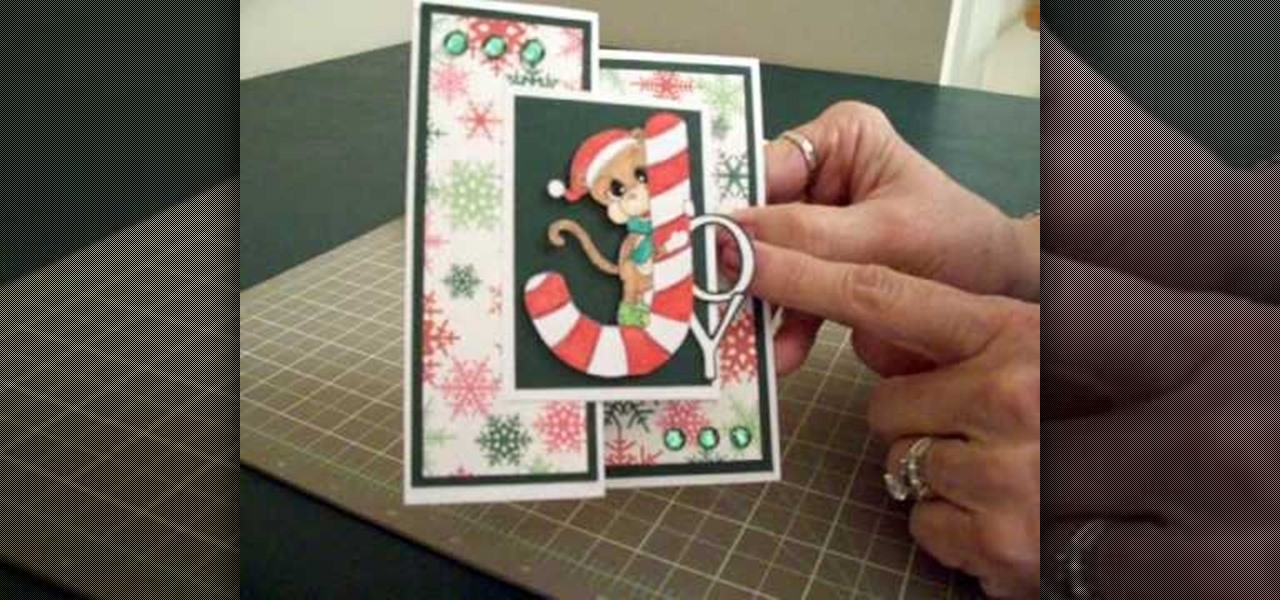
How To: Make a Joy S-fold Christmas card using Cricut George
In this video, we learn how to make a Joy S-fold Christmas card using Cricut George. First, fold the card and mark it so it's in the S shape, then stamp the background of the card with colored snowflakes in different sizes and shapes. After this, use a black outline along the sides of the papers, then add in a black piece of paper to the middle of the top fold. Apply a monkey with a Santa hat to the front and wrap him around a J shaped candy cane. Add in the letters "o" and "y", then add in a...
How To: Make a pocket card out of an envelope
In order to make a pocket card out of an envelope, you will need the following: a used envelope, printed paper, adhesive, card stock, paper cutter, cuddle bug, an ink pad, stamps, markers, and crystals.
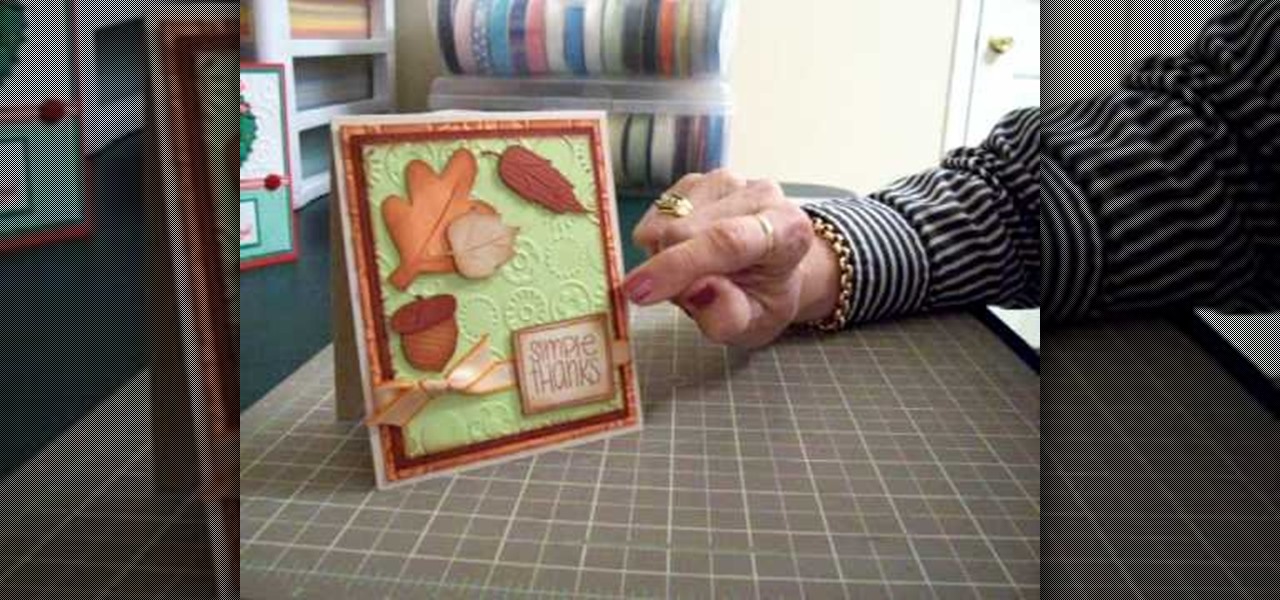
How To: Make a thank you card using Cricut DoodleCharms & SYI
In this video, we learn how to make a thank you card using Cricut Doodle Charms and SYI. The card can be the size you choose. Layer orange, green, and brown mats, running the green and orange through the Cuttlebug using blue dots to give it texture. After this, ink around the edges with brown so the embossing shows up. Use the Cricut to cut the leaves and an acorn, using the Doodle Charms cartridge for one of the leaves cut at 2 1/4". You can also use the Stretch Your Imagination cartridge fo...
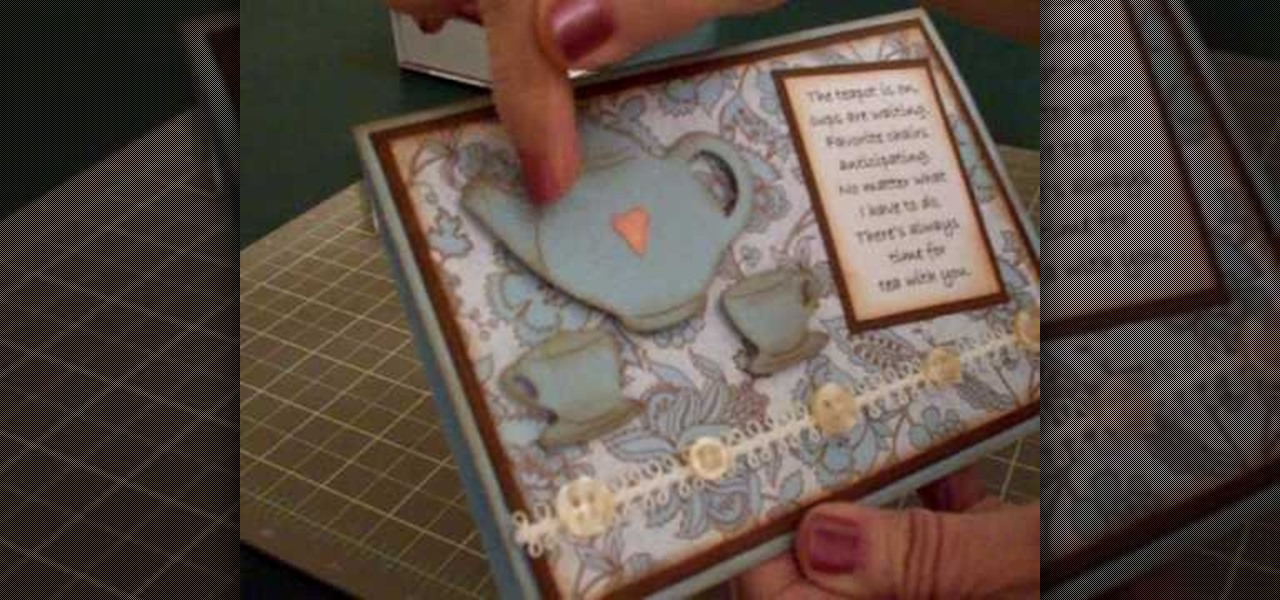
How To: Make a teapot card using Cricut Everyday Paper Dolls
In this video, Mary shows us how to make a teapot card using Cricut everyday paper dolls. First, print out a sentiment that has to do with teapots and fade the edges of the paper. After this, cut out a teapot and cup from the everyday paper dolls on page 43. Cut the teapot and cut twice, then chop them so you can see the details of them. Place this on a paisley or flower background for the card, along with old buttons on the bottom of the paper. Make the card the size you would like, using yo...

How To: Use "My Kitchen Cricut Cartridge"
When you get you're "My Kitchen" cartridge from Cricut, you will need to test the cartridge, in order to make sure it works. Then, you should look at the manual. Remove the pages that you don't need: those in foreign languages.
How To: Make paper cutting art for your home
In order to make paper cutting art for your home, you will need: paper, pencils, X-acto knife, card stock, scissors, self-healing cutting mat, poster board, adhesive, and a scanner.
How To: Cut fabric with your Cricut
Cricut can be used to cut fabric. In order to cut fabric with your Cricut, you will need the following: Steam A Seam 2 (a double stick fusible web), blue painters tape, iron, and the Cricut with cartridge.
How To: Hack the HTC DROID ERIS smartphone's cardboard box into the Android Bot logo
This is actually quite amazing. If you own an HTC DROID ERIS cell phone, then that cardboard container it came in can be turned into that tiny, but terrific Google Android Bot. The Android Bot logo is known across the world now, and it's odd that their box can be broken down perfectly to recreate it. Was this on purpose, or accident? Anyway, Nextraker found the secret, and he's going to show you how it's down. With just a few basic cuts, you too can have your own little green Bot.

How To: Make two different sized paper booklets without tape, glue or staples
Homemade booklets are the way to go for back-to-school. Forget about pricy spiral-bound notebooks, make your own paper booklets, and make them without any tape, glue or staples! This is all paper and folding techniques. If you're an origami god, this will be so simple for you to make. Plus, you'll learn how to make two different version of this paper booklet: one big and one small. These are great for notes, to-do lists and school projects.
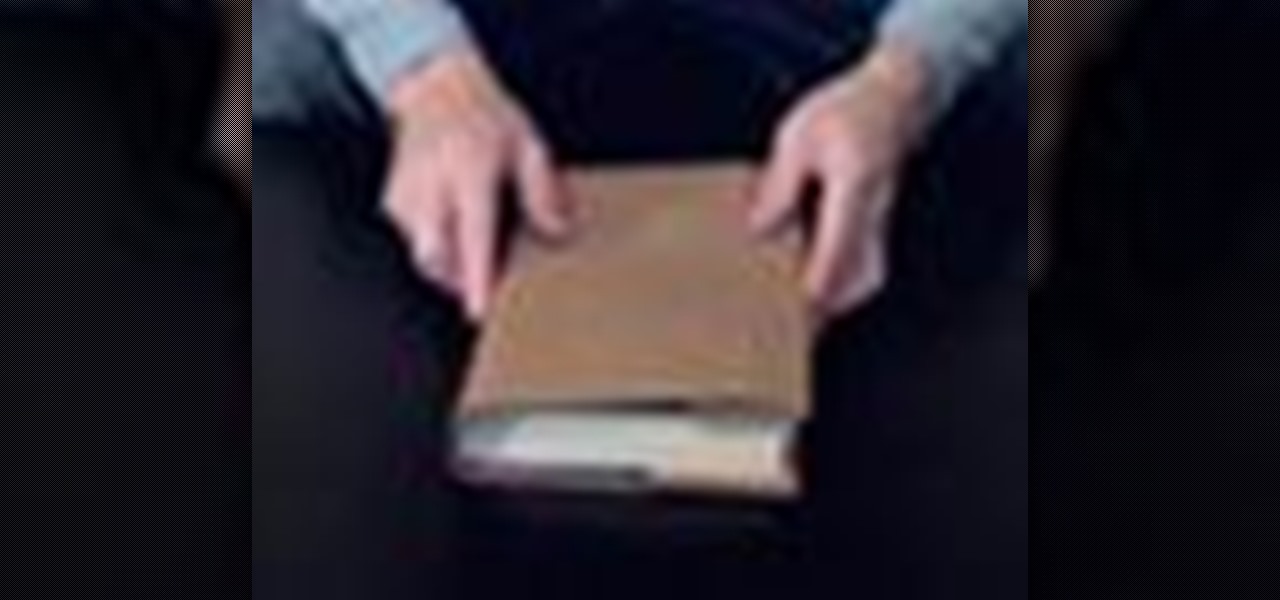
How To: Make a textbook cover out of a grocery bag or wrapping paper
Many teachers ask students to cover their textbooks in order to extend the life of book. You can make a book cover out of a brown grocery bag, wrapping paper, or even colorful construction paper. You won't have to go shopping for expensive back to school supplies, all you need is a little tape!

How To: Make a balloon that looks like an apple
Do you need some ideas for nature-inspired decoration? All you need for this craft are some balloons, paper and a little painting skill to make a fun, crafty balloon apple. Add this project to your next hobby day!

How To: Craft a game out of paper
This is a quick and easy arts and crafts project to make yourself a new toy. All you need are two sheets of paper, folded properly, to create a toy gun for your next game of cops and robbers.
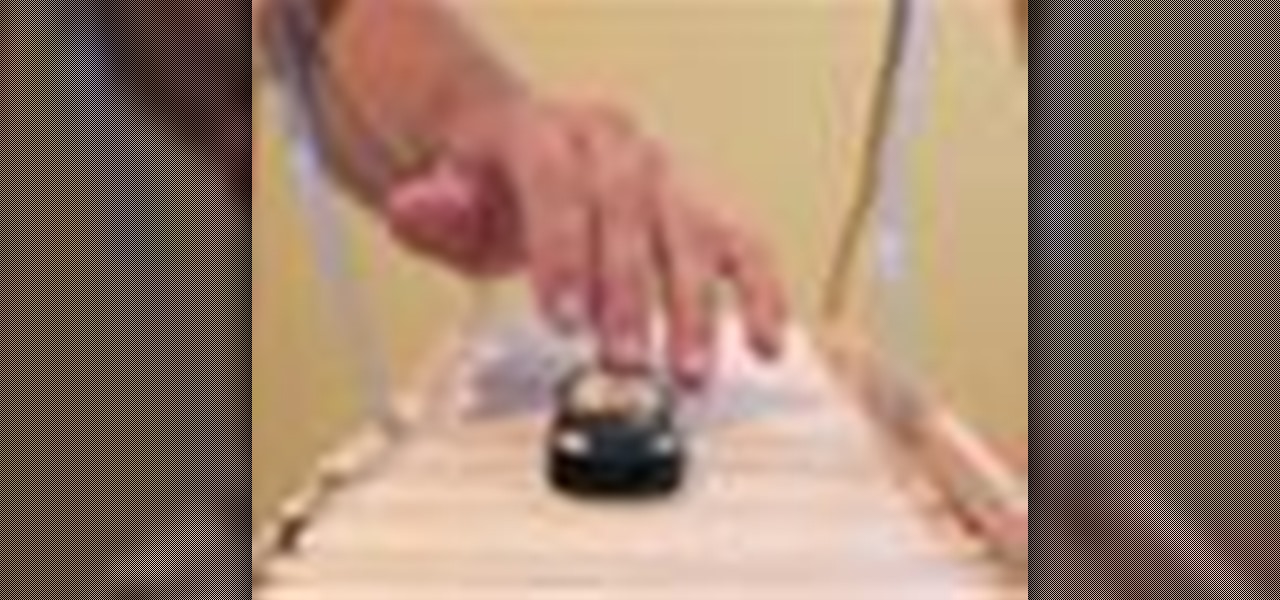
How To: Make strong popsicle stick bridges using a cross hatch pattern
When we were five years old, there was nothing better to do at recess than to whip out a bag full of popsicle sticks of all sizes, some glue, and then piece together the pieces as if solving a puzzle. We'd make forts, bridges, and even stick people.
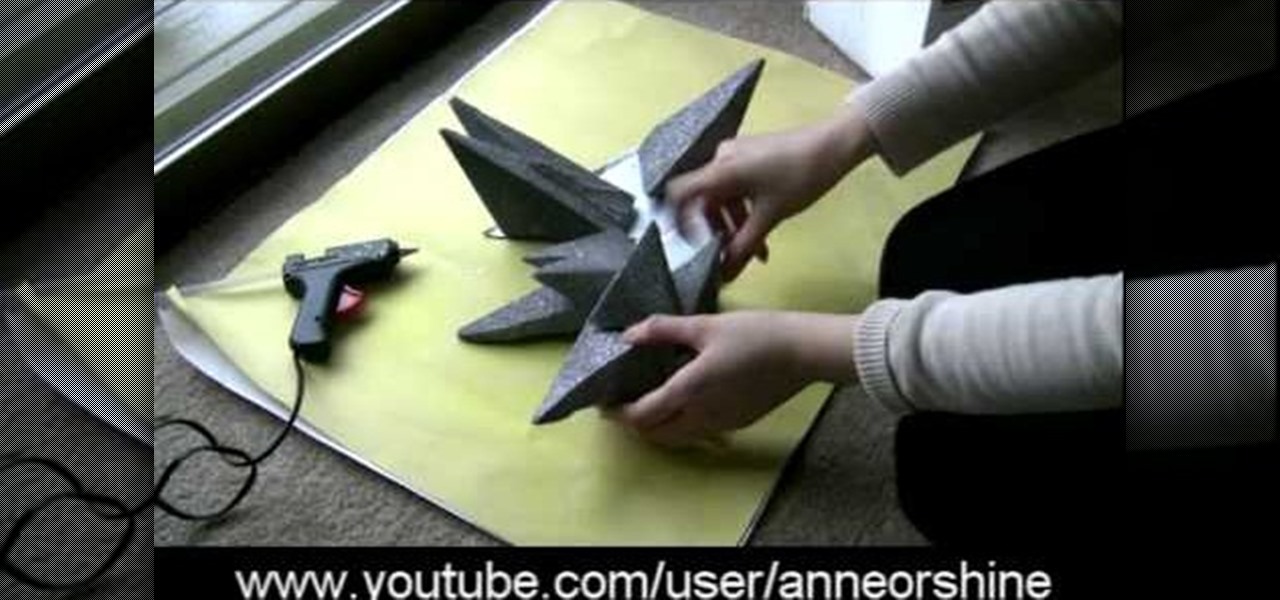
How To: Make Lady Gaga's crystalized spike abstract Grammys headpiece
When we first saw Lady Gaga donning this, well, gaga headpiece at the Grammy Awards, we were wondering what the Fortress of Solitude was doing on her head. The headpiece, composed of what look like stalactites crystalized with thousands of swavorski crystals, looked like an Abstract Expressionist sculpture, and made little sense.
How To: Make a French-style fabric memo board for photos and letters
This crafty project is inexpensive, it's easy to do and it's really handy for attaching things like letters, photos and to-do lists. This isn't like a cork memo board, because you won't need any push pins or cork pins! Watch and learn how to make this French memo board. This is the pretty alternative to drab store-bought memo boards.
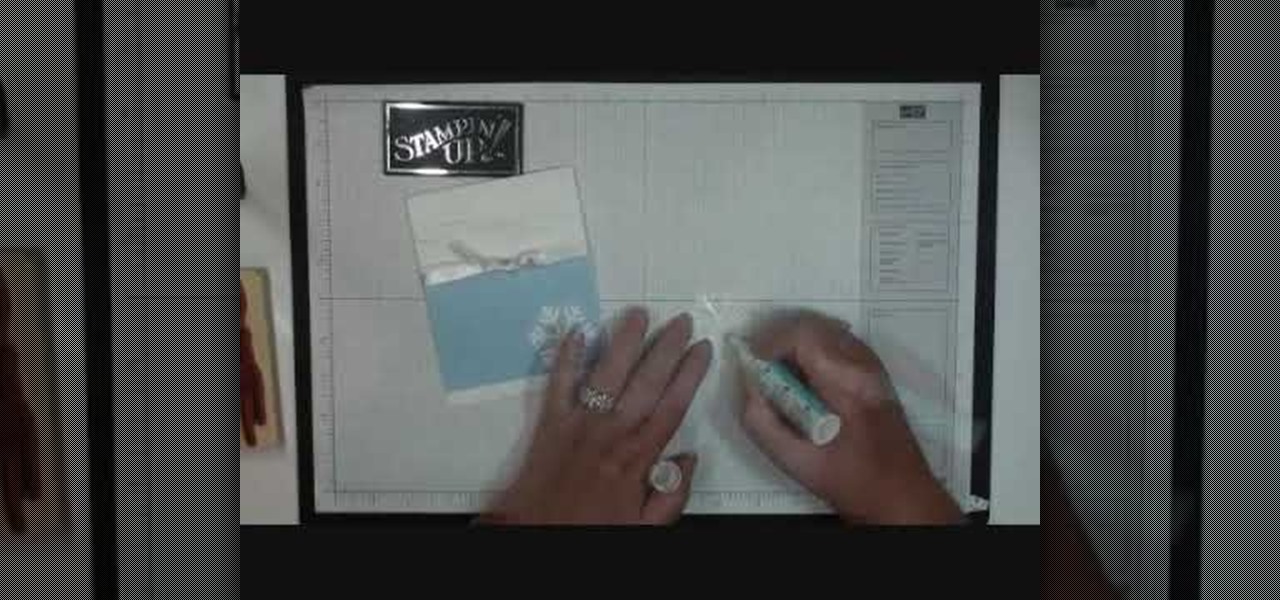
How To: Make a quick & simple Christmas card with Stampin' Up!
This video tutorial is in the Arts & Crafts category where you will learn how to make a quick and simple Christmas card with Stampin' Up! You will need the bashful blue classic ink, a bashful blue cardstock cut at 3" x 4 1/4", a piece of whisper white cut at 4 1/4" x 11" and scored at 5 1/2", a piece of whisper white organza ribbon and scrap cardstock for two snowflakes. Cut out the snowflakes with the jumbo snowflake punch. Stick the bashful blue on the whisper white cardstock. Using the hea...

How To: Make a Cricut sunflower card
In order to make a Cricut Sunflower card, you will need the following: card stock, Walk in My Garden Cartridge, ribbon, decorative paper, chalk, scissors, 2-sided tape, an ink stamp pad, adhesive, and pop dots.
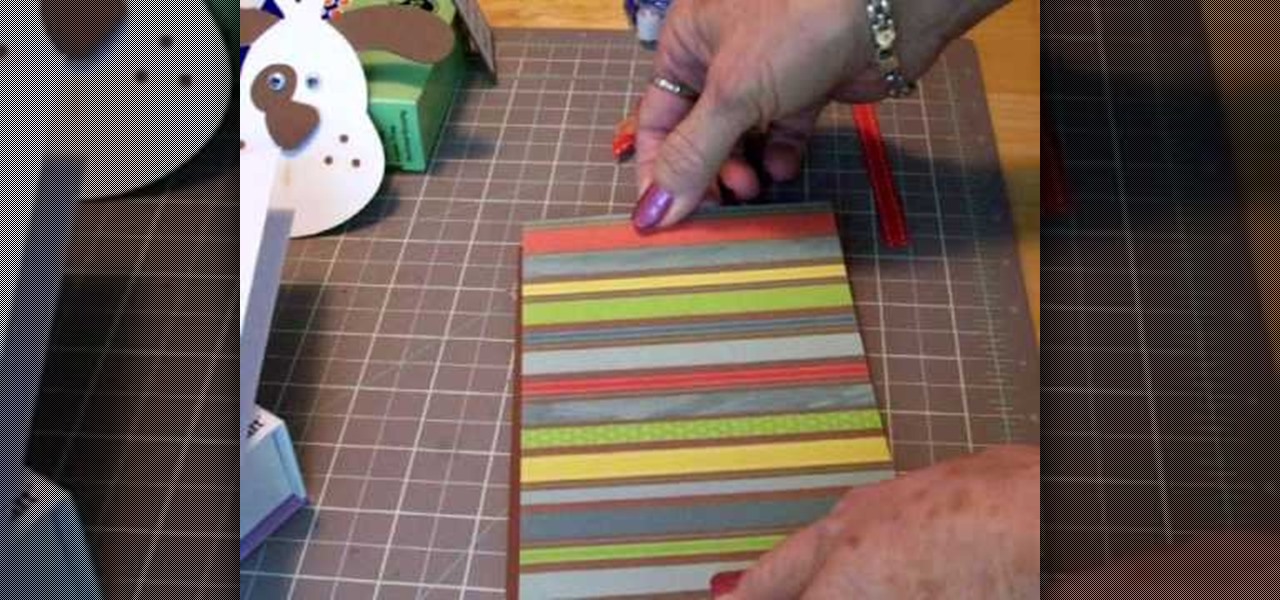
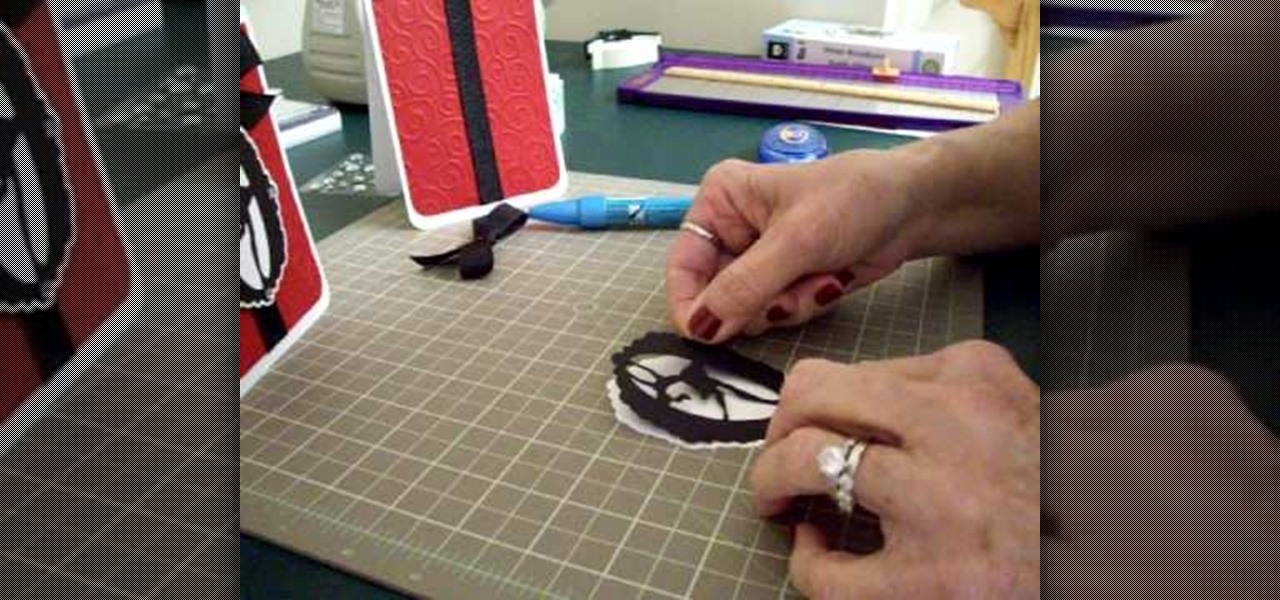
How To: Make a Cricut get well card
This video tutorial is in the Arts & Crafts category where you will learn how to make a Cricut get well card. Cut out the shape of a dog out of white at 4". Then cut out the ears and nose out of brown also at 4". Cut the dog again in brown at 4" for the background. Now assemble the dog as shown in the video and glue on two Google eyes. For the card base take a 10" x 7" card and fold it in half. Take out a brown sheet at 4 3/4" x 6 3/4" and a striped mat. Now apply glue on the card and assembl...
How To: Use your Cricut to save money on scrapbook paper
In this video, we learn how to use your Cricut to save money on scrapbook paper. First, place the mini monogram cartridge into your Cricut machine. Then, place your paper onto the 12x12 cutting mat. Now, load your paper into the machine, then press the scalloped circle and the fit to page buttons. Then, press cut and let the machine do all the work. Once it's finished, unload your paper from the machine and remove the outside portion of the image. Now, adhere it to the white piece of scrapboo...
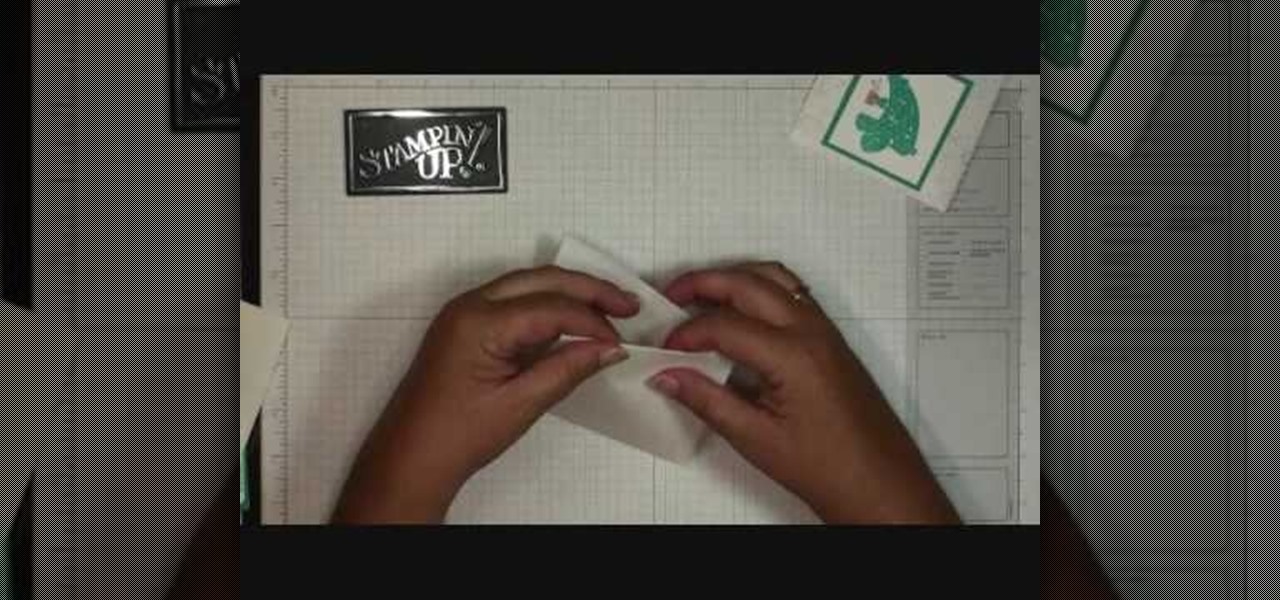
How To: Make a hot cocoa holder with Stampin' Up!
In order to make hot cocoa holders with Stampin' Up, you'll need the following: a whisper white Stampin' Up envelope, scissors, a paper cutter, cocoa, a jumbo wheel, ink pad, adhesive, stamps, ribbon, pen, stapler, glitter, and card stock.
How To: Make a ice skater card using Cricut Winter Woodland
Make a simple, elegant card using Winter Woodland. Go to page 50 of manual. Cut tag and skater at 3 inches. Use 8 1/2 x 11 cardstock and cut vertically to 4 1/4 inch. Fold from top to bottom. Round corners of cardstock and red matte. Make red matte 4x5. Run red matte through cutter bug using swirls folder. Insert between two plates and run through. Place black grosgrain ribbon down the center. Stick to front of card. Glue skater to background. Place square crystals around skater. Create and p...
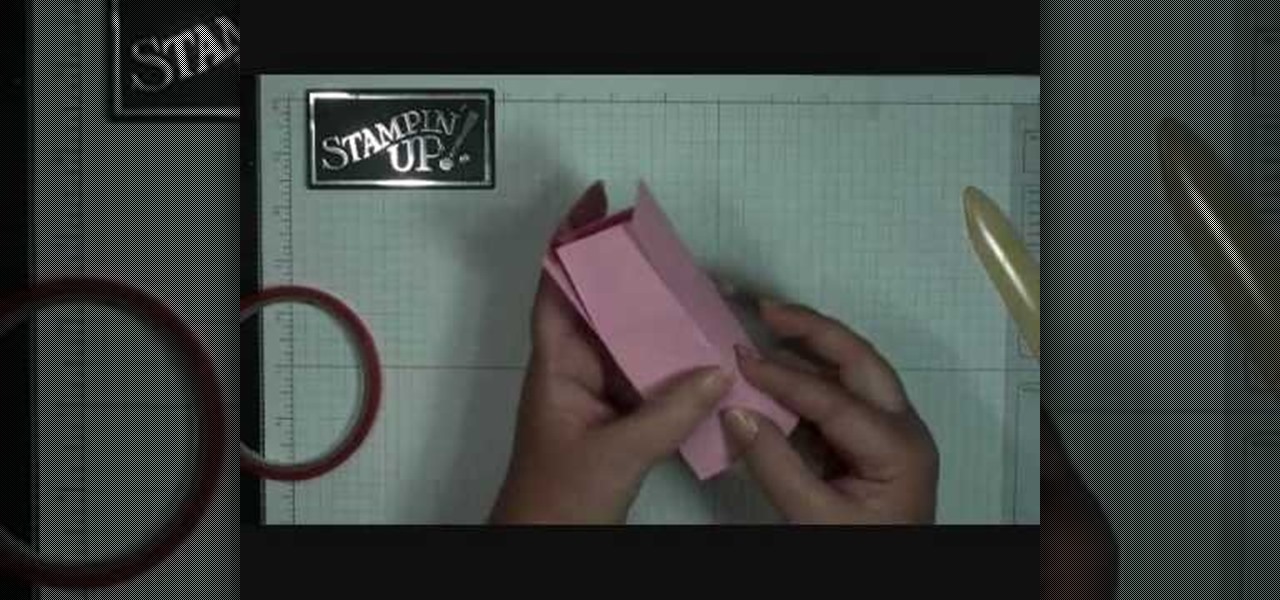
How To: Make a mini milk carton with Stampin' Up!
To make a mini milk carton, you will need the following a big shot, Mini Milk Carton Die # 117310 (Occasions Mini) card stock, a clip, and sticky strip.
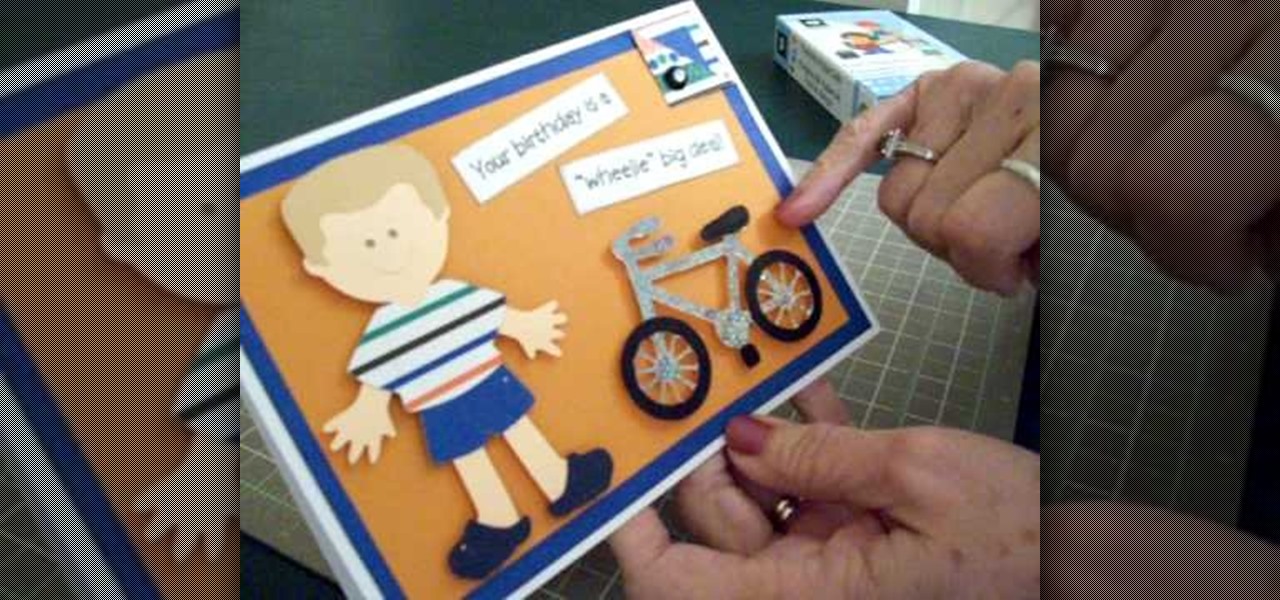
How To: Make a Cricut "biker boy" birthday card
In order to make a Cricut "biker boy" birthday card for a young boy, you will need the following: Everyday Paper Dolls cartridge, adhesive, and card stock.

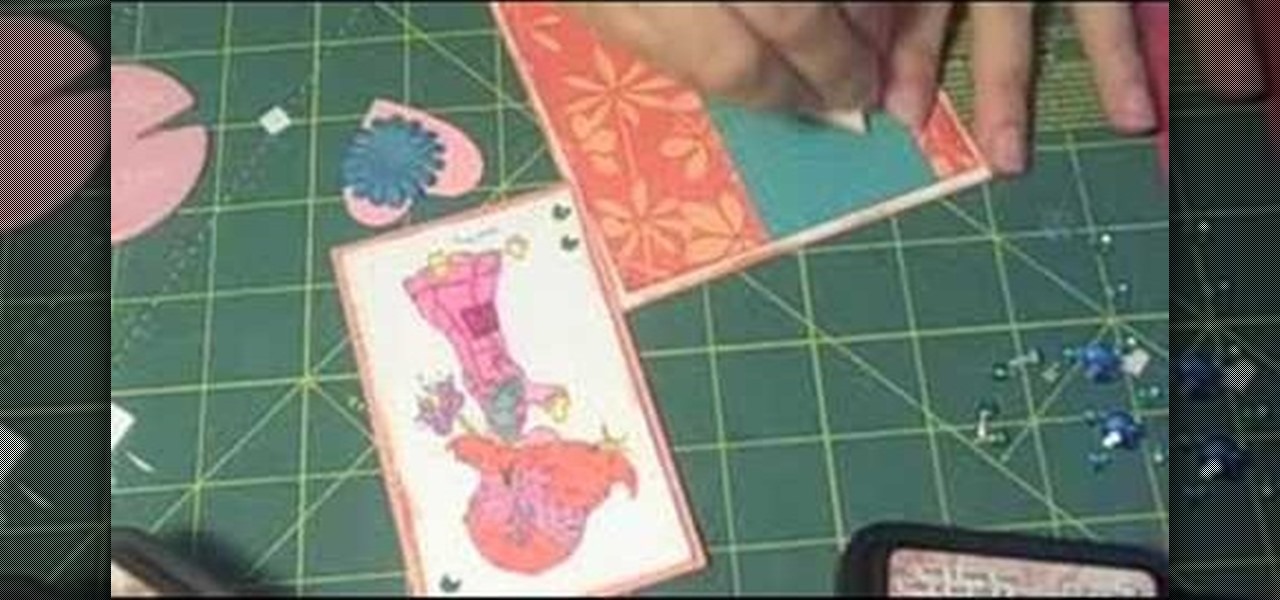
How To: Make a side step Christmas card using Cricut Winter Wonderland
In order to make the side step Christmas card, using Cricut, you will need the following: card stock, cutter/trimmer, adhesive, rhinestone, ribbon, and a bone folder.
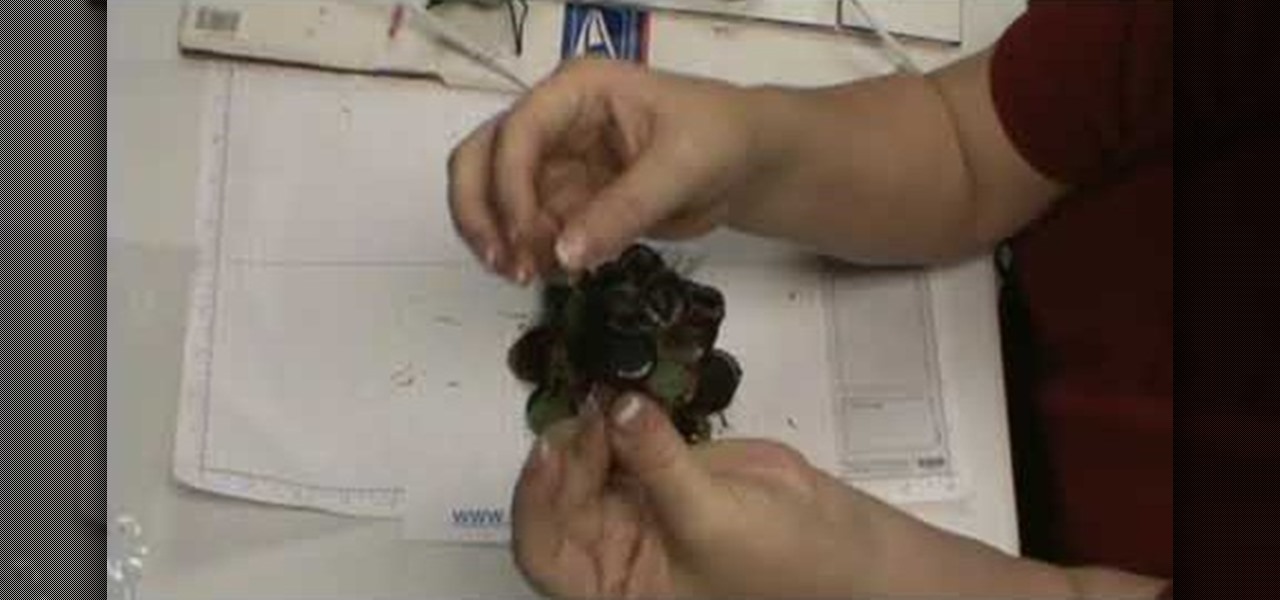
How To: Add netting to flower pin
In this video, we learn how to add netting a flower pin. Once you have already out your flower together, put a pin in the back so you can clip it to your clothing. Now, purchase netting from a craft store and cut out a small rectangle. Now, fold this piece up in half and then in half once more. Now, make a triangle at the bottom and open up the flower. Find a place to put the netting in, then apply hot glue inside and use a craft pencil to push the netting into the glue. Do this a couple more...
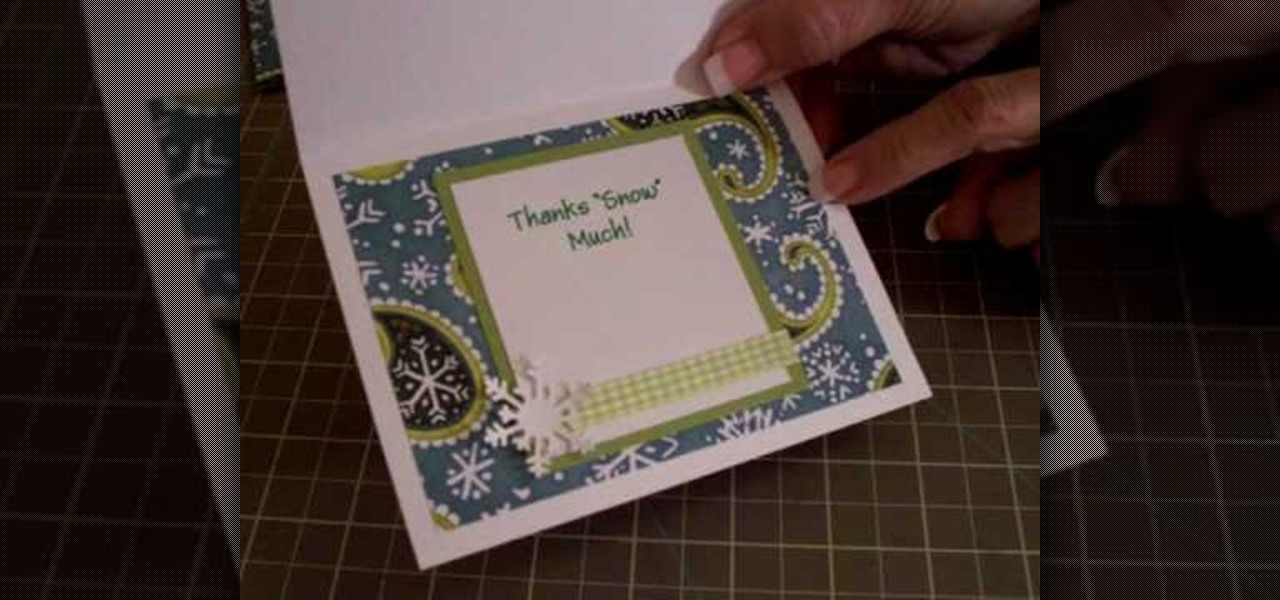
How To: Make a "thanks snow much" card using Cricut
In order to make a thank you card for Christmas gifts, you will need the following: Winter Woodland cartridge, glimmer misty, pop dots, adhesive, gingham ribbon, and pattern paper.
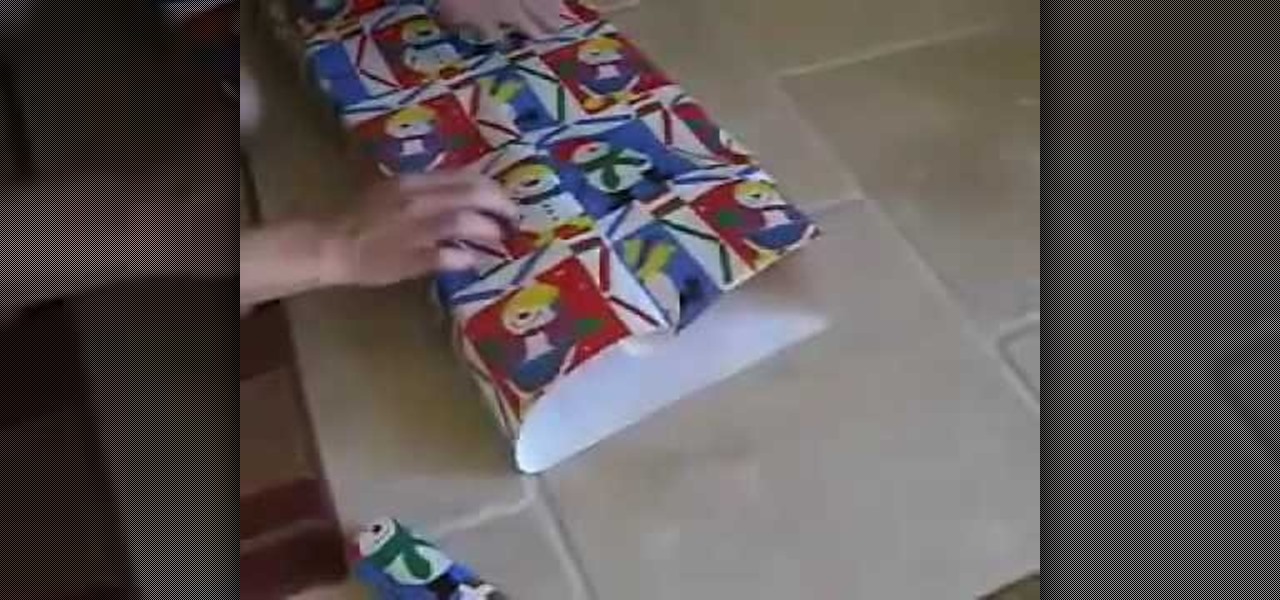
How To: Wrap a gift
In this video, we learn how to wrap a gift. You will need: scissors, your gift, tape, and wrapping paper. First, place your gift down on the rolled out wrapping paper upside down. Measure out the paper so you have enough, then cut the paper from the roll. Next, you will fold the edges of the paper down, then center the gift on the paper. Bring the sides of the wrapping paper into the middle, then tape it. If you have too much paper on the edges, cut it carefully with the scissors. Now, push d...
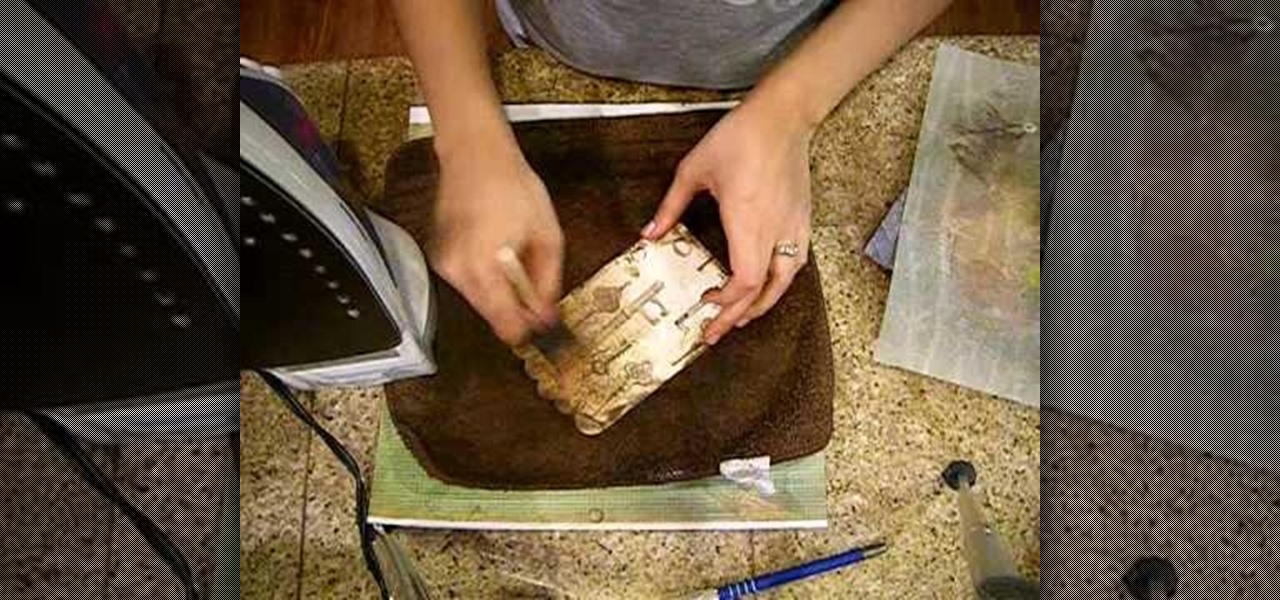
How To: Distress patterned paper
Crinkle top part and go over it with distress ink. Do edges front and back. Put extra ink on scallops. Spray with mustard seed and tattered jewels, olive vine and pine cone to add color. Place paper on pocket and iron on both sides. Spray with iridescent gold. Use brush to spread out. Iron again on both sides. This process makes it look aged. Take a film strip and spray with tattered leather. You want to use an iron when spraying grunge board with tattered jewels because it will make it seep ...
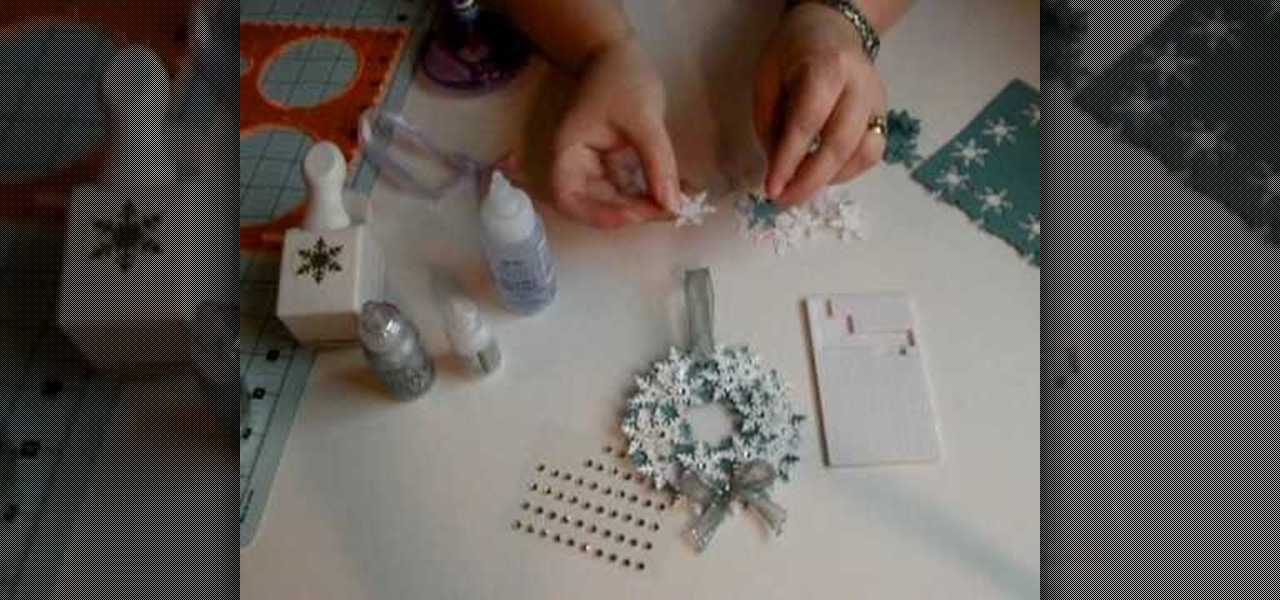
How To: Make a handmade snowflake wreath ornament
In order to make a snowflake wreath ornament, you will need the following: a snowflake punch, adhesive, foam, rhinestones, card stock, a hole punch, a circle cutter, scraps of paper, and ribbon.

How To: Make photo magnets
In this video, we learn how to make photo magnets. First, clean your glass with vinegar, make sure it's small enough for the magnet. After this, cut your preferred image to fit in the glass, then apply adhesive to the image. Apply the glass with the texture side down, then push it around to work out all the bubbles. Clean the glass off with a damp towel before it dries. Next, apply Diamond Glaze to the back of the magnet and then allow it to dry completely. When finished, attach a magnet to t...
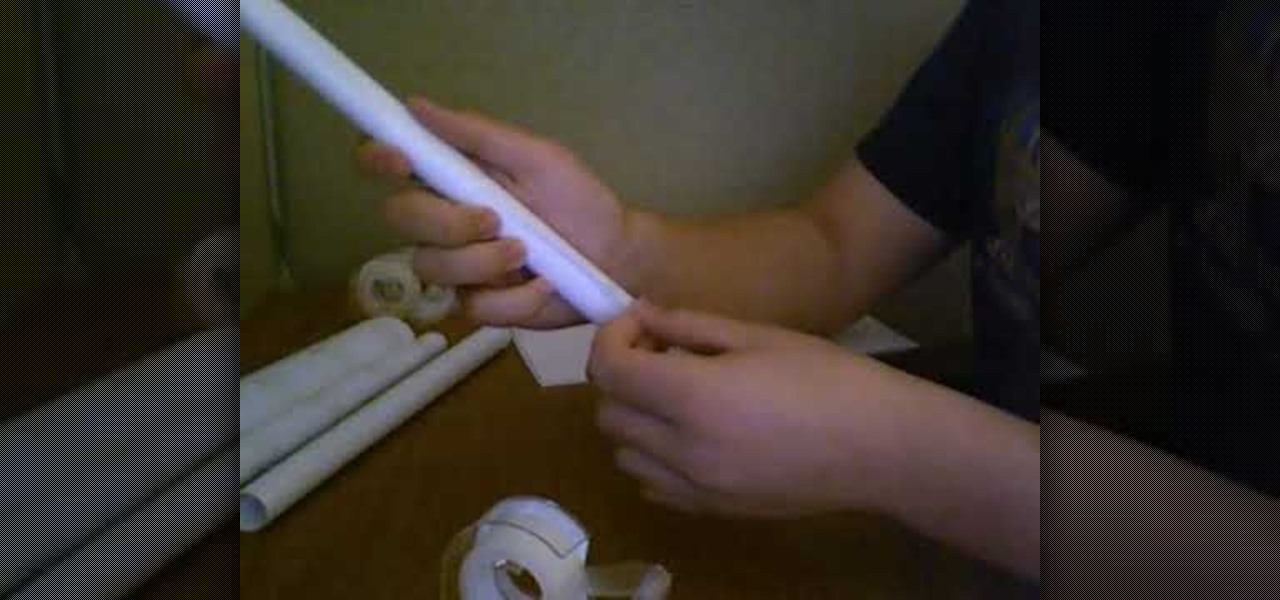
How To: Construct a paper bereta (paper gun)
If you have a little extra time and have a few sheets of paper and other school supplies, try to make something different. Like, maybe a paper bereta or paper gun.

HowTo: Build a Papercraft NSX Super GT Race Car
Is your love of race cars exceeded only by your love of elaborate papercraft? Do you have easy access to industrial-size printers and a surfeit of clean cardboard? If you answered yes to all of the above, odds are you're the Seiko Epson printer corporation, who recently set about assembling an impressive 1:1-scale 3D cardboard replica of a Honda/Acura NSX Super GT race car for the 2010 Tokyo Auto Salon:
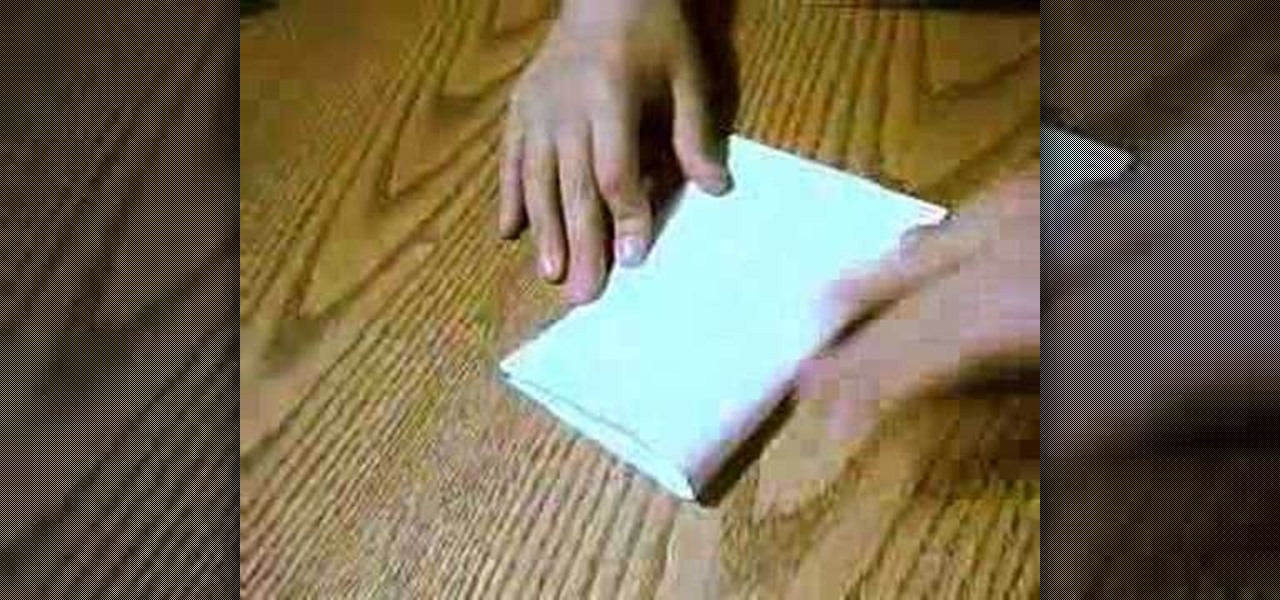
How To: Make a paper hat to wear on your head
In this video tutorial, viewers learn how to fold a paper hat. This task is very easy, fast and simple to do. Begin by folding the paper horizontally in half. Then fold it vertically in half. Now open the fold and fold down the top corners to the center to form a triangle top point. Then fold the bottom flap over the edge of the triangle point. Do the same on the other side. Now open the bottom to shape the hat. This video will benefit those viewers who are interested in making origami, and w...
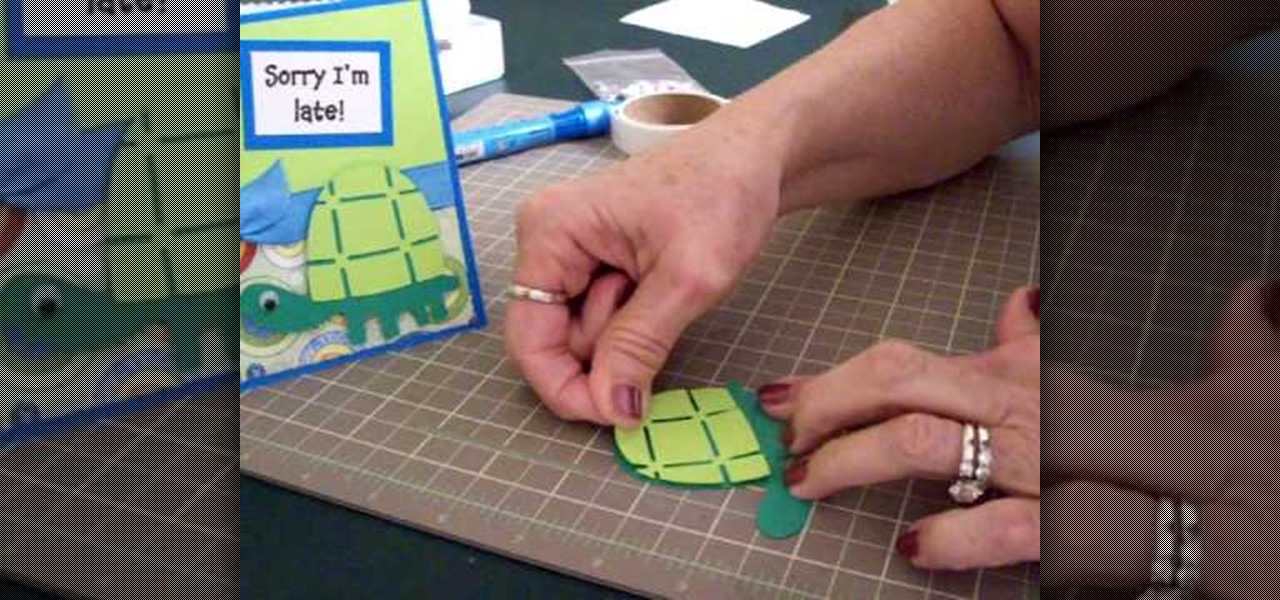
How To: Make a Cricut belated birthday card
In this tutorial, we learn how to make a Cricut belated birthday card. First, cut the turtle out using the Walk in my Garden cartridge. After you cut this out, add in details to the shell using different colors. After you put the turtle together, place it on a blue card stock that has a pattern over the bottom of it. Next, place a ribbon around the middle of the card. On the top, place a message in a framed piece of card stock that says "Sorry I'm Late!". After you make this, fill out the car...