

Papercraft How-Tos


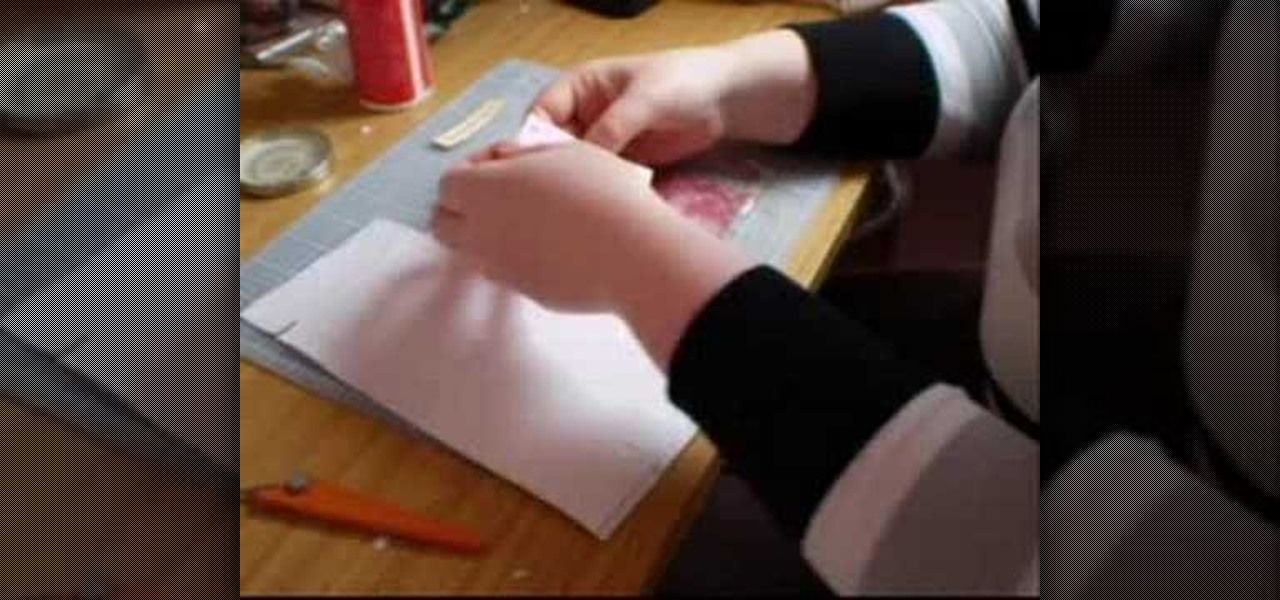
How To: Turn wood mount stamps to clear mount
In this how-to video, you will learn how to convert your wood mounted stamps to clear mounts. First, be careful and go slow if your stamps are already mounted on wood. You will need stamps and an EZ mount. Find a spot where the image fits and trim it around the stamp. Once this is done, remove everything from the rubber. Next, peel back the sticky side of the EZ mount piece that has been cut. Now, position the piece so that it is completely covered. Trim the excess EZ mount. Make sure you use...
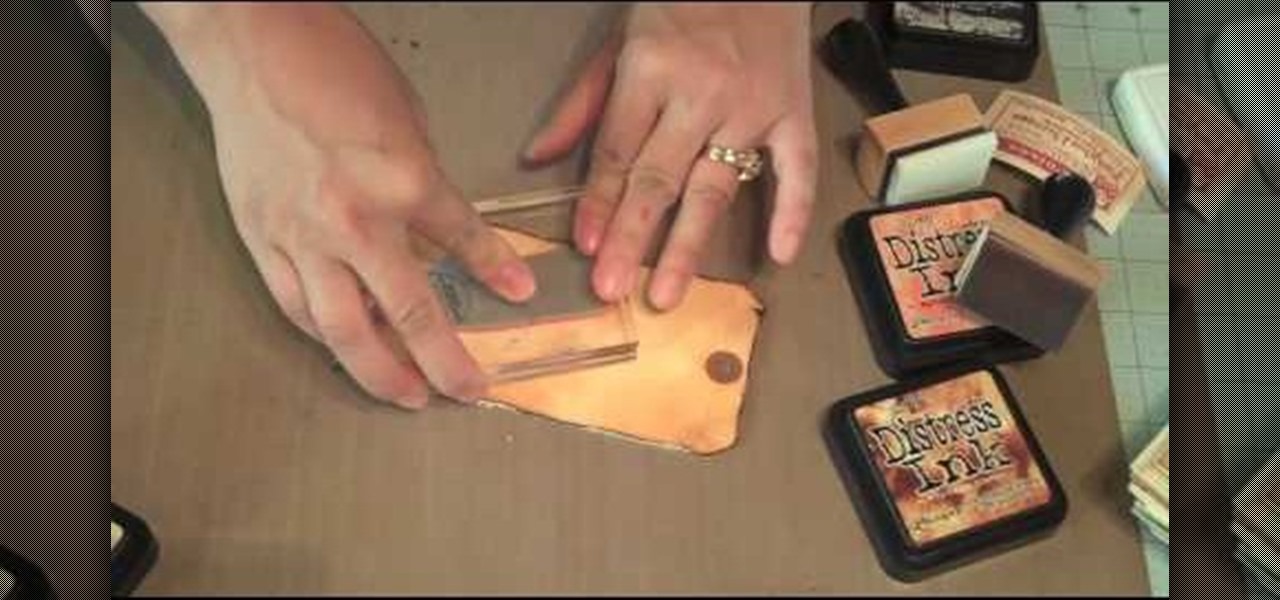
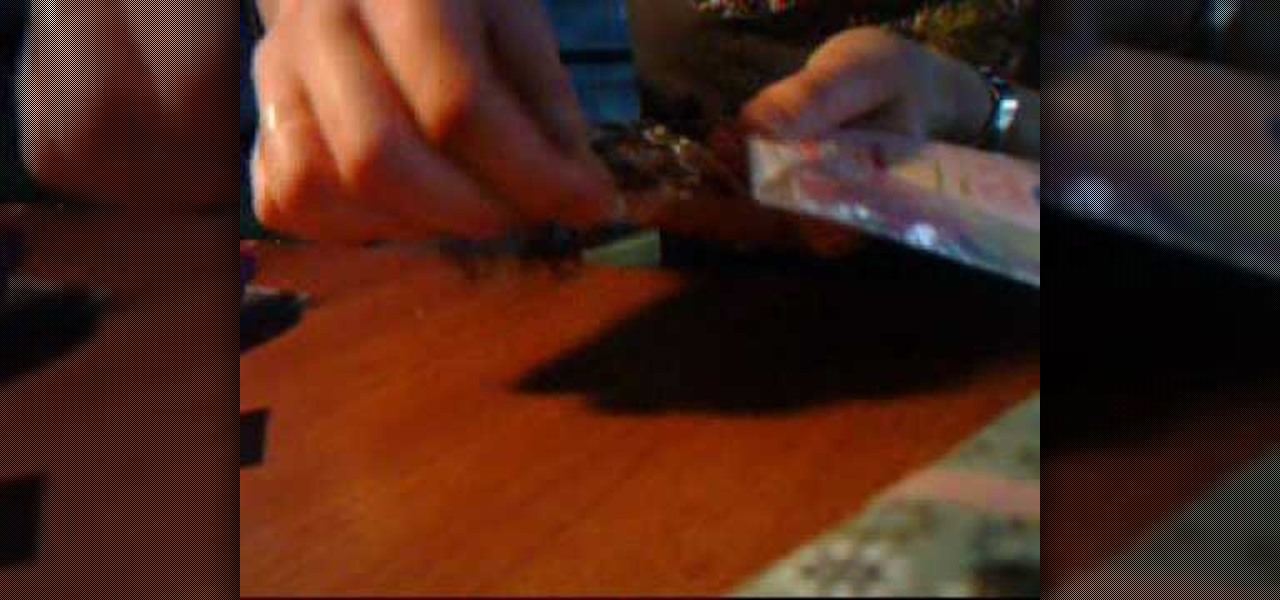
How To: Apply a burnt edge look with distressed ink
This video describes how to use distress ink. First we have to take a paper that we want to work on. Next take the distress ink colors. Spread the lighter colors first on the paper. Take the first color and spread it on throughout the paper. Next take the vintage photo and work on the edges with it. Next take the spiced marmalade ink and spread it on the edges again. Next take the paper and apply the paper edges directly to black soot ink pad. Next wait for sometime until it dry. Next take th...
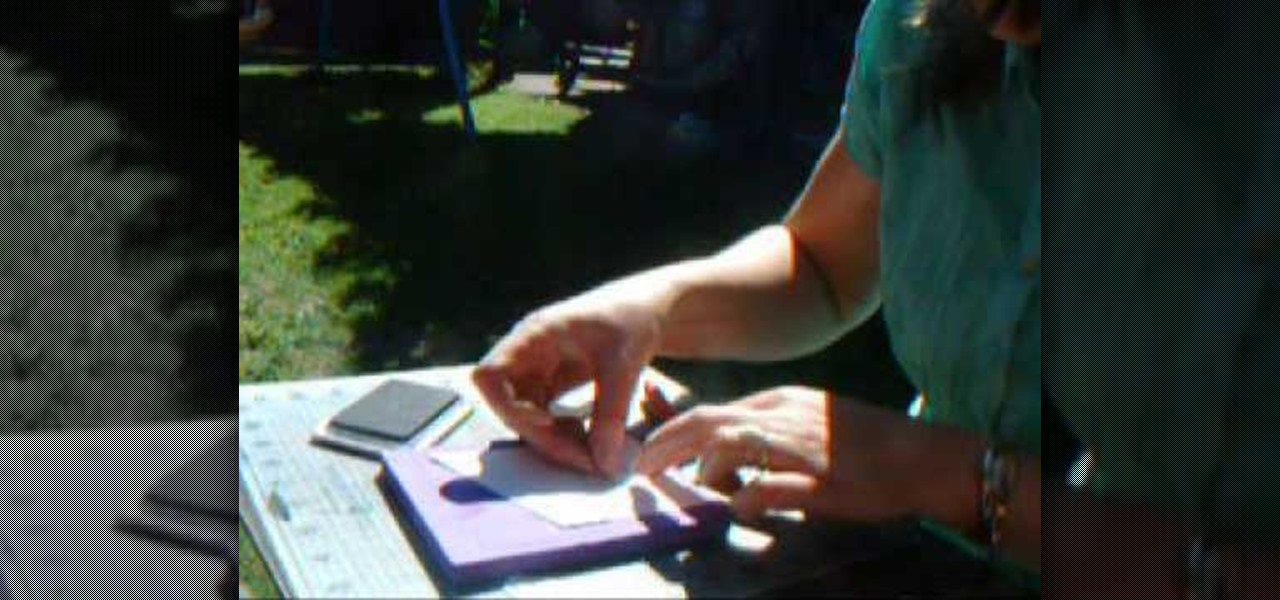
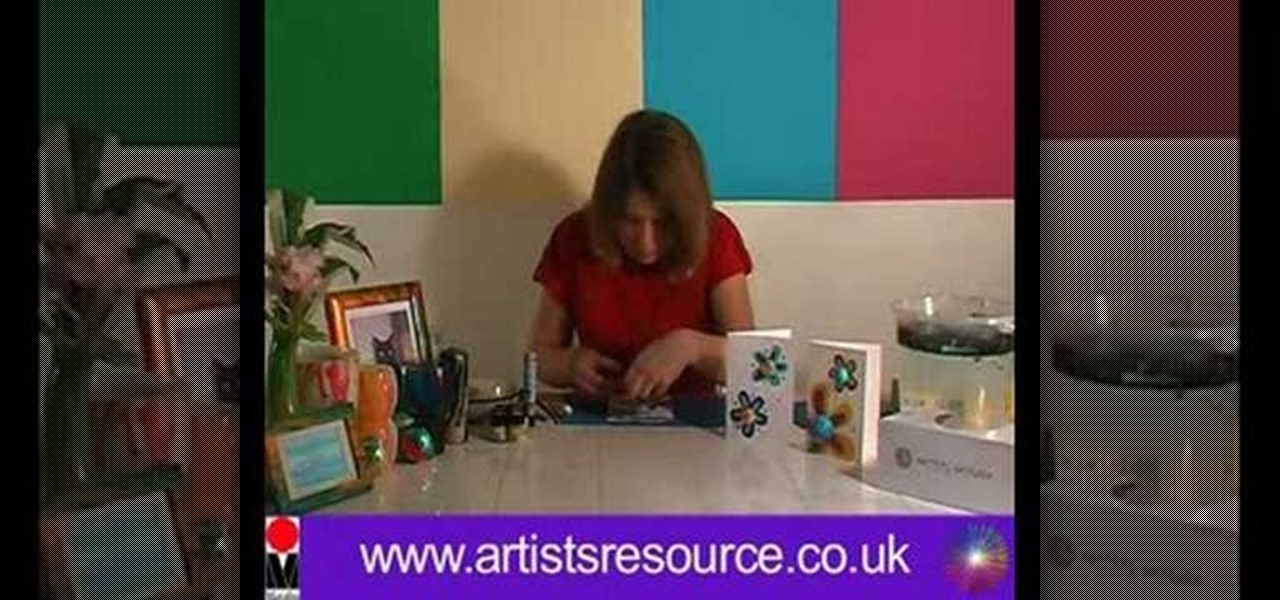
How To: Make a vintage-inspired greeting card
Do you have a penchant for all things vintage? Why not save some money the next time a birthday or special occassion arises and make your own vintage-looking greeting card? In this video, Niki Jackson shows you step-by-step how to create this adorable greeting card using background papers, printed materials and distress inks.

How To: Make a spiral rose easily
In this video Jennie shows us how to make a perfect spiral paper rose. All you need for this is a piece of 6X6 inches of paper, scissors, some glue and, if you really want to be creative, some ink. For starters you're going to need a 6X6 inch piece of card stock. Jennie chose a double-sided card stock because she thinks it will look more interesting but you can also use a plain piece of paper. The first step in creating your rose is making a spiral patterned cut alongside the paper. The ideal...
How To: Make a paper bag tag
In this how to video, you will learn how to make bag tags. You will need a tape runner, embellishments, elastic, a plastic bag, letters, cloud 9 rain dot eyelets, a trimmer, bits of card stock, and hole punches. First, cut the card stock and make it a square shape. Next, decorate the card stock with embellishments and the name of the child it is for. You can use the adhesive to stick these on. Next, cut more card stock and wrap it the piece around the decorated card stock. From here, place th...
How To: Make an accordian fold card
In order to make an accordian- fold style greeting card, you will need a piece of card stock, glue or adhesive, scissors, markers, and stencils/stamps. Cut the cardstock in a diagonal. Fold the card into 3rds, lengthwise. Cut a 5 x 3 ¼” panel at an angle. Use Masking Magic and stamp the excess card stock. Cut out your stamp designs. Color in your designs with Sharpie brand permanent marker pens. Glue the 5 x 3 ¼” cut piece to the card, or you could use 2 sided tape. If you have addition...

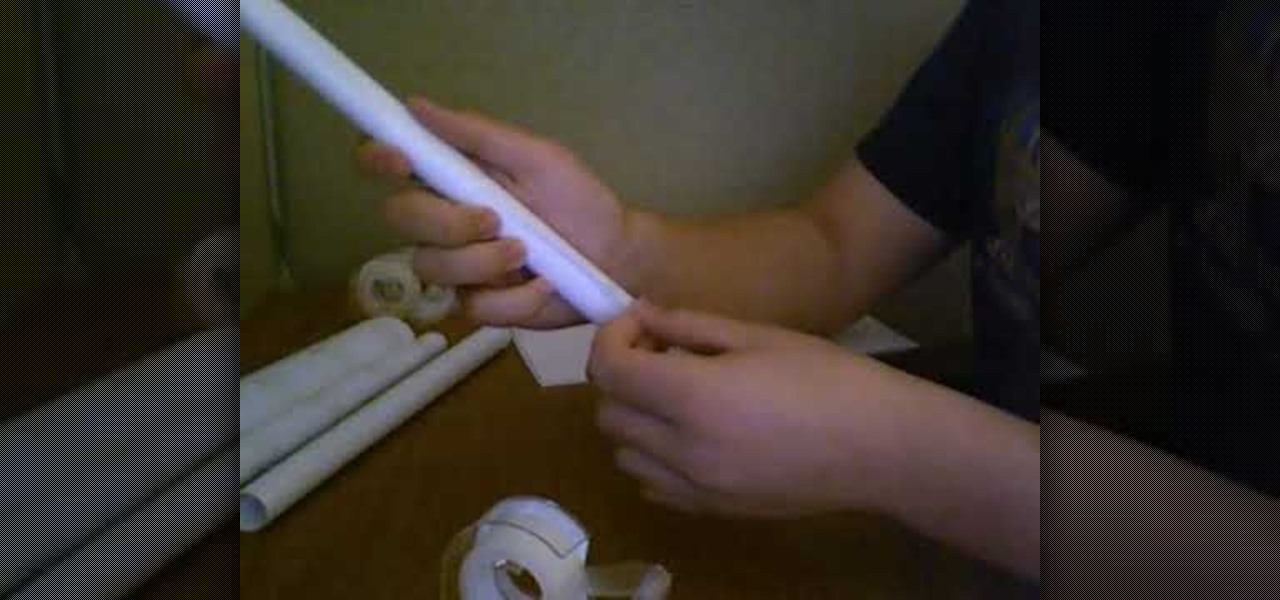
How To: Make a paper shotgun that shoots
To make a paper shotgun you will need some tape and three pieces of paper. With the first piece of paper roll it up into a medium size tube and tape down the ends. The other piece of paper is going to work as the handle. Roll that piece up into a tight roll and secure it with tape to one of the ends creating the handle. The last piece of paper is going to be used as the bullets. Cut this piece into three even pieces and roll each piece into a cone shape sealing the end of each cone with tape....
How To: Use border punches & a stamp
This video is part of the lawn fawn card series and it explains the making of a card using border punches and a stamp.The materials required are a set card-polka dot basics from paper tray ink.This card has a variety of dots on it. Remove the big open circle polka dot and lay it on the aqrualic and place it on a plastic bock with grids on them.Using a color box cover the stamps with ink.Now place the block over the card so that the grid lines with its length and press on it.The polka dots wil...
How To: Use clear stamps & make a card
In this Arts & Crafts video tutorial you will learn how to use clear stamps & make a card. You will need acrylic stamps for this project. The products used in the video are from papertrayink.com. The stamps are clear and have a sticky back with which you can attach them to an acrylic base to make the stamp block. Then ink the stamp and stamp it on the paper. Since, it is clear, you can ass and align it properly on the paper. The other cool thing about acrylic stamps is that you can take more ...
How To: Make Christmas patterned cardstock
In this video, we learn how to stamp your own customized X-mas patterned cardstock. You will need: green/red stamp pads, Christmas stamps, light yellow plain cardstock and a stamp foam mat. First, stamp your yellow paper as you wish with the green and red stamp pads, you can make any pattern you'd like. Then, place on your stamps on the paper and press the clear stamp press down onto them. Now, apply your stamp color and press back onto the paper. This will make the different stamp shapes pre...
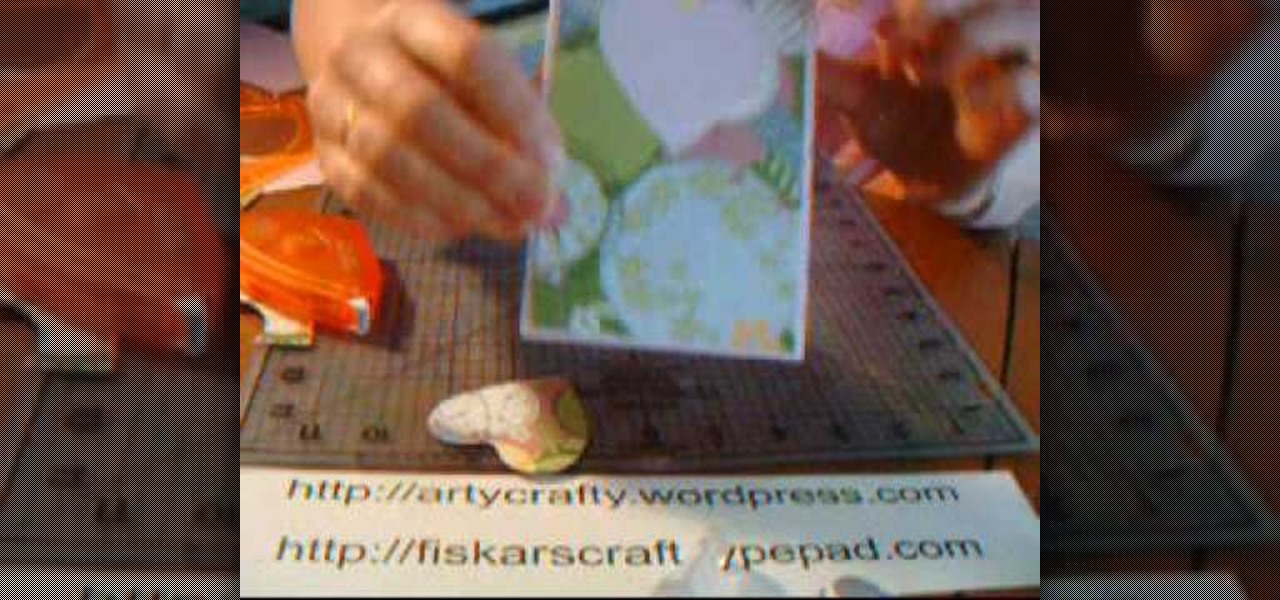
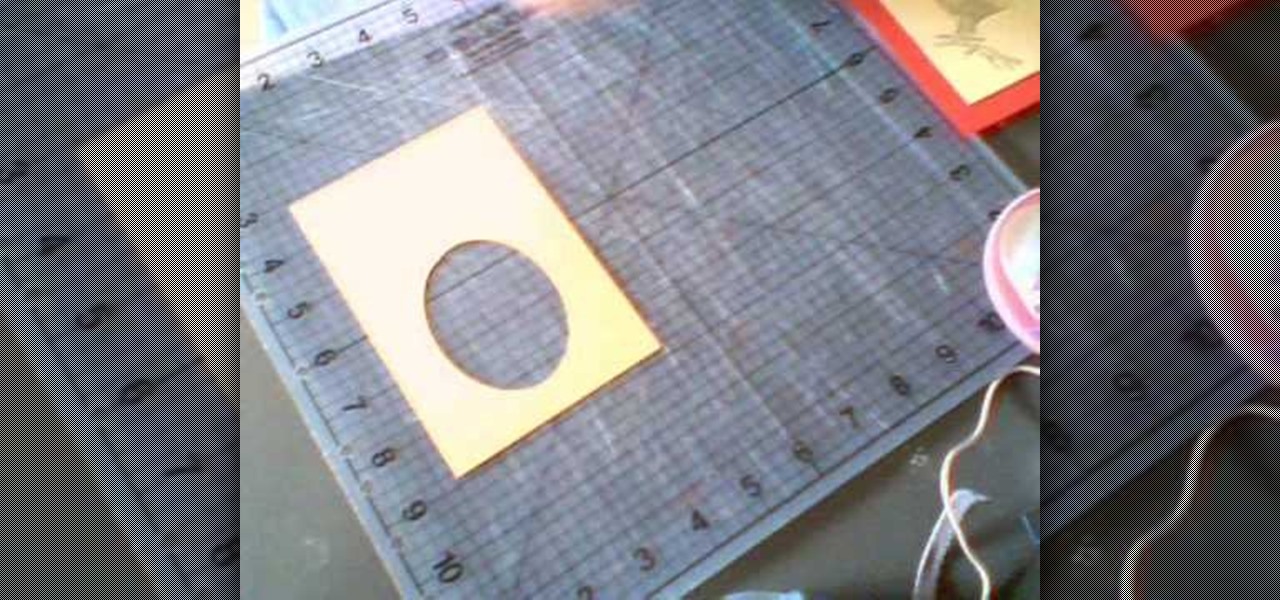
How To: Make window cards
In this Arts & Crafts video tutorial you will learn how to make window cards. Supplies needed are trimmer with scoring blade, Fiskars templates, Fiskars ultra shape xpress, glitter, cardstock and embellishments. Take a 81/2 x 6 inch cardstock , score the center at 3‚Äù mark and fold it. Take a colored paper about ¬O‚Äù smaller than the card, cut out a 2.5 heart with the help of the template and glue it on the card. Then open the card and cut out a 1.5 heart from the center of the 2.5 heart. N...

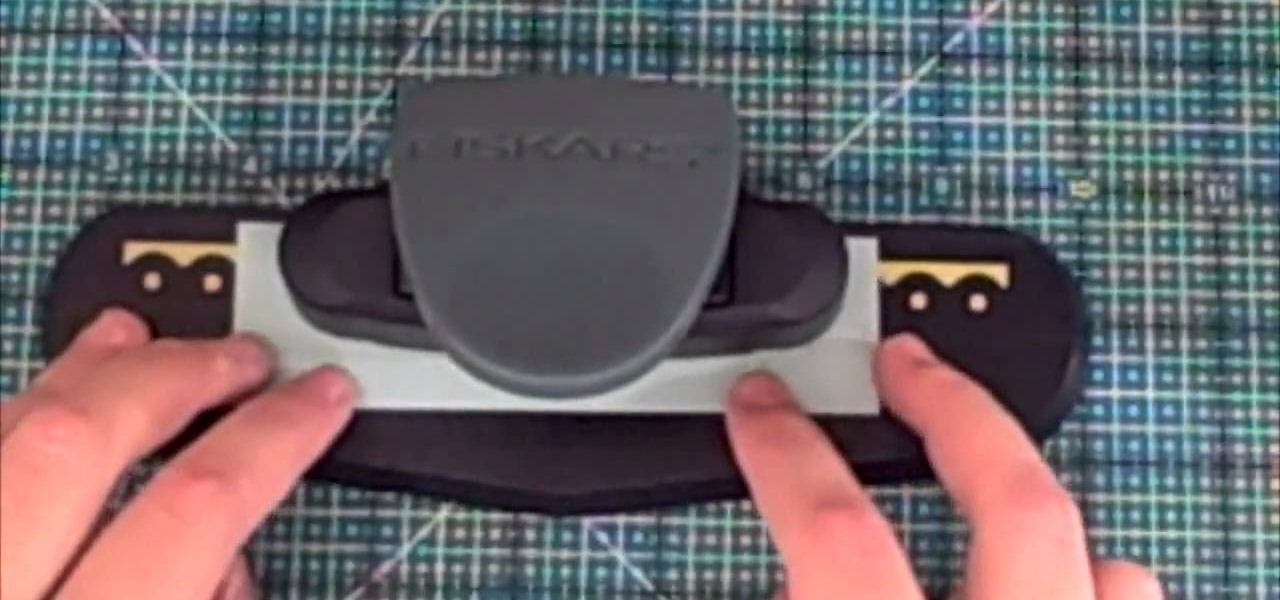
How To: Create your own water bottle holder
The card stock used is a celery card stock that is 2 by 7 and 3/4. You then fold the ends of the card 2 inches into the card on both sides. So now it should look like two 2 inch squares on the ends that are folded and then a rectangle in the middle. The designer paper used measures 3 and a 1/4 by 1 and 7/8 inches. To make the decoration on top you use the paper punch that punches a 1 and 1/4 inch circle in the paper and then you use the scallop punch around the area of that same punched out h...

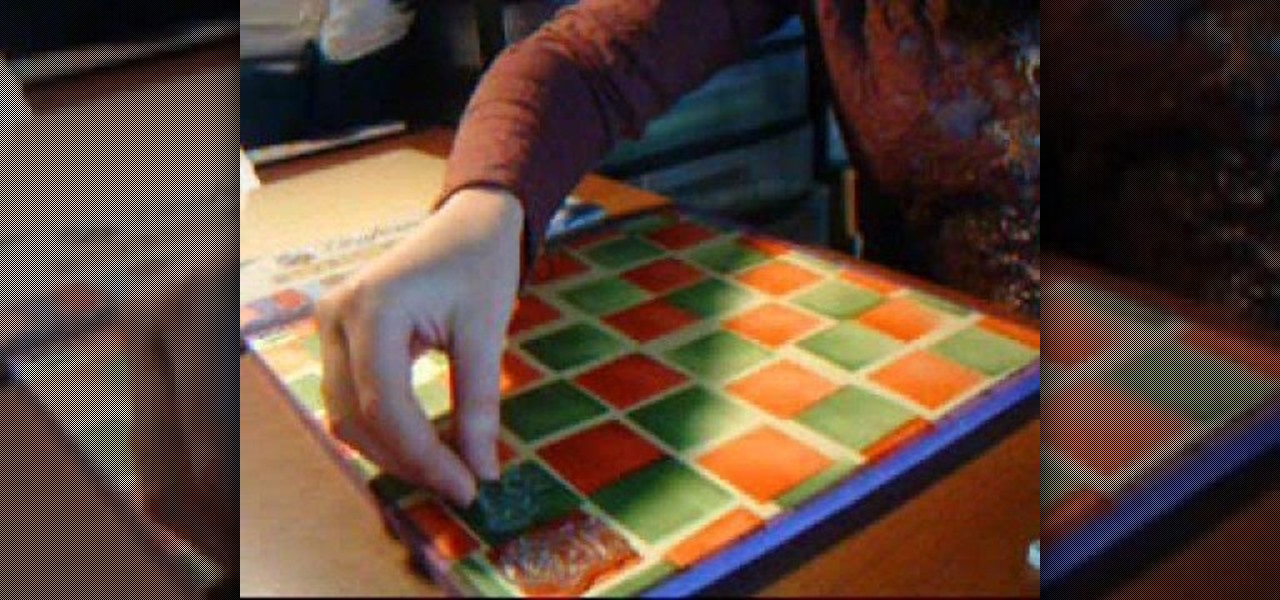
How To: Make a circle shaped card
This is a video about how to make a greeting card in circle shape. First take the card and fold it into half. Next take the colluzle and place it on the card. Mark a circle using colluzle on the card. Cut the card on the marking and leave some space at the folding of card. Take the design paper to place on the card. Next cut the design paper in round shape. Make sure that the shape should smaller than the card you have already prepared. Next stick the design paper to card. Next take one ribbo...
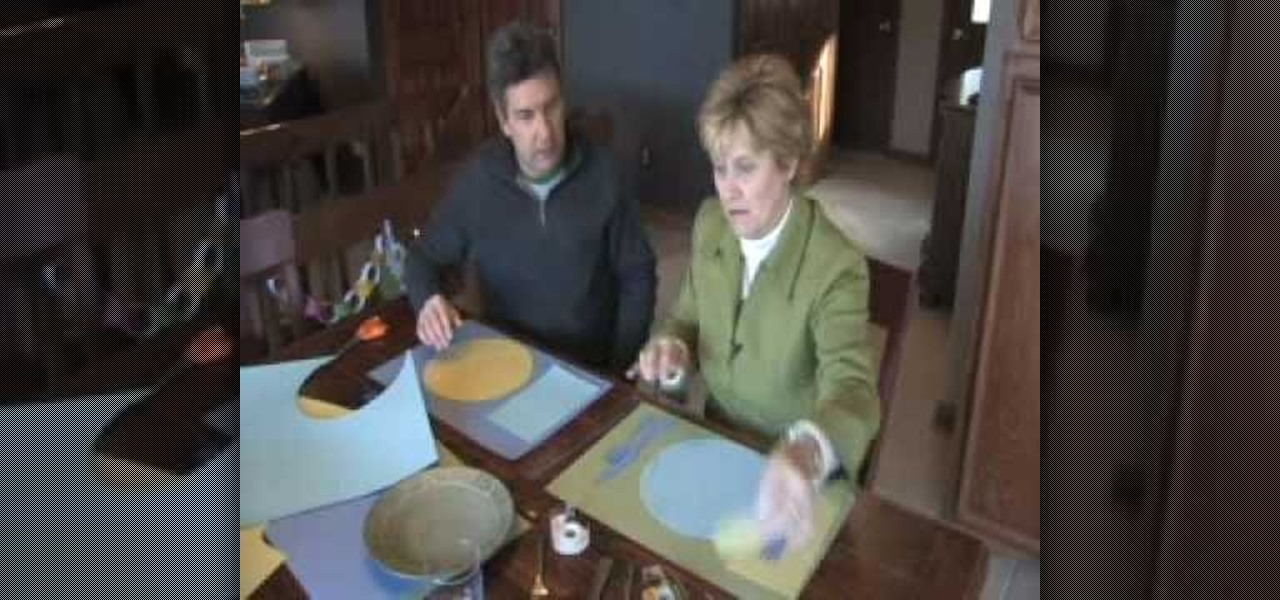
How To: Make easy kid placemats and set the table
Now when it comes to setting the table you just need three things: fork, plate, and a napkin. But for some, things are more complicated than that. Sometimes they feature the soup spoon , salad fork, and so on and so forth. Although this video doesn't cover every single utensil, it does cover some of the basics. Find out how to make placemats for kids as well as teach them how to set the table. Enjoy!

How To: Make personalized placemats easily
If I had kids, this is something I would totally use to not only entertain them but give them something fun to look at during dinner. This fun tutorial shows you how to take some simple foam and use glitter, markers, and other items to make cool placemats. Enjoy!

How To: Make a cool chalk cloth placemat for kids
I wish I was still a kid because this was a pretty cool project to perform and a cool placemat I would have used! Most of the ingredients can be obtained from your local arts and crafts store and seems pretty simple, but does require skill. So enjoy this tutorial on how to make a chalk cloth placemat. Enjoy!
How To: Make a handmade shaker card
This video teaches us how to make shaker cards. These are cards that have a sort of window where you can see glitter or confetti moving about when you shake the card. You start off with your card base. A good size is 6" by 8". You take your front image, either a picture you have or stamp one yourself. Attach this image to the front of your card base. Line your image with thick double sided tape. Don't leave any gaps or your glitter will leak out. Next you cut your window. This will be the ver...
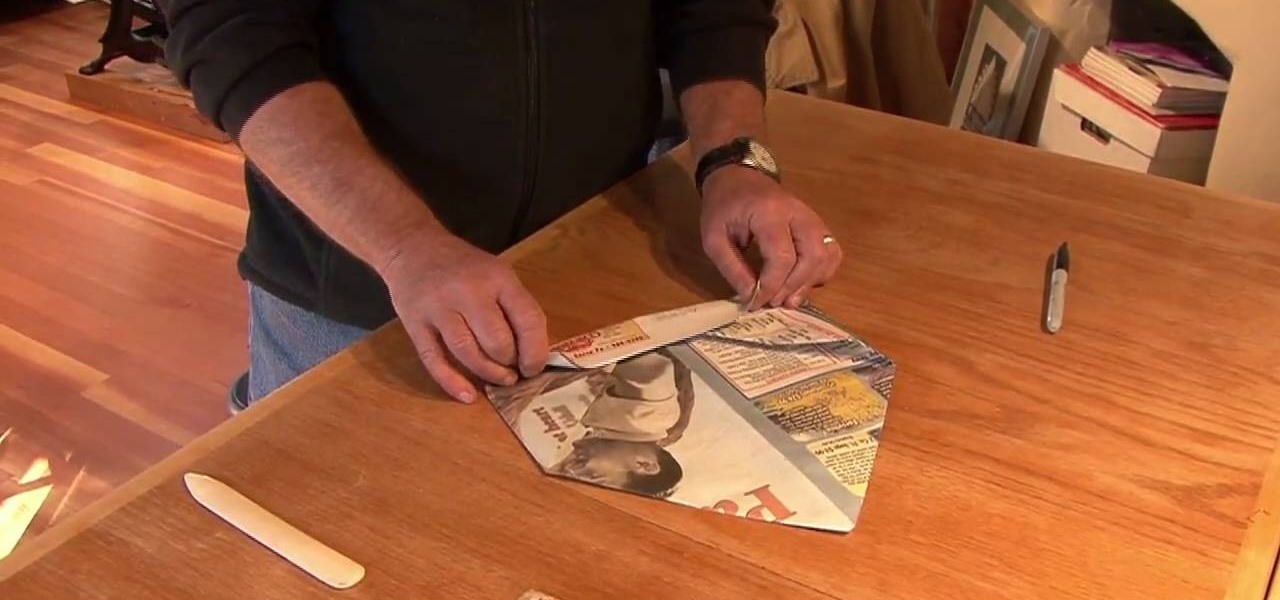
How To: Make a folded paper printer's hat from a newspaper
In this Arts & Crafts video tutorial you will learn how to make a folded paper printer's hat from a newspaper. Take two sheets of newspaper and fold down the half way mark to make two triangles. Fold the bottom edge of the top flap and make it meet the bottom edge of the big triangle. Now fold this up again over the bottom edge of the triangle to make a big cuff. Flip it over, take the outside edges and fold them to meet at the center. Now take the bottom corners and fold them up like dog ear...
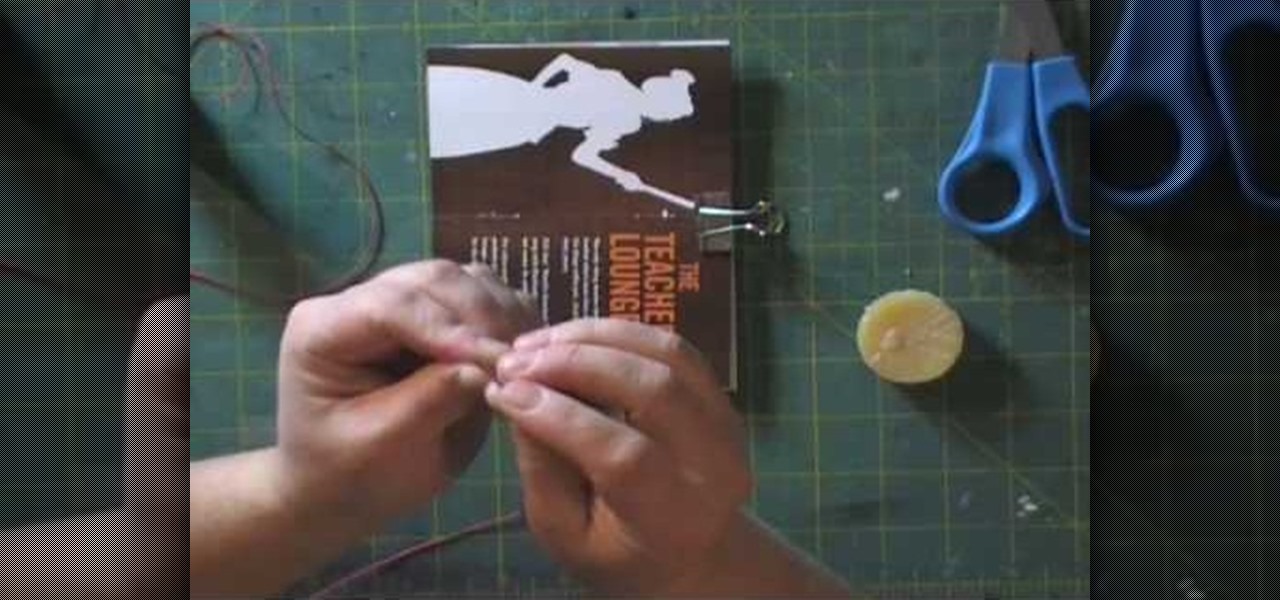
How To: Make a junk journal out of random items
To make a journal made of junk you're going to need a couple of things. First an unbleached linen thread because it doesn't bleed out into your work, you'll need a candle, a binder clip and a stack of papers. The papers you need to fold down the middle and put in four evenly spaced holes down its spine so that it looks like a book. Use the clip to hold the papers together while you measure the thread. The thread needs to be three times the height of your book. Wax this thread using the candle...

How To: Stamp and/or emboss on a button
This video demonstrates how to emboss a button and then use it as an emblishment on a card. Start by covering your stamp with clear VersaMark Ink. Holding your button with pliers, carefully press your button onto the stamp. Next, take your embossing powder and sprinkle it on to the button. Then apply heat to the button. You are now ready to make your card. Ink your bird stamp using chestnut chalk ink. Place it at the bottom of your card stock. Using a blender pen, color in the bird and any ac...

How To: Make a bow for a Christmas wreath
Interested in making a custom bow for a Christmas wreath? It's easy! So easy, in fact, that this seasonal decorator's guide can present a complete and thorough overview of the process in just over five minutes. For complete, step-by-step instructions on making your own bows this X-mas season, watch this helpful free video tutorial. Make a bow for a Christmas wreath.
How To: Make pretty fabric flowers
Fabric flowers make the perfect accent to any card or project. In this video, learn how to make pretty fabric flowers for your crafts. These flowers are fast and easy to make and can be made out of scrap fabric you have hanging around the house. These flowers are an inexpensive alternative to buying fancy and pricey cards at the store. Plus, everyone likes a personal touch.
How To: Make a custom paper rose
In the words of Gertrude Stein, a rose is a rose is a brightly-colored cellulose fiber sculpture. With this free video guide, you'll learn how to liven up your home's décor with your own small, custom decorative paper roses. For more information, including a step-by-step overview of the process, and to get started crafting your own paper flowers, watch this free video tutorial.
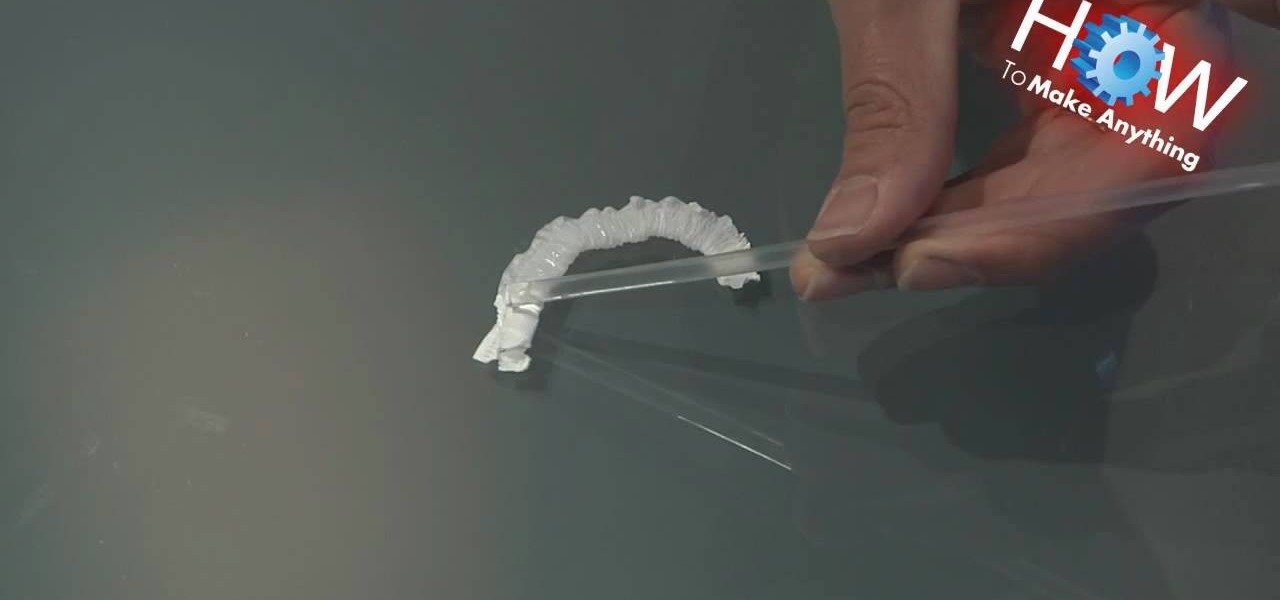
How To: Make a paper inchworm from a wrapped straw
Sure, individually wrapped straws of the sort found at your favorite café, diner or fast-food joint might seem like a colossal waste — and actually be a colossal waste, for that matter — but there's no denying that there's a lot of fun to be had with the straw wrappers themselves. With this tutorial, for instance, you'll learn how to make a cinchy paper inchworm.

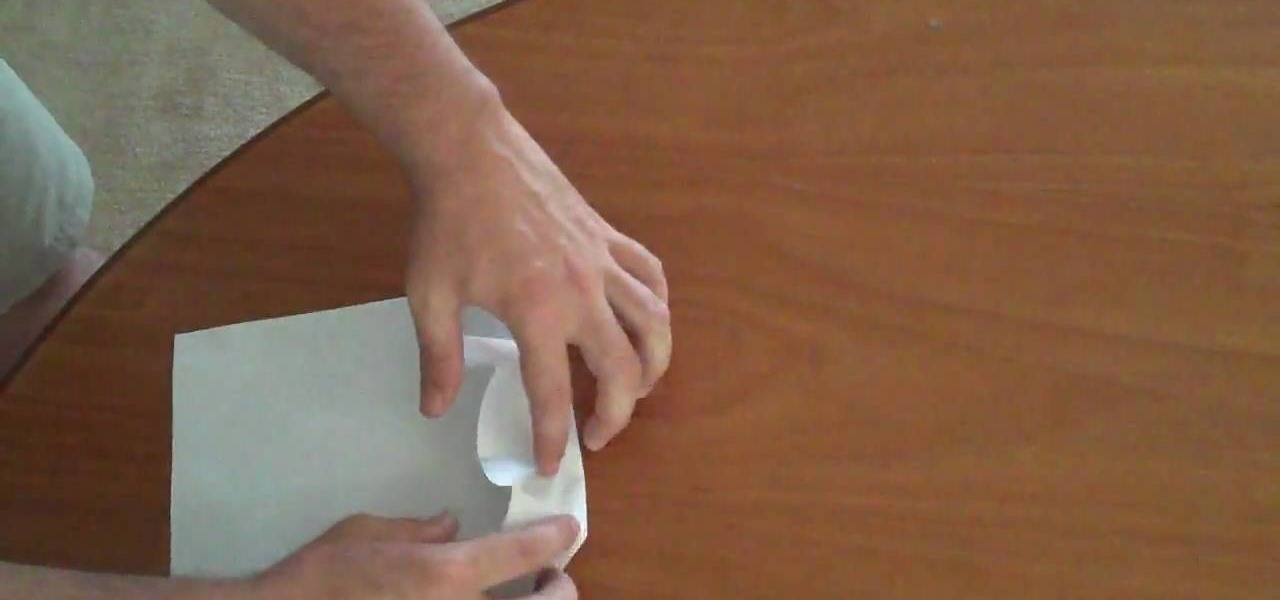
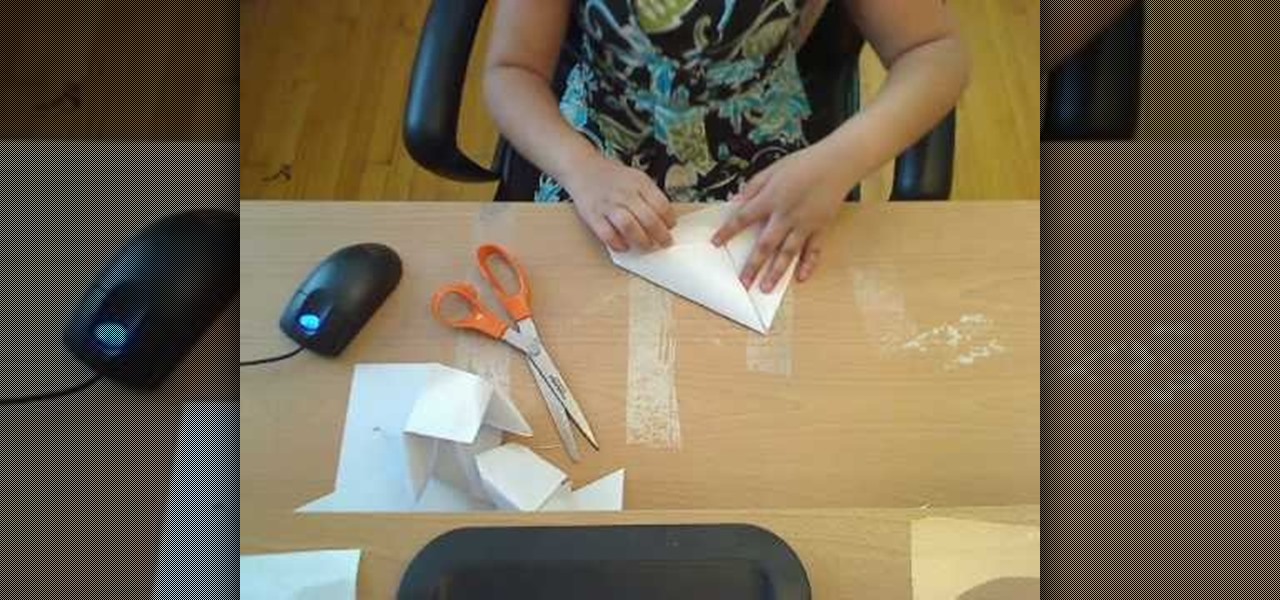
How To: Make an evelope without scissors
This video will show you how to make an envelop without using any scissors. You’ll just have to fold the paper into a diamond and fold in all of the points to the intersection line. At about the halfway point fold the bottom half up and the top flap half way down. You’ll have to estimate that manuver to get the envelope look. The great thing about folding your own envelop is you can make it out of whatever you’d like including colorful magazine pages.

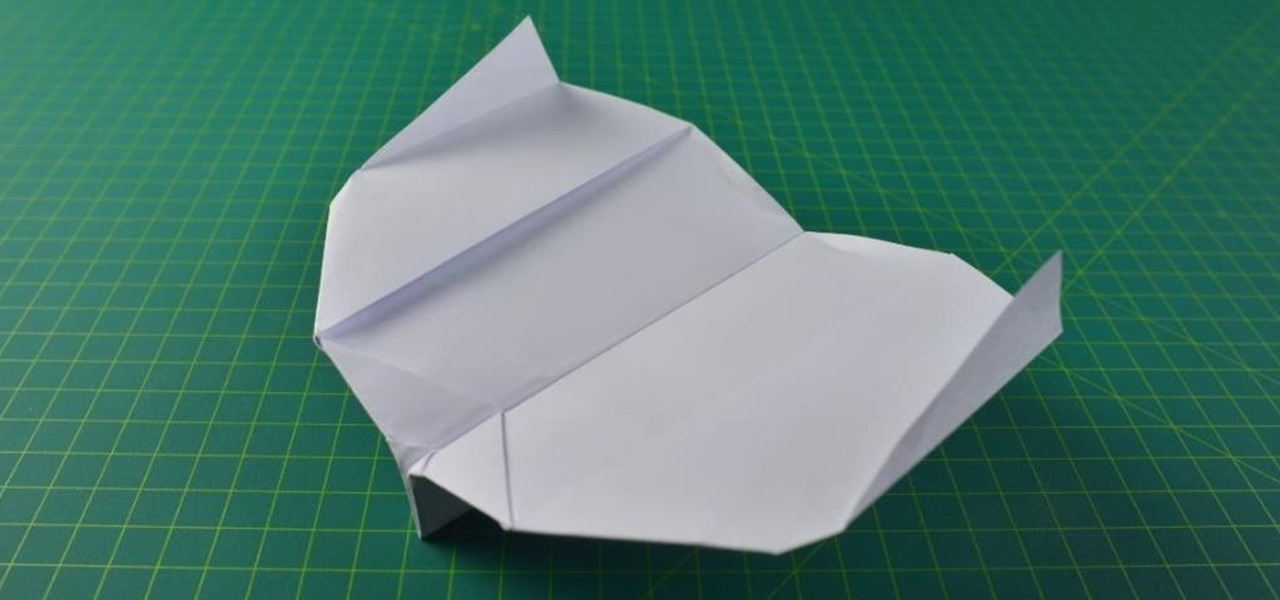
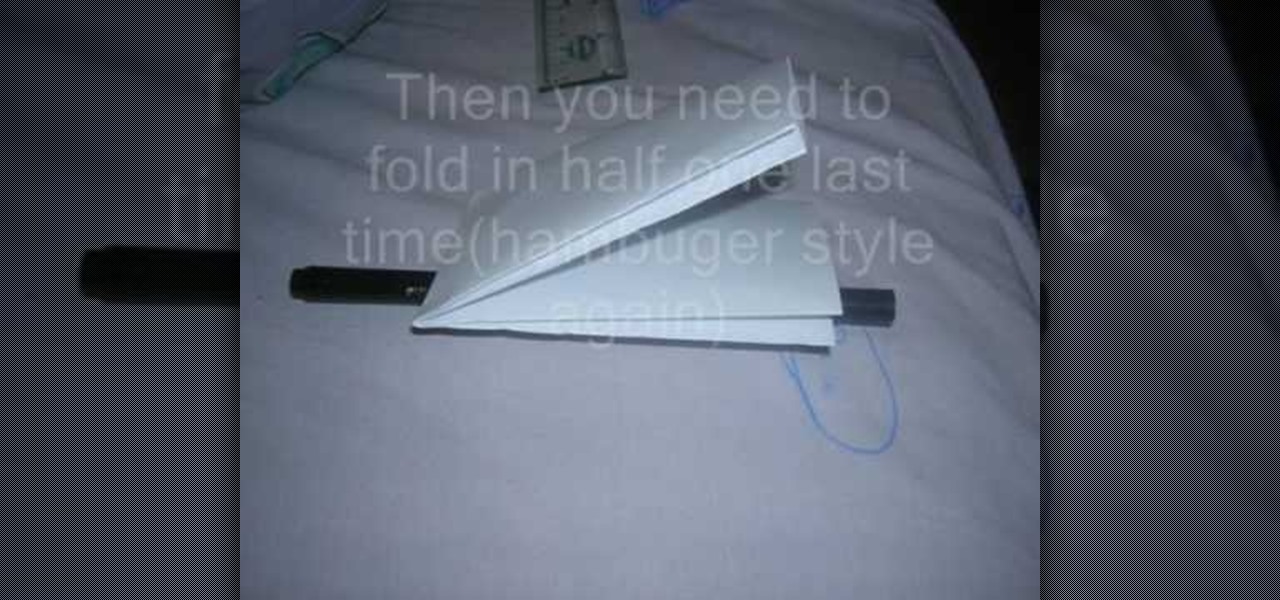
How To: Make a basic paper airplane glider
There are very few pasttimes as fun as tossing paper airplanes around during class. But, don't you hate it when you make a really neat looking plane, throw it and it falls straight down? In this tutorial, learn how to make a very cool paper airplane that is designed to glide, so that you can impress your classmates and properly annoy your teacher..after all, isn't that the fun of study hall?
How To: Fold the Cobra style paper airplane
In this how-to video, you will learn how to make Cobra-style paper airplane. All you need is a regular piece of paper. This style is useful for hitting targets or flying straight. Fold the paper in half vertically and unfold. Take the top corner of the paper and fold it to the edge of the middle crease. Repeat with the other corner. Take the tip of the center and fold it to the horizontal line created by the folded corners. Make sure you make tight folds. Open it up and make a fold horizontal...

How To: Make a meteor diorama
Make a breathtaking meteor diorama that will blow the competition away! This five part video series will show you everything you need to know about making a diorama, from setting up the box to placing dolls. This diorama is sure to impress!
How To: Make paper mache mirrors
This illustrate us how to make paper mache mirror. Here are the following steps.Step 1:Take a piece of cardboard and make two circle on it with two different circumference.Step 2: Now cut through the outer circle as well as the inner circle to obtain the rim.Step 3 : Now take a sheet of cardboard and cut it in shape of a flower.Step 4: In the center of the sheet place the rim.Step 5: Now along the petals of the flower stick a pile of rounded newspaper.Step 6 : On this newspaper and cardboard ...
How To: Fold a paper wallet with 5 pockets
A wallet is something everyone carries around. Stand out with this wallet which you can make yourself! Start with a regular eight and a half by eleven inch sheet of paper. Fold it in half width wise. Then open it out again. Next fold the paper into fourths by folding the halves over. When you open the sheet back out you should have four equal, long rectangles. After that, take one edge of the paper and fold it over half way into one of the four rectangles. Watch the rest of the video to compl...
How To: Make an easy and simple wallet out of paper
In this video, you will learn how to make a wallet out of paper. First, you will need a piece of paper, a pen, a straight edge, and something to cut the paper. Place the paper on a flat surface. Fold the paper in half, hamburger style and unfold. Fold the bottom half up to the middle crease. Now fold the top half to the middle crease. Fold this in half again and fold it in half one more time in the hamburger style. Now, unfold the paper. Draw lines where you need to cut the paper. Once this i...
How To: Make a paper parol Christmas lantern
Here is an easy way to make a beautiful parol. All that you need is colorful papers, scissors, tape, stapler pin. Now take five sheets. Cross fold it and tear the extra paper, so that a perfect square is formed. Do it for all the five sheets. Now fold it cross wise, and again fold it in the same manner, so a triangle shaped paper is formed. Cut the papers cross wise and not on the edges. Care should be taken that it is not fully cut. Then open the paper, several sheets are formed now. Join op...
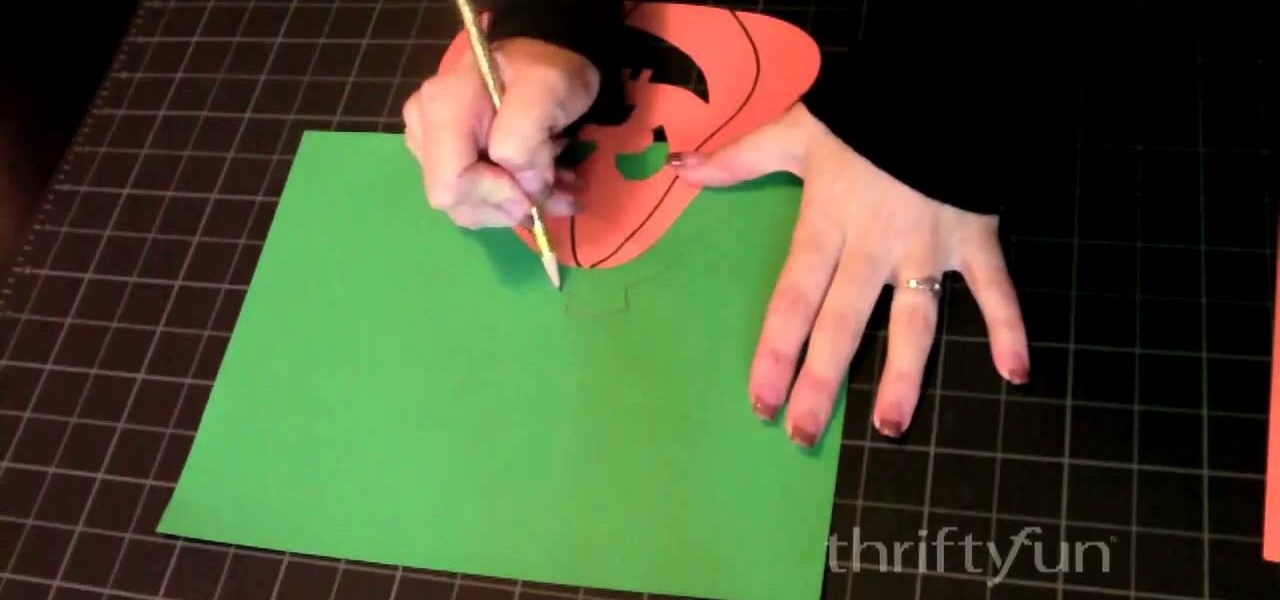
How To: Make a 2D paper jack-o'-lantern for Halloween
This is a fun and easy craft demonstration that shows how to make a paper jack-o-lantern with orange, green and yellow construction paper, scissors, tape, a pencil, a black Sharpie and an X-acto knife. Begin by drawing a jack-o-lantern on the orange paper. Use the knife to cut out the eyes, nose and mouth. Cut a top out of green paper and attach it with tape on the back. Cut out a piece of yellow paper and tape it to the back, to show through the holes on the front of the jack-o-lantern. Add ...
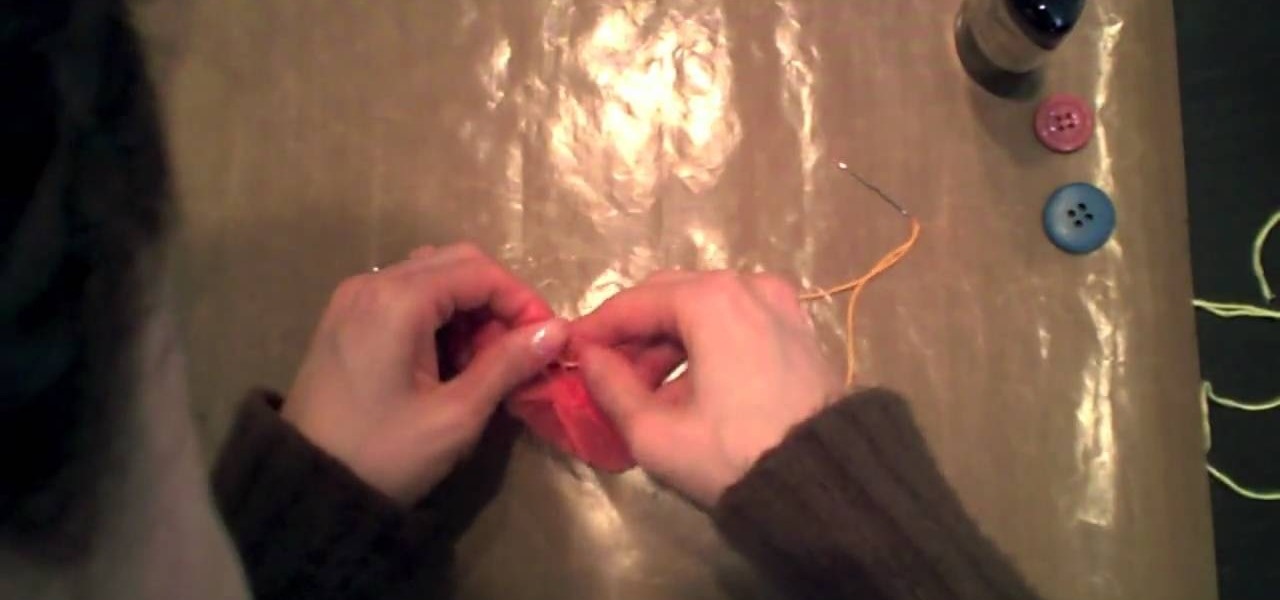
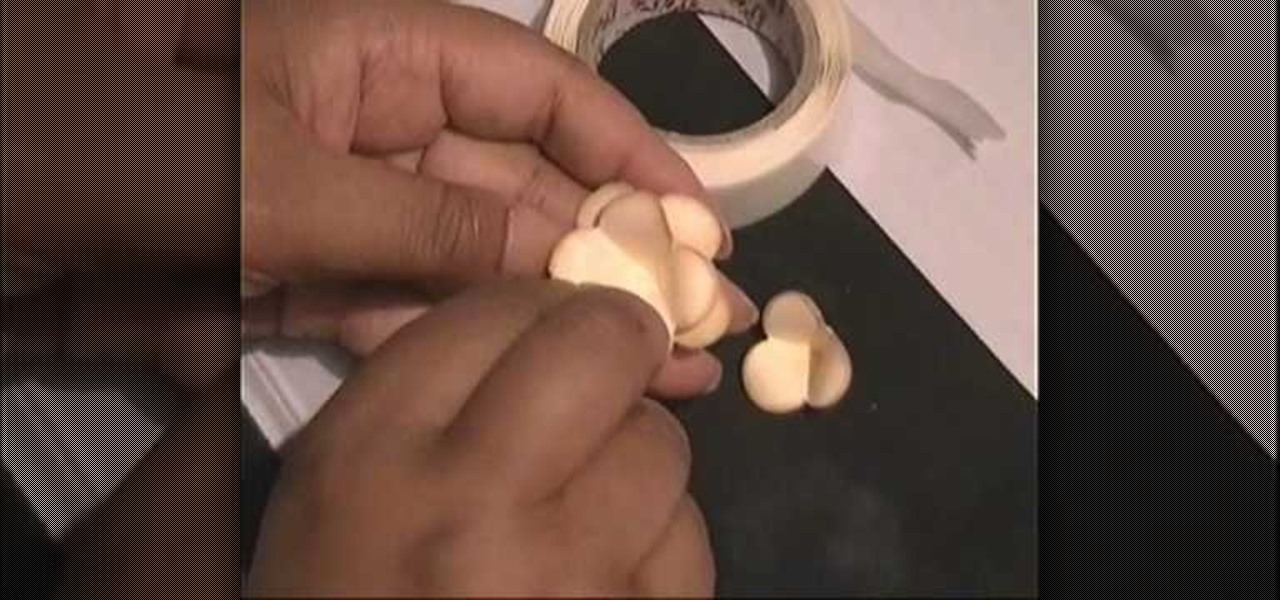
How To: Make a flower from a recycled dryer sheet
This video is about how to make flowers from recycled dryer sheets. Since the dryer sheets have already passed through the dryer it will be wrinkled but it does not matter. Cut the dryer sheets into strips 1 inch wide approximately and need not be uniform. Take a button and place the edges of the3 strips in such a way that it takes the shape of the flower and the other edge collects at the button holes. You may color the dryer sheets with dye like Ranger perfect pal mixed with water and spray...
How To: Make marbled greeting cards
This video is about making a marble greeting card. The materials required for making them are marabu marble starter kit which consists of six marble paints,a marabu konturf paste, a polyester ball, a bowl, kebab sticks, a pencil, a cutting knife, a glue, sweat pieces of card, three cards of different colors and a bucket of water. The video starts by folding one piece of card into half and then cutting the ball into two pieces. Keeping the piece of ball as the center draw a flower around it on...
How To: Make a paper wallet without tape or scissors
This short video on craft shows how to make a paper wallet without using tape or scissors. The first step is to fold an A4 size paper into half and press the fold in the center. The next step is to fold the top flap to the bottom outwards and pressed hardly. The same has to be done on the other side. One quarters of the flap on one side is folded downwards and is again repeated on the other side. Next the two corners of the flap are folded outwards as triangles for both the flaps. The next st...
How To: Make a simple paper hat for your head
This how to video is by a young girl Rida Sharief and teaches you how to construct a hat from simple construction paper. First step, you fold the paper in half and crease the paper with your fingers. Next step, you fold it again in half and crease with your fingers. Next open back up so that the paper is only folded in half. Then, fold triangles inward almost all the way down, but leave space for flaps. Finally, fold the flaps up and you have your own self-constructed paper hat. To wear it si...
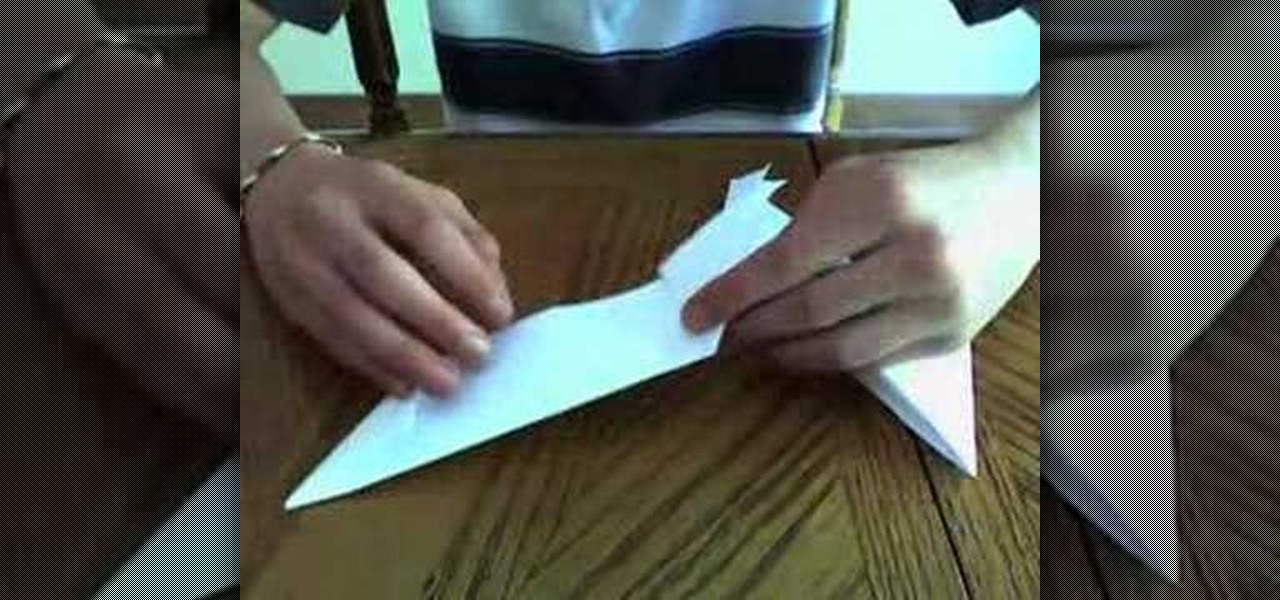
How To: Make a paper shuriken (or ninja star)
In this Weapons video tutorial you are going to learn how to make a paper shuriken (or ninja star). Take a square size paper and cut it into half. Then fold each piece in half lengthwise. Fold one end to make a triangle and fold the other end in the opposite direction to make a triangle. Now fold the ends again to make a bigger triangle. Then each sheet will form a ‘Z’ shape. Now place one sheet on top of the other forming a cross. Then fold in the protruding triangles of one over the other p...

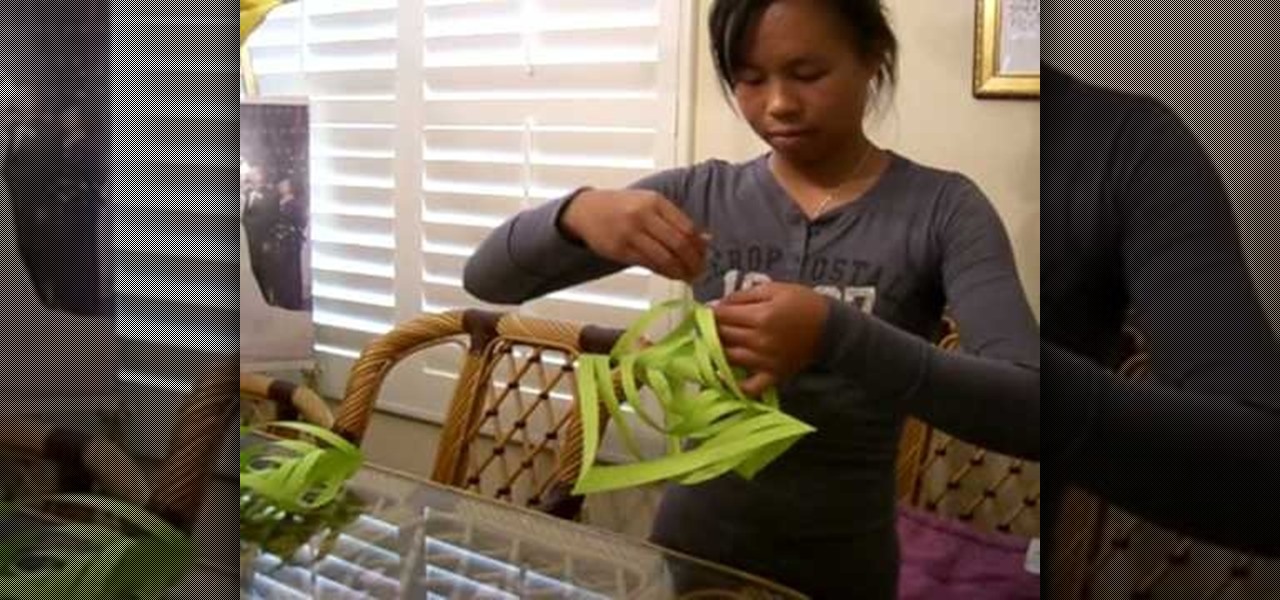
How To: Make a ribbon tree ornament
Jen Spencer teaches how to save money by making a Ribbon Tree at home. You can create this by using some of your ribbon scraps. Cut them into two inch strips, you'll need scissors, a hot glue gun, and a green floral tree. They come in a variety of sizes and also white. Fold the strip in half making a loop. Add a dab of glue on the end and close it. Jen warns be careful with the glue gun. Do that with all the ribbon strips. Place a little glue on the tree and glue the strips on. On top you can...

How To: Make a novelty paper hat
Paul teaches how to make a paper hat. The supplies you'll need are a piece of paper and a measuring device. !. Fold the paper in half. Measure to make sure its half. 2. Fold the paper so hat the unfolded side is up. 3. Fold the side as if you're making a triangle. You don't want to fold it up all the way because you want to have leftover space for an opening. Do the same for the other side. 4. Fold a flap down and crease. Make sure you go all the way across. 5. Do the same with the other side...