

Papercraft How-Tos


How To: Make a paper revolver replica
Boys and their guns! Make paper replicas of guns is a great way to exude a sense of creativity and have some fun. This video will demonstrate how to create a paper revolver replica.
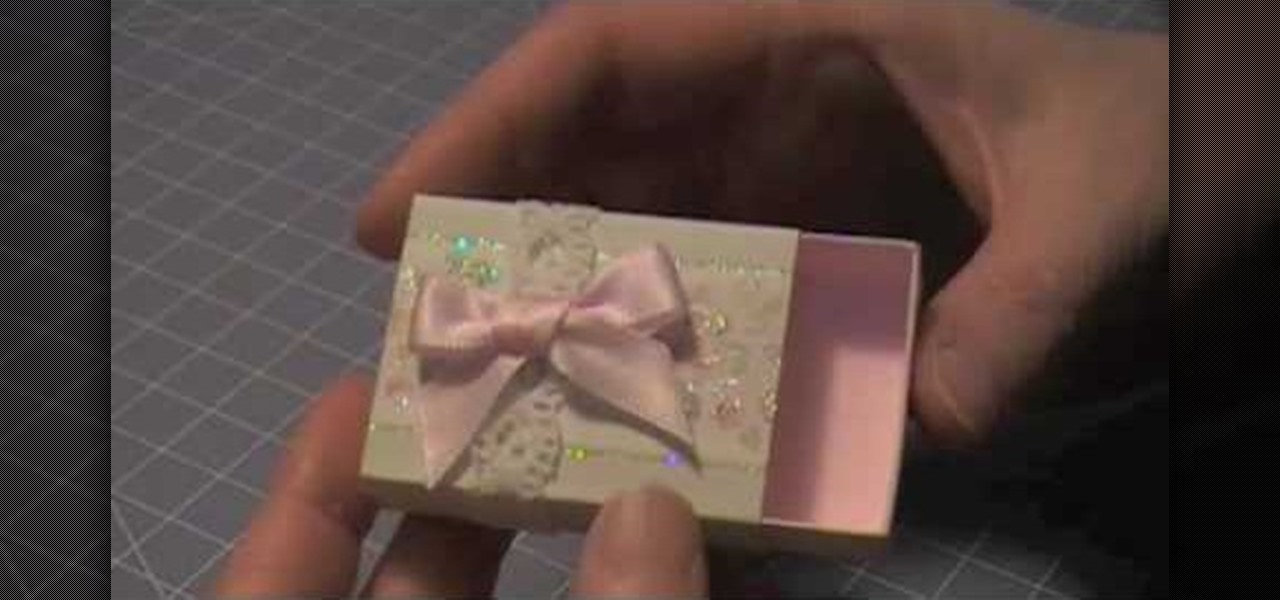
How To: Make a Marie Antoinette inspired matchbox
The Artful Paper Doll demonstrates how to make a Marie Antoinette inspired matchbox. Trace the matchbox template onto a piece of decorative paper. Score the template on the creases and then cut the template out of the decorative paper. Fold the creases up. Affix the creases into a square basket shape with dabs of glue to hold the flaps closed. Fold and glue the ends of the box sleeve together. Slide the basket into the sleeve to form the matchbox. Embellish the box as desired. The box can be ...
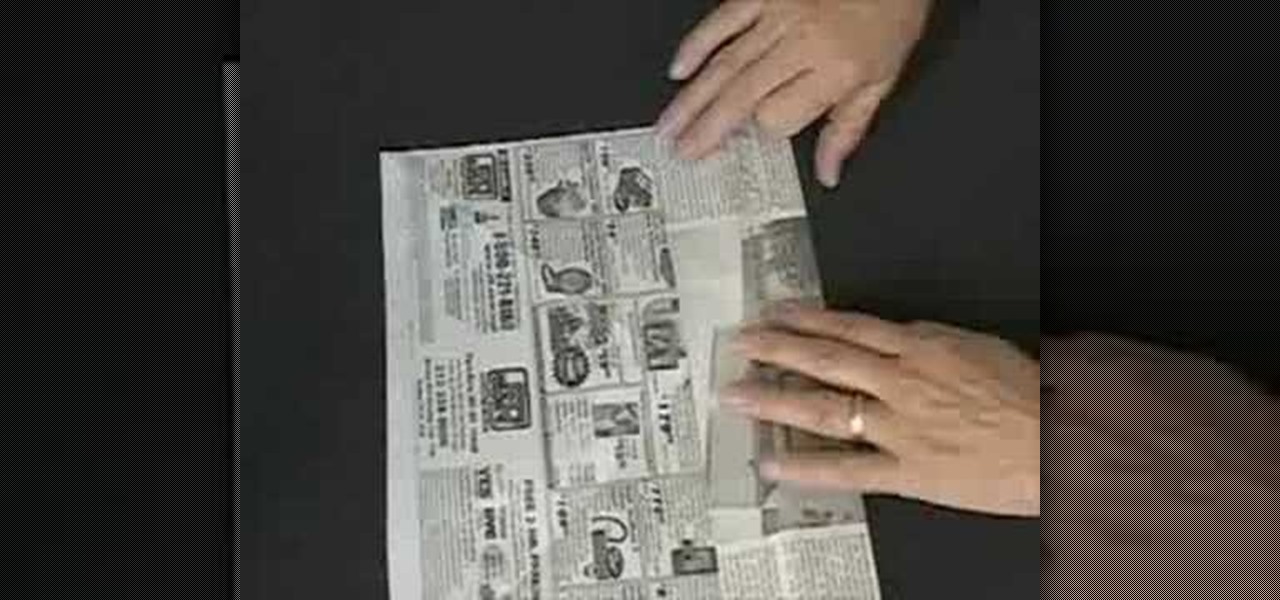
How To: Make a paper box using newspaper
Have you ever thought about creating small boxes out of newspaper? Tomoko Lipp shows you a simple folding and cutting method to do this. Making these can be another way to recycle and be environmentally conscious. You might also consider using them for a unique gift box idea or for storing small items. All you'll need is some newspaper, a pair of scissors, and a pen to mark a few measurements.
How To: Make a carnival themed paper doll
To make a carnival themed paper doll follow these steps. First cut out all of the body parts for your paper doll. You may use any type of patterned paper that you would like. Next decorate the paper by adding more paper, sequins, drawings, etc. Next punch holes into the body parts so that you can put them all together by using string. Next you can make the dolls clothes out of paper, small flowers, sequins, glitter, etc. Finally you should add the clothing to the finished doll body and finish...

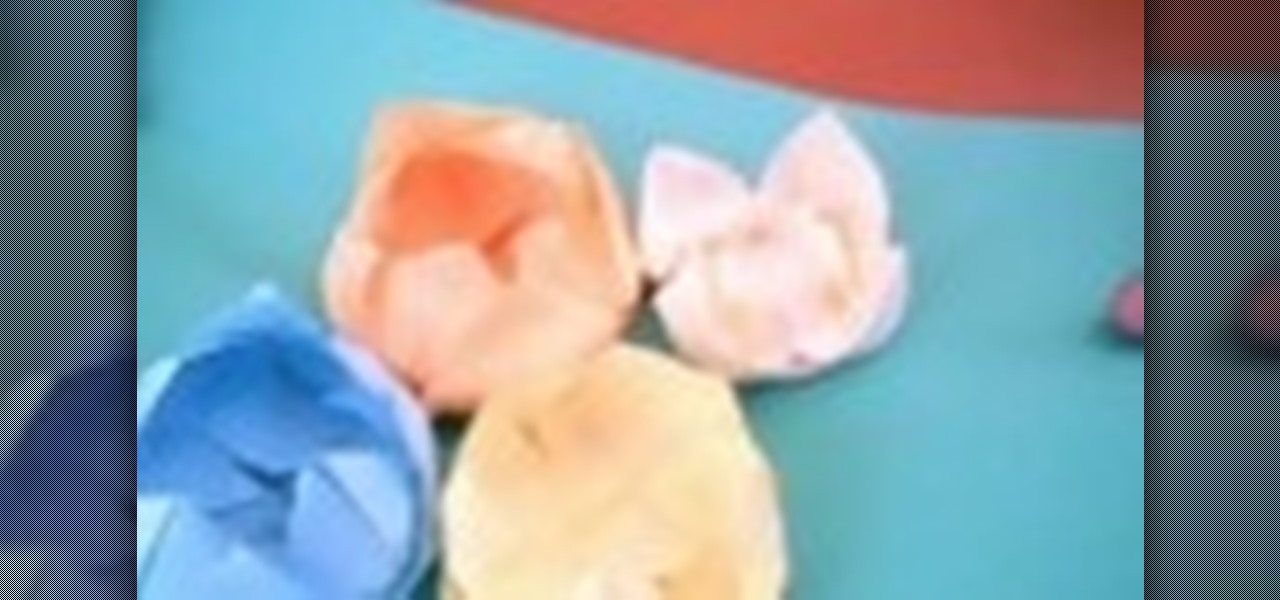
How To: Make paper tissue flowers
Decorating using tissue paper is an inexpensive and it is much prettier than streamers. To make tissue paper flower, all that you need is tissue paper of your color. Have two shades of color for contrast to make it more attractive. Cut the tissue paper into half. Take eight sheets and cut them half which gives you sixteen sheets. Take six to eight of those and lay them on top of each other and make corners match up. Now take the tissue paper and fold it over half inch to one inch and then fol...

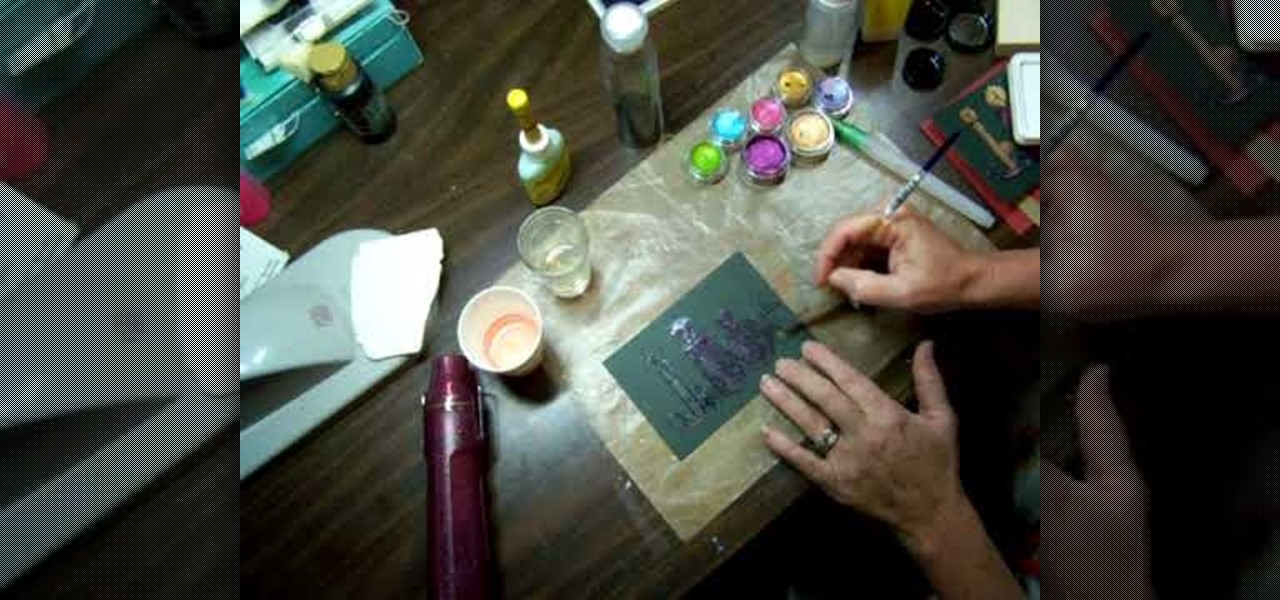
How To: Emboss on metal to make a metal craft embelishment
Terri Sproul shows how to use a really cool technique to make an embellishment for a card. You first need to find a roll of aluminum that is self adhesive. Work on the back of the aluminum, the side with the adhesive. Use a stamp to lay out your design on the back, by stamping the image on the back. Then you must trace the outside of the image. Use alcohol inks to add color to the aluminum. Then she cuts the image out with her scissors. Then she uses a glue dot to place the piece on a card sh...
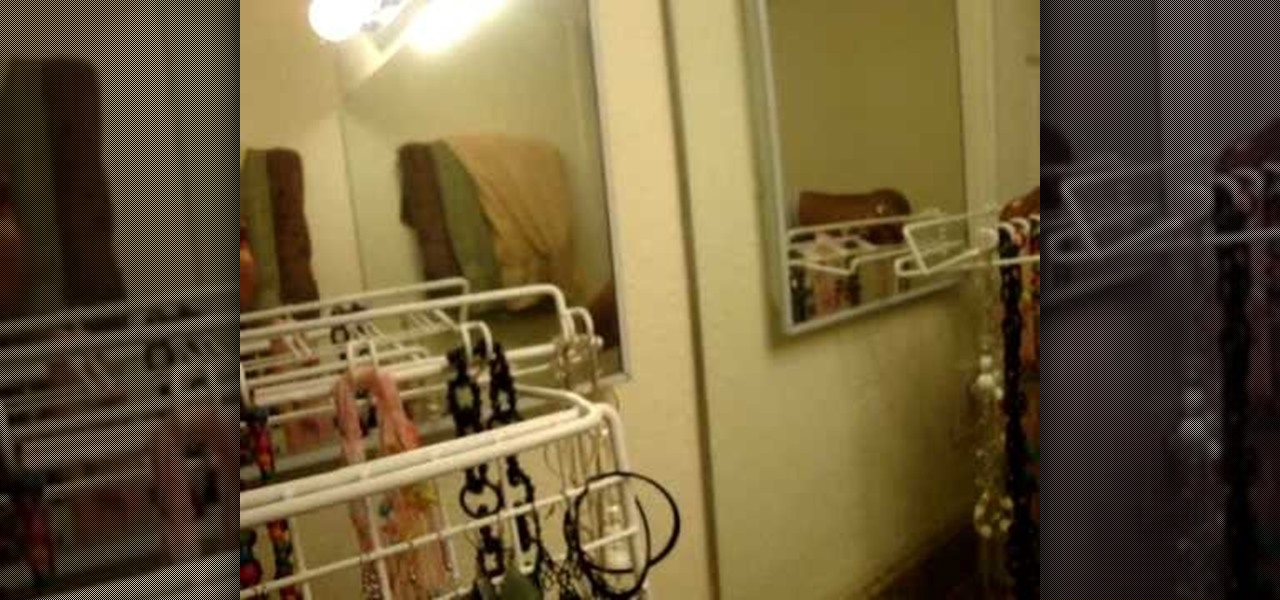
How To: Make a neat necklace & earring organizer
For anyone with jewelry sets consisting of earrings and a necklace, learn how to make this organizer to avoid tangles, broken pieces, or mismatched sets. Go to any Wal-Mart store and purchase a stacking shelf, which has a grid pattern. This will be used for your earrings. You will also need a towel rack (also from Wal-Mart), which will hold all of your necklaces. Bend one of the legs of the stacking shelf, so that you can have the shelf sit vertically without falling over. Because it is a gri...
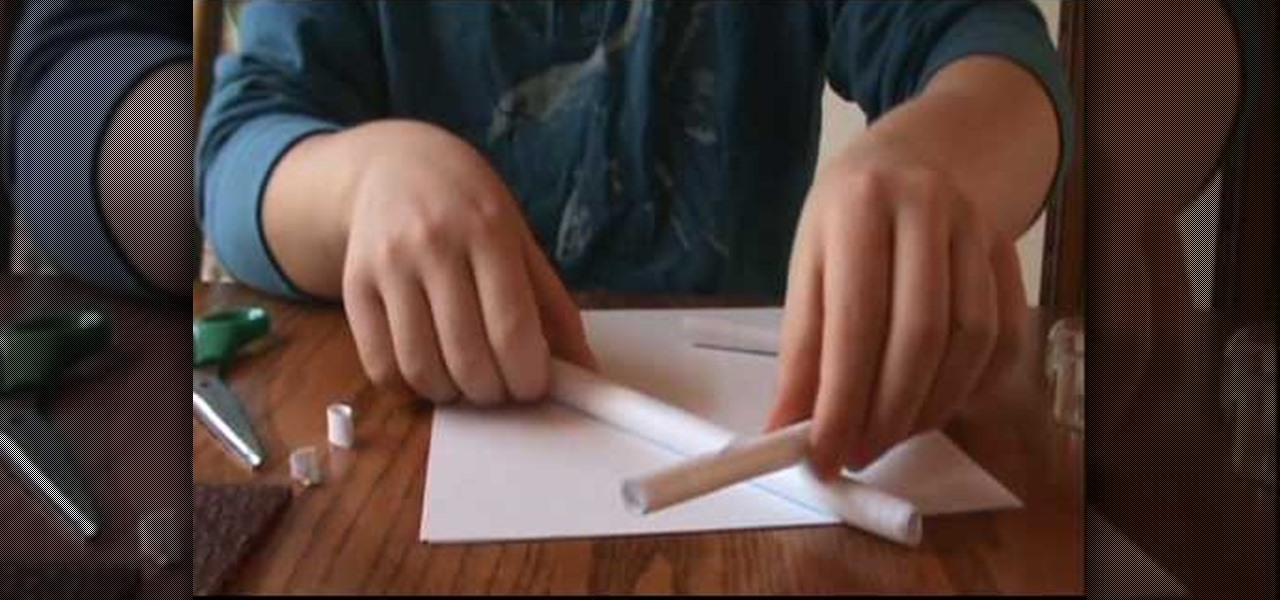
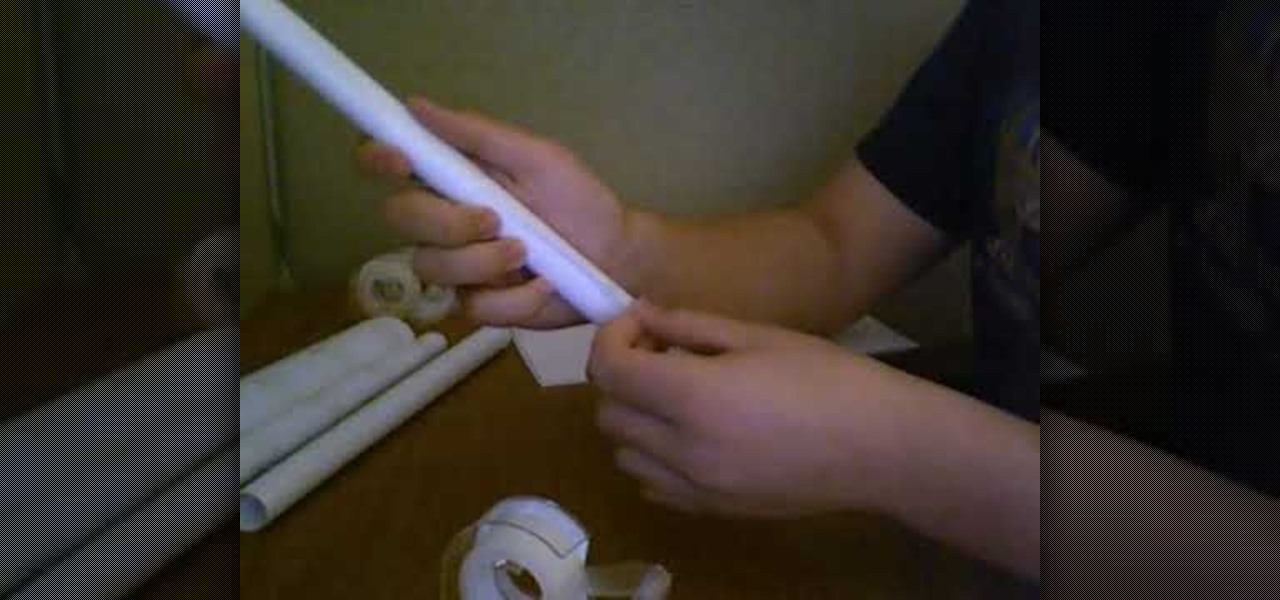
How To: Make a trigger-operated paper gun
This is an instructive guide to making a trigger operated paper gun. You will need an A4 sheet of paper. Start by rolling the sheet of paper horizontally (breadthways) and as tightly as possible, . Once the roll is completed, attach 3 lengths of sticky tape at each end and the middle, so it doesn't unravel. Then proceed to wrap another sheet of A4 paper around your existing roll, making sure that is as tight as can be so it is strong and sturdy. Again, attach sticky tape at each end and the m...

How To: Make a paper pumpkin for a card
For anyone looking to dress up a card, learn how to make a paper pumpkin using punches in this video tutorial. Take a white piece of paper and distress it with Memory Mist (with the pale ale color). Use a box to distress the paper, while avoiding getting the mist all over your work space. To actually make the pumpkin use a store-bought punch (either round or oval). Make the punches with orange cardstock. For each pumpkin, you will need either three ovals or circles. Using a chalk ink to distr...
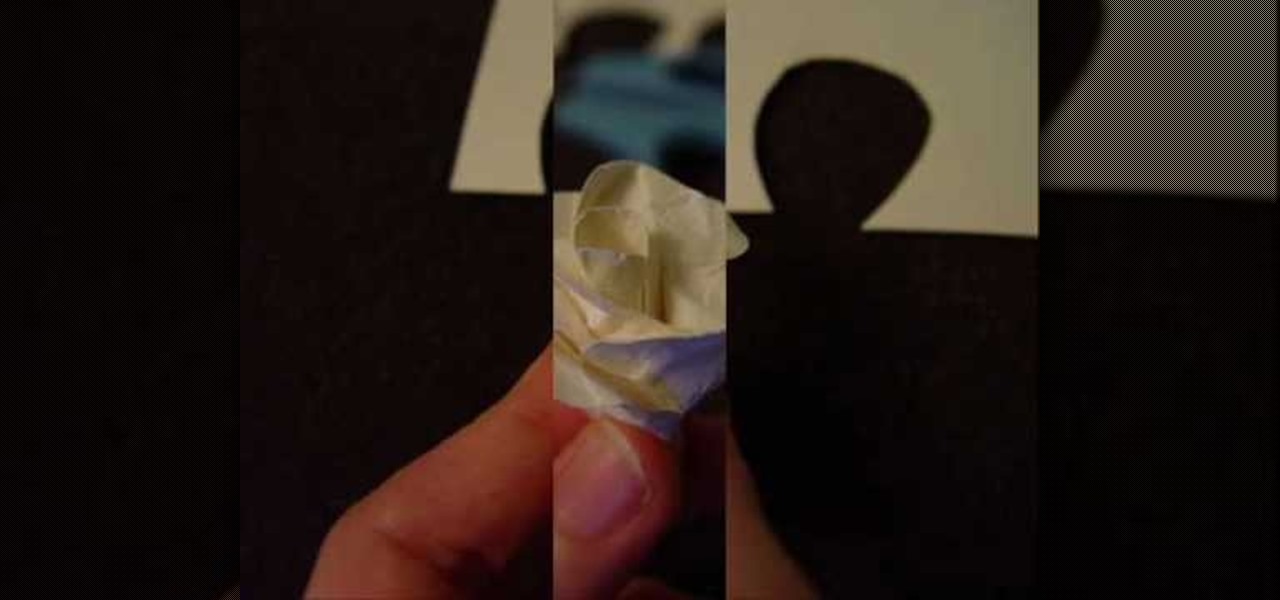
How To: Make classic paper roses
This tutorial demonstrates how to make simple yet beautiful paper roses using only a few materials. The image displayed at the end of this video is just one example of how realistic a paper rose can look. In order to do this, you will need at least one sheet of plain or colored paper, tacky glue, wire and a pair of scissors. Initially, you must first cut your paper in to the shape of your pedals, then crumple them up. Crumpling your pedals not only makes them more flexible, but can also add a...

How To: Make little paper birds
This video shows how to make little paper birdies that have paper clips for their feet. Trace your bird onto the paper. Then you need to cut out the birdies. Then you need to make two paper clips into ninety degree angles. After that you must attach the birdie feet to one side of the bird using scotch tape. Then you must attach the two pieces of the little birdie together. To do this you should be using double sided tape. After that you are basically all done creating your little colorful pap...
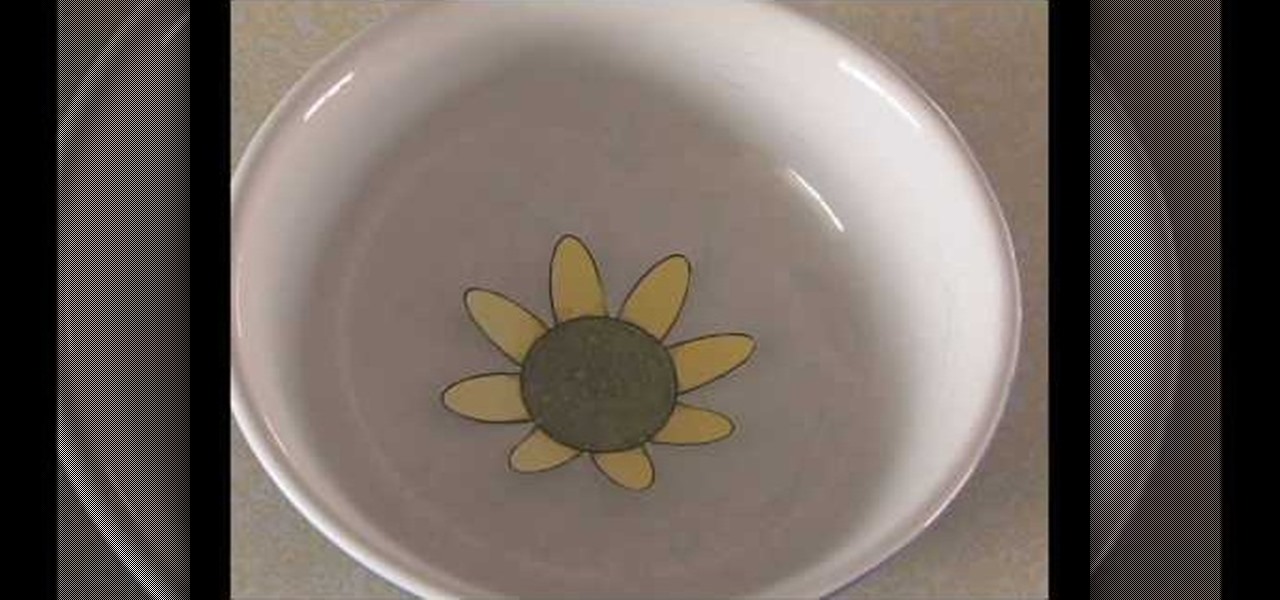
How To: Make a blooming paper flower
This video shows us how to make a blooming paper flower. To start, you shall first draw a flower on your computer, using paint or other similar program. The flower should be simple, a circle with eight identical pedals arranged around it. Print your drawing and, using a pair of scissors, cut your flower out leaving no excess paper. Take each pedal and fold it inwards towards the center of your circle. Now, get a bowl that will easily accommodate your flower and fill it with enough water to al...
How To: Bleach paper to make the color pop
This video tutorial is going to show you how to bleach paper to make the color pop. First take a piece of black paper, apply a bit of bleach and see what color it turns. Because, different cards change color differently. Next you will need a stamp, embossing ink and black embossing powder. Apply embossing ink on the stamp, stamp the black paper and put black embossing powder on the paper and dust it off. You then need to heat the paper. Bleach out the portions that you want color. Follow the ...

How To: Make a paper Hershey Kiss holder for gifts
This tutorial describes how to make a Hershey Kiss holder. This is a quick and easy project that you can make to use as little gifts in your kids' lunches, for co-workers, party favors, place-holders at holiday meals and more.

How To: Make a paper ribbon bow
This is a great instructional video on how to make a paper ribbon bow. This video teaches you step by step to make a nice paper ribbon bow. This will be very much useful for children work in school or even at home. You need color paper, scissors, gum, pencil and a set square. First you have cut the color papers so as to make about 1 inch width ring from it. You have to paste the paper ends to make it as a ring. Similarly you can make another ring with lesser width. You can make about four rin...
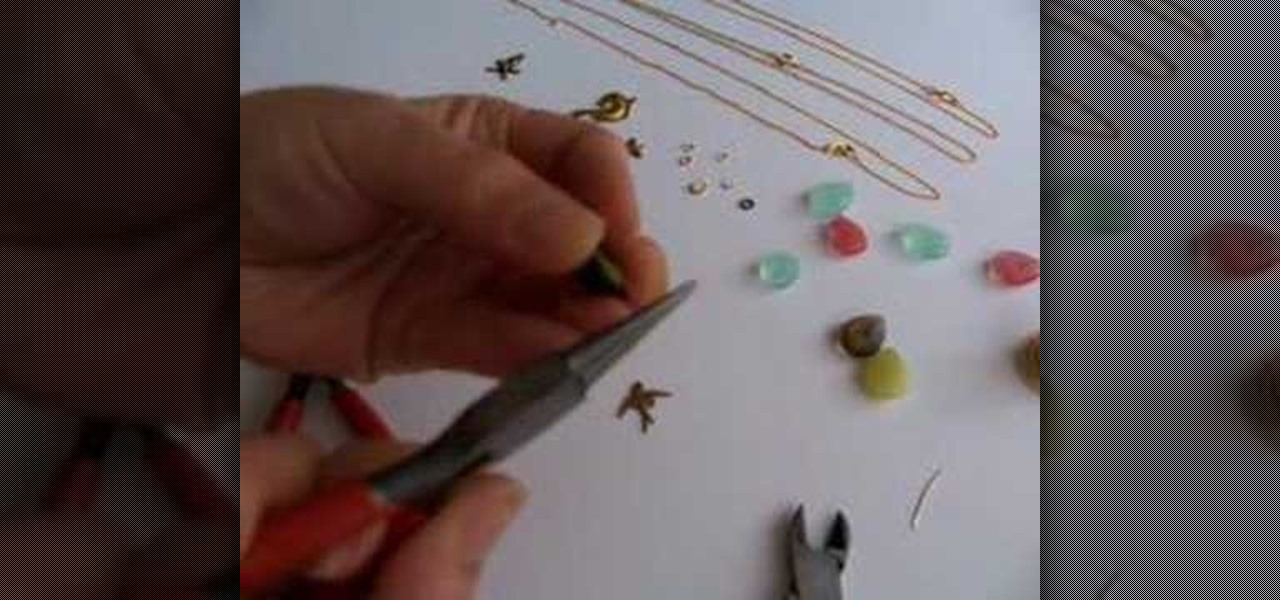
How To: Make a briolette charm drop necklace
In this video tutorial, viewers will learn how to make a briolette charm drop necklace. The materials required to make the necklace include: a small piece of wire, briolette bead, charm of your choice, a jump ring (for the charm), chain necklace, round-nose pliers, long-nose pliers and cutters. Begin by putting the wire through the bead. Bend and cut the wire to shape a loop. Put the charm on the jump ring and attach it to the bead. Then add the bead to the chain and tighten the loop. This vi...
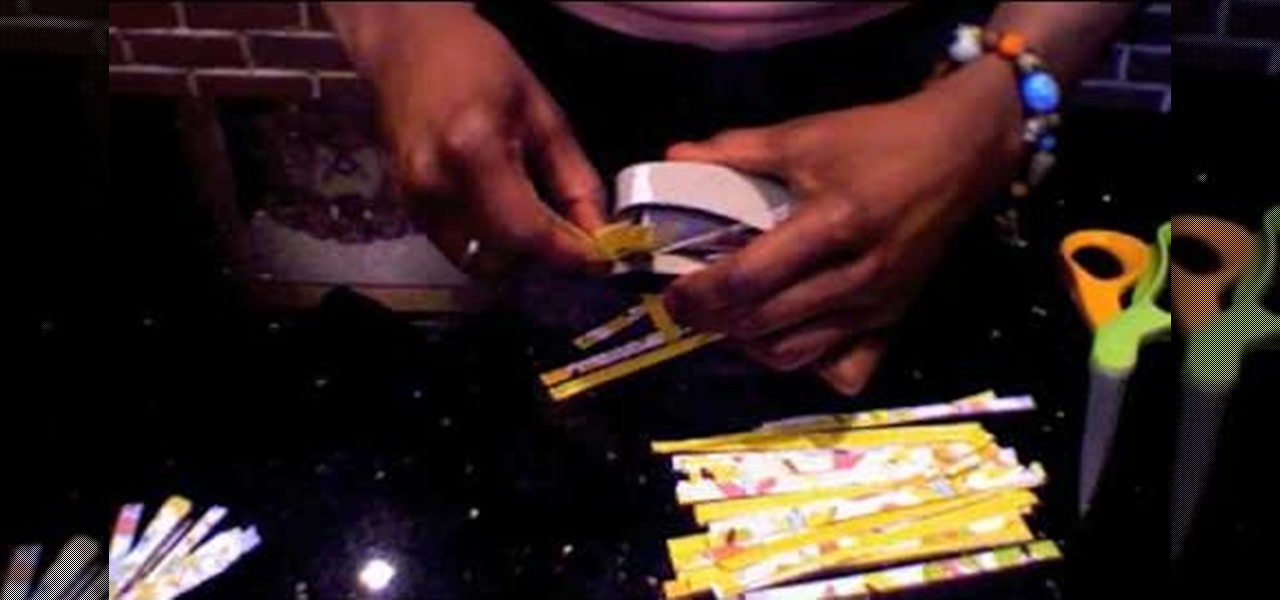
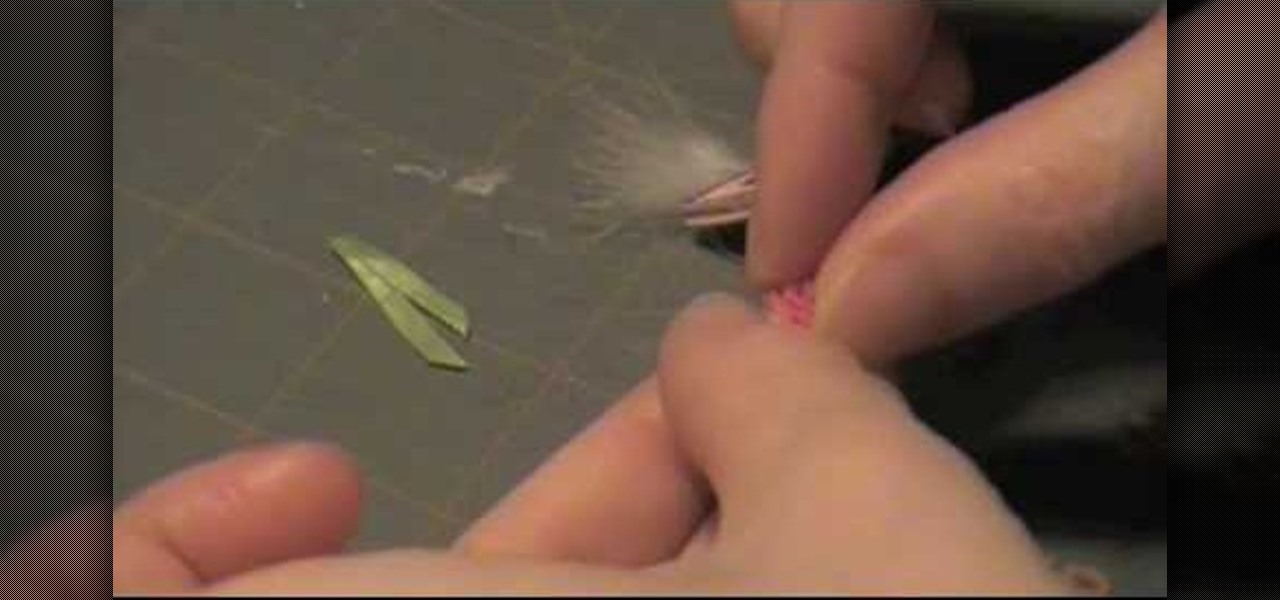
How To: Make a shredded paper flower
This video shows the method to make a shredded paper flower. Take a butterfly paper from April bad girls kit and cut it into eight and a half by eleven. Put this paper into paper shredder and cut it into strips. Take a handful of strips and cut them into half. Repeat this until you get enough pieces to make the flower. Take the paper strips cut into half and put them together around the center. Staple them at the center so that you get a bunch of strips. Repeat this for two more bunches. Stic...
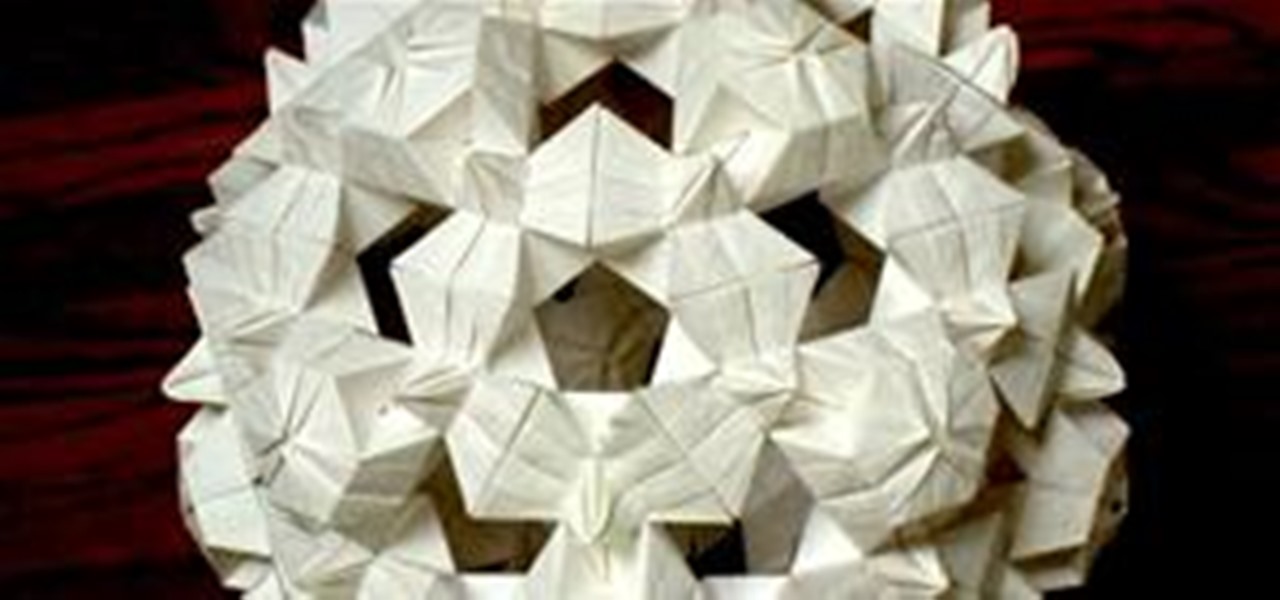
HowTo: Paper Plate Geometry
Oh, what fun you can have with a little math + a little origami. Bradford Hansen-Smith folds intricate geometric sculptures entirely from paper plates and is kind enough to offer a few HowTo's to get you started. Examples of his work below; scroll all the way down for the HowTo.

How To: Make a paper flower mistletoe kissing ball
To make a paper flower mistletoe kissing ball, cut leaf petal shapes out of green paper. Apply glue to white wire berries and attach them in between four paper petals. Wrap the ends of the petals with wire to secure the bouquet. Adjust the leaves as desired. Snip the excess wire with wire cutters. Insert the mistletoe bouquet into a Styrofoam ball. Repeat until the ball is completely covered in mistletoe bouquets. Attach a red bow to the top of the mistletoe ball. Finally, add string to hang ...
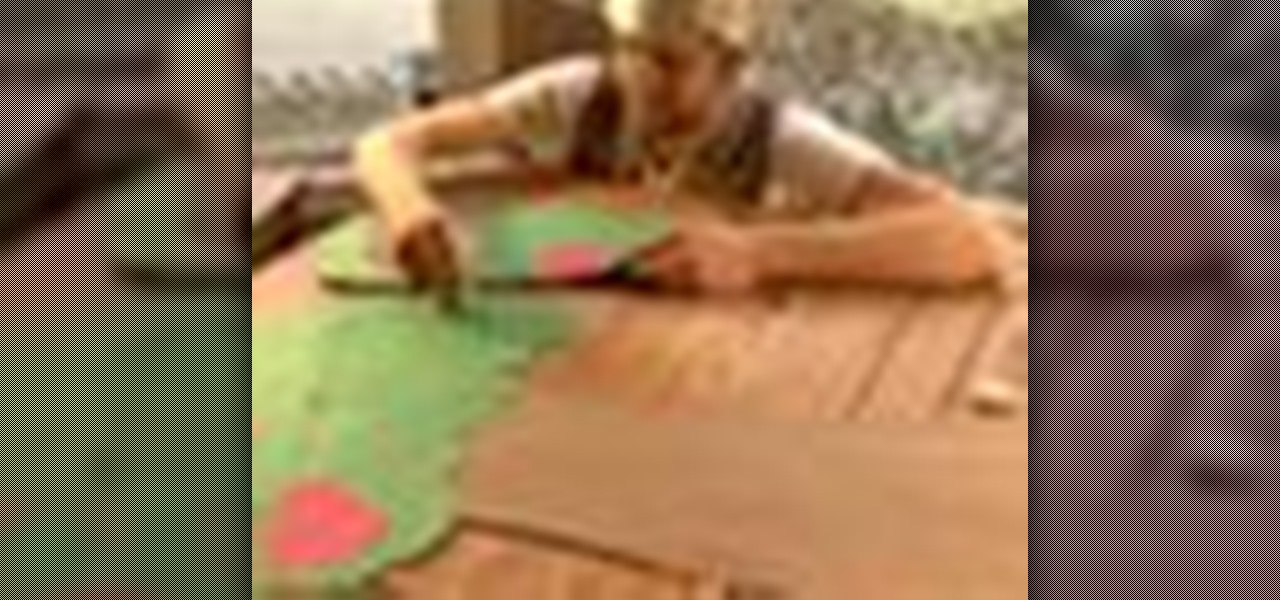
How To: Craft a large paper apple tree
This is a perfect craft project for the classroom or to do with the family. Have fun designing your tree and use it as colorful decoration, help learn about trees, tell tails, or as a fun prop to make play theater really come alive.

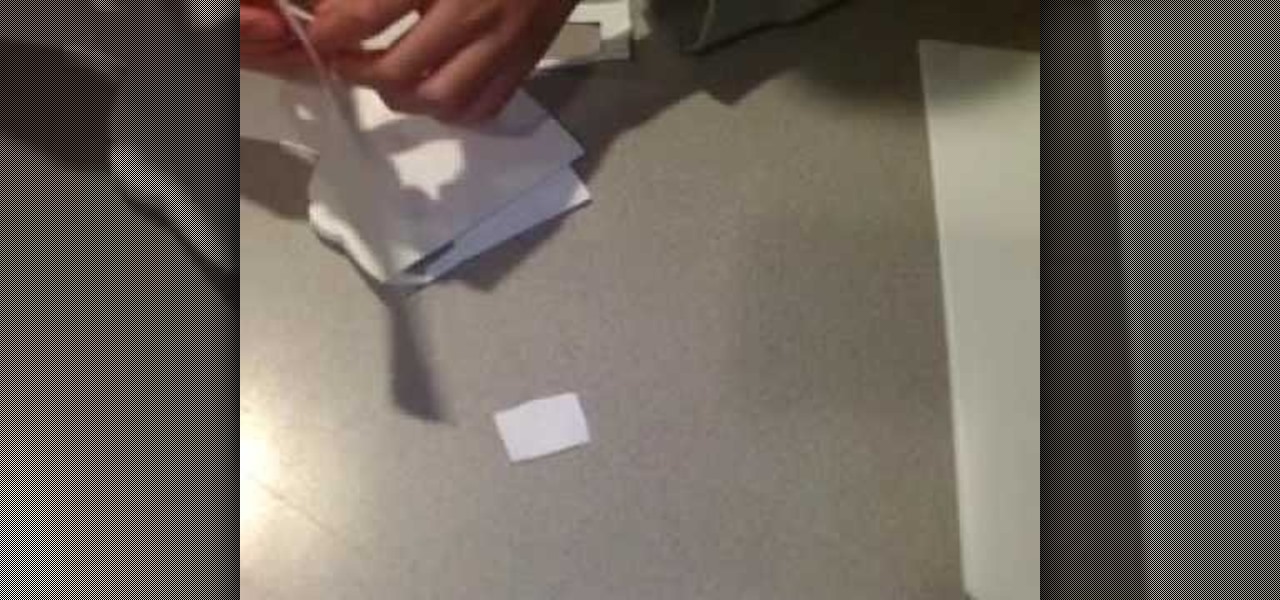
How To: Make a great looking paper box
In the video, a boy named George explains how to make a paper box for wrapping gifts in it. For that, first we need two square color papers of any color, and a pair of scissors. In the box making procedure, first place a paper on table, face down. Now fold it diagonally, twice. Unfold it. Then fold the sides twice, to make regular square shapes. Unfold it. Mark the center part using a pen. Cut the paper leaving two folds on four parts, fold it in. Then fold the rest of the part of the paper o...
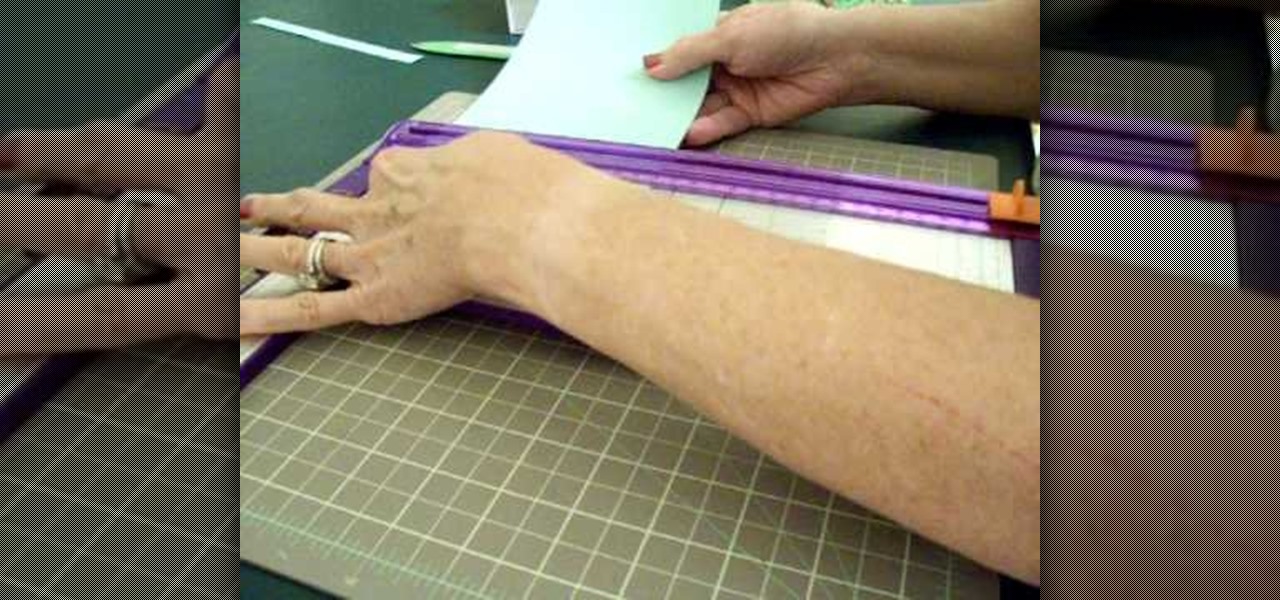
How To: Make a heart shaped window card
The template for this heart-shaped window card can be found at [www.stampininspirations.blogspot.com stampininspirations.blogspot.com]. You will need the template and cardstock and the other usual materials needed to make a card. You can re-size the template to about 5 1/2 inches across by about 5 1/2 inches high. Cut out the heart and remove the center heart as well. Take an 8 1/2 by 11 inch piece of red card stock and fold it in half, then trace the inside and outside of the heart-shaped te...
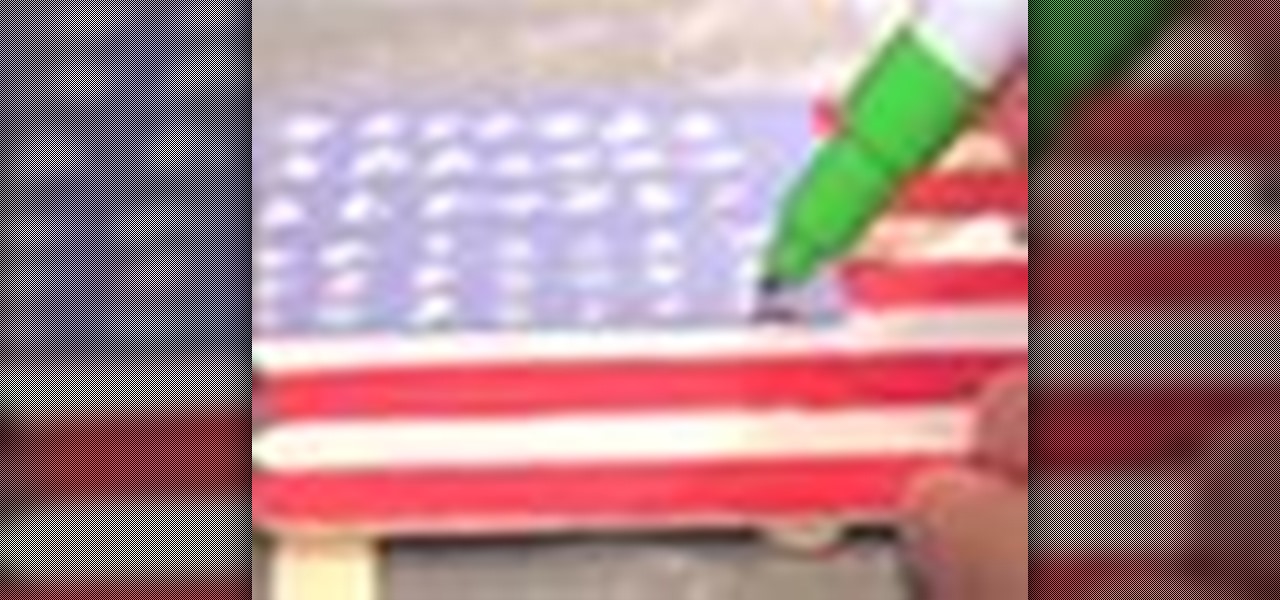
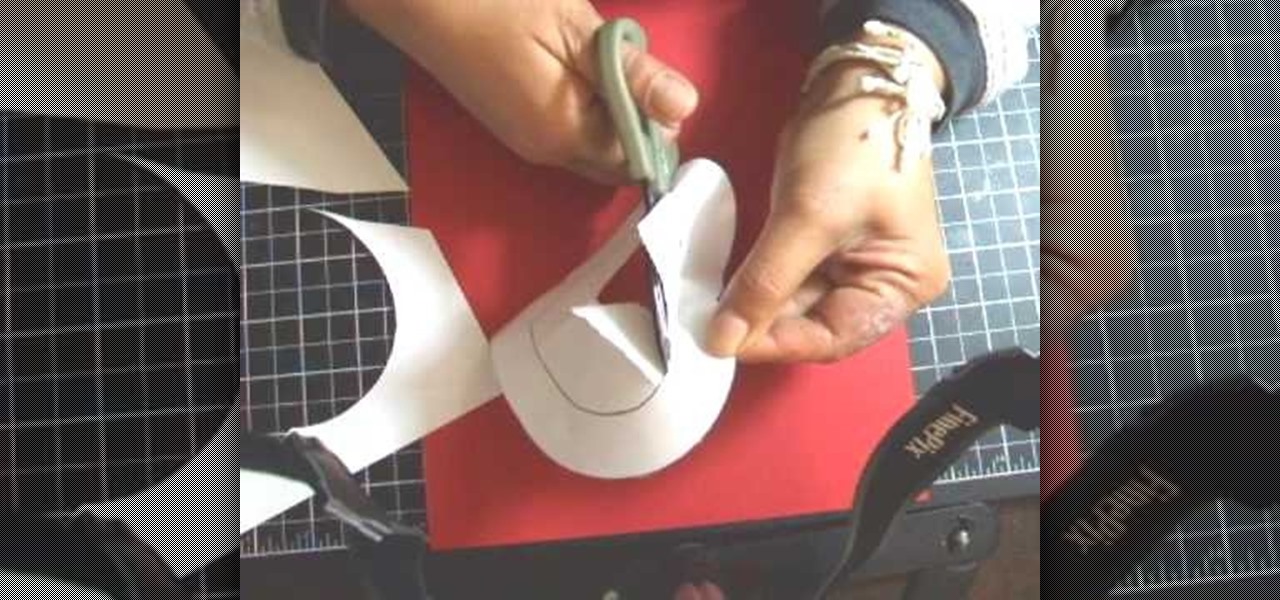
How To: Make an American flag out of popsicle sticks
Summer is coming so start saving your popsicle sticks (or more conveniently buy them from a craft store) to make your very own mini American flag. This is a great activity to take into the class room or just to pass the time on a summer’s afternoon.

How To: Craft a duct tape tie
You have paisley ties, you have striped ties, now try a duct tape tie. Duct tape comes in a variety of colors and with the help of one of your boring old ties as and outline, you can have an imaginative new tie that you can be sure no one else has.
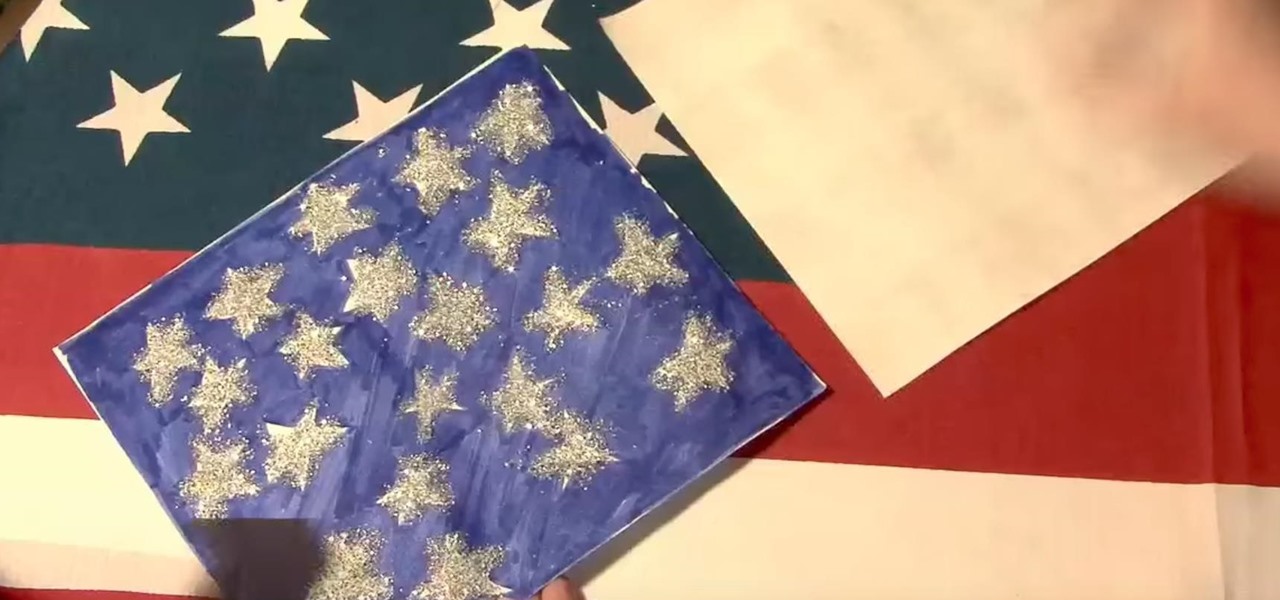
How To: Make a Patriotic Pinwheel
Keep the kids learning and entertained with this fun pinwheel project. Summer is a great time for family activities, and these Fourth of July pinwheels are a math lesson, craft project and decoration-making session all-in-one.
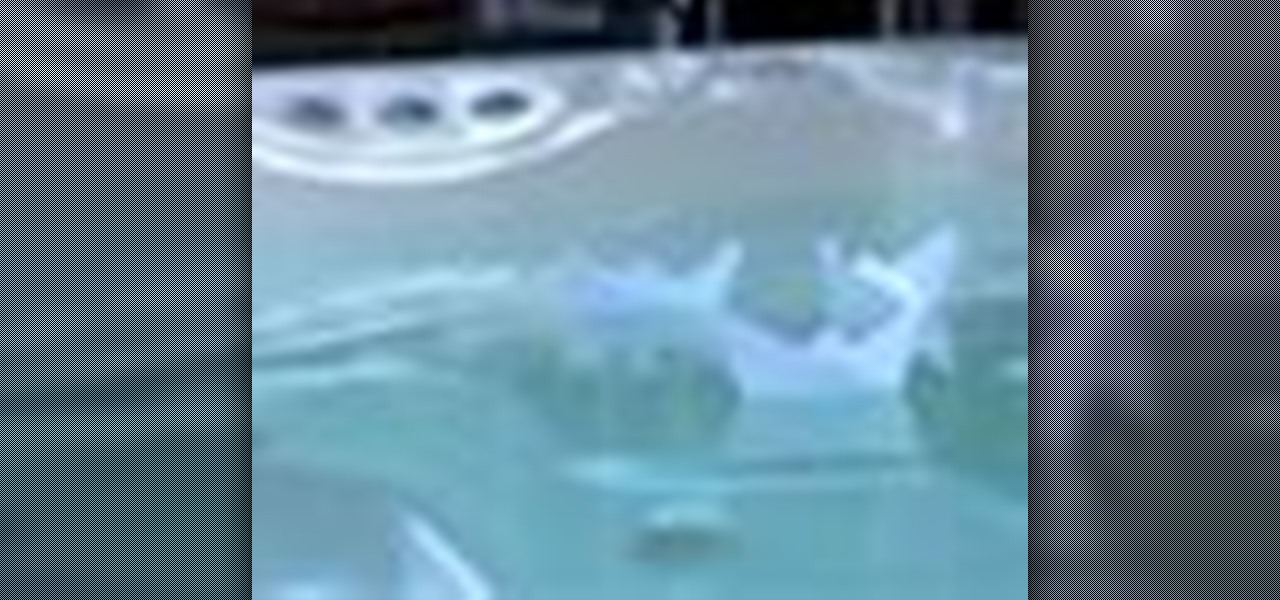
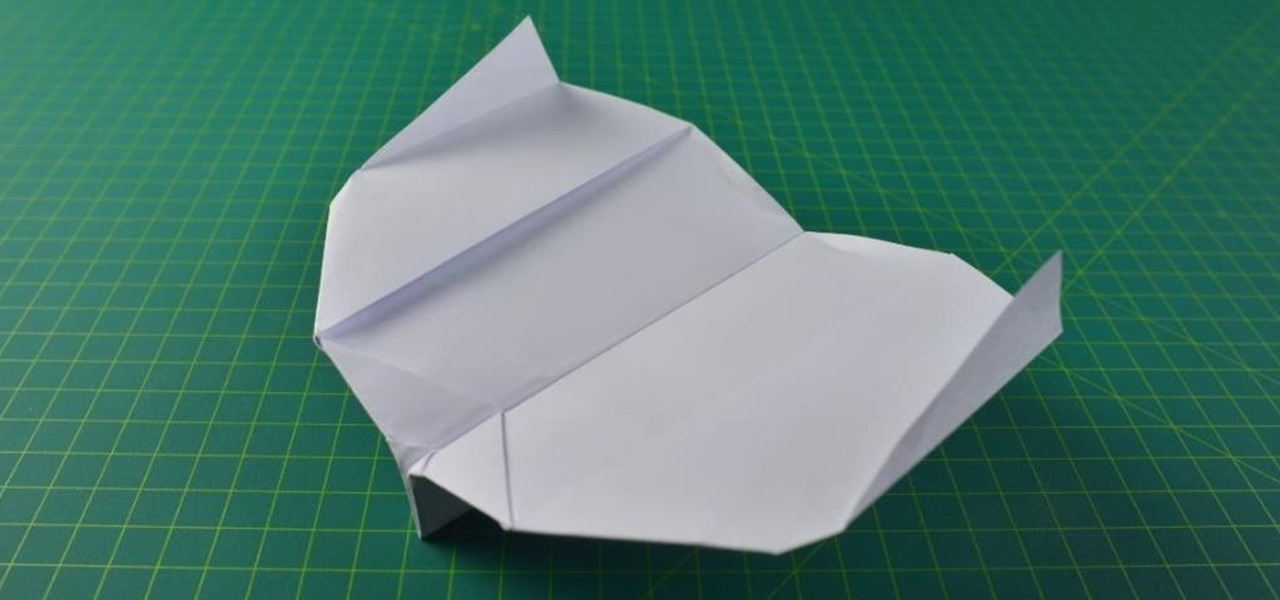
How To: Make a paper boat that sails
Folding paper into shapes is fun. Folding paper into a toy that you an actually use is even better! Making a paper boat is not only a great rainy day activity but works just as well on a beautiful summer's day.

How To: Craft a paper-bag apple
Show up the other kids at school and bring your teacher a super-sized apple, well, paper-bag apple that is. Great project to do with the family or in the classroom. Create a festive apple using just paper-bag and some newspaper.

How To: Craft a duct tape rose
A bouquet of fresh roses is wonderful but real roses soon fade and die. Make a rose that will last forever, or at least a lot longer that a freshly cut one. Give your rose to someone special or use it as a decoration.
How To: Make kissing cards
Nothing says you care like a hand-made card. Show that special someone what they mean to you or just have fun with this cute arts and crafts project. Get your markers and colored pencils. Get your glitter and glue. Get creative.

How To: Make a floral bow or tying ribbon
This video teaches the secrets of making a floral bow or tying a ribbon in simple steps. First take a piece of ribbon, make a loop, twist and hold it. Now make a loop to the side, twist and hold and make another loop to its opposite side. Now make two more loops in the same way and hold it tightly. Secure the loops made in the ribbon by using a wire. Finally pull out the loops to make a floral pattern and finish.
How To: Make a stair step card using Cricut Storybook
Once you get started with the concept of "stair step" cards - it is hard to stop! It would be fun to try a double set of stairs, add another row for five letter words and cut letters into the bridging circles. Cut the extra panels for the front and emboss them with the Divine Swirls 'Cuttlebug' folder. Then use the Stardust 'Stickles' on the swirls to really make them pop! The extra letters from the name cutout were perfect for the envelope. Emboss the envelope with the Birthday Candle 'Cuttl...

How To: Make a Halloween mini tag album w/ Cricut TBBM
Cardcrazy09 teaches you how to make a Halloween mini tag album using Cricut. The album itself is made using different types of double sided cardboard. They're stuck together using a metal spiral. Each of the elements use different types of cartridges for Cricut. Simply cut all of them and stick them in place on each page. You can also add photos to give it a more familiar look. Multiple tags are inserted in little cardboard pockets. There is also a demonstration of the Cricut Gipsy, a useful ...

How To: Fold an octahedron with Post-It notes
This is an instructional video on how to fold an octahedron with Post-It notes. Use 3 different colors of Post-It notes. Take 2 Post-It notes in the same color, fold it horizontally and diagonally to make four squares. Fold diagonally the sticky side, you will end up with a cross or a star. Put the tight corner between the gap, alternating the color. That's it! You will end with an octahedron Watch this video and make an octahedron using Post-It notes by yourself.

How To: Make a pop-up snake
Learn how to make a pop-up snake in minutes and surprise your children. 1) Get two pieces of paper of the colors you want. Also get a CD or something similar. 2) Get a paper and fold it in half. 3) Draw a circle on the paper using the CD and a marker or pen. 4) With the help of scissors start cutting the circle in a spiral fashion. 5) Fold the other paper in half. 6) Glue the tail of the snake on one side of the paper and glue the head of the snake on the other side. 7) You can use the other ...
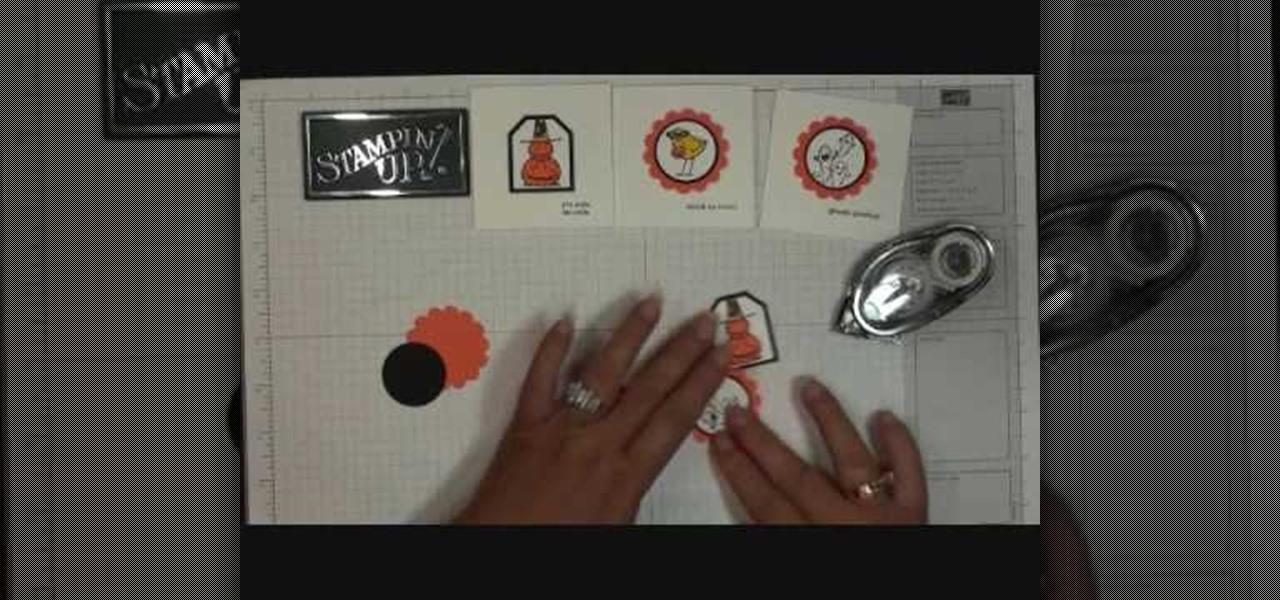
How To: Make fall themed thank you cards with Stampin' Up!
We learn how to make a fall themed thank you card with Stampin' up. The Stampin' up set she used today was the Halloween theme. Firstly cut out your stamps. Then choose the colors of your liking to color your stamps with. Thereafter, cut out your stamps in any design. Continue on with cutting a rectangle that is just a little bigger than your stamp. Glue the stamp to the orange rectangle for a background. Then you are done, but you can add even more to your stamp with glitter and sparkles.

How To: Make a great bow from a ribbon
Butternutsage offers her technique for tying a perfect bow in a ribbon for use with cards or gift wrapping. You will need a length of ribbon four times the area you're going to cover. First, make a loop and pinch it with your fingers. You should "pucker" the ribbon as you pinch it, to achieve a smooth knot. Take the other end of the ribbon around your loop, as if you're tying your shoes. Push the tail end of the ribbon through your ribbon to create another loop, just like tying shoes. Pull on...
How To: Make a paper water lily
1) Make sure the paper used to make the origami water lily is a true square. One can use the paper one happens to have on hand, but anything heavier than lined notebook paper is best. 2) Work on a flat and hard surface so that all creases and folds are precise. 3) Place the paper square on the flat, hard surface so that the edges are facing in every direction. Be sure to have the colored side down if the paper is two sided. 4) Fold the paper in half from top to bottom. Crease the fold then un...

How To: Make a nut cup with the Cricut
Materials you need to make a nut cup: 1) A thick sheet of paper; 2) a mat; 3) a Cricut Machine.
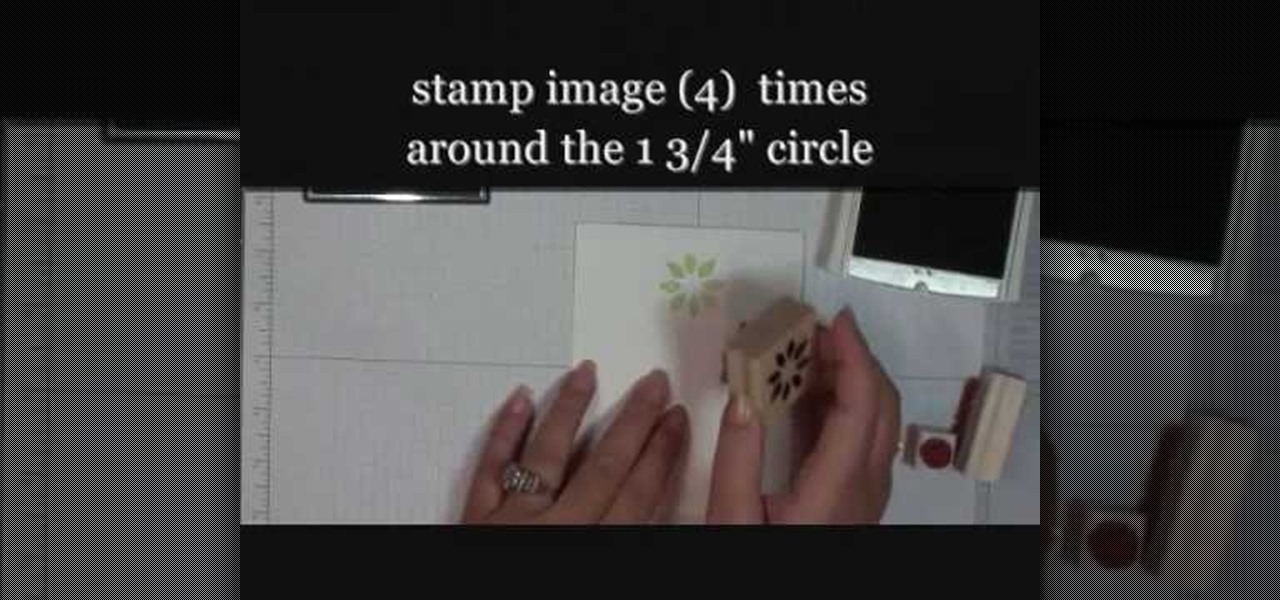
How To: Make a "Berry Christmas" card with Stampin' Up!
Learn how to make a "Berry Christmas" wreath card with Stampin' Up! Making a wreath card is very easy and simple to make. Use whisper white paper cut at 4 1/4" x 11" and cut a whisper white 1 3/4" circle punch which will be used as the base for the wreath. Place the circle in the center of the card. Use the Berry Christmas stamp set from the Holiday Mini. With the Certainly Celery ink pad, stamp image 4 times around the circle. Then, remove the circle. Fill in the circle space with more image...
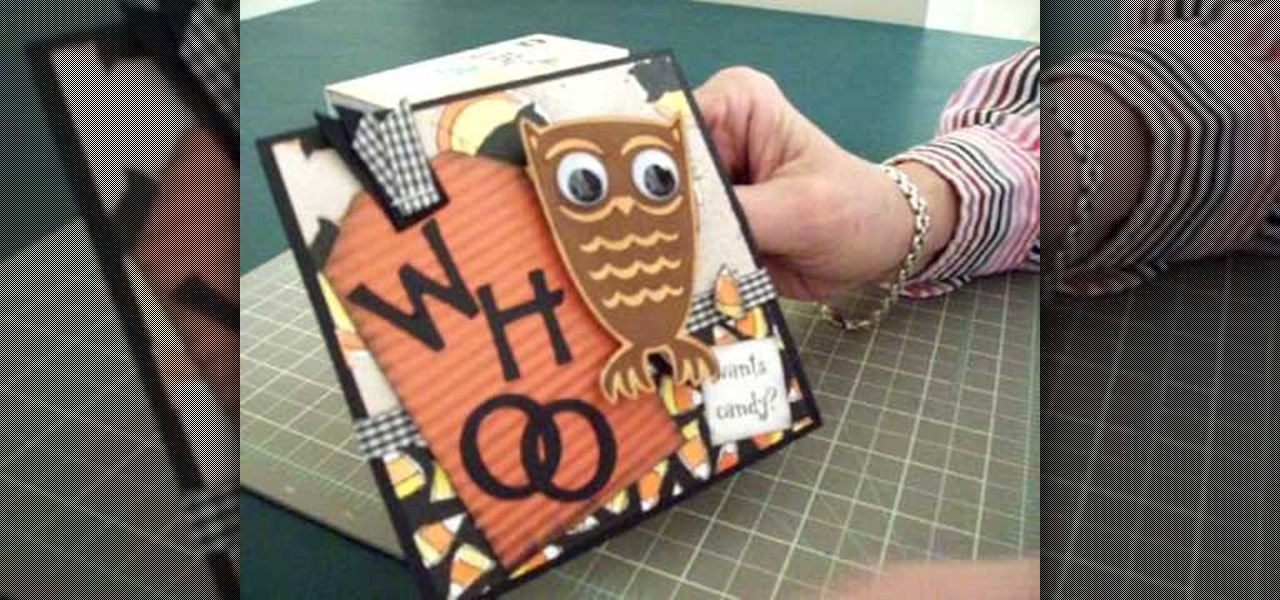
How To: Make an owl Halloween card using Cricut Storybook
Learn how to make an owl Halloween card using the Cricut Storybook cartridge: Mary explains how to make a 5 x 5 inch square Halloween card in a few simple steps. On page 34 of the Cricut Storybook manual you'll find the owl. Cut the owl at 3 inches out of the darker brown by hitting shift and the owl. Then cut the owl out in the shadow and layer it. Give the owl big google eyes. Cut a tag out of Tags, Bags, Boxes and More at 4 inches. Then run it through the crimper. Then cut the letters W-H-...