

Everything Else


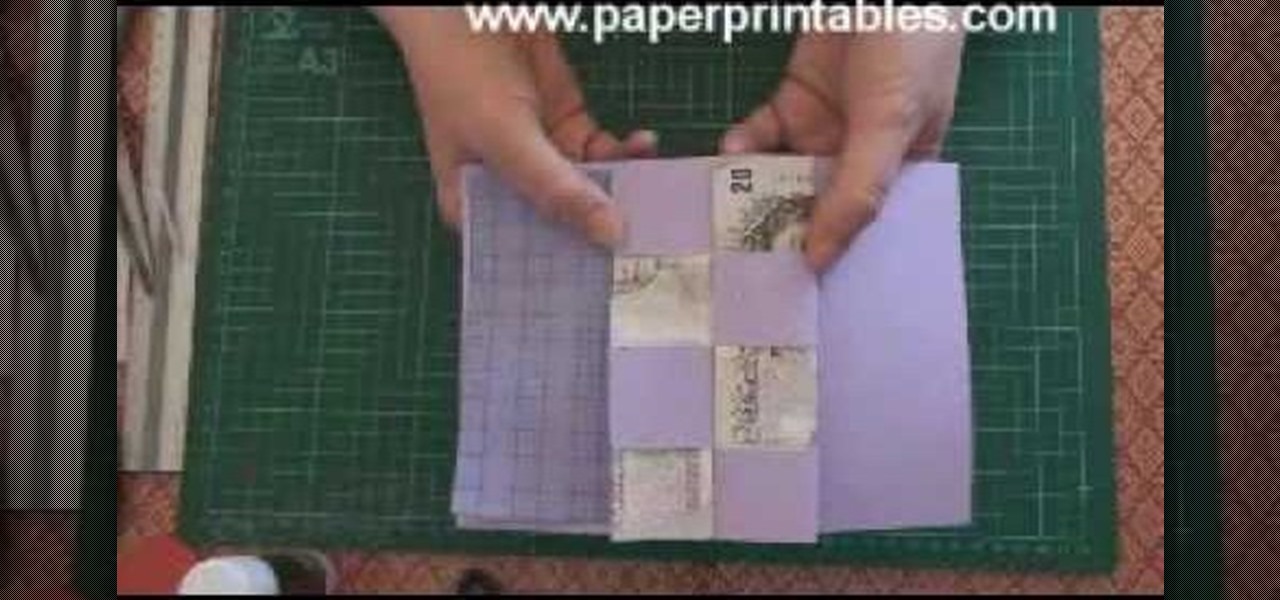
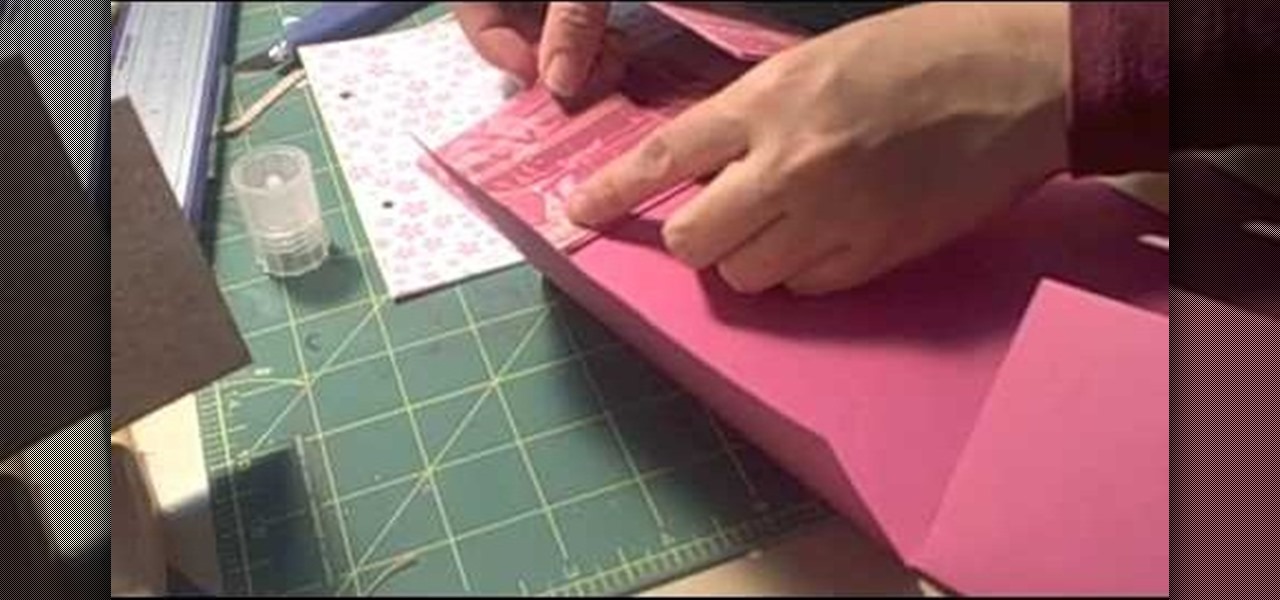
How To: Make a pop-up concertina money card
In this video, we learn how to make a pop-up concertina money card. To start, you will first need to take a piece of paper and measure your money on the inside of the paper. Then, cut this out in a strip and cold your money in half lengthwise. After this, measure the depth out from the center using a ruler. Then, fold the paper in half and on the sides where you marked. Then, you will cut three holes in the middle of the paper and these will hold the money in. Stick the bill in the middle of ...
How To: Use your inkjet to print on a shrinkle
IN this video, we learn how to use your inkjet to print on a shrinkle. To start, you will grab the paper for the shrinkle. Then, you will print the outline out on a normal piece of paper. From here, stick the shrinkle over, frosted side up, on the paper. Then, feel the piece of paper back through the printer and print exactly the same image over again. Don't print anything too dark, or it will bleed out on the back. From here, you can peel off the shrinkle and then cut it out. This will finis...
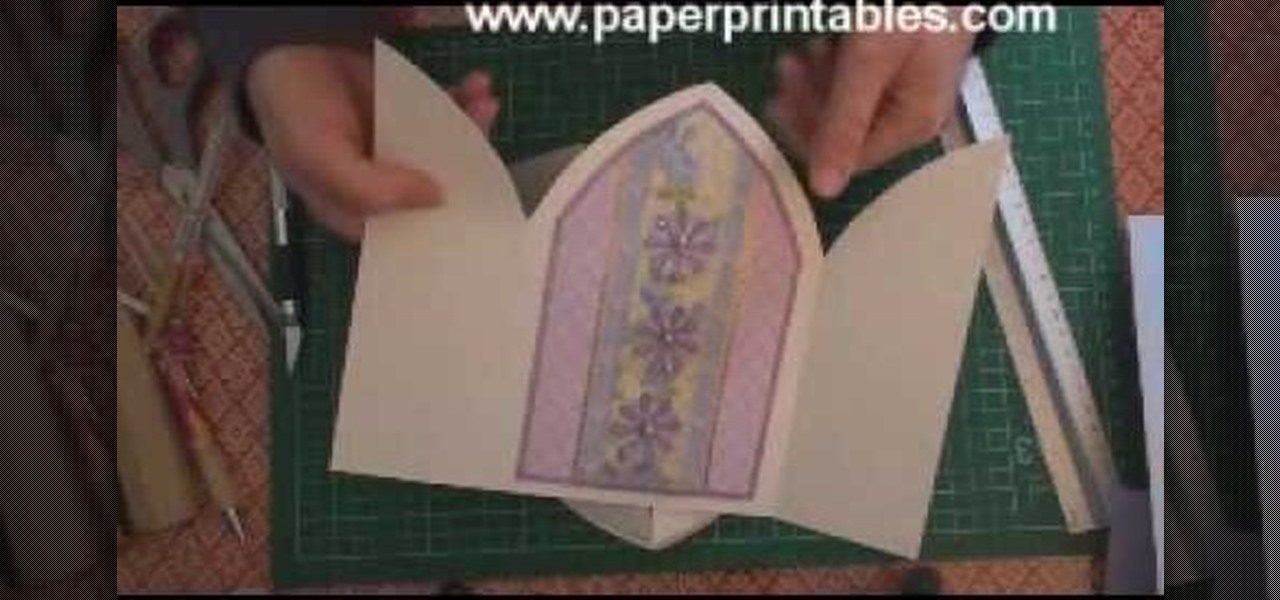
How To: Make a church door card
In this tutorial, we learn how to make a church door card. To start, you will need to take a piece of card stock and the template for the church door. After this, you will fold the template up using the paper, then cut it out. After this, write the message you want on the inside of the card. From here, you will decorate the front of the card and then tie a ribbon on the front. This will close the two doors and then when you upwind it, the person can see the inside. Make this unique and have f...
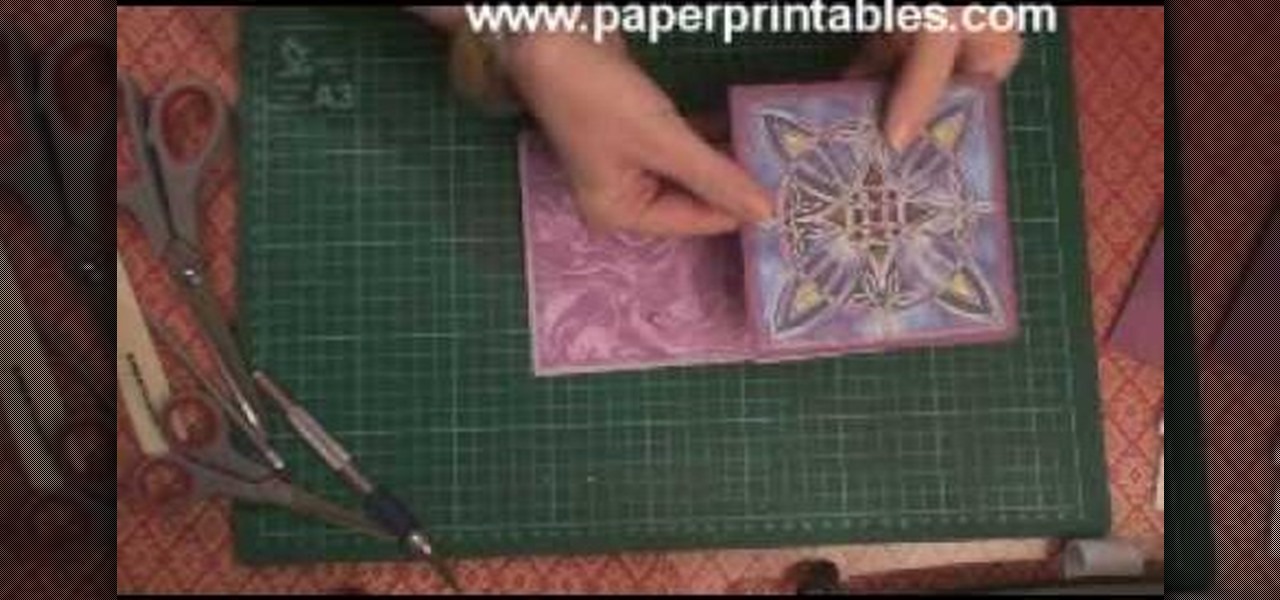
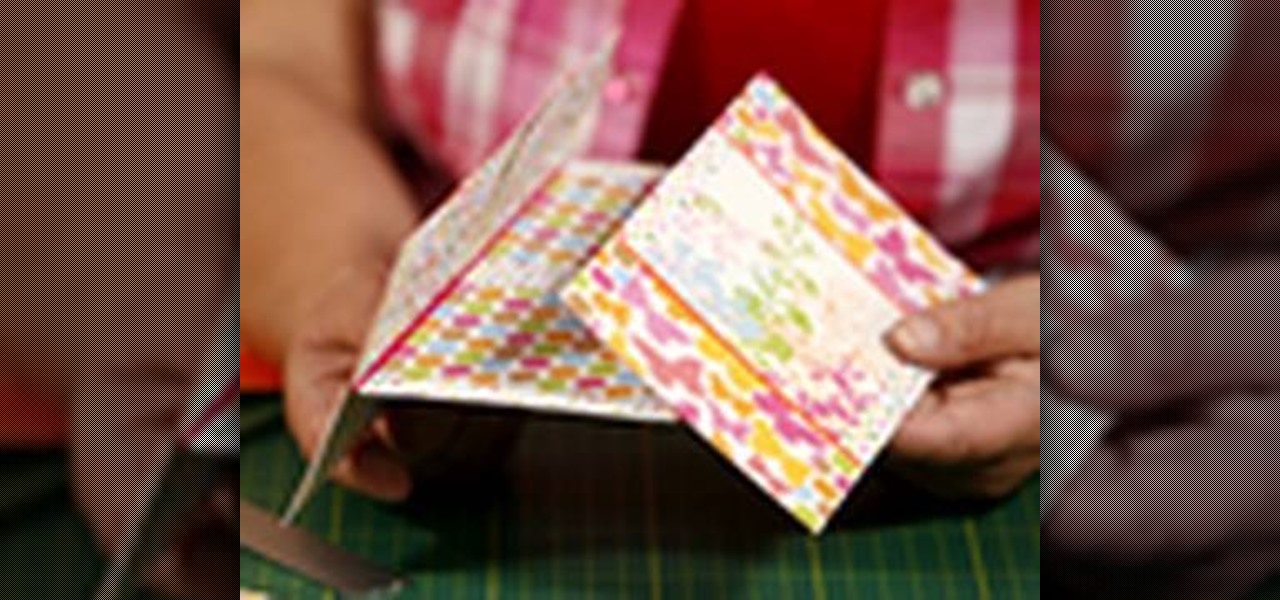
How To: Make a half/quarter easel card
In this tutorial, we learn how to make a half/quarter easel card. First, grab several pieces of colors of card stock that you like. After this, fold the main one up into a square. After you have folded this, fold the edges into the middle and push the creases down. From here, you will glue the bottoms of the other pieces and glue them onto each other so they are backgrounds. After this, you will create a border around the front main picture. When finished, fold this up and then you will have ...
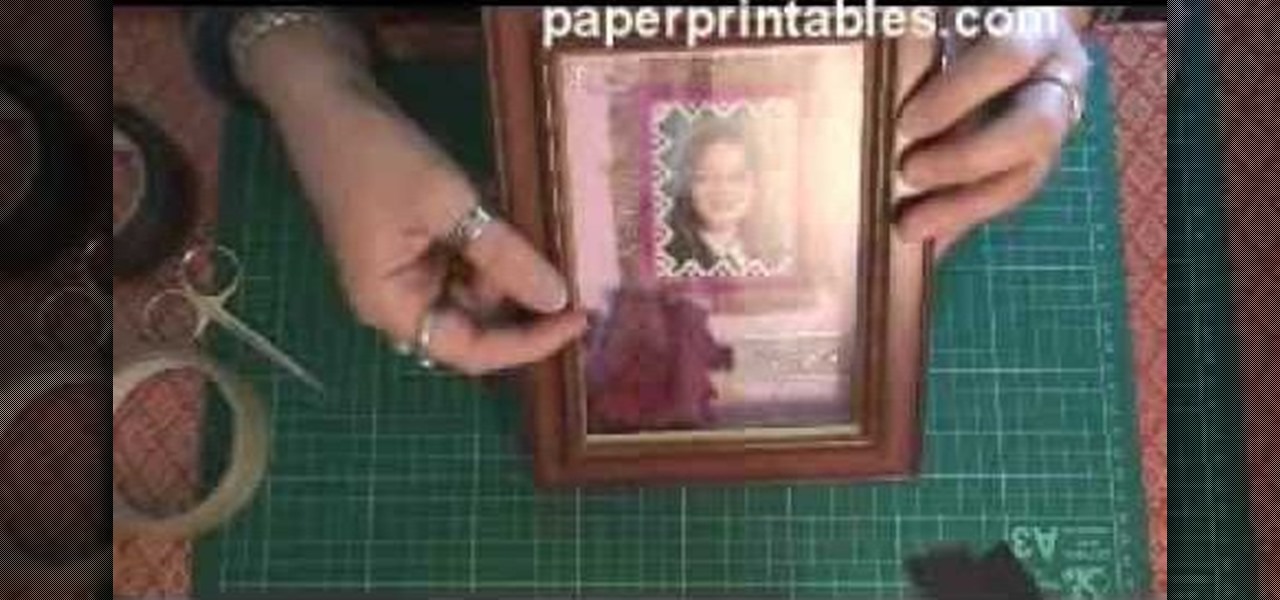
How To: Make a shadow box frame
In this tutorial, we learn how to make a shadow box frame. First, grab a regular picture frame and remove everything from the frame. Next, remove the metal pegs that are around the sides. From here, grab a piece of card stock and draw the outline of the glass onto it with a pencil. Then, extend the edges of the box out on the paper. From here, you will cut it out and then bend it into a box. From here, add the picture and anything else you want inside of the box. Stick double sided tape insid...
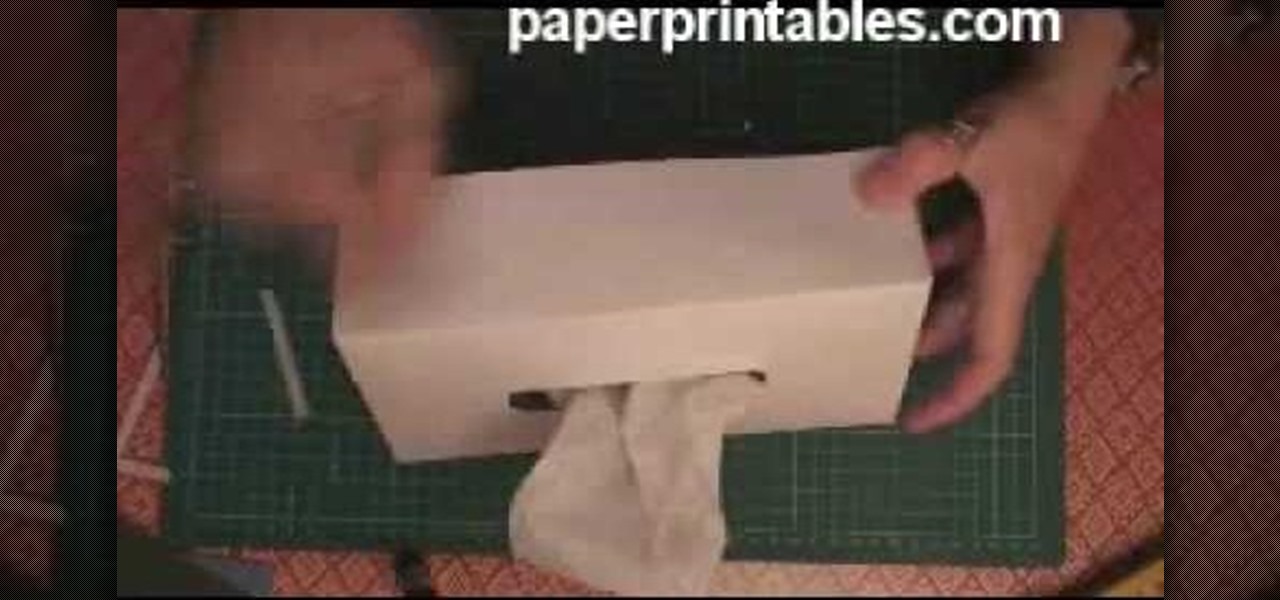
How To: Make a decorative tissue box cover
In this video, we learn how to make a decorative tissue box cover. First, you will need to get a piece of paper in your choice of color and set your tissue box on top of it. Use different colors of paper to trace out the edges of the box and then you will tape them all together. Make edges off the paper when you trace them so they fold over. When finished, you will put this onto the tissue box. You can also decorate this with any accessories that you would like to add a personal touch to the ...

How To: Heat emboss a stamped image for a handmade card
In this tutorial, we learn how to heat emboss a stamped image for a handmade card. First, use the stamp to grab ink and then lay it down on a piece of card stock. After this, cover it in ink and start to add heat to it. You will see the image start to change color when you do this. It will turn to a metallic sort of color when you add the heat to it. Once you have added heat to the entire thing, you will be finished with the embossed stamp effect! Do this for any type of stamp you want and ha...
How To: Cover a heart shaped or round box with designer paper
Cover a heart shaped or round box with designer paper

How To: Make a shadow box to display baby shoes
Got precious items you want to keep safe, but are too beautiful to keep wrapped in storage? Then a shadow box is the perfect way to both preserve your item and show it off. Shadow boxes are boxes are enclosed cases used in dioramas that are designed to let light pass in only through one angle so the object will less likely be damaged by light.
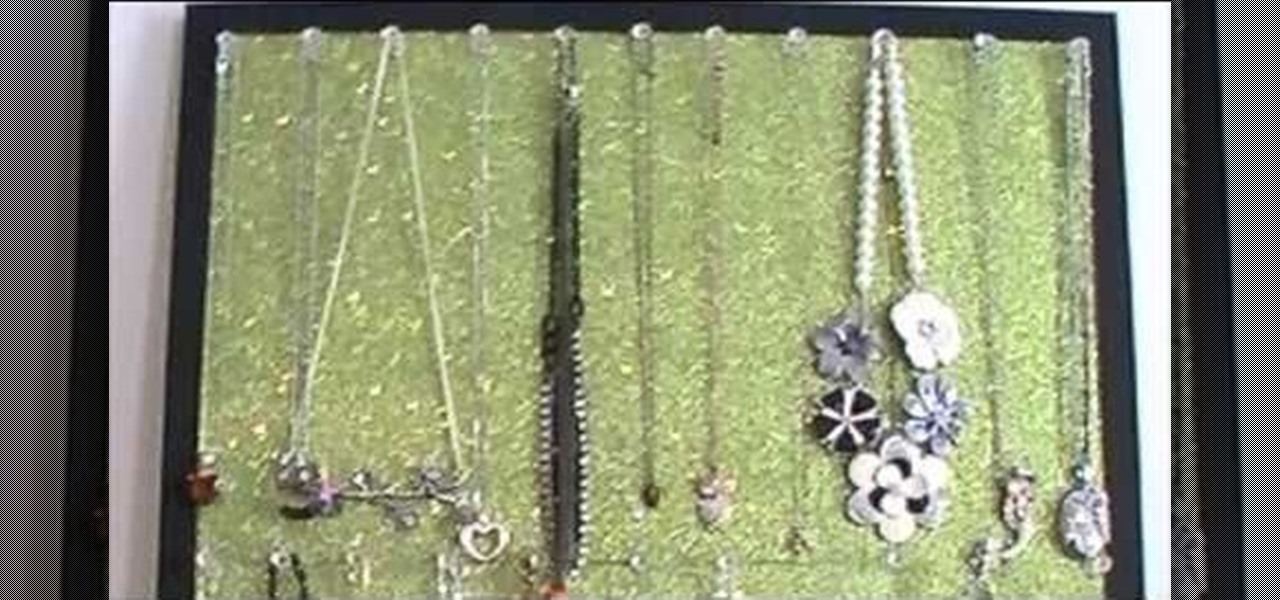
How To: Create a jewelry organizer with a cork board
If you're anything like us, then it takes you forever and a day to find that perfect earring and necklace you want to go out, not because it's hard to decide which one, but because everything's so tangled up together you can't make out one necklace from another.

How To: Add style to your flats with magazine cutouts and mod podge
When it comes to flats, a girl can never have too many. Comfier than high heels and a hell of a lot more fashionable than running shoes or sneakers, they strike the perfect balance between form and function for everyday use.
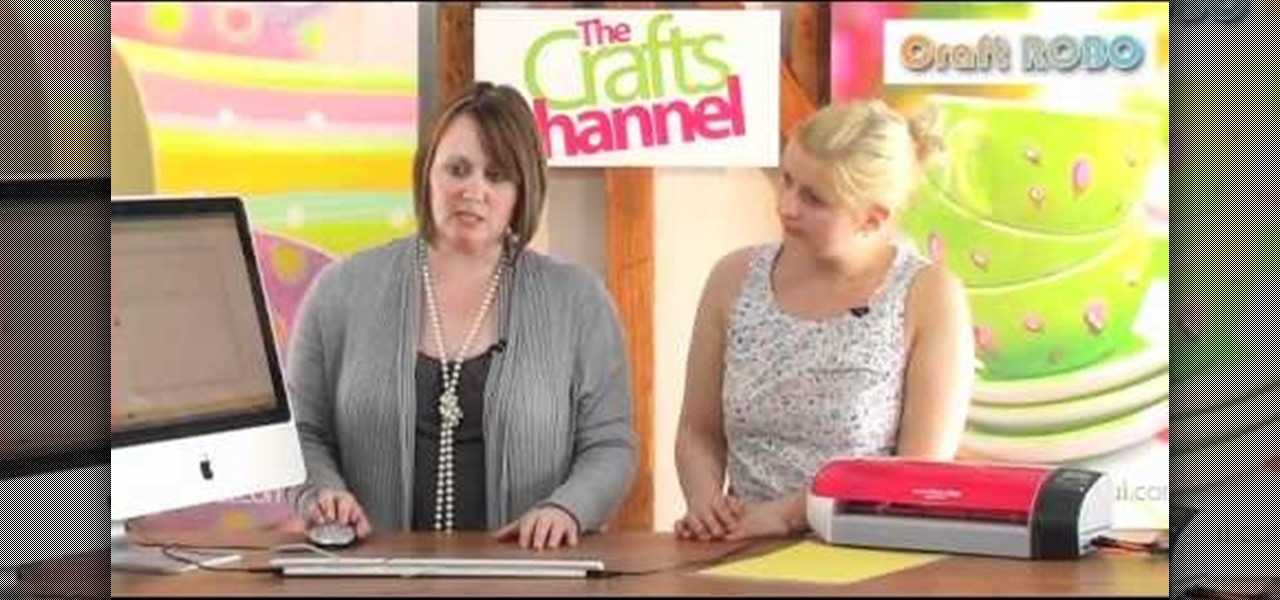
How To: Create welded shapes with your computer using the Craft Robo
Want to create complex paper cut outs that a die cut machine just can't handle? One option is to use the Craft Robo, which will let you create your own welded shapes and patterns on your computer and then cut them out on your paper.
How To: Make your own Lady Gaga diamonds from the Poker Face video
Lady Gaga wears some pretty fantastic bulky diamonds in her Poker Face music video. Want to wear the same kind of diamonds on your shoulders and hips? This tutorial shows you how make the same kind of diamonds out of simple cardstock. You can download the diamond template here. For more information on the steps, visit Tasita.

How To: Make a great 3D paper snowflake
In this video, we learn how to make a great 3D paper snowflake. First, fold a square blue piece of paper into a triangle. Then, draw lines from the middle to the top going in the triangle shape. Cut these lines on both sides, avoiding the middle and the very top. Make sure you don't cut in the middle either. After this, open up the folder and take the inside. Roll it up and then tape it together so there's a ring on the inside. Flip it over, then make another ring on the top side and tape it....
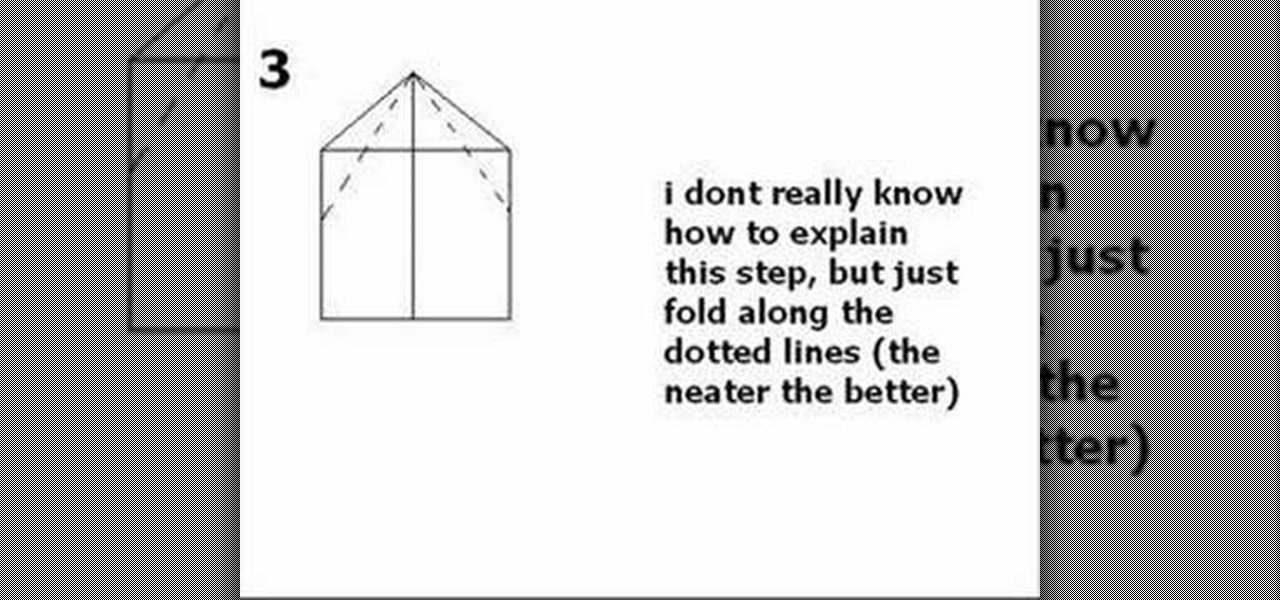
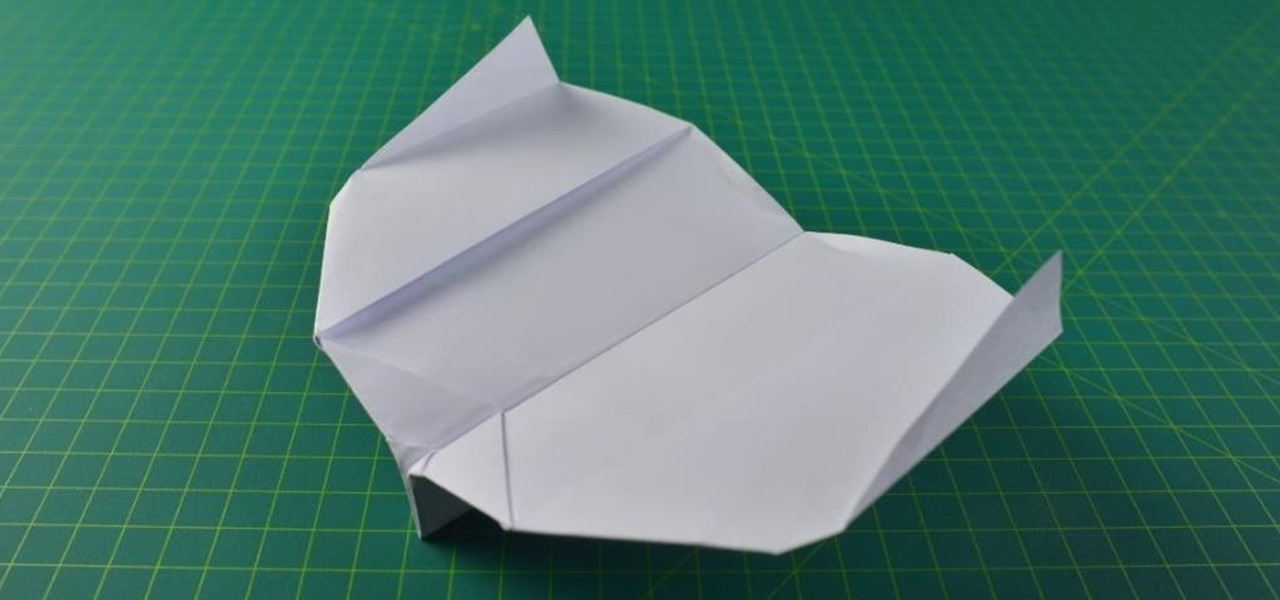
How To: Make a speedy paper airplane
In this video we learn how to make a speedy paper airplane. First, fold the paper in half and make a crease in the middle. Next, fold the corners down on the top. After this, fold these into another triangle going half way down the paper. Then, fold the tip all the way down so it rests on the opposite side of where it started. Do one more fold like the ones you did in the second and third steps. Make sure you are making crisp creases in the folds that you make. After this, fold the tip to the...

How To: Make a photo/ATC carousel for cheap
In this video, we learn how to make a photo/ATC carousel for cheap. First, take clay in a cylinder circular box and let it set. Then, insert in a long object to create the spine of it. Push the clay around this after spraying with water. Then, fold trading card stock as well as card stock for photographs. Cut these out so you create little pockets where you can insert your photos into. Then, once you have all of these cut out and your photos inside, you will adhere the sides of them to the ce...
How To: Make an easy workable paper wallet with pockets
If duct tape wallets aren't your style, maybe a paper wallet will be more suited to your back pocket. This video will show you how to cut, fold and tape to creative a wonderfully easy paper wallet, complete with pockets. This is a completely functional wallet!

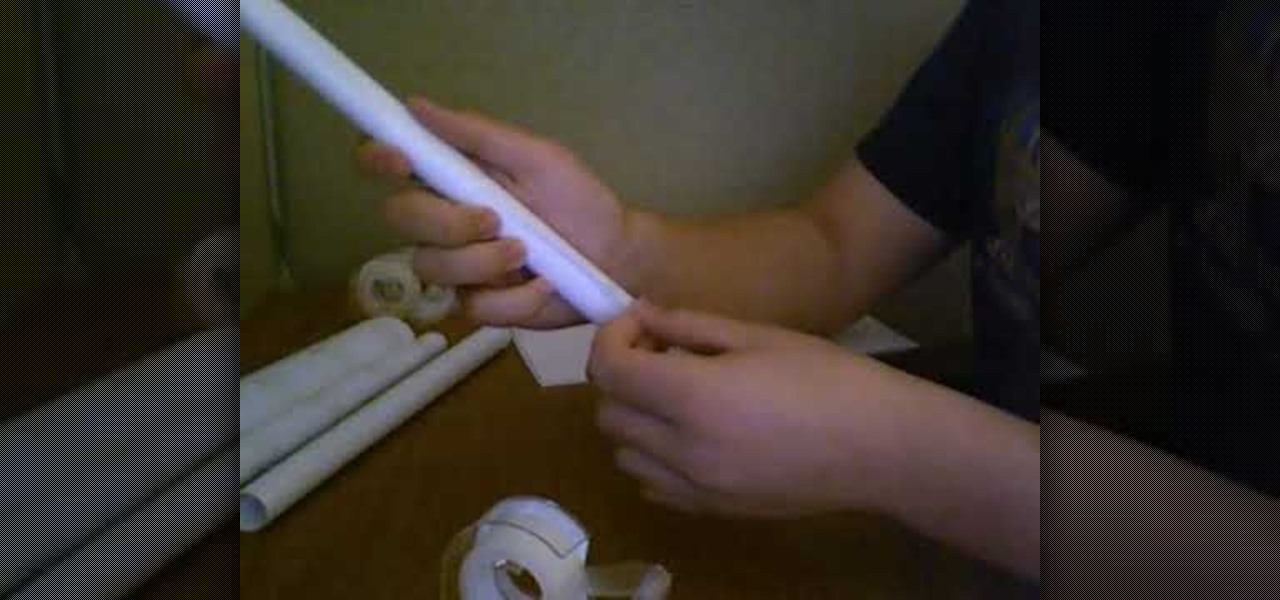
How To: Make a paper gun cartridge for shootable papercraft pistols
If you have already made a paper gun that can shoot paper bullets, then maybe it's time you upgraded that paper pistol with a cartridge— a holder for your paper bullets. You can modify or adjust this design in any way you see fit, to adapt it onto your creative paper gun.

How To: Make a pretty ribbon bow
In this video, we learn how to make a pretty ribbon bow. First, take two pieces of ribbon that are the same size. After this, take one of them and fold it into the ribbon for breast cancer awareness. Then, fold the top down and hold it with your fingers. Then, bring the other ribbon in and fold it down where your fingers were holding the ribbon in place. Once you do this, you will end up with a cute ribbon that only takes a couple of minutes to make! You can pull down the edges on it and then...

How To: Make an elegant paper hat
In this video we learn how to make an elegant paper hat. First, place the paper over the head and lay it down. Then, have the person hold the hat while you find their nose and attach tape from this and around the entire head. Once you are finished going around twice, then you can wrap up the excess parts of the paper towards the top. Use a stapler to staple down the sections of paper that you have rolled up. Do this all the way around the hat and then add on different items and accessories to...

How To: Create your own solar system diorama in the shape for a telescope
If you've got a school science project coming up, or are looking for something fun to do with the kids, you can make this awesome solar system diorama that's shaped like a telescope so you can view the planets by looking into the telescope! In this video you will learn how to create this diorama that will impress even the most stern teacher!

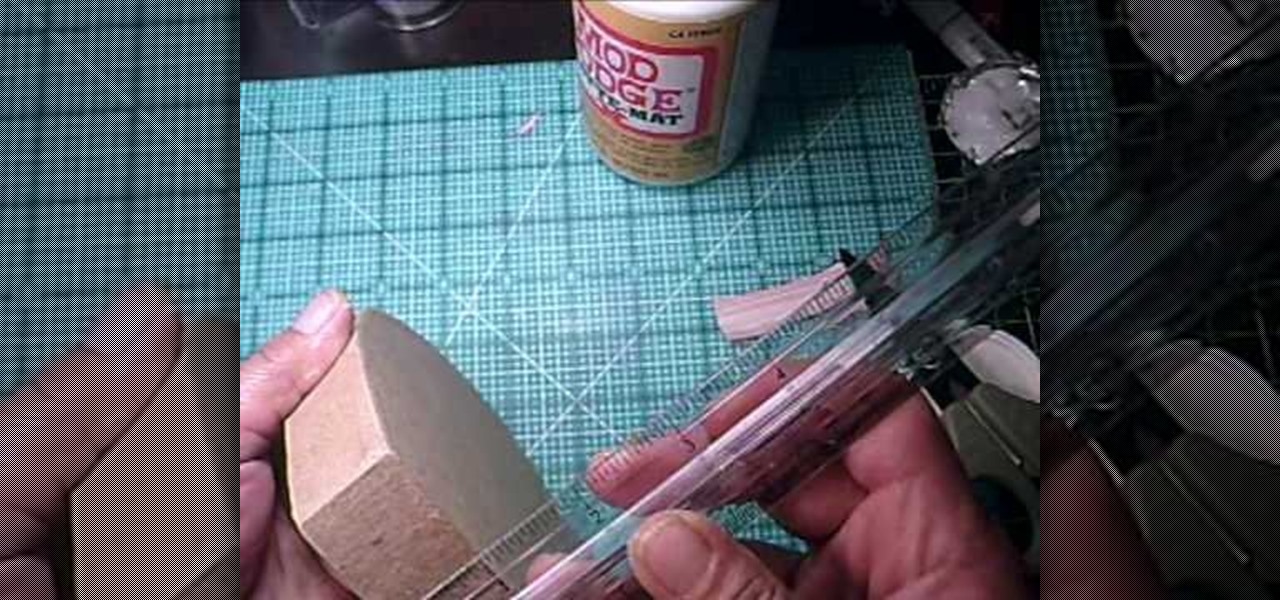
How To: Craft a simple decorative frame with Mod Podge
Mod Podge is well known in the world of crafts, and if you haven't used it yet for your découpage needs, then you have to check out this video tutorial from Mod Podge Rocks. You'll learn a simple frame project, in which you'll make a beautiful DIY handmade frame with Mod Podge in a matter of minutes.
How To: Make a simple spikey piñata
In this tutorial, we learn how to make a simple spiky pi–ata. First, you will need to blow up a balloon and grab some pieces of newspaper. After this, cut out pieces of the newspaper then use paste to stick them onto the balloon. Make a thick wall of this newspaper throughout the entire balloon. After this, add the spiky parts of the pi–ata and then allow it to dry. Once finished, paint the entire pi–ata the colors you would like. When the paint is done drying, fill the pi–ata with candy and ...
How To: Make a flip square album
This video tutorial is in the Arts & Crafts category which will show you how to make a flip square album. Take a 12 x 12 inches square cardstock and make a score line at 3 inches on all 4 sides of the paper. Now cut along the score line at the top and bottom of the paper up to the 3 inch line. Next you fold along all the score lines inwards and you have all the flaps ready. Then mark along the edge of the center part of the sheet and punch two holes for tying the album as shown in the video. ...

How To: Make the best paper snowflakes
In this video, we learn how to make the best paper snowflakes. First, take a dark blue and white piece of paper and fold it up into a square, then fold into a triangle. Next, grab a pair of scissors and start to cut along all of the sides of the paper. You may have to do this a couple of times to get the shape right, it will be helpful to use a diagram to show you where to place the scissors. When you are finished, open up the piece of paper to see your snowflake! String this with other snowf...

How To: Make a paper snowflake from scratch
In this tutorial, we learn how to make a paper snowflake from scratch. First, take a CD and trace around it on a piece of paper so you have a perfect circle shape. After this, take your scissors and cut out the circle. Next, take the circle and fold it in half, then fold it from the right to the left in half again. Then, take it and flip it so the "v" is pointing towards you, then take it from the right to the left and fold it again. After this, face the point away from you, then use your pen...

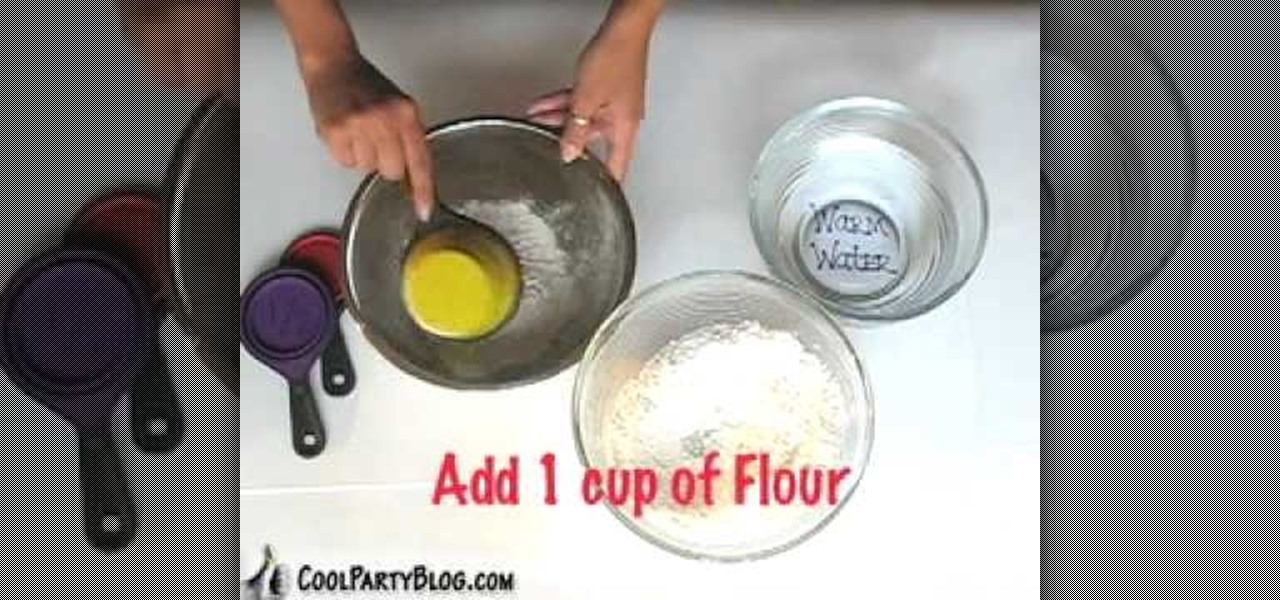
How To: Mix and make paper mache
In this tutorial, we learn how to mix and make paper mache. To do this, you will need: flour, water, and a large mixing bowl. Start off by pouring the flour into the mixing bowl, then adding in warm water in the same amount as the flour. After this, mix it together until you have a thick consistency. It should not be like water, more like a thick soup. Add more of the ingredients until you have this consistency. After this, dip your strips of paper into the mixture. Use them to place on your ...

How To: Make zebra and tiger prints with Ranger's alcohol inks
In this video, we learn how to make zebra and tiger prints with Ranger's alcohol inks. First, you will need some alcohol ink in black, gloss paper, a stamp, and felt. Now, take your felt and cut it into small strips. Make lines like a zebra or tiger would have. Next, push these strips onto the stamp bottom, arranging them to look like a zebra. After these are stuck on securely, trim off any edges and make some pointed. After this, you will squirt the black ink onto the bottom of the stamp on ...
How To: Make a piñata, step-by-step
In this video, we learn how to make a pi–ata, step-by-step. First, you need to soften up the balloon and then blow it up until it's the size that you want it to be. After this, set the balloon aside and then make the glue for the pi–ata. Take flour and put it in a bowl with warm water. Mix this together until it's well combined and is a thick liquid. Next, grab a newspaper and use strips of it to dip into the liquid and paste onto the balloon. After this has dried, decorate the paper by paint...

How To: Make mini album pockets
This is a video tutorial in the Arts & Crafts category where you are going to learn how to make mini album pockets. Take a 6 x 6 piece of card stock and cut it at 3 1/2. Now score it at the halfway mark and fold it backwards. Next score it at 1/2 from both longitudinal edges. Then you cut out along the 1/2 score line on one half of the card. Take a 2 1/2 " circle punch and punch a circle out of scrap paper. With this draw a semi-circle on the wider half of the card and watch the video for fur...
How To: Prepare the mixture for paper mache
In this video, we learn how to prepare the mixture for paper mache. First, take a cup of flour and a cup of warm water and mix it together until well combined and a paste is made. Add in more water or flour if needed to make the right consistency. After you have done this, continue to mix until there are no flour lumps left in the mixture. Once you are finished, use this to dip your newspaper into so you can correctly make your paper mache. Make sure it's not too thick or too thin so you have...

How To: Create a crafters tool caddy for your desk
In this tutorial, we learn how to create a crafters tool caddy for your desk. First, you will need to gather a few pieces of chip board coasters and cut them to the specifications you would like your caddy to be. After you have done this, put your caddy together by locking them together using cut lines inside the middle of each of them. Once you have finished this, place additional pieces of chip boards inside to create different sections of the caddy. Once you are finished, place in your mat...

How To: Get wrinkles out of old documents, money, and more
Have some old documents or paper that seem to be all wrinkled and crimped up? Looking for a way to make them look mostly like new again? Well you're in luck, in this video you will get some basic tips for taking that wrinkly piece of paper and making it look like new again. The paper used in this video is a $20 bill.

How To: Make a flower out of ribbon
Flowers are fragile, expensive, and hard to grow yourself. If you want to give someone a floral gift that will last forever, consider making them ribbon flowers. This video will show you how you can turn turn ribbon into beautiful little flowers.

How To: Make DIY bumper stickers
Bumper stickers are a great way to spread the word about just about anything. If you want to make some, watch this video to learn about both getting professional bumper stickers made and how to print your own using an inkjet printer.

How To: Make a Happy Halloween banner for your Halloween party
This is an easy tutorial as to how to make a Halloween banner using just a few cupcake papers, scrapbook paper, some knitting yarn and paper cutout letters. Then glue it all together and string it on a cord for your own Halloween decoration!

How To: Cut out paper letters using the Craft Robo
The Craft Robo is a useful tool for papercrafters, card makers and scrapbookers, which will allow you to cut letters out of any type of paper and using any sort of font you have in your library. Add a professional look to your next paper craft project!
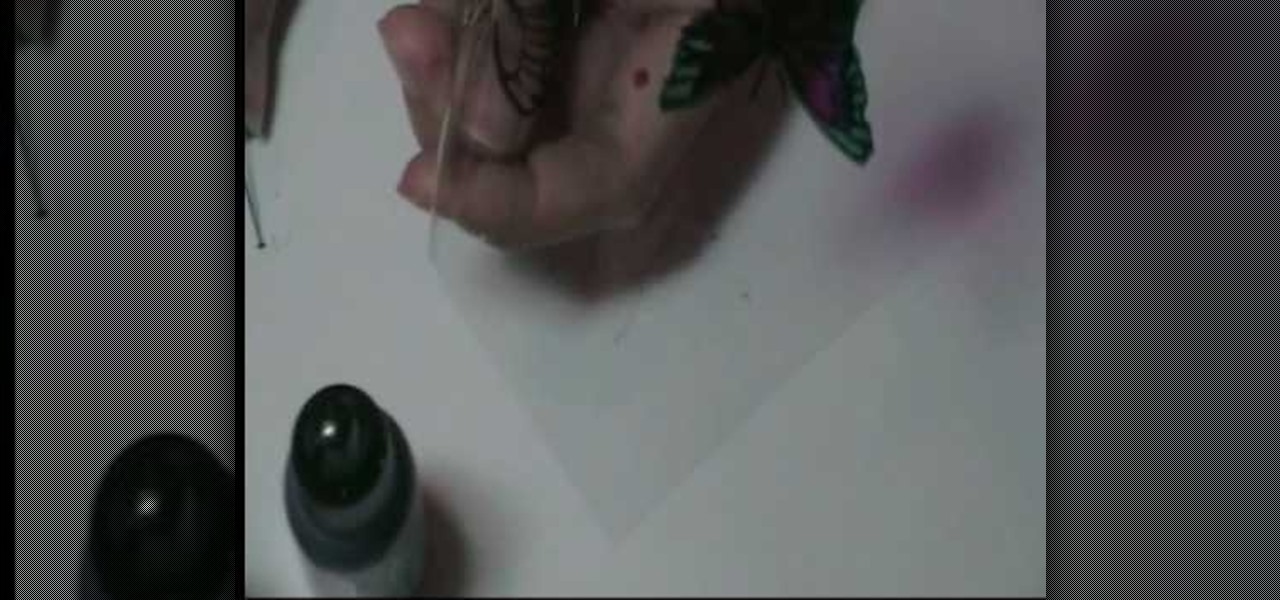
How To: Make beautiful acetate butterflies
In this video, we learn how to make beautiful acetate butterflies. First you will need to make sure you have alcohol inks on hand for the colors you want to make. To start out, stamp the butterfly with black ink onto a piece of plastic acetate. After you have done this, use different colors to fill in the butterfly how you prefer it to look. After you do this, cut out the butterflies and then you will be able to use them for what kind of craft you want to do. These are cheap and easy to make ...

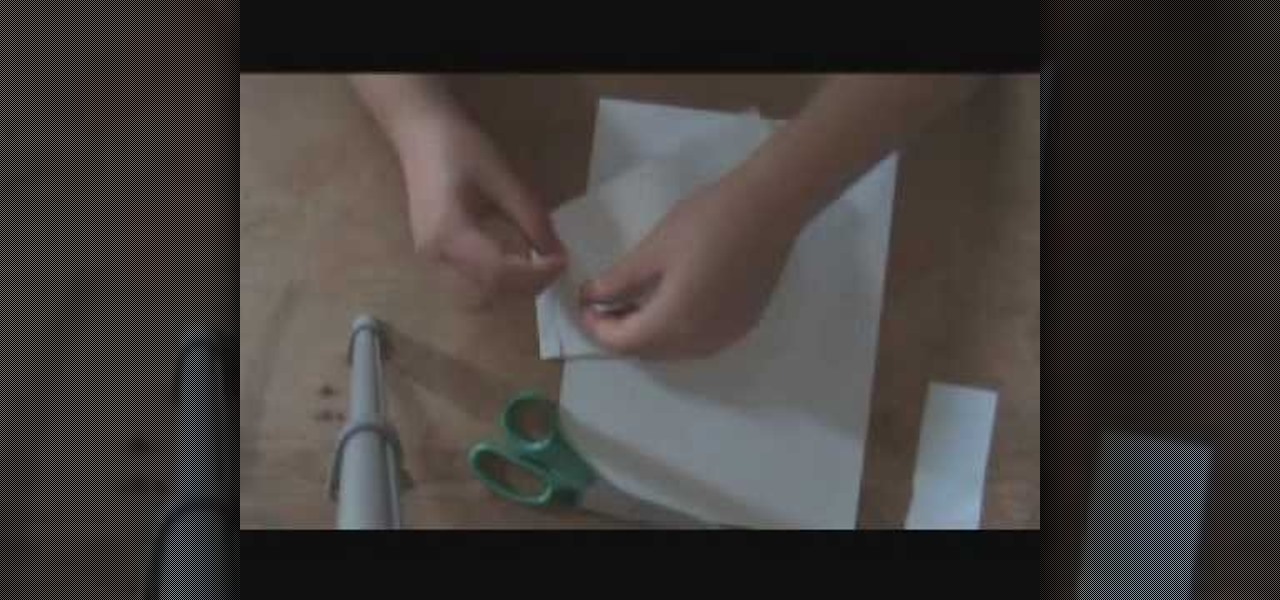
How To: Make an origami dollar heart
This video shows viewers how to create a heart out of a simple dollar bill. First, you should take the dollar bill and fold a triangle from one corner to the bottom edge of the bill, repeating this step on the next closest edge. Then, create a pyramid-like fold to make a smaller triangle in the paper. This is repeated on the other corners of the bill as well. Next, fold the bill in half and take the small pieces of the bill which are not part of the triangle and fold it over to create a squar...
How To: Make an endless card
In this tutorial, we learn how to make an endless card. An endless card is a card that folds a ton of different ways, so it can be used over and over again without having to replace it. To make this, you will first need to take a piece of card stock and score it where you are going to fold it in the middle. After this, take a smaller piece of paper, then score it so you can fold it into three different squares. Do this again for another sheet of paper. After this, you will want to adhere to d...