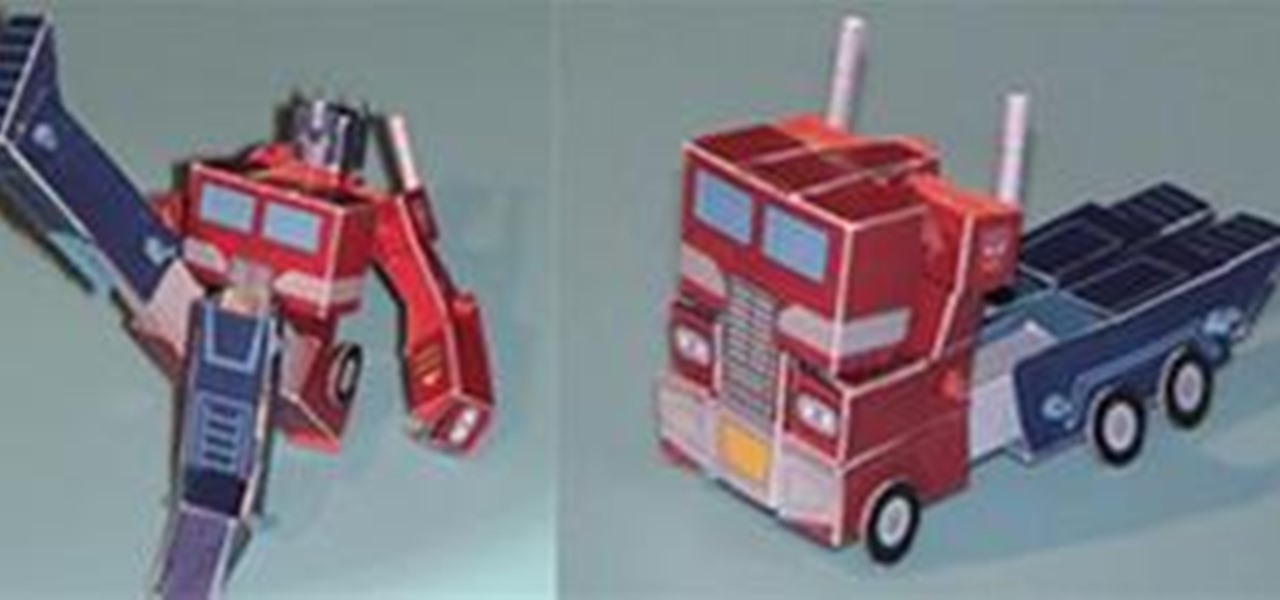
Papercraft Features

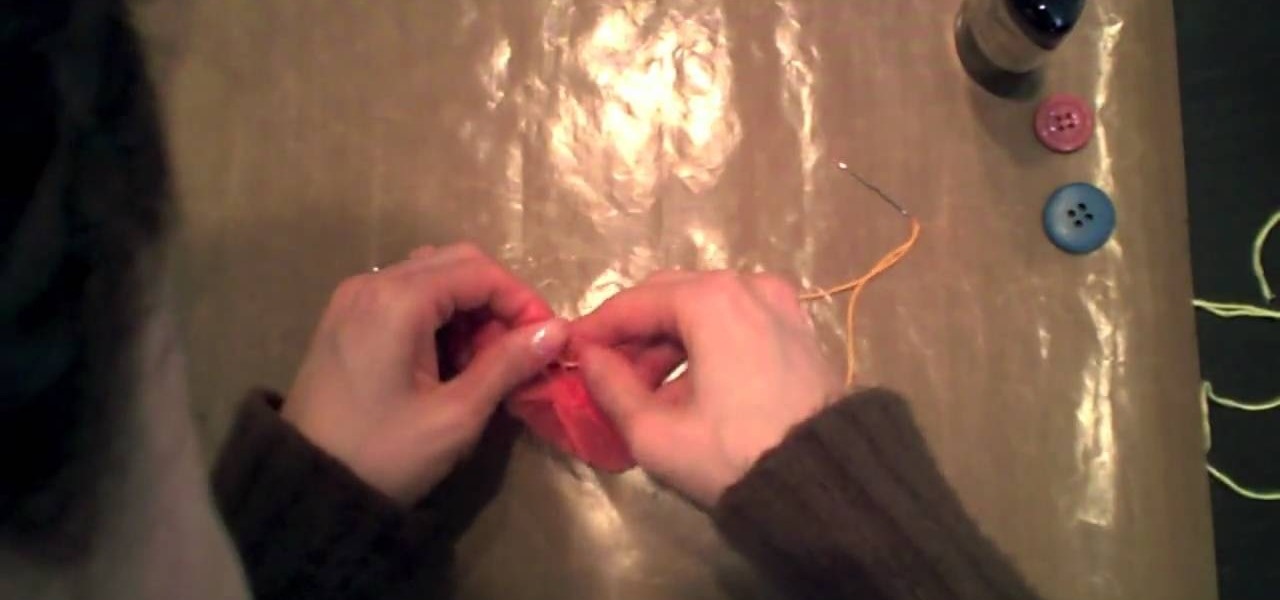
How To: Make a flower from a recycled dryer sheet
This video is about how to make flowers from recycled dryer sheets. Since the dryer sheets have already passed through the dryer it will be wrinkled but it does not matter. Cut the dryer sheets into strips 1 inch wide approximately and need not be uniform. Take a button and place the edges of the3 strips in such a way that it takes the shape of the flower and the other edge collects at the button holes. You may color the dryer sheets with dye like Ranger perfect pal mixed with water and spray...

How To: Craft a paper Valentine's Day card mailbox
Don't just leave your kid with a sad plastic bag this Valentine's Day to store valentines from his or her classmates! Make the giving and receiving of valentines special this year by crafting this paper Valentine's Day card mailbox.

News: Fold the ultimate F16 paper airplane
Let's take a step back in time to the Mesozoic era of WonderHowTo. Before the time of electricity, your mother and I used to follow step-by-step tutorials on how to make a Lockheed Martin F16...from papyrus.
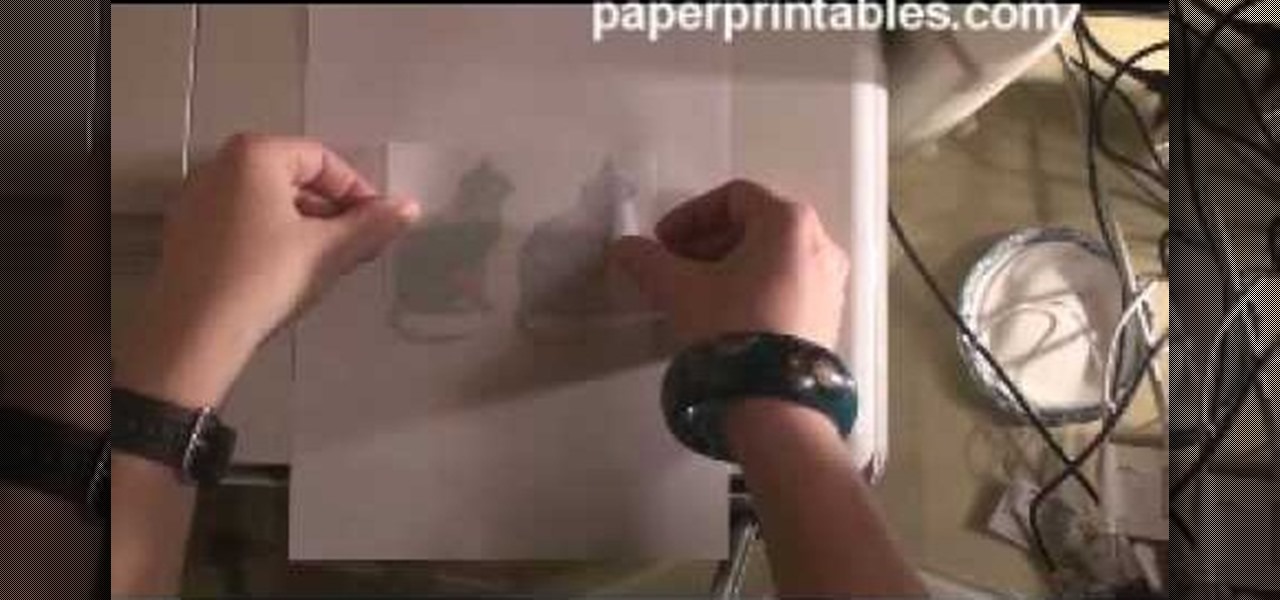
How To: Use your inkjet to print on a shrinkle
IN this video, we learn how to use your inkjet to print on a shrinkle. To start, you will grab the paper for the shrinkle. Then, you will print the outline out on a normal piece of paper. From here, stick the shrinkle over, frosted side up, on the paper. Then, feel the piece of paper back through the printer and print exactly the same image over again. Don't print anything too dark, or it will bleed out on the back. From here, you can peel off the shrinkle and then cut it out. This will finis...
How To: Make paper from junk mail
Join Emma & Grace as they show you how to recycle old cereal boxes, coffee carriers, artwork and junk mail into beautiful works of art. Watch this instructional video to shred pieces of paper garbage, blend it into a pulp and press your own recycled paper.

How To: Do napkin decoupage
Corinne Bradd shows Kristy Clark how to create stunning pieces for home decoration with the clever technique of napkin decoupage.

How To: Make a Cricut graduation card
Cardcrazy09 teaches us how to make a graduation card. You take a piece of black card stock paper and stick thin white paper edges on each side, like a window. You then use the Cricut to make a star and the word Congrats. This will go on the left, on top of some black printed moxie paper. The right side of the card also features a piece of moxie paper, with graduation hats pattern. There are also nail heads stuck on top. The last idea is to also include money to your son/niece.
How To: Make an accordian fold card
In order to make an accordian- fold style greeting card, you will need a piece of card stock, glue or adhesive, scissors, markers, and stencils/stamps. Cut the cardstock in a diagonal. Fold the card into 3rds, lengthwise. Cut a 5 x 3 ¼” panel at an angle. Use Masking Magic and stamp the excess card stock. Cut out your stamp designs. Color in your designs with Sharpie brand permanent marker pens. Glue the 5 x 3 ¼” cut piece to the card, or you could use 2 sided tape. If you have addition...

How To: Use beads in card making
Elizabeth is going to go through a series of clips on tips and techniques on how to use beads in your card making.
How To: Make a decoupage piggy bank
In this video series, our expert will demonstrate how to make a decoupage piggy bank. With step-by-step instructions, our expert will show you how to cut the paper for your decoupage project, how to glue the paper to your object and how to smooth and cut the edges for a beautiful finish to your craft project.
How To: Make classic paper roses
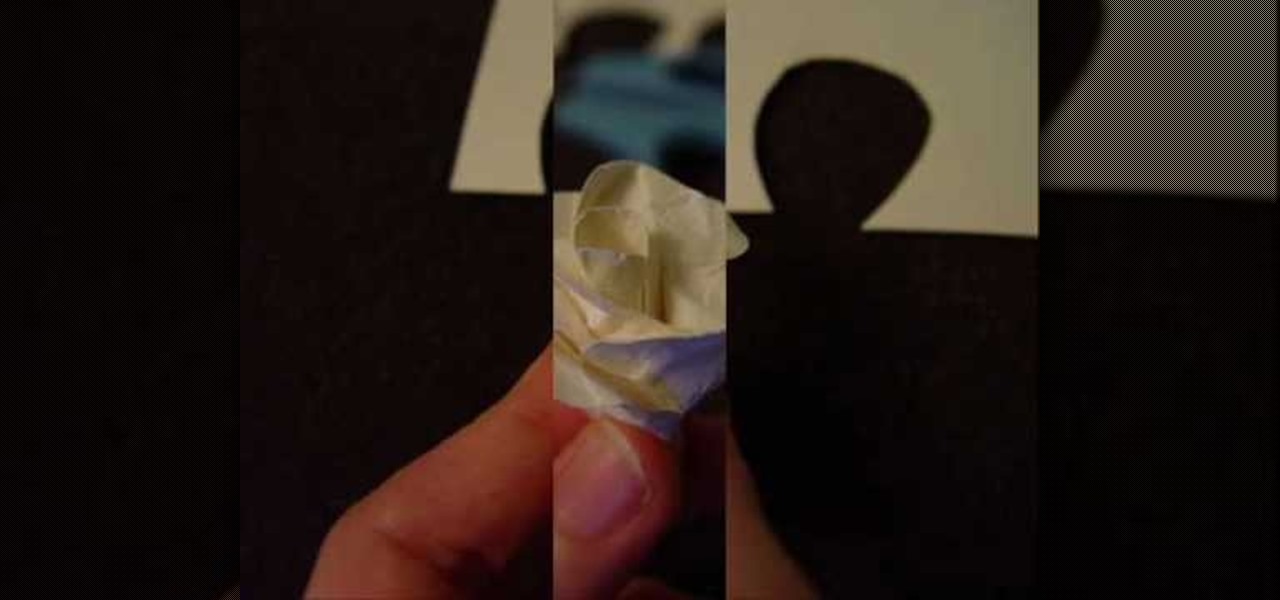
This tutorial demonstrates how to make simple yet beautiful paper roses using only a few materials. The image displayed at the end of this video is just one example of how realistic a paper rose can look. In order to do this, you will need at least one sheet of plain or colored paper, tacky glue, wire and a pair of scissors. Initially, you must first cut your paper in to the shape of your pedals, then crumple them up. Crumpling your pedals not only makes them more flexible, but can also add a...

How To: Make a thank you card using Cricut Walk In My Garden
Cardcrazy09 teaches you how to make a thank you card using Cricut. You will need the Walk in my garden cartridge for this. The card itself is a Martha Stewart piece of double sided cardboard. You will need different types of punches to create the white decorative part and the text card. That will be printed with black text. The flowers and the pot are created using Cricut. The pot is placed on top of the flowers and each of them are individually stuck onto the card. Also make sure to add a so...

How To: Make a wrapper chain from candy wrappers
First, cut out 1 x 2.75" pieces of paper. Fold a piece of paper in half, and then in fourths. Fold it in half again to make eights, and keep doing so until you get 32 individual pieces of paper. Now you must fold each paper in half length-wise, and then open it up and fold the flaps so that the ends meet the half way point. Do the same width-wise. You can make an interesting chain if you use different paper colors together. Connect each piece so that the ends of one piece go inside the ends o...

How To: Make party hats
Make your very own party hats! Use your home crafting skills to liven up a birthday, New Years, or kids party without spending a lot of money by watching this free online arts and crafts video taught by expert Ginny Larson.
How To: Make a gift box
This video will teach you how to make your very own gift box that can be used to give someone anything from presents to cards. Your friends and family will absolutely adore this super cute gift box that you'll make by hand.
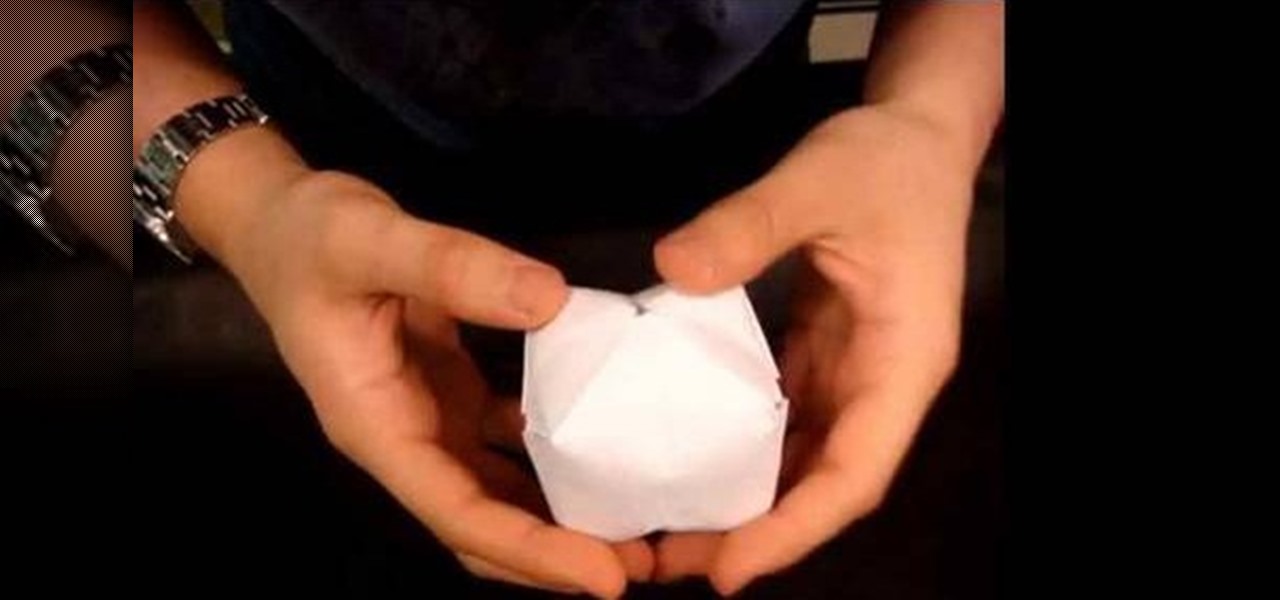
How To: Make an origami water bomb to soak your friends
In this tutorial, we learn how to use the ancient and honorable craft of origami paper-folding to make a water bomb we can then employ to soak our poor, unsuspecting friends and families. The materials are very simple, just some printer paper and water. But the results can be devastating. (Of course, you could also just make a paper balloon without filling it with water and throwing it at somebody. But where's the fun in that?)
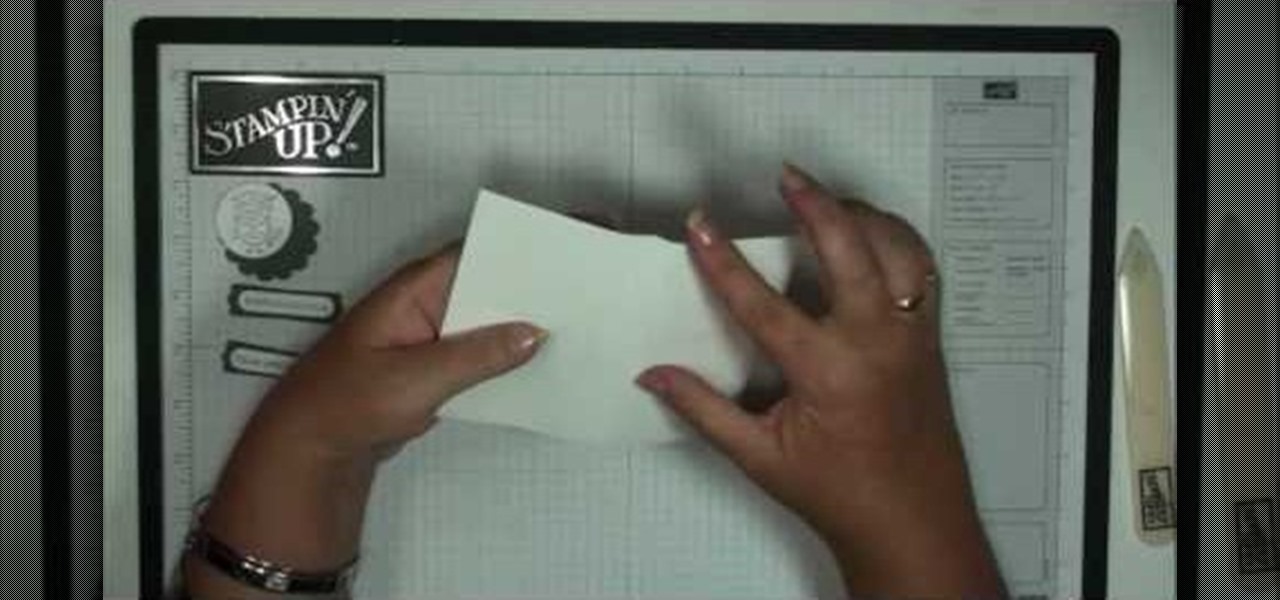
How To: Create a graduation gift card with money holder
June is graduation month, and while for a lot of youngsters that means leaving one phase of their lives behind in order to pursue newer and greater things at college/the workplace, for their relatives and friends that means cards, presents, and money.
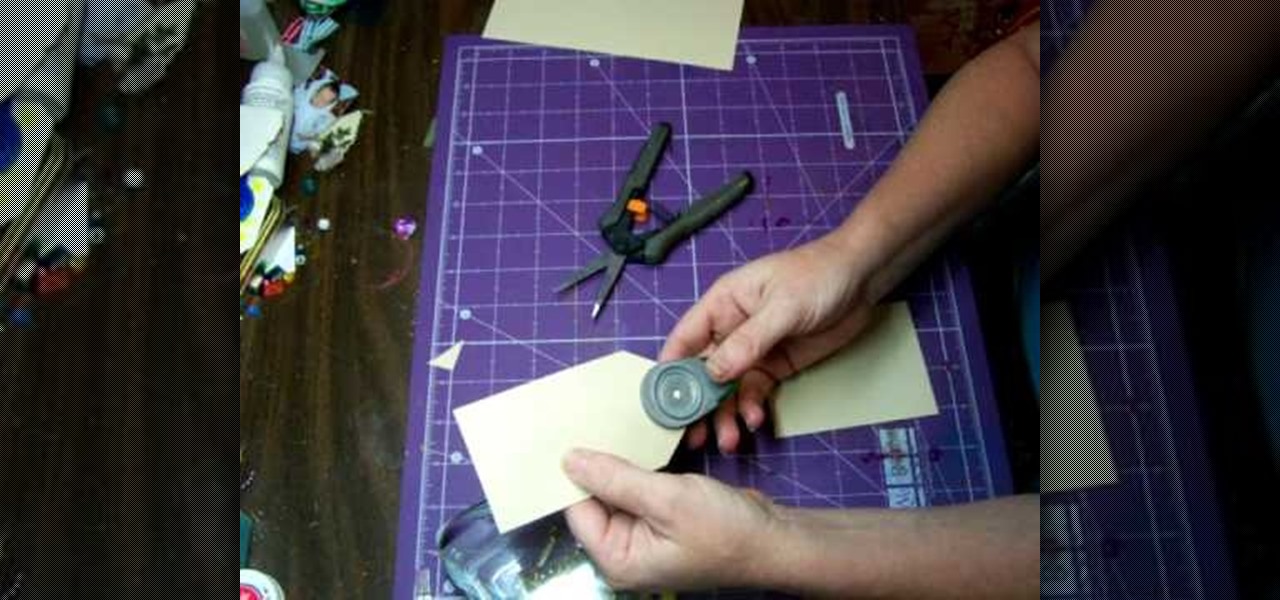
How To: Make your own tag for scrapbooking
Tags are great ways to personalize your scrapbook projects. These little embellishments may seem small but they can make all the difference. Purchasing these tags can get expensive and is totally unnecessary. You will be amazed when you see just how easy it is to make these little tags from scratch.
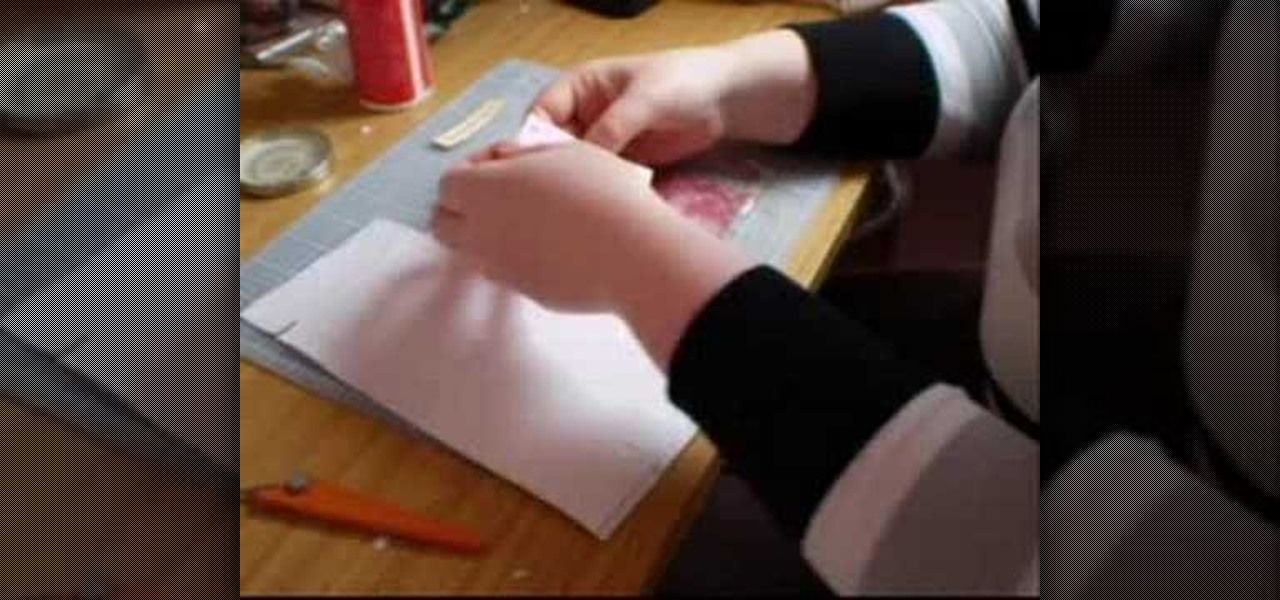
How To: Make a vintage-inspired greeting card
Do you have a penchant for all things vintage? Why not save some money the next time a birthday or special occassion arises and make your own vintage-looking greeting card? In this video, Niki Jackson shows you step-by-step how to create this adorable greeting card using background papers, printed materials and distress inks.
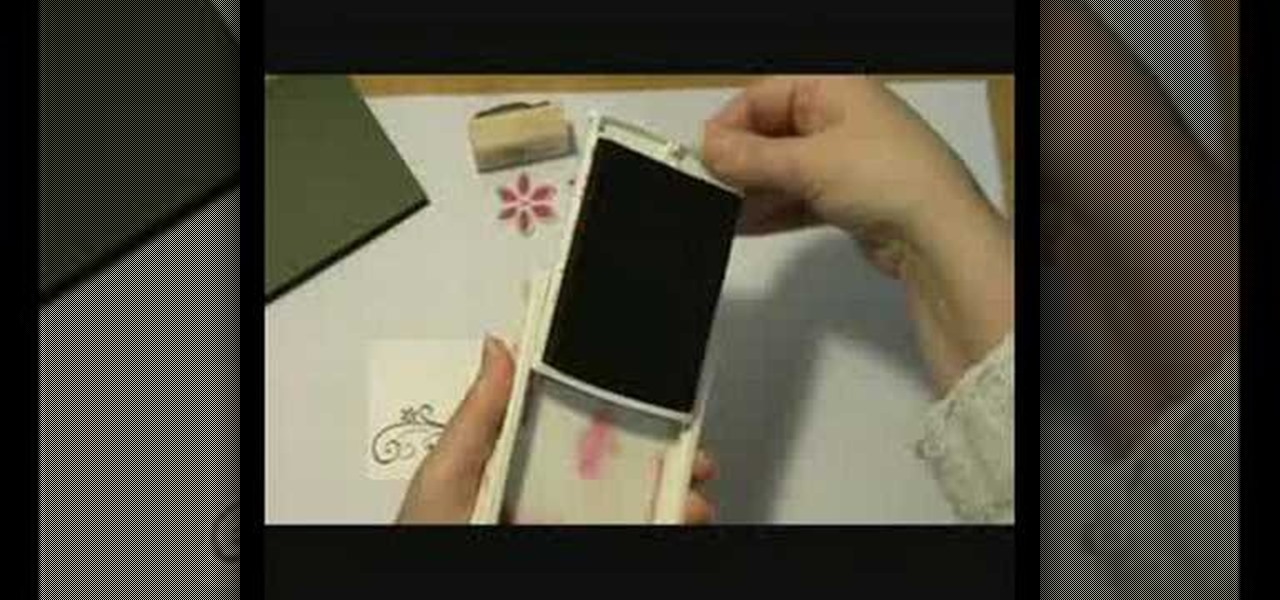
How To: Make a Season Of Joy Christmas card
A simple and easy Christmas Card using Stampin' Up! products. Use simple stamping, scrapbooking, and paper design techniques to make this beautiful Christmas card. Video is in fast motion, but text instructions guide you through the processes. Enjoy! Merry Christmas.
How To: Make a Paper Plane Jet with Cool Wings
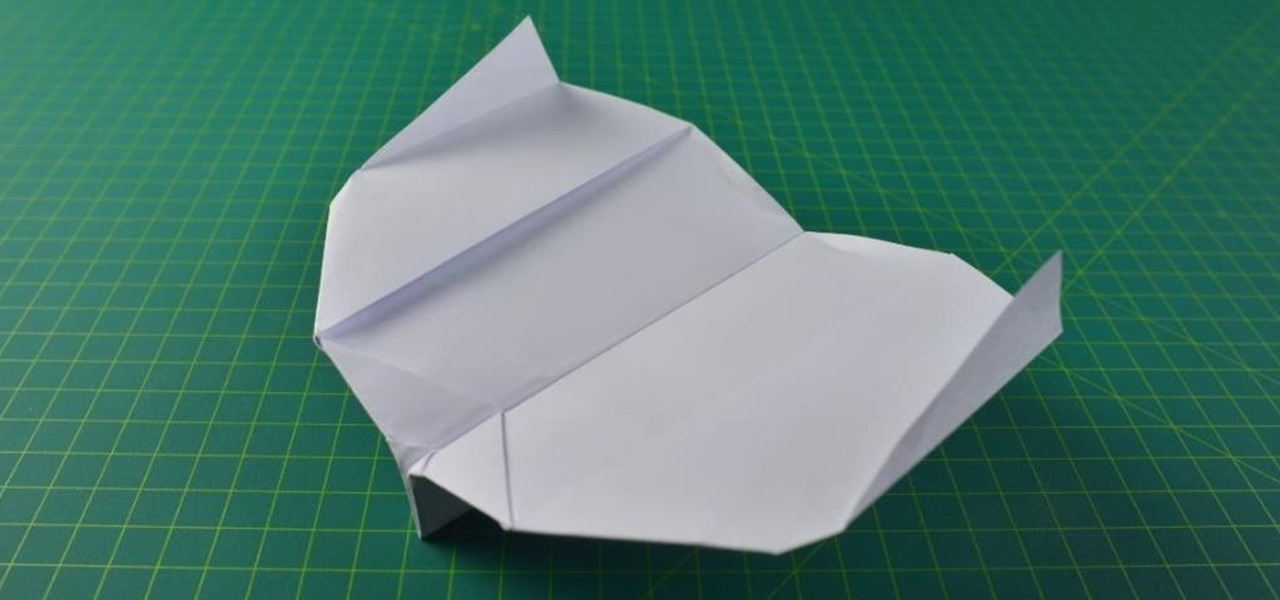
Easy to follow video that will show you how to easily make a paper plane jet that flies far, with cool wings too.
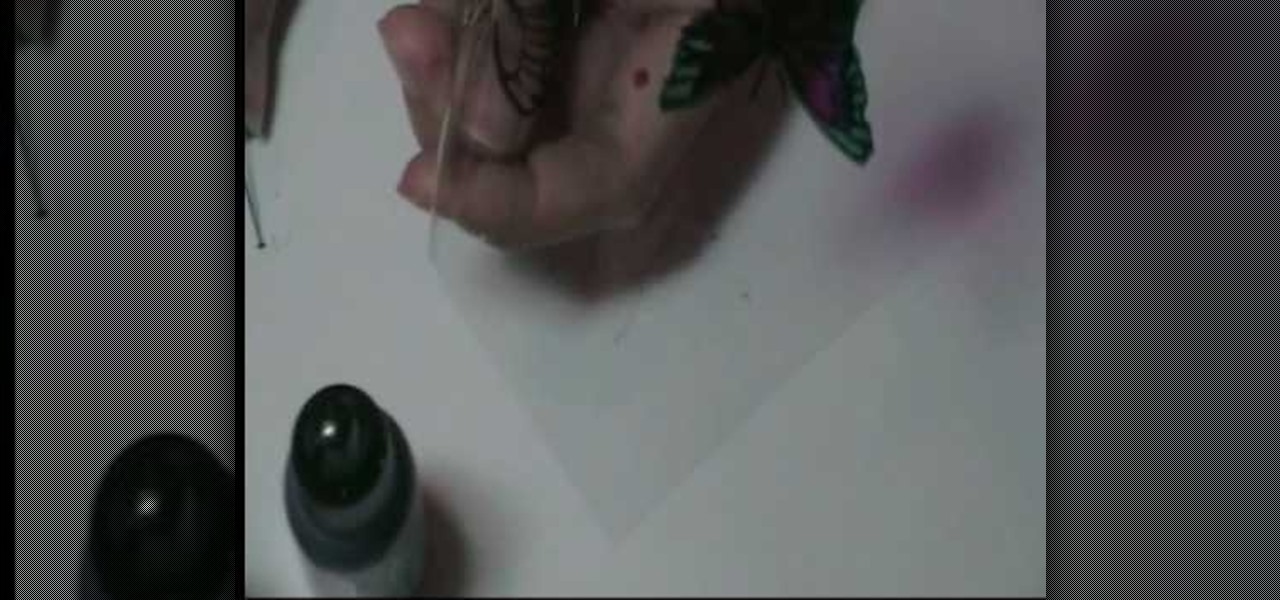
How To: Make beautiful acetate butterflies
In this video, we learn how to make beautiful acetate butterflies. First you will need to make sure you have alcohol inks on hand for the colors you want to make. To start out, stamp the butterfly with black ink onto a piece of plastic acetate. After you have done this, use different colors to fill in the butterfly how you prefer it to look. After you do this, cut out the butterflies and then you will be able to use them for what kind of craft you want to do. These are cheap and easy to make ...

How To: Make a spinning frog card
This video tutorial instructs how to make a fun spinning card to add a little extra flare to a basic card.
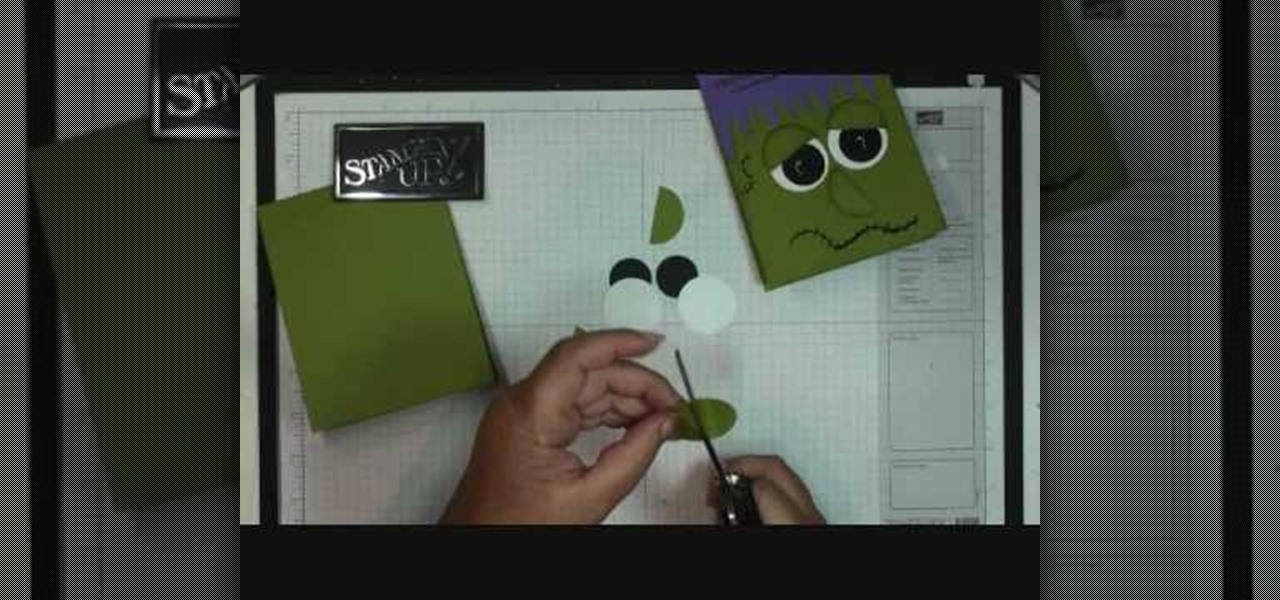
How To: Make a Frankenstein Halloween card with Stampin' Up!
In this video tutorial, viewers will learn how to make a Frankie card. This video provides all the materials required to make the card. The materials required include: old olive card stock that is cut at 4 1/2" x 11", lovely lilac card stock that is cut at 2 1/2" x 5 1/2", stylus tool, Smarty Pants stamp set, 1" circle punch with 2 black card stocks, 1 3/8" circle punch on whisper white and old olive card stock, glue and a black market pen. This video will benefit those viewers who enjoy art,...

How To: Make a double accordion photo album
JoAnn from Emerald City Elegance Paper Crafting demonstrates how to make a double accordion photo album. It's a cute and fun way to display your photos, and it's made simple with JoAnn's easy instructions. She takes us through the step-by-step process, indicating the proper tools and measurements needed to make this item. By following the steps in the video, you'll have yourself a beautiful little homemade photo album, made at a fraction of the cost of buying one from the store.
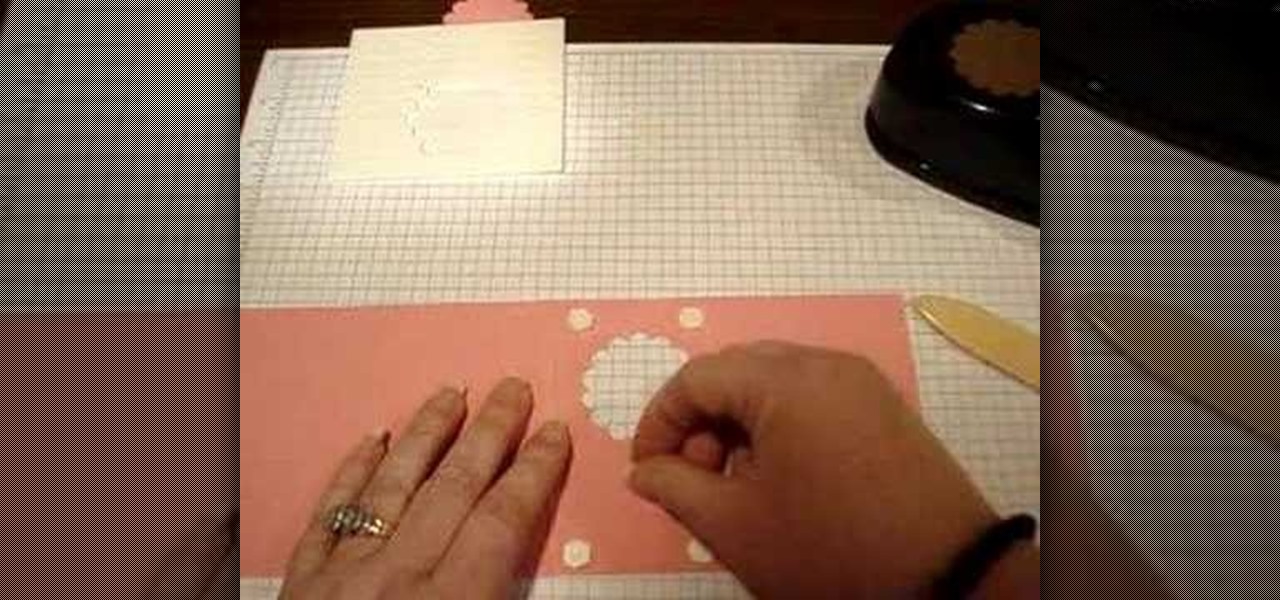
How To: Create a Valentine's candy holder
This tutorial card making video will teach you how to make an extremely adorable candy heart holding Valentine's card. You loved ones will be amazed at your card-making skills when you give them this cute candy card.

How To: Make a paper hat out of discarded newspaper
In this tutorial, we learn how to make a paper hat out of newspaper. First, open the newspaper up and then fold it together. Next, take a corner and fold it into the middle After this, do it once more on the other side. Now take the rectangular side and fold it into the triangle on both sides. Now, open up the hat and you will have a cool paper hat that is not only cheap to make but uses recycled paper! This is a great project to do with children that will help teach shapes and learn how to f...
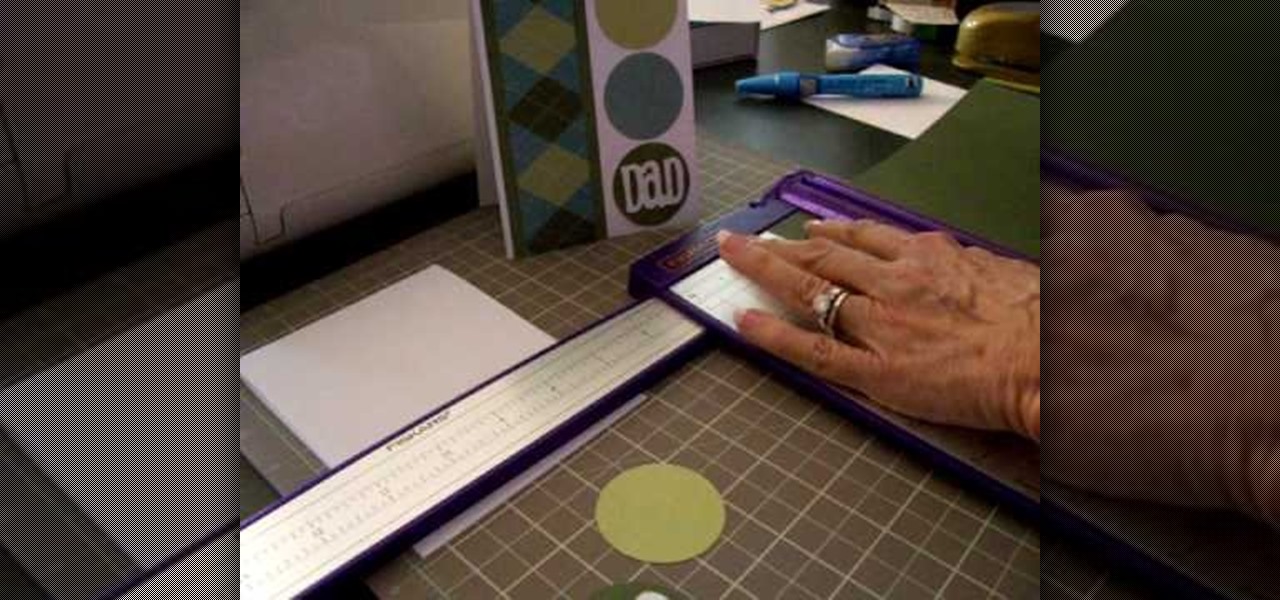
How To: Make a Cricut card for dad
Use your Cricut machine and the cartridge "Beyond Birthdays" to create Dad an original Father's Day card or Birthday card. Making cards on the Cricut machine is great because you can use scrap paper and different shapes and really make it your own while spending almost nothing. And it takes less time to make a professional looking card on the Cricut machine than it does to sit down and draw a homemade card. Dad will love the card and you will love saving money and having the satisfaction of m...
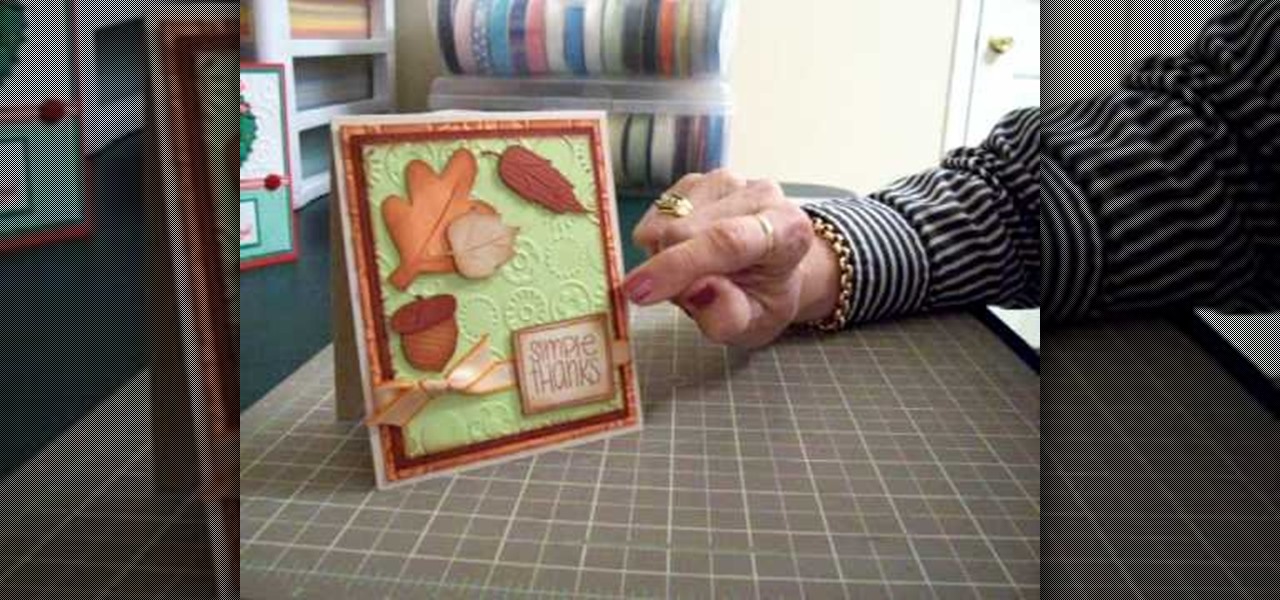
How To: Make a thank you card using Cricut DoodleCharms & SYI
In this video, we learn how to make a thank you card using Cricut Doodle Charms and SYI. The card can be the size you choose. Layer orange, green, and brown mats, running the green and orange through the Cuttlebug using blue dots to give it texture. After this, ink around the edges with brown so the embossing shows up. Use the Cricut to cut the leaves and an acorn, using the Doodle Charms cartridge for one of the leaves cut at 2 1/4". You can also use the Stretch Your Imagination cartridge fo...
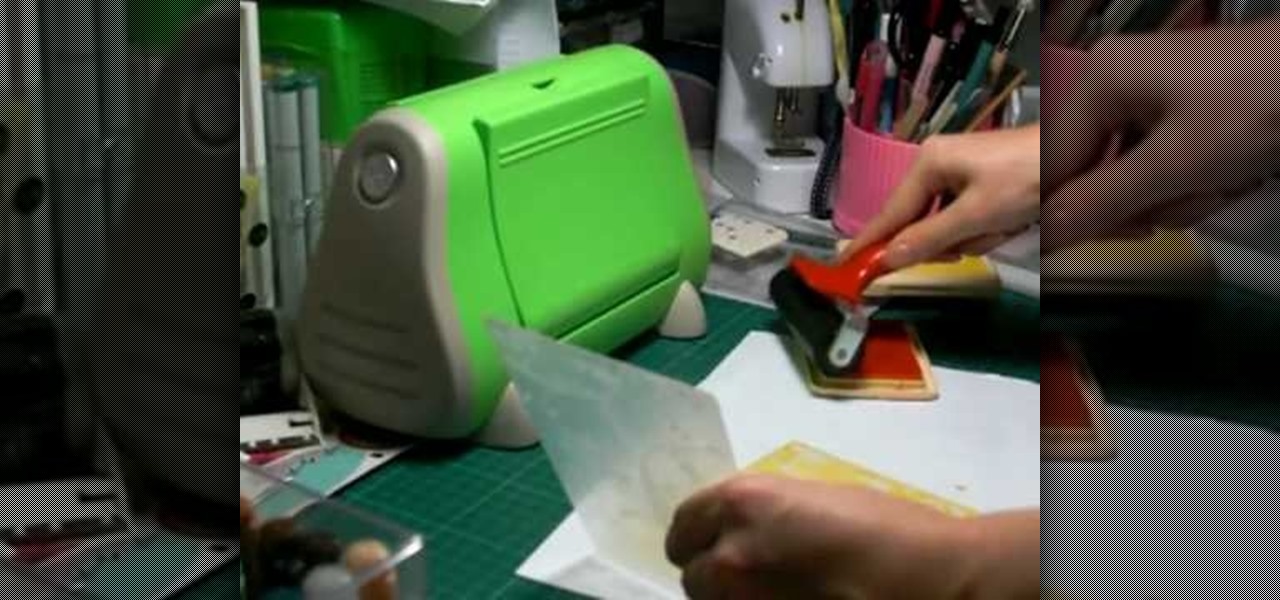
How To: Do the Cuttlebug 'smoosh' technique
In this Arts & Crafts video tutorial you will learn how to do the Cuttlebug 'smoosh' technique. For this project you will need a brayer, ink pad, an embossing folder and a Cuttlebug. Ink the brayer well and with it apply the ink on the embossing folder. Make sure the ink is applied thoroughly on the whole surface. Get the Cuttlebug ready, place the card stock inside the embossing folder, place a couple of ‘C’ plates in the Cuttlebug, put the embossing folder with one more ‘C’ plate ab...
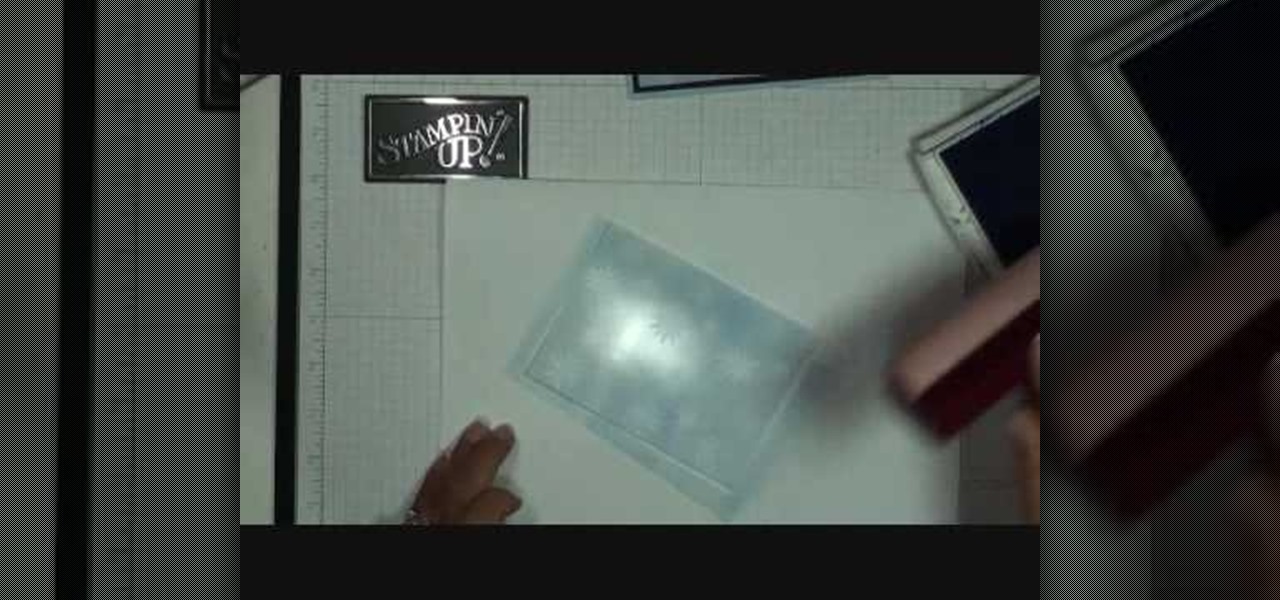
How To: Use the versa mark resist technique with Stampin' Up!
Our host Dawn teaches how to use the Versa Mark resist technique when stamping a card. Dawn teaches the technique on a Christmas card to create a snowflake background. The basic idea behind this technique is that the Versa Ink is clear and will resist any other ink you put down, so you can stamp a pattern and then go over with a flat coat of regular ink, and you will be left with a white pattern where you made the Versa Ink stamps. To complete this specific craft, you will need a Versa Mark i...

How To: Make a mini scrapbook album with note cards
JoAnn, an amazing scrapbooker from Emerald City Elegance, teaches you how to make an amazing mini scrapbook album of your own out of note cards. Describes the necessary materials and tools and gives an easy to follow explanation of how to put together this excellent gift. Includes great scrap booking tips and ideas about cutting and punching holes into card stock, presentation advice, and working with different types of paper. Video includes beautiful pictures of paper crafts to get your crea...
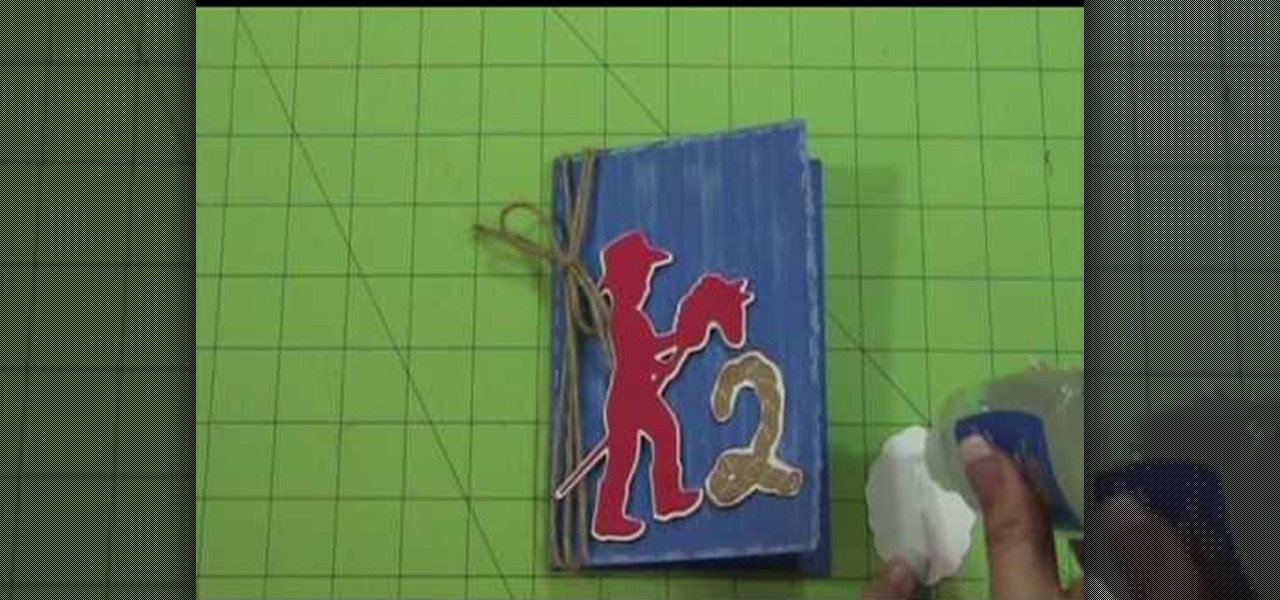
How To: Make a handsome cowboy birthday invitation with Cricut
Why ever would you want to throw a cowboy-themed party for your little cowboy? Two words: John Wayne. The epitome of wild West cool and the exemplar of the "strong and silent" type, John Wayne made the cowboy badass. So give your boy the coolest party in the world by creating a cowboy theme.
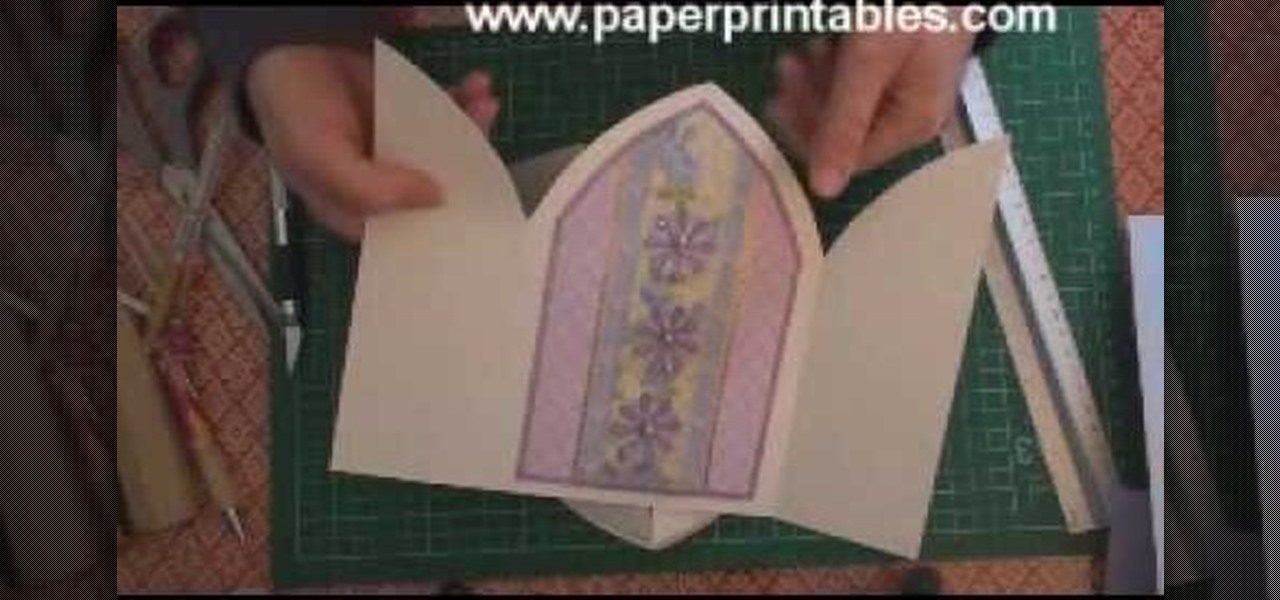
How To: Make a church door card
In this tutorial, we learn how to make a church door card. To start, you will need to take a piece of card stock and the template for the church door. After this, you will fold the template up using the paper, then cut it out. After this, write the message you want on the inside of the card. From here, you will decorate the front of the card and then tie a ribbon on the front. This will close the two doors and then when you upwind it, the person can see the inside. Make this unique and have f...
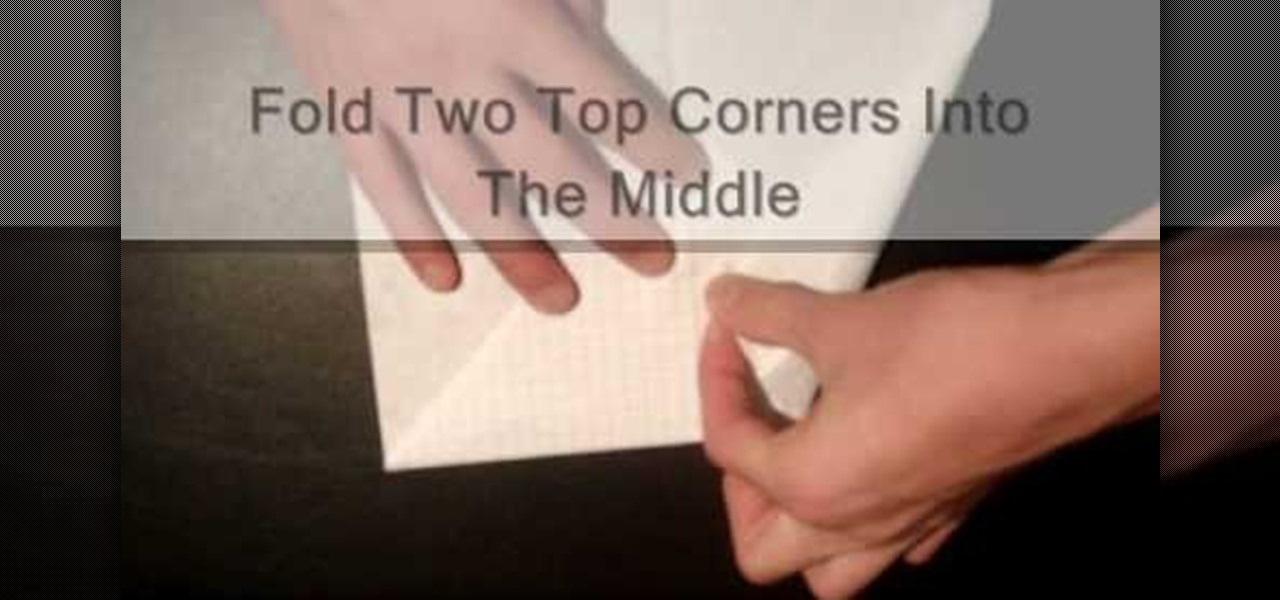
How To: Fold the Moth style paper airplane
This video shows a step-by-step demonstration on how to fold a moth style paper airplane. First fold the paper in half the long way. Unfold the paper, and fold the two top corners into triangles toward the middle crease. Fold the triangle down. Fold two top corners into the middle and fold the triangle up. Fold the plane in half and fold the wings up. Flip the plane and fold the wings again. Open the plane and you're done. This demonstration is easy to follow, with words on screen, so you'll ...
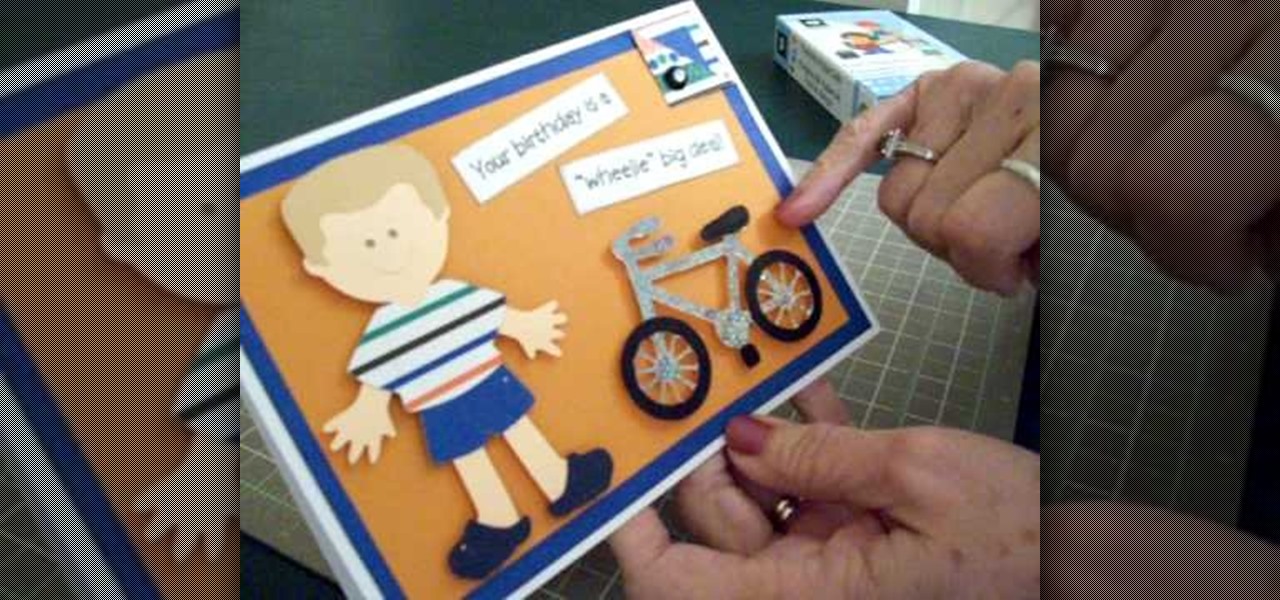
How To: Make a Cricut "biker boy" birthday card
In order to make a Cricut "biker boy" birthday card for a young boy, you will need the following: Everyday Paper Dolls cartridge, adhesive, and card stock.
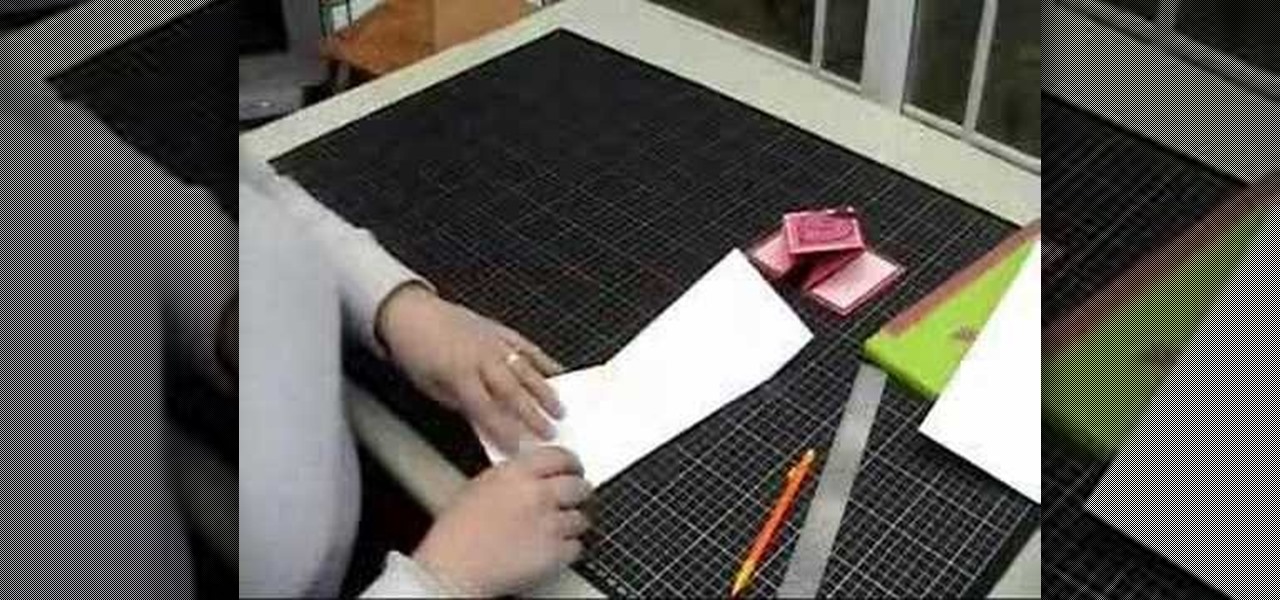
How To: Make a diamond folded card
In this Arts & Crafts video tutorial you will learn how to make a diamond folded card. Get a sheet of paper 4x12 inches. Draw a pencil line at the half way mark, that is, at 6inches. Fold one of the lengths to the center pencil line. Do the same to other half of the paper. Open up the sheet and do the same fold in the opposite direction. Open up the paper and flip it over and you will see the diamond fold in the center. Now you fold from each side up to the cross where the diamond begins. Fli...

How To: Make a spiral rose
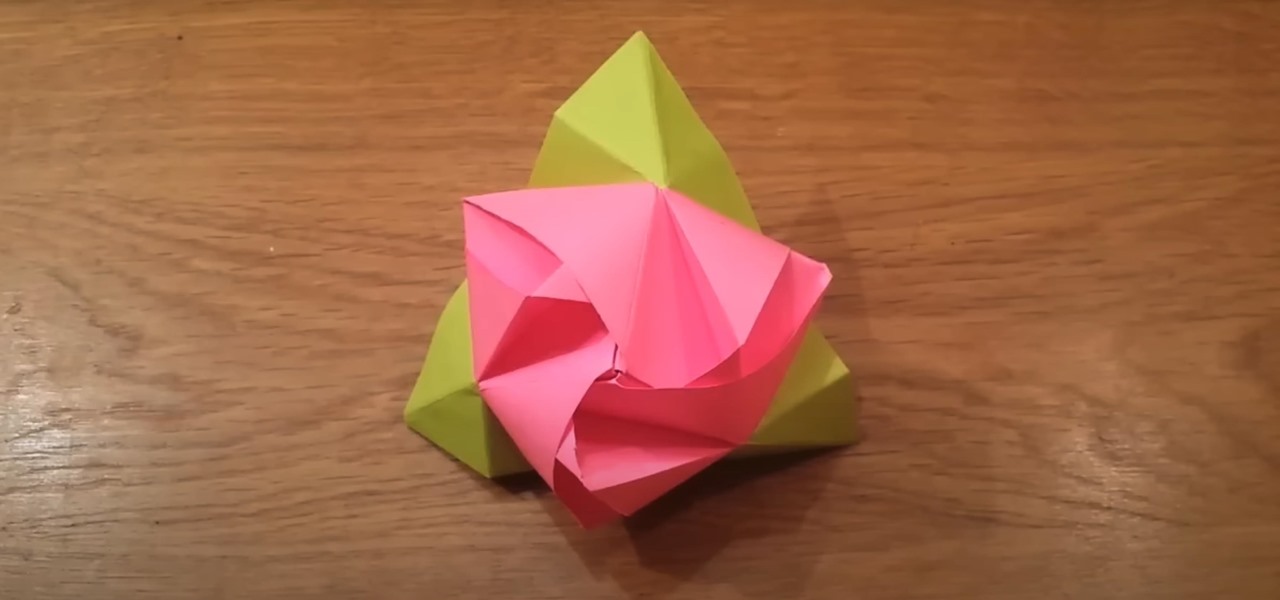
Learn to make a beautiful spiral rose of paper, by watching this video. Things you will need to make this rose are: Red colored paper (or any color of your choice for the rose), a toothpick or small stick, glue, scissors. Begin by drawing a spiral on a square piece of red colored paper. With the help of scissors, cut along the lines of the spiral till the centre. Next, begin winding the spiral strip onto one end of a toothpick, from the outer end. Keep winding till you reach the other end of ...

How To: Create a super simple snowflake centerpiece and table runner for winter
Got the winter blahs? We dont' blame you. After all, getting snowed in with four feet of snow outside your front door gets old, fast.
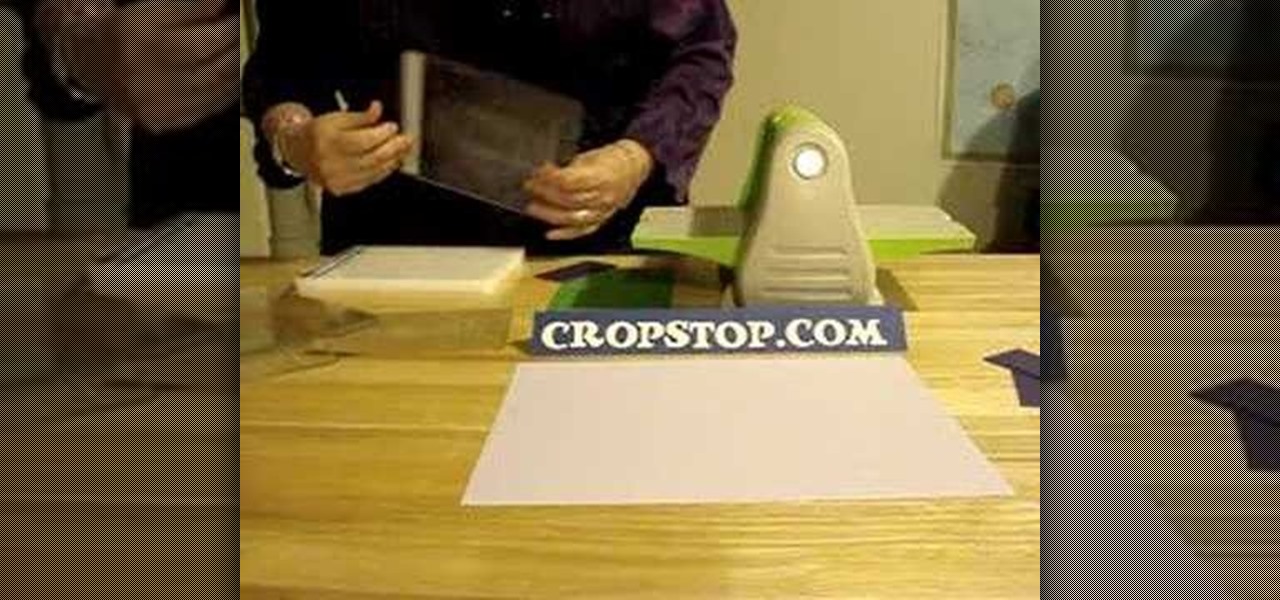
How To: Cut a Nestablitiy die in a Cuttlebug machine
While embossing machines are marketed to be used brand specifically, all those Nestability dies and embossing folders are completely compatible with a Cuttlebug embossing machine. Make the most of your stamping materials without having to purchase to much of everything. Watch this video crafting tutorial and learn how to use Nestability dies and embossing folders to make die cuts with a Cuttlebug embossing and die-cutting machine.


