Papercraft Features

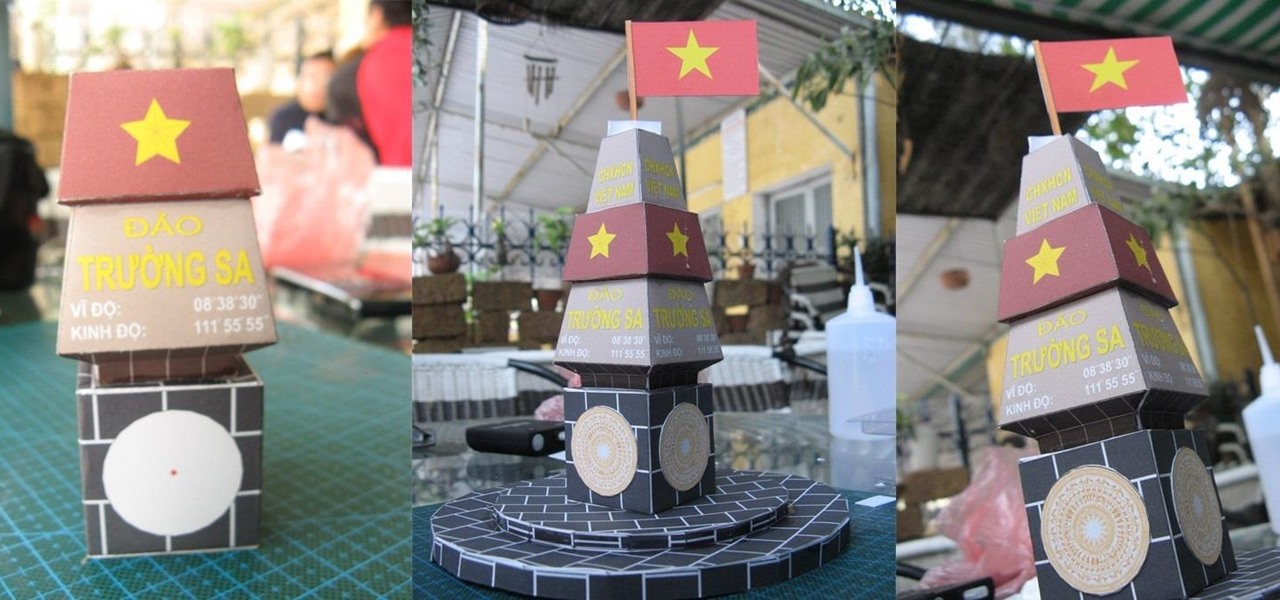
How To: Make Your Own Truong Sa Sovereign Marker from Vietnam
Create your own Truong Sa Sovereign Marker (Vietnam) without spending large amounts of time and money. The approximate time to make this is 15 to 30 minutes. It contains 10 big parts. Once you've completed it, you can use it for photography or just as an ornament.
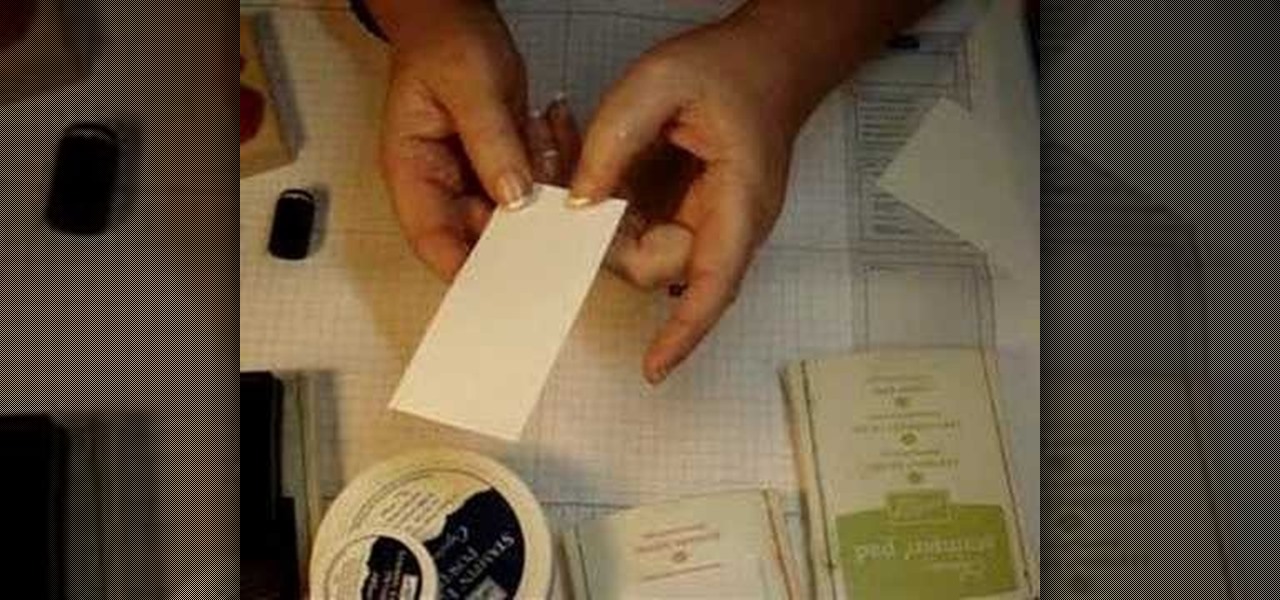
How To: Do an embossing resist for arts and crafts
This video tutorial will show you how to do an embossing resist that will make your paper projects appear particularly professional. This embossing will add that great touch of elegance to your cards and envelopes.

How To: Make a cupcake treat bag
To start you will need a craft bag. They can be found at Michaels but they can be difficult to find. Take the bottom flap of bag and fold it over. The bags will be cut down to 4 and 3/8. You will next need your pink pirouette cardstocks, one will be 5 3/4 x 3 5/8 and it will be scored at 1 1/4. That will be the back of the bag. The other pirouette will be 4 1/2 x 3 5/8 and it will be the front of the bag. On the front Pirouette you will use your stamp on the front right hand corner as close t...

How To: Create a crafters tool caddy for your desk
In this tutorial, we learn how to create a crafters tool caddy for your desk. First, you will need to gather a few pieces of chip board coasters and cut them to the specifications you would like your caddy to be. After you have done this, put your caddy together by locking them together using cut lines inside the middle of each of them. Once you have finished this, place additional pieces of chip boards inside to create different sections of the caddy. Once you are finished, place in your mat...
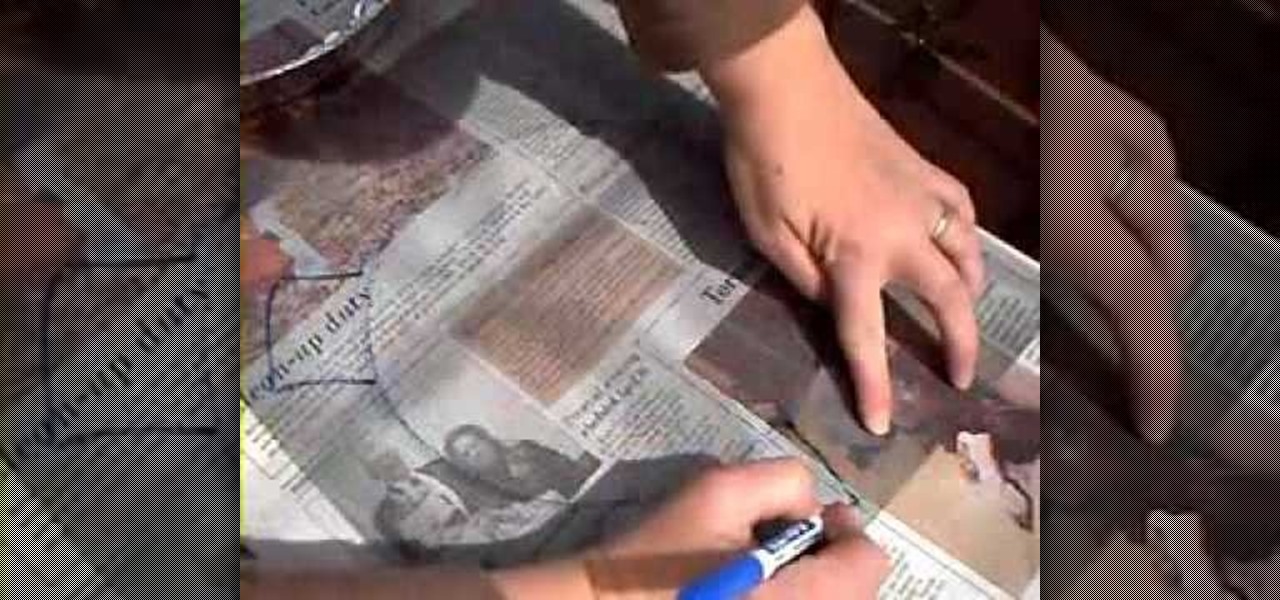
How To: Make your own recycled paper
Want to learn how to make your own paper? Teach your kids about the importance of trees and recycling paper with this cool, hands-on craft. All you will need is scrap paper, a deckle (or strainer), a tub, and a blender. You can also make a deckle out of an aluminum pan. Recycling paper by hand is a simple process that both children and adults can enjoy.
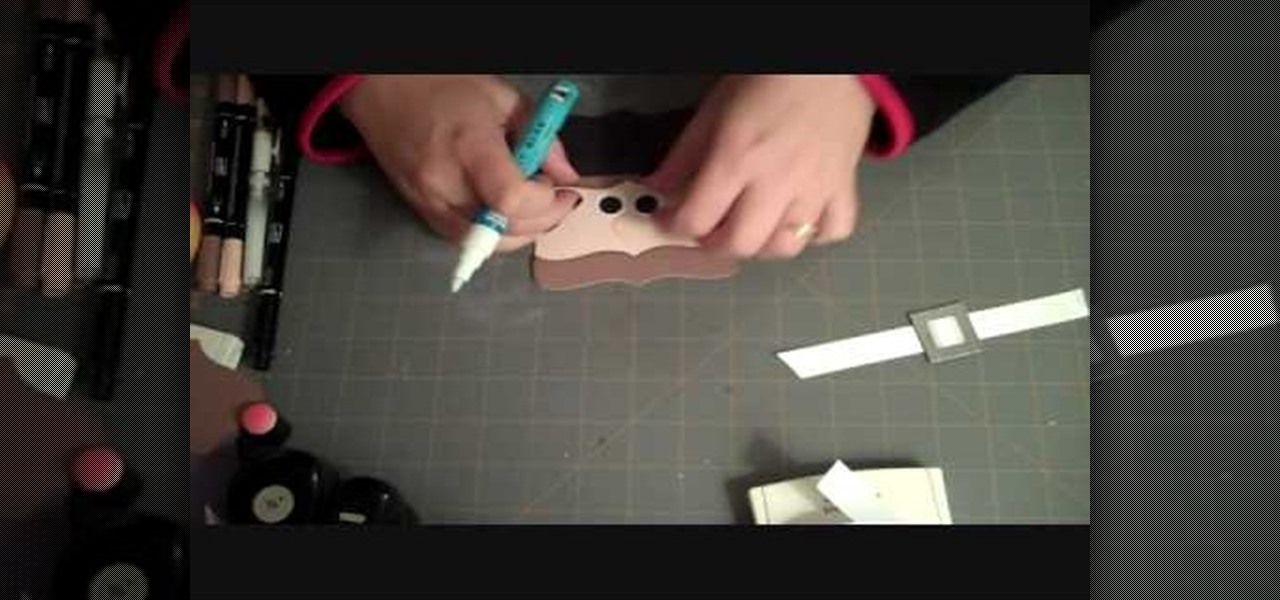
How To: Make a little paper pilgrim out of a Top Note die and cardstock
You can use this little paper pilgrim to decorate scrapbooks, as place cards or to include with thank-you notes. You will need a Top Note die cutter, card stock in black, white, beige and brown and a few paper craft supplies as well.
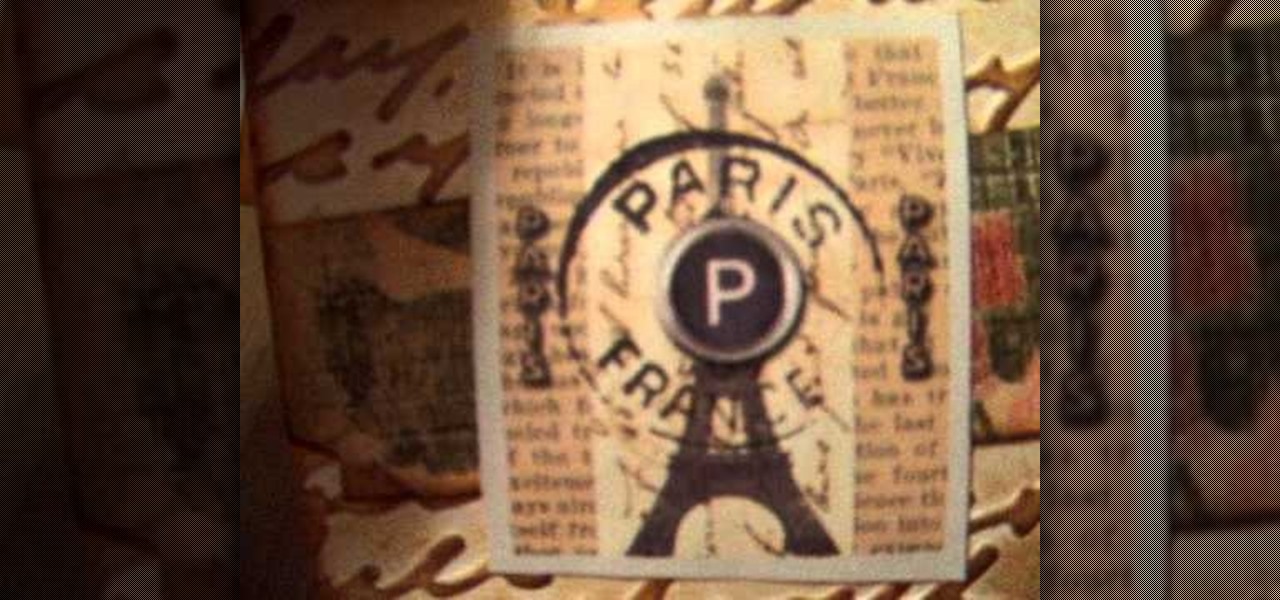
How To: Make a set of beautiful, French inspired note cards
You can make these cards into a set and give them away as a gift, or send them out one at a time as thank you notes, invitations or any other sort of stationery. They have a lovely French vintage feel!

How To: Make a stylish bird motif in minutes
Corynne from The Crafts Channel teaches how to make a stylish bird motif in minutes. You'll need: Colored/printed papers, scissors and glue. Get a colored paper. Draw a whatever bird image You like at the back. Cut with scissors. Get another colored paper of different color and draw a wing. Put a glue on the wing and glue it onto another colored paper. Cut it leaving 1/2 an inch over the first wing to have layers. Decorate bird as what You want Your bird motif to look like. Follow these steps...

How To: Create cute chalk lines
This video will show you hot to make a very nice looking chalk lines design. This design looks great on arts and crafts projects and other paper designs. You'll need some pastel colors and a few other materials.

How To: Make your own cards
Watch to learn how to make your own customized greeting cards using a kit that includes stickers, ribbons, etc.
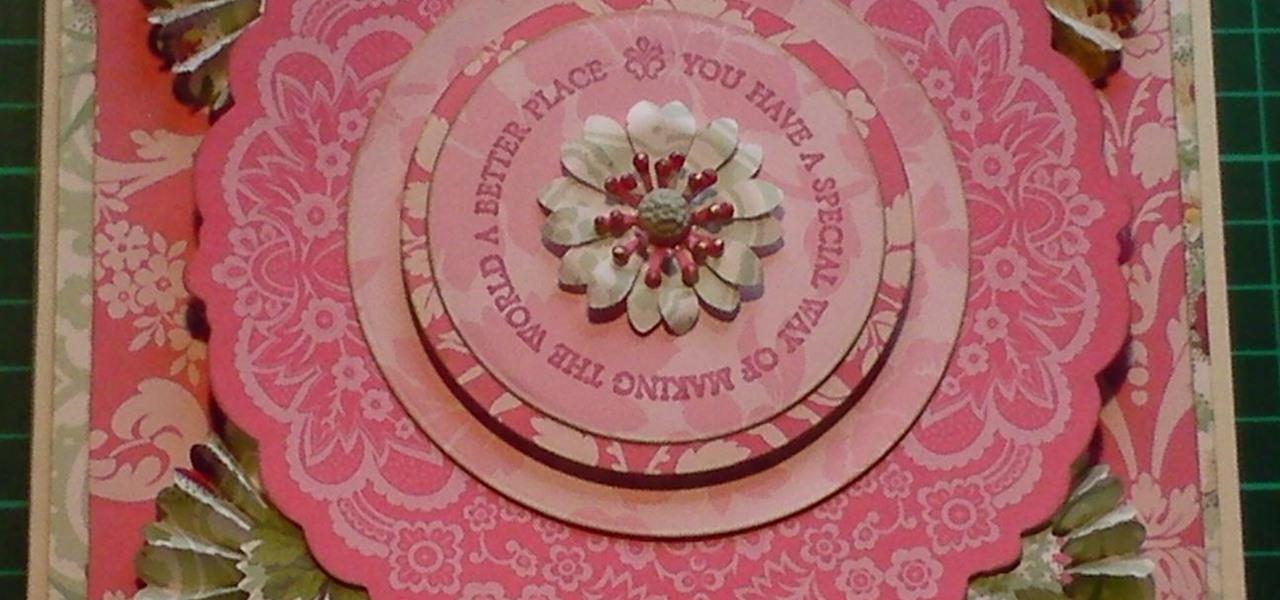
How to Make: Anna Griffin Nifty Layers Doily Card
In the Card making tutorial, I show you how I have made the Nifty Layers Fancy Doily Card, using Anna Griffin Nifty Nesting Layers, papers and a Anna Griffin Say it Anyways stamp as well as the Tim Holtz rosette die. You see how I put it all together and it make a fabulous looking card that could be adapted so you can use things from your own 'crafty stash' Step 1: Items Used
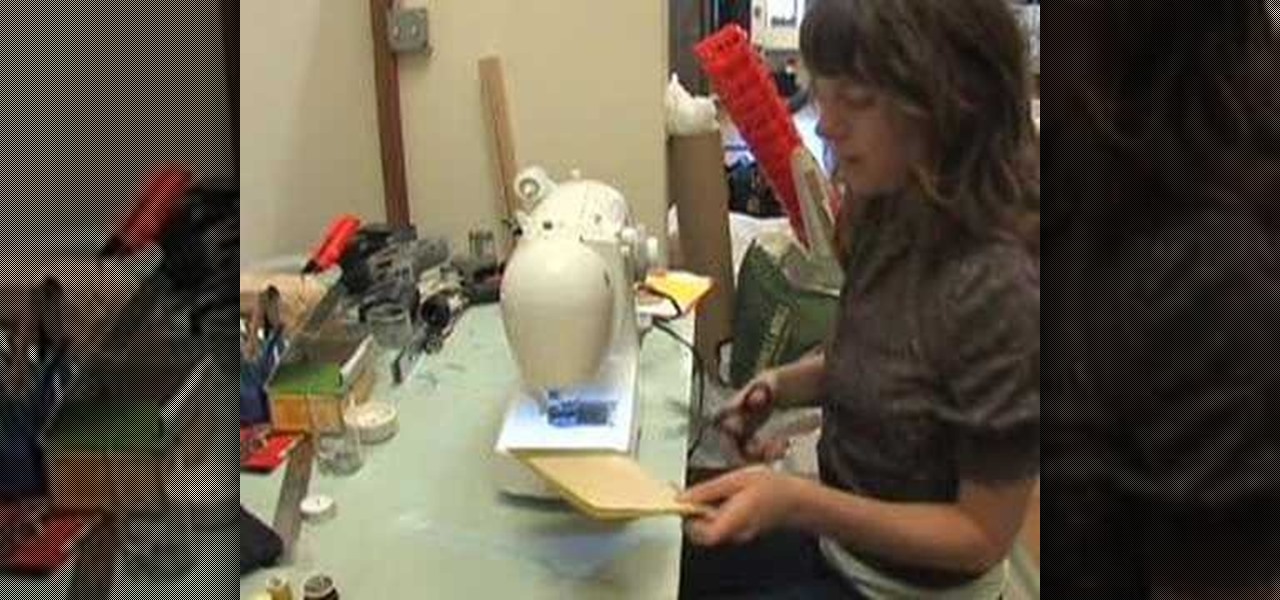
How To: Make stitched stationery
Ready Made and Becky show us how to make stitched stationery. Put together two pieces of paper and sew it up with a sewing machine. Sew a few paper scraps into custom cards, envelopes, or notepaper and catch up on your correspondence.

How To: Make a Valentine's Day heart using strips
This Valentine's Day heart make a great hanging ornament, desk accessory, or gift. Best of all, it is eco-friendly, as it is made from recycled scrap strips of paper.
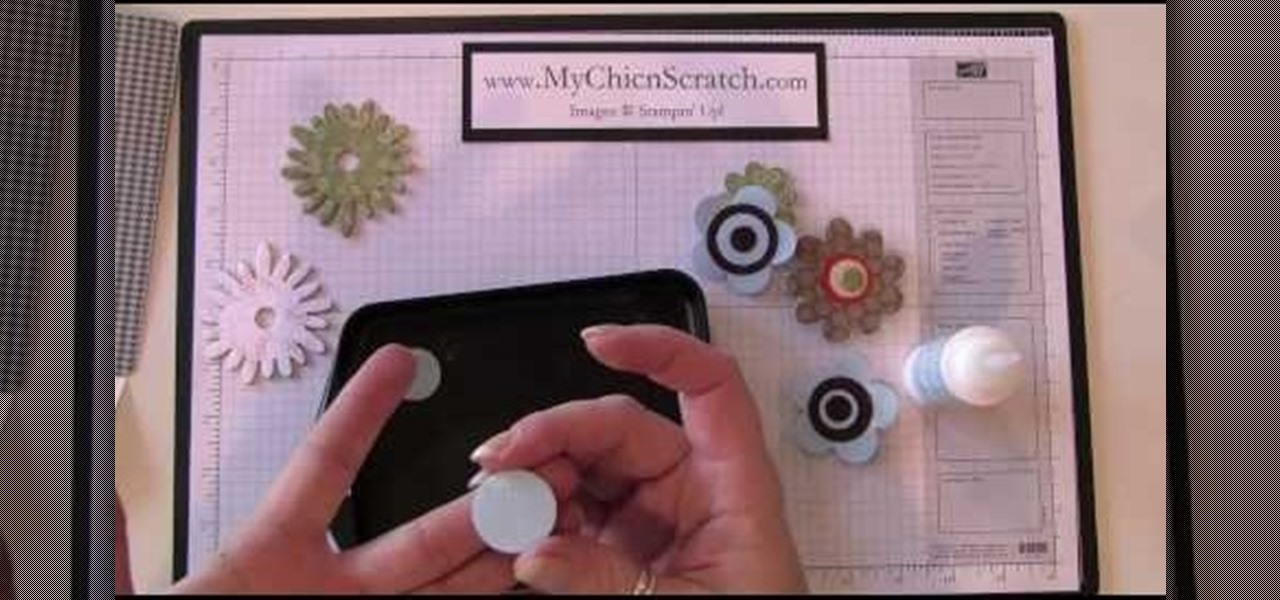
How To: Make flower magnets and faux brads
In order to make flower magnets and faux brads, you will need the following: card stock, a hole punch, a sponge applicator, and crystal effects.
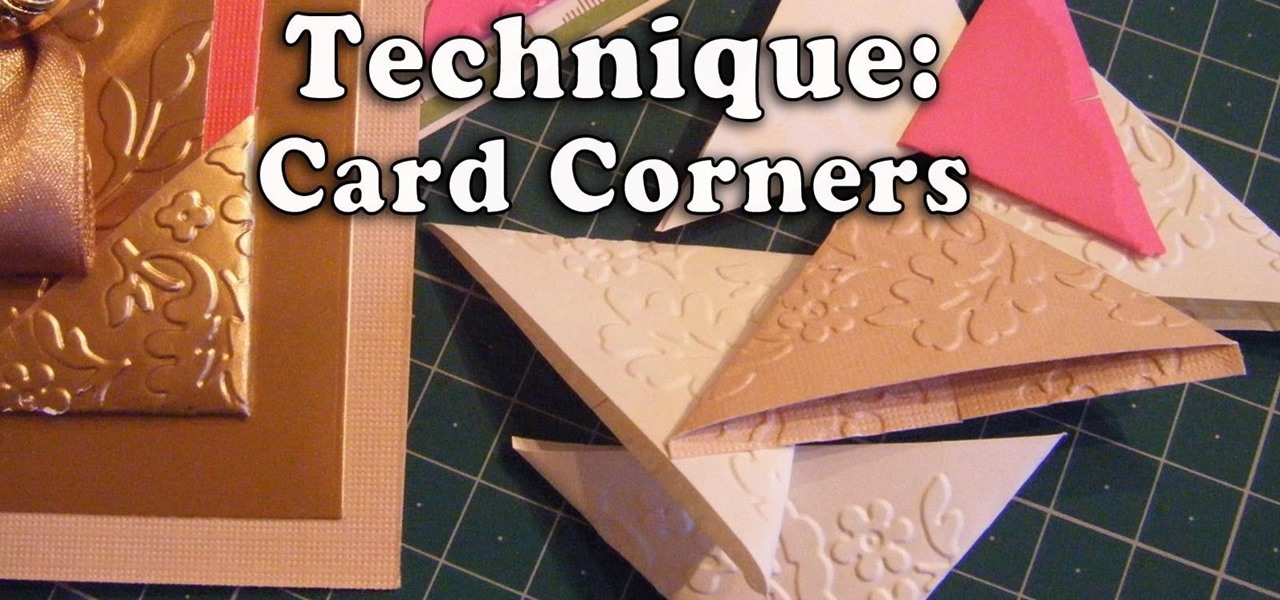
Technique: How to Make Card Corners for Your Paper Projects
In this Technique Demonstration I show you how I make card corners in both plain and embossed card for all your card, scrapbooking and paper projects. Easy and quick to make, and once you make them, you will be wanting to add them to everything.
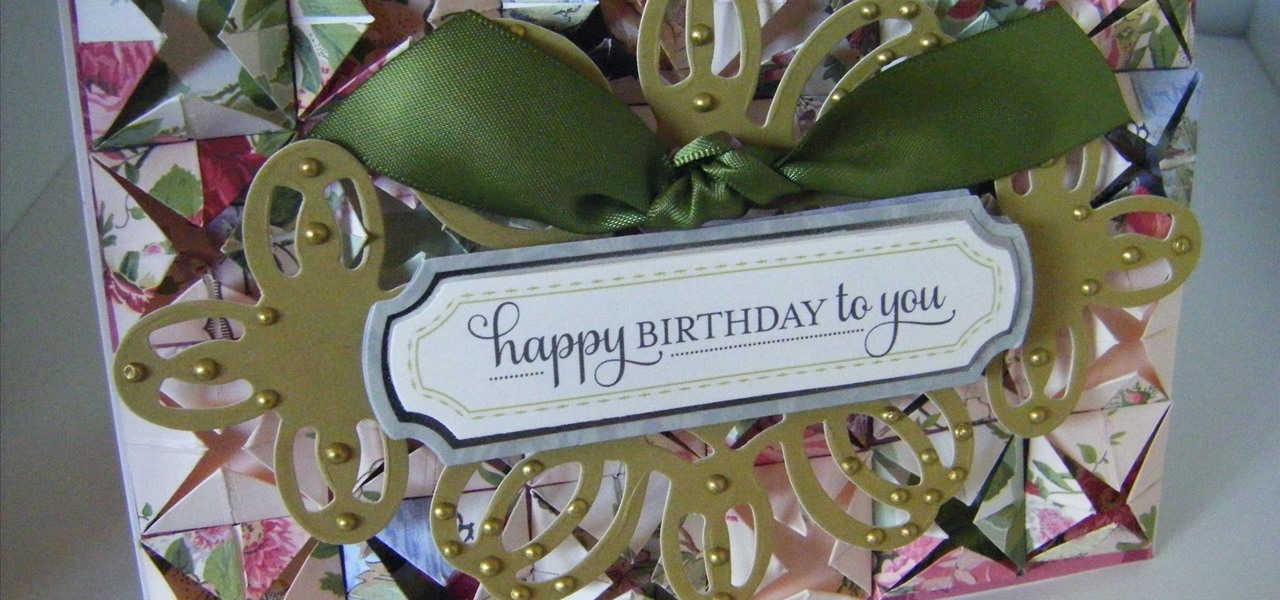
How To: Make a Fancy Rose Paperfolding Card
This project is all about paperfolding and making a 3D card using gorgeous papers, this project is not the quickest to make however it is one of the most effective. I show you how to paper fold and make the background as well as the card.

How To: Fold a circular teabag paper
This video tutorial is in the Arts & Crafts category which will show you how to fold a circular teabag paper. This is a simple process and doesn't take much time to do. First fold the circular paper in half to get a semi-circle and then fold it in half again in to a quarter. Unfold the last fold and fold one quarter back to the halfway mark. Then turn the paper over and fold the bigger side of the paper along the fold line exactly matching the edge as shown in the video. Now you get a little ...

News: Make dice - if you happen to be in prison
Friggin' brilliant. This is hardly a viral video. No sound. Black and white. But it is 100% pure concept.
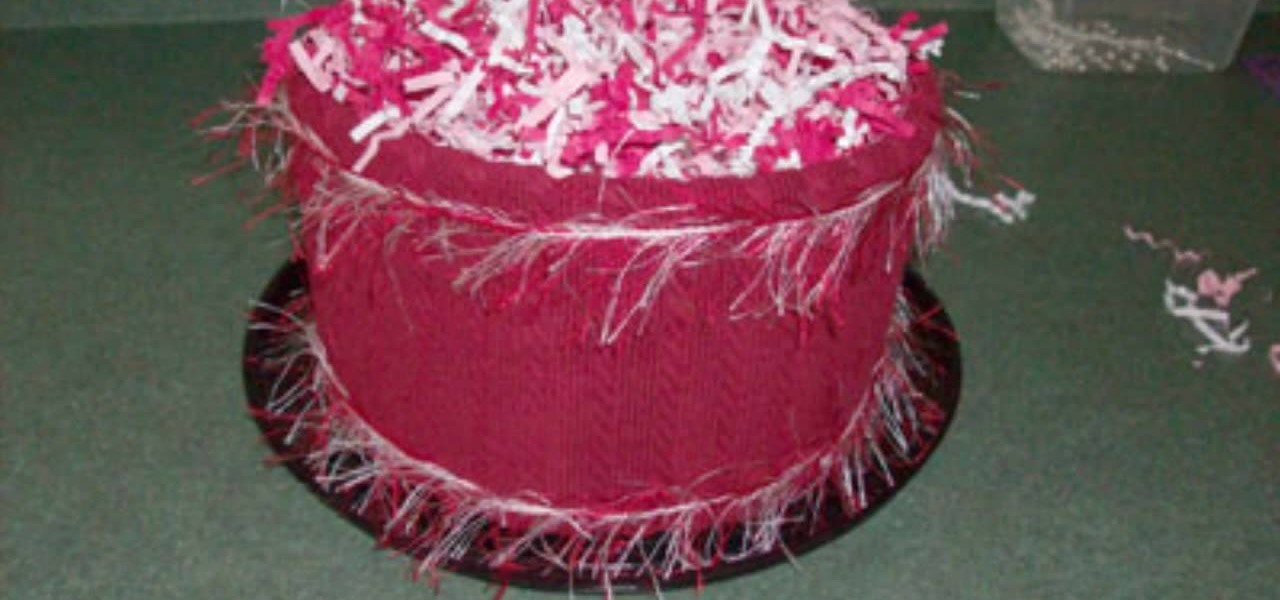
How To: Make a Valentine's Day candy-filled "cake"
While we all know that Valentine's Day is supposed to be about the giving and receiving of love and affection, let's face it: These days, the Hallmark holiday is more about the giving and receiving of chocolate and sugar high-inducing candy.
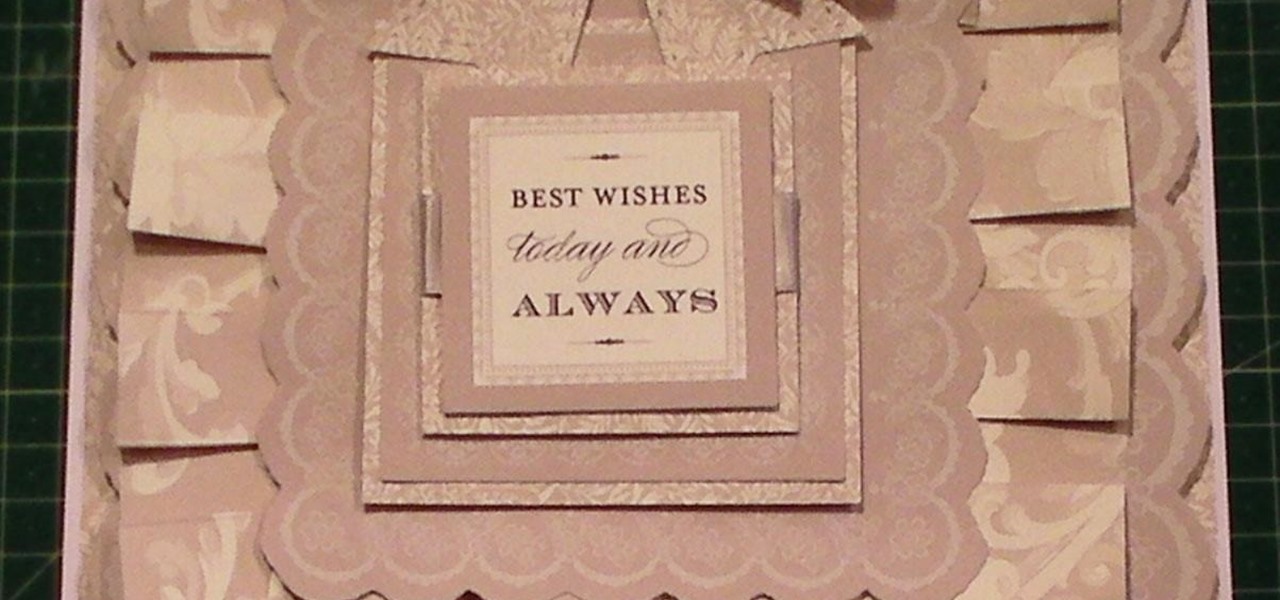
How To: Make a Box Pleated Nifty Nested Layers Card
This cardmaking project shows you how I have used box pleating to create a beautiful card and using the Nifty Nested layers from Anna Griffin, this card is a papercrafters dream.

How To: Make a box
In this video, we learn how to make a box. First, fold the piece of paper into a triangle, then another triangle. Now, unfold the paper and fold all the sides into each other, making a square. After this, fold in the sides once more, making sharp creases on the edges. Now, open up the paper and do this again on the other sides, opening up again when finished. Now, fold the sides of the paper and turn it upside down. Follow the creases that you just made to fold the box up into a secure box. M...
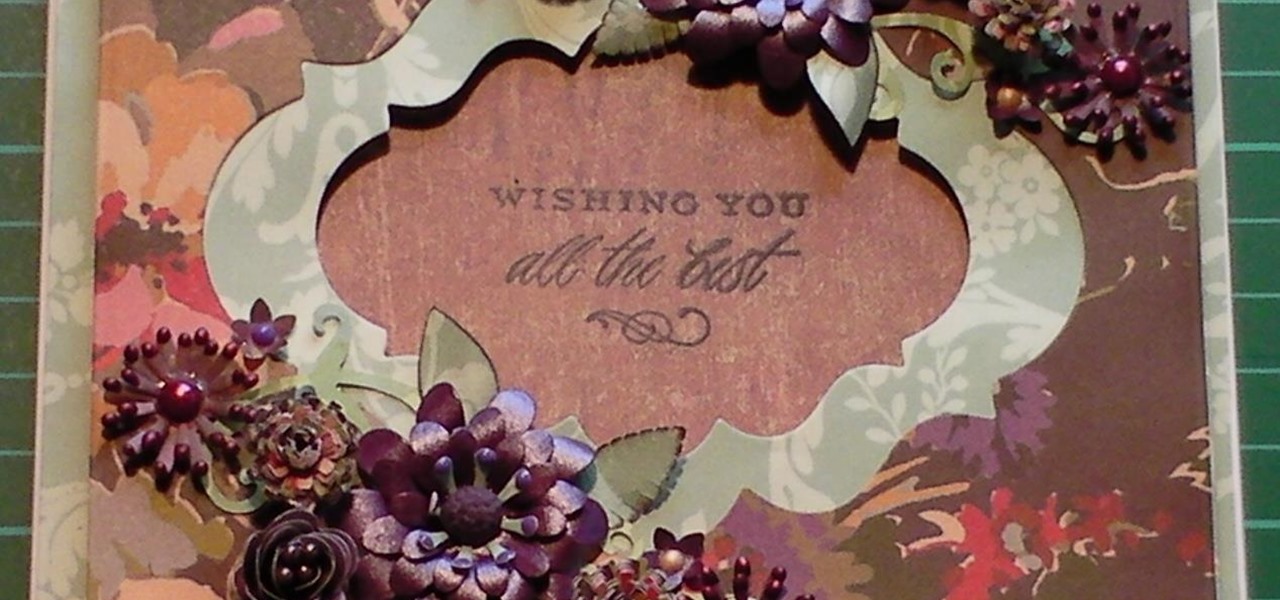
How To: Make Floral Fancy Double Aperture Card
In this cardmaking tutorial, I share my love of paper flowers to make a double aperture card, using Anna Griffin papers and handmade flowers. I show you how I add the flowers symmetrically. This idea for a card looks stunning and the double aperture idea could be used with other nesting dies. Step 1: Items Used
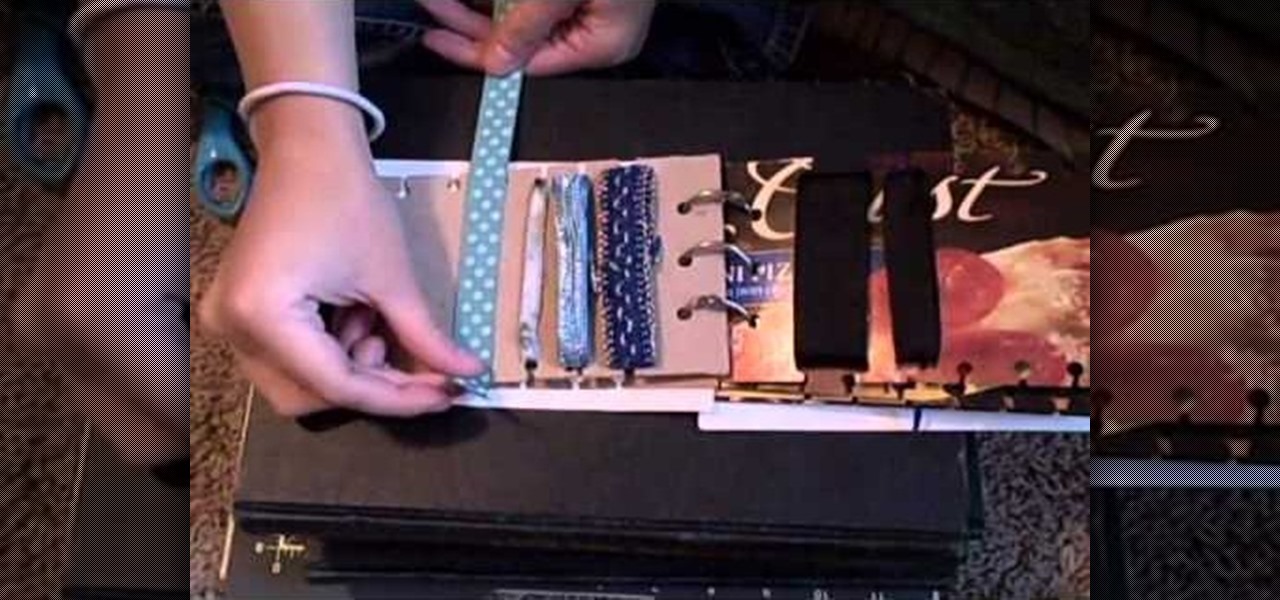
How To: Assemble a handy book to organize ribbon
If you're an arts and crafts fanatic then you probably have more than your fair share of ribbons lying all around the house. You snip off one long piece from the roll and then you have to go and tape it to itself again to keep everything in place, and then eventually you give up and the remaining ribbon ends up in an odds-and-ends jar.
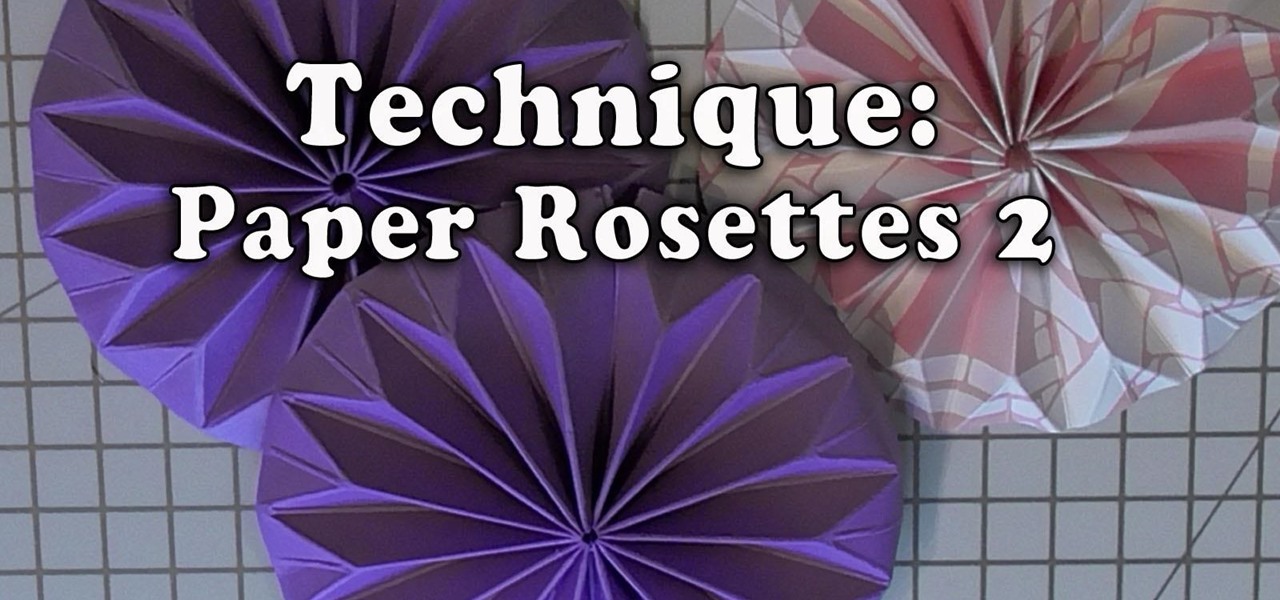
How To: Make Paper Shaped Rosettes
This technique shows how to make the paper shaped rosettes that are so easy and quick to make, they add depth to your projects and alot of interest. Step 1: Now Watch the Tutorial
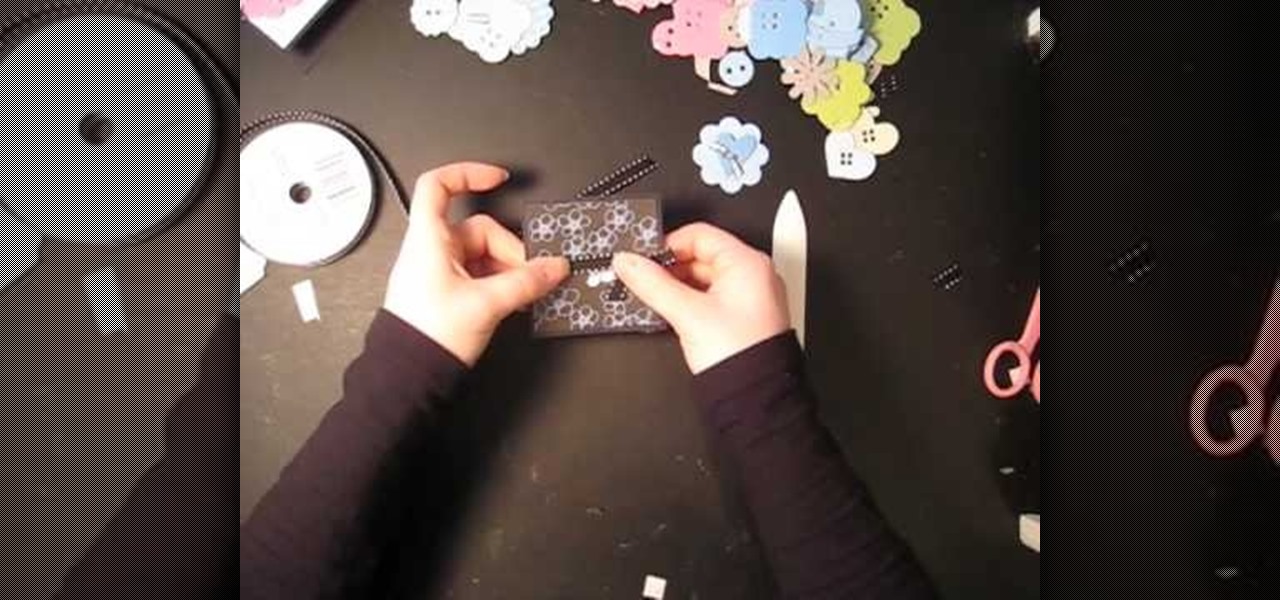
How To: Craft inexpensive mini blank cards with $1 supplies
These wee 3X3 cards may be small, but they sure do make a charming impact when sent to friends as Thank You cards or small "Just Because" notes. Made from craft supplies that can all be found at Michael's for $1 each, these mini blank cards are also wallet-friendly.

How To: Make a Christmas tree card
Here you can learn a great card design for Christmas. It has a Xmas tree on the front. Make a Christmas tree card.

How To: Make a simple airplane
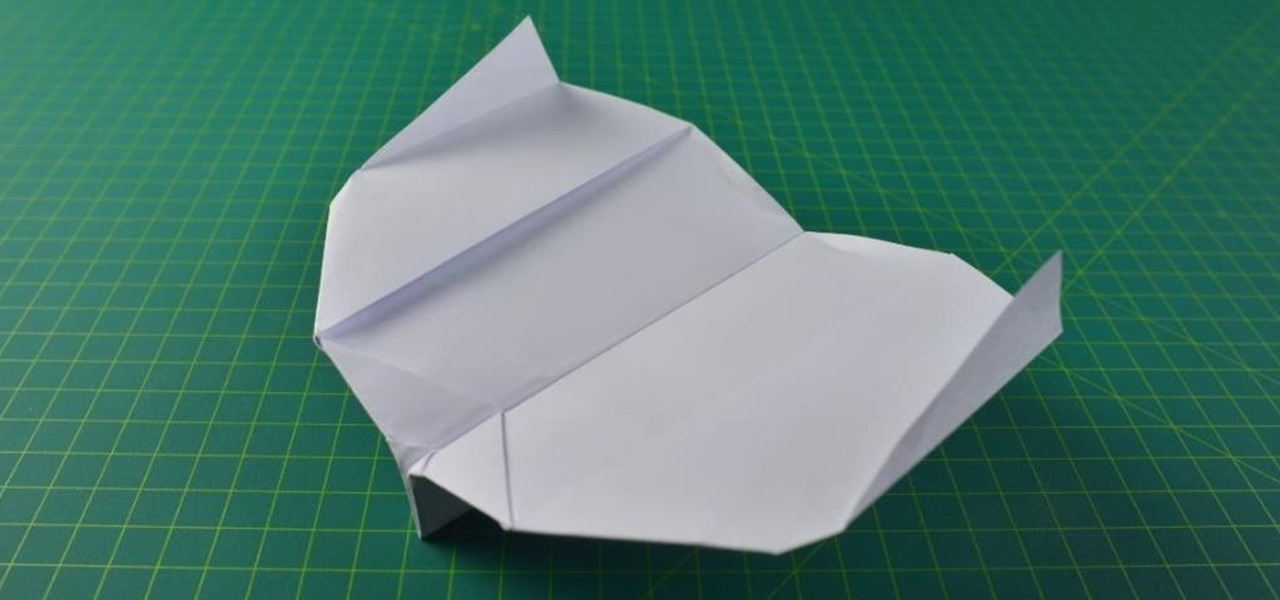
Folding simple paper airplane, but flies faraway. This video is easy to follow. Kids will love to have Dad or Grandpa make them one. Make a simple airplane.
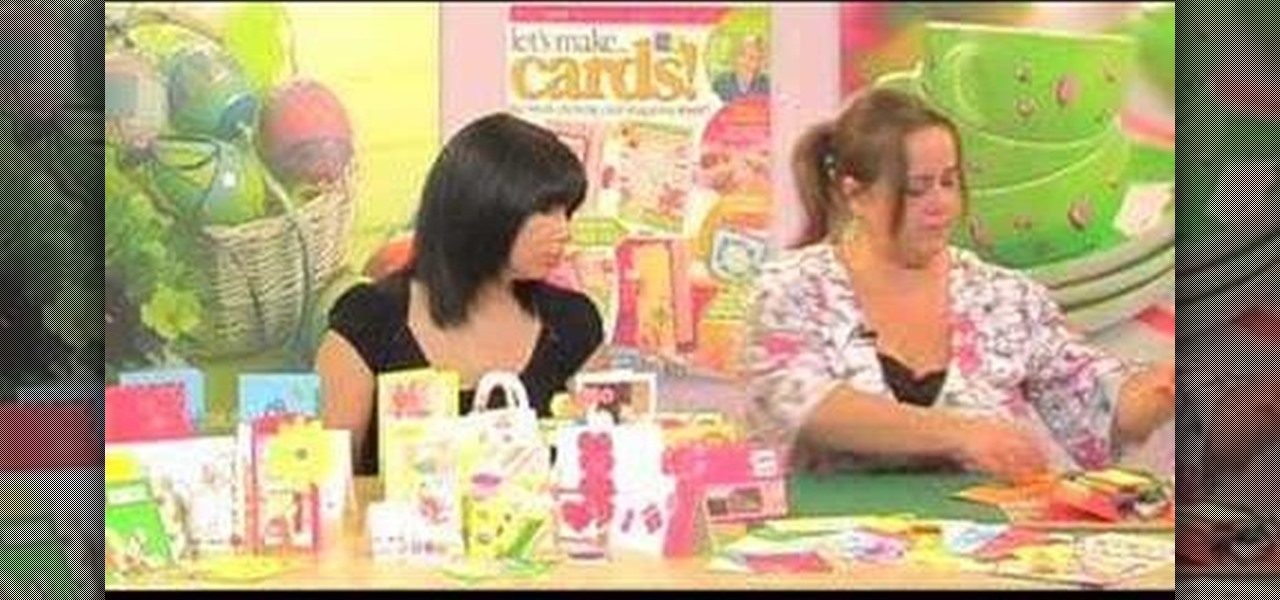
How To: Transform handmade cards with stitched foam shapes
Transform your handmade greetings with stunning stitched foam shapes. Corinne Bradd shows Kristy Clark how easy it is to jazz-up a simple design using bold shades and metallic thread, for a modern look.

How To: Add style to your flats with magazine cutouts and mod podge
When it comes to flats, a girl can never have too many. Comfier than high heels and a hell of a lot more fashionable than running shoes or sneakers, they strike the perfect balance between form and function for everyday use.
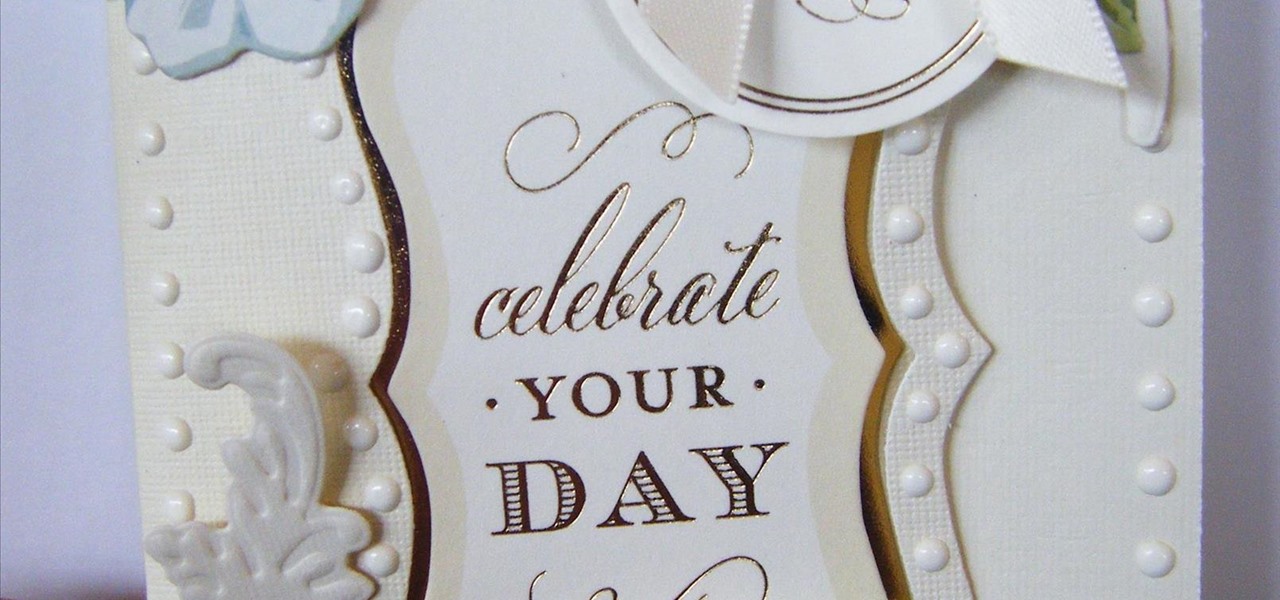
How To: Go 'Flipping Fabulous' Flip Card Crazy
Lets go flipping crazy for the new cardmaking kit from Anna Griffin, and this kit is amazing, full of gorgeous cardmaking products to make the fabulous flips card and the dies to keep making them long after the contents have gone.
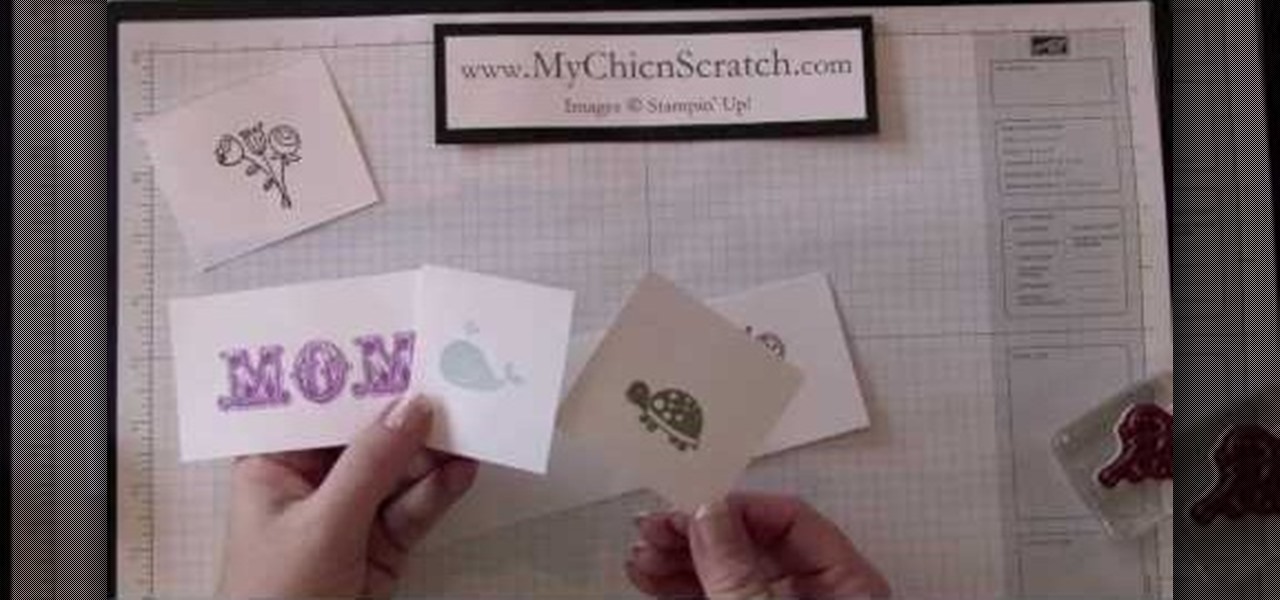
How To: Emboss
Getting started in stamp & scrapbooking world? Embossing a great technique to add textures and design to your scrapbook pages. In this video, Angie Kennedy of My Chic n Scratch (and a certified Stampin' Up demonstrator) shows how to emboss.
How To: Make Quick & Cheap Crafting Rubber Stamp Storage
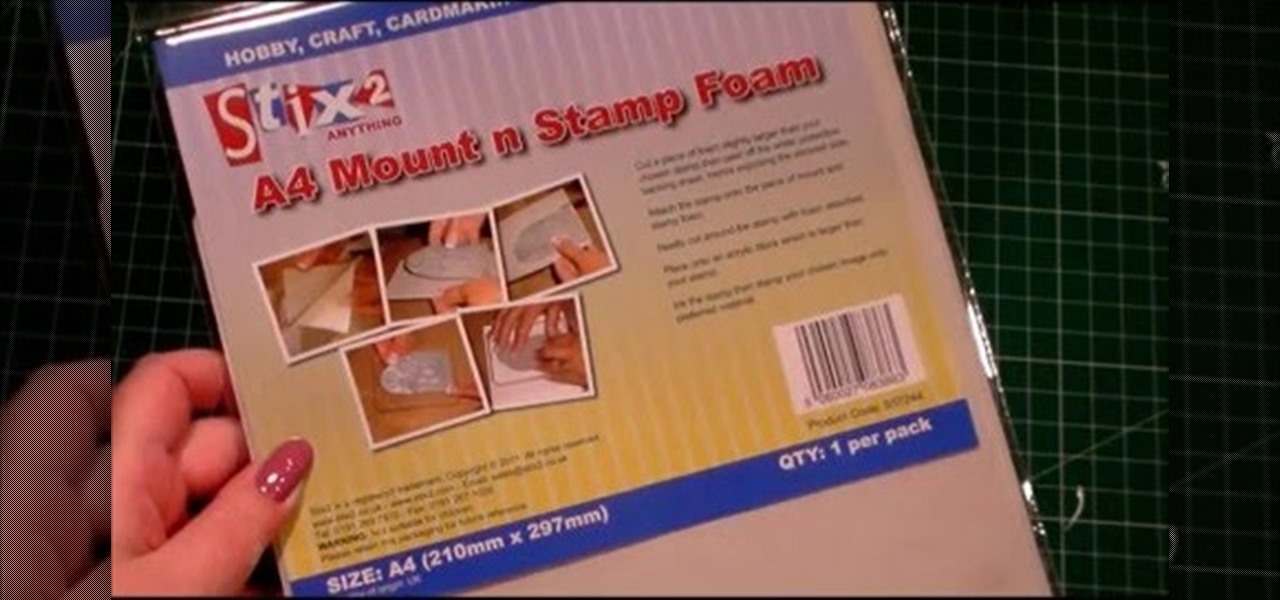
We all need to store our rubber stamps somewhere and somehow, in a small amount of space with little effort and at low cost, well this is how I store mine.
How To: Craft a "New Addition" baby arrival card
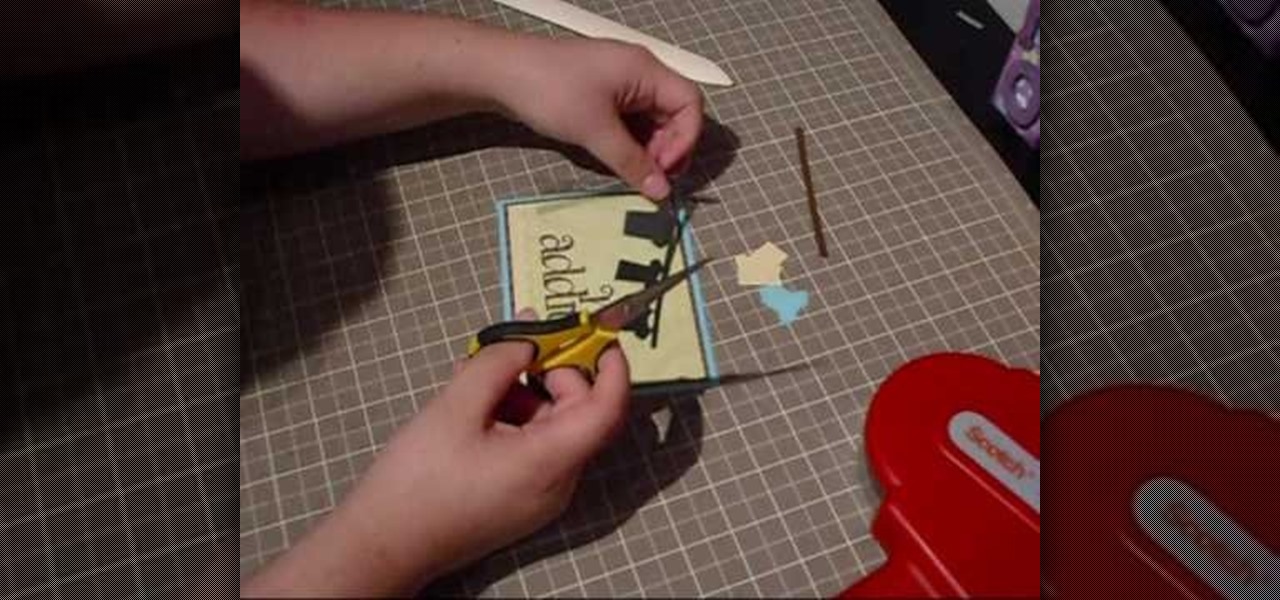
Spring is baby season, so if you know a friend who's expecting rather soon, make sure both she and her baby are welcomed with a fond, handmade sentiment.
How To: Stamp and/or emboss on a button
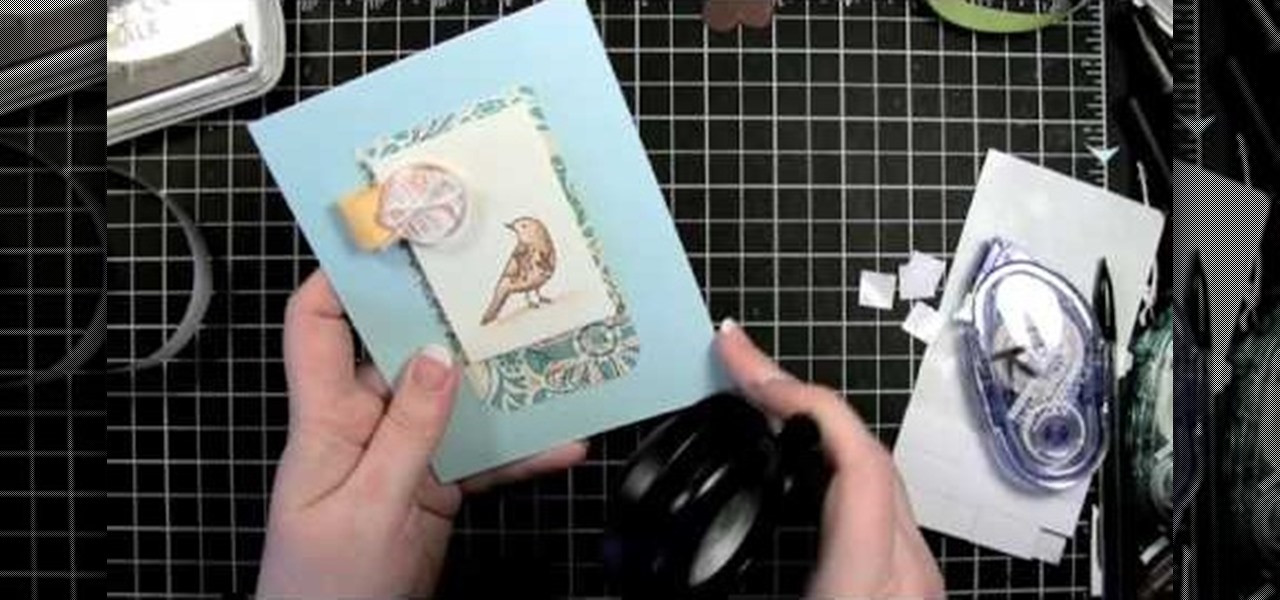
This video demonstrates how to emboss a button and then use it as an emblishment on a card. Start by covering your stamp with clear VersaMark Ink. Holding your button with pliers, carefully press your button onto the stamp. Next, take your embossing powder and sprinkle it on to the button. Then apply heat to the button. You are now ready to make your card. Ink your bird stamp using chestnut chalk ink. Place it at the bottom of your card stock. Using a blender pen, color in the bird and any ac...

How To: Make a great looking paper box
In the video, a boy named George explains how to make a paper box for wrapping gifts in it. For that, first we need two square color papers of any color, and a pair of scissors. In the box making procedure, first place a paper on table, face down. Now fold it diagonally, twice. Unfold it. Then fold the sides twice, to make regular square shapes. Unfold it. Mark the center part using a pen. Cut the paper leaving two folds on four parts, fold it in. Then fold the rest of the part of the paper o...
How To: Make Anna Griffin Lace Edge Black & White Mono Card
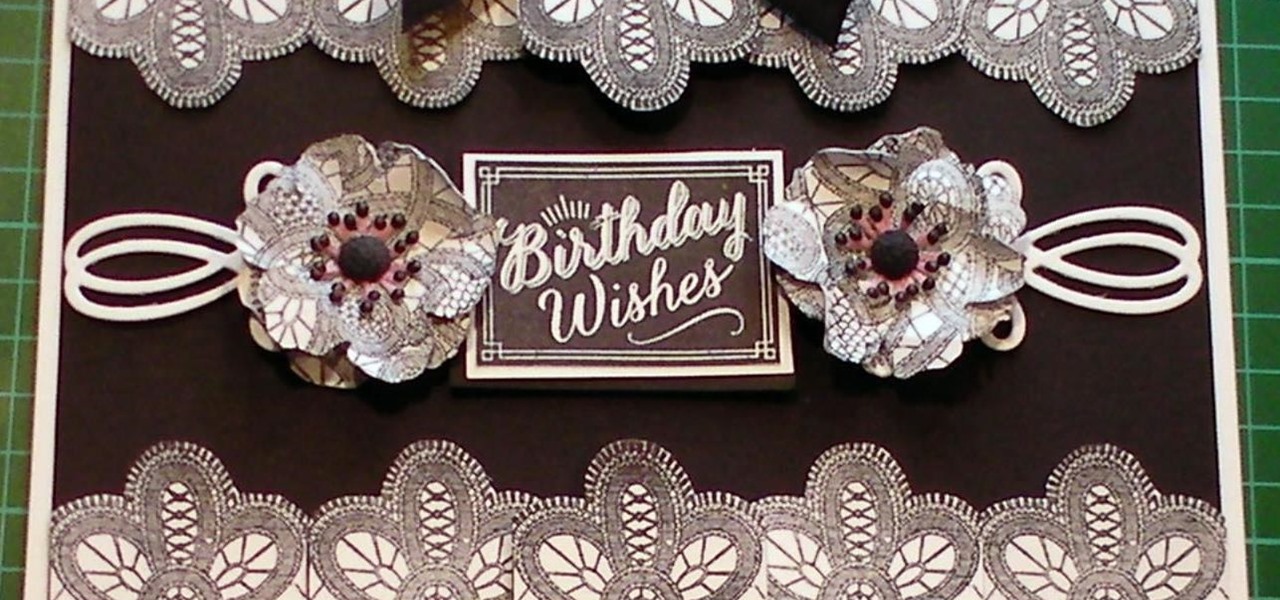
In this cardmaking tutorial I use a Anna Griffin rubber stamp to make a repeat pattern in a very easy way, so if you have trouble repeat pattern stamping this could be for you. I make a lace edged card with 2 pretty flowers and a stamped sentiment. Step 1: Items Used
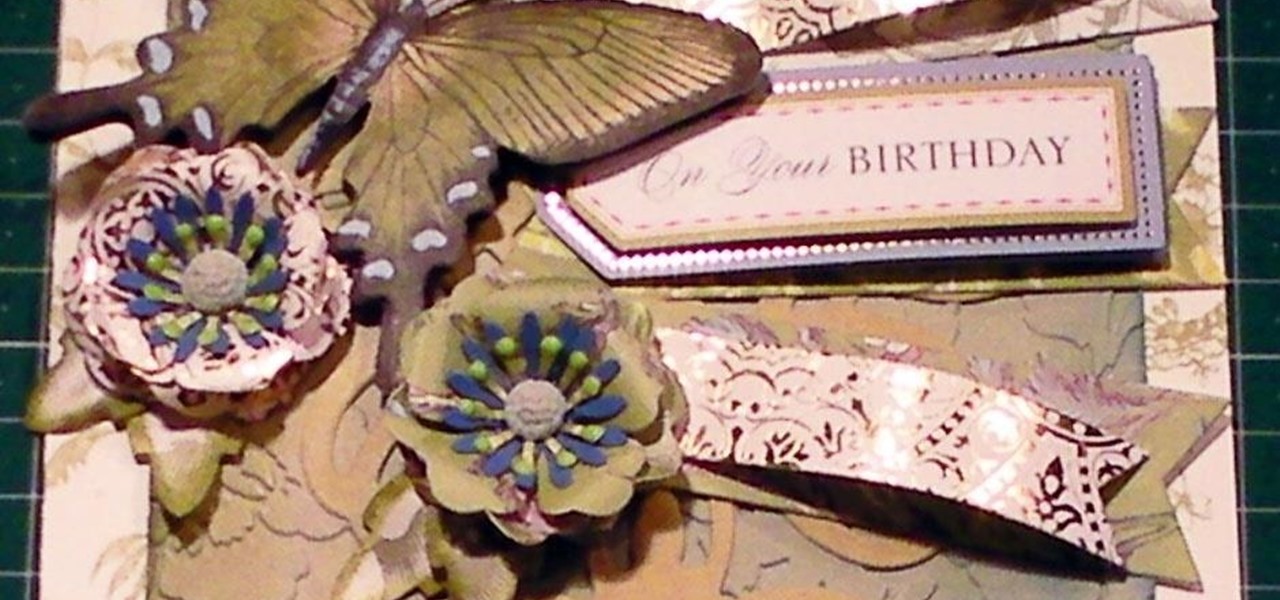
News: How to Make a Peacock 3D Butterfly Embossed Card
In this cardmaking tutorial, I make a gorgeous peacock green butterfly card with an embossed background using lots of Anna griffin products, old and new. If you do not have the old products you could substitute them with products you do have already in your stash. Step 1: Now Watch the Tutorial
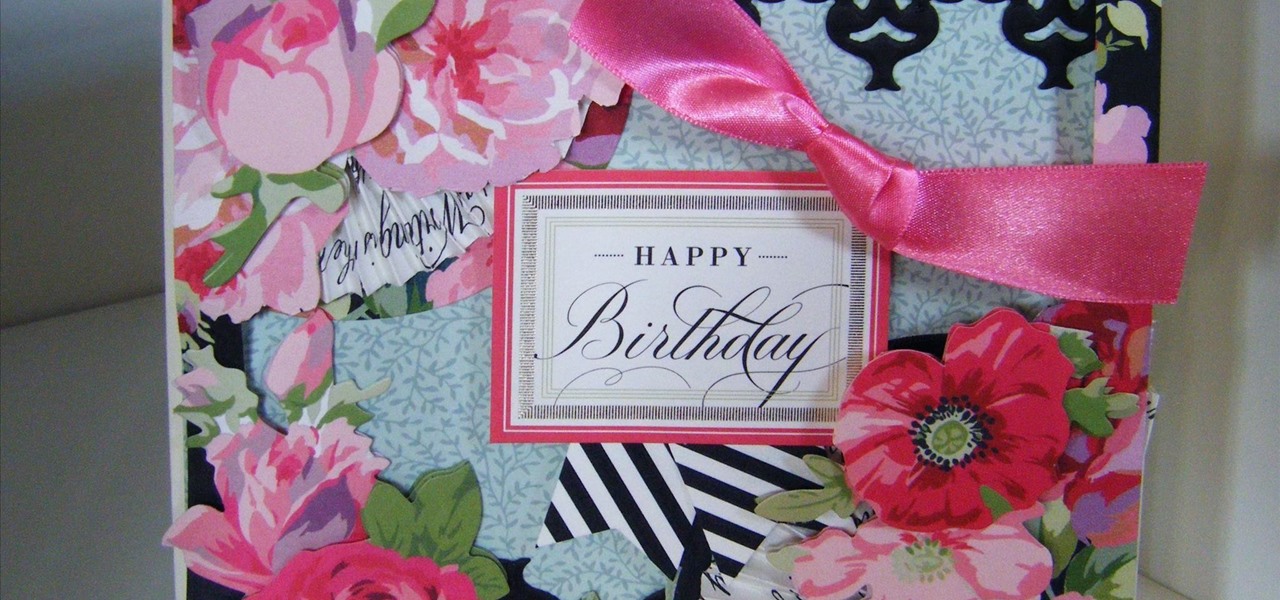
How To: Make a Rose Designer Collection Floral Card
This project sees me create a stunning card using the Anna Griffin Rose Designer Collection and the 12" Trimmings dies, together they are the perfect combination. The card is a full floral and includes using the stickers from the kit as well as some of the beautiful embellishments. I have even included some paper folding to give the card even more depth. Step 1: Now Watch the Tutorial

How To: Make a two pocket card
In order to make a Two Pocket Card, you will need the following: double sided large card stock (8 x 4), precision trimmer, a ruler, tape, or glue, a pencil, and a ruler. Fold it in half, widthwise. Open it up and fold it lengthwise. Open it back up.
How To: DYI Presents for Your Reunion
In an increasingly mobile and globalized world, it’s not uncommon to lose touch with people we were once close with. Juggling between job demands, family responsibilities and our own personal needs, it’s often hard to put the time to keep all of our relationships going. Nevertheless, every now and then we get to reminiscing and feel the time has come for a reunion with people from the past.


