

Papercraft Features


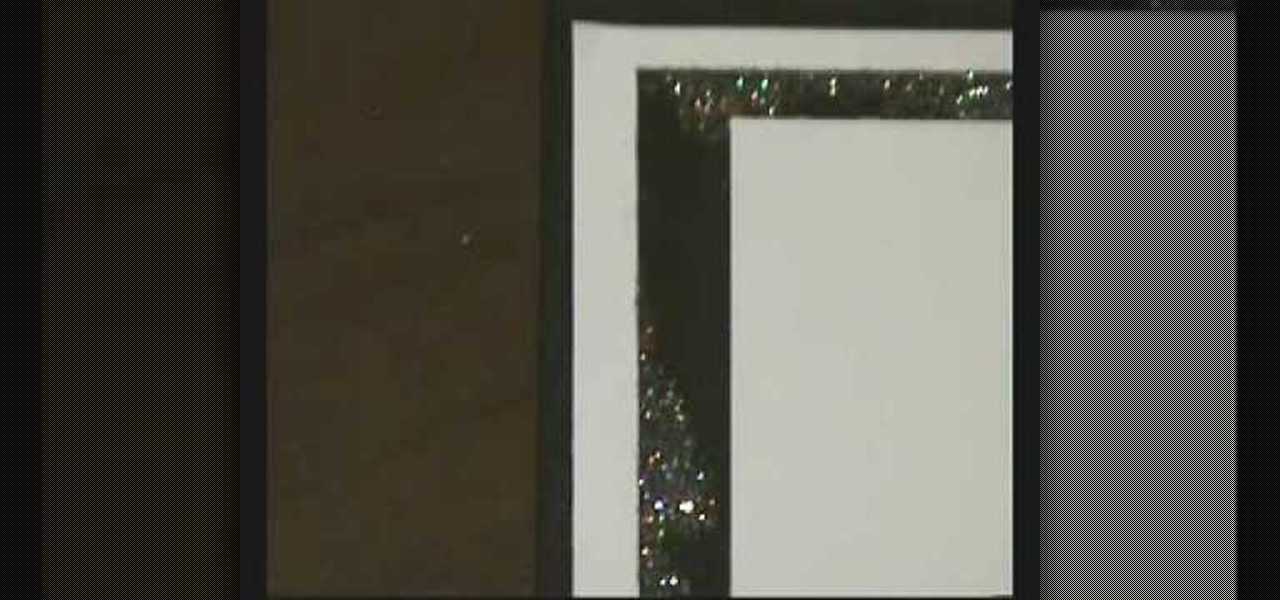
How To: Make a picture frame
This tutorial video will show you how to make a cute picture frame. This super-sweet picture frame is a great idea for birthdays and holidays. It is made from various stamping and card making supplies, so get ready for some fun arts and crafts!

How To: Make a six-sided snowflake
GunterAgency reveals to his viewers how to make a six-side snowflake. In nature, snowflakes aren't four sided, so why continue to make them in that fashion? Through a series of simple folds, the viewer can attain a shape that will allow them to begin making a six-sided snowflake. After using scissors to make the folds even, the viewer can then begin cutting patterns along the sides of the snowflakes as he or she pleases. Once the viewer is done, all that is left to do is to simply unfold and ...
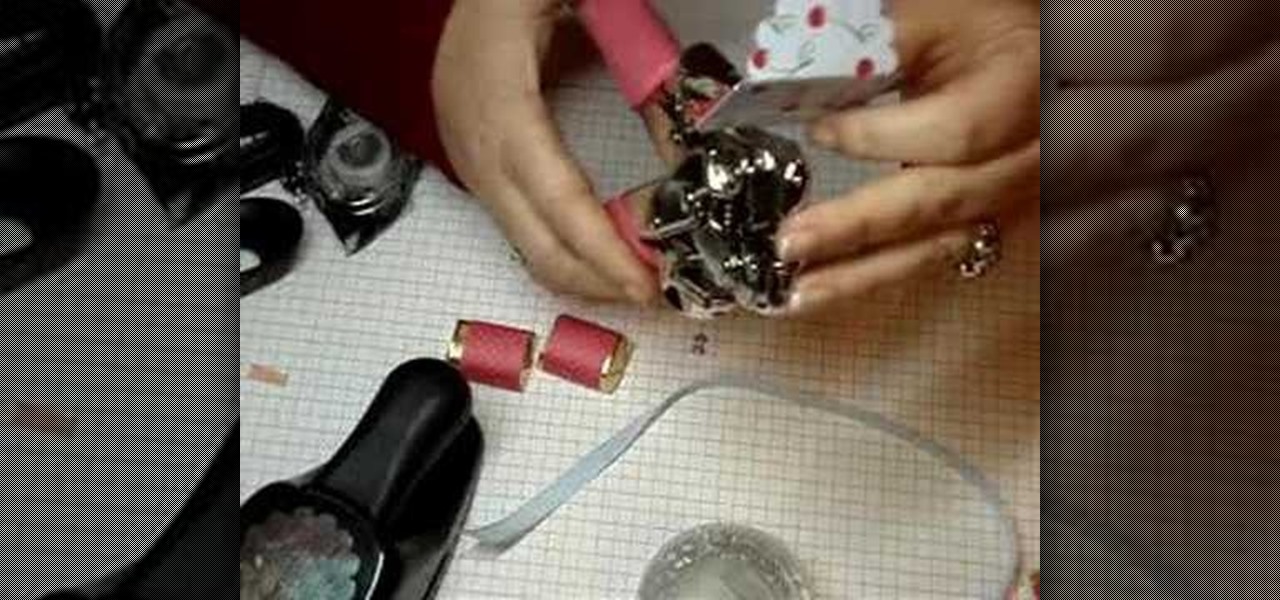
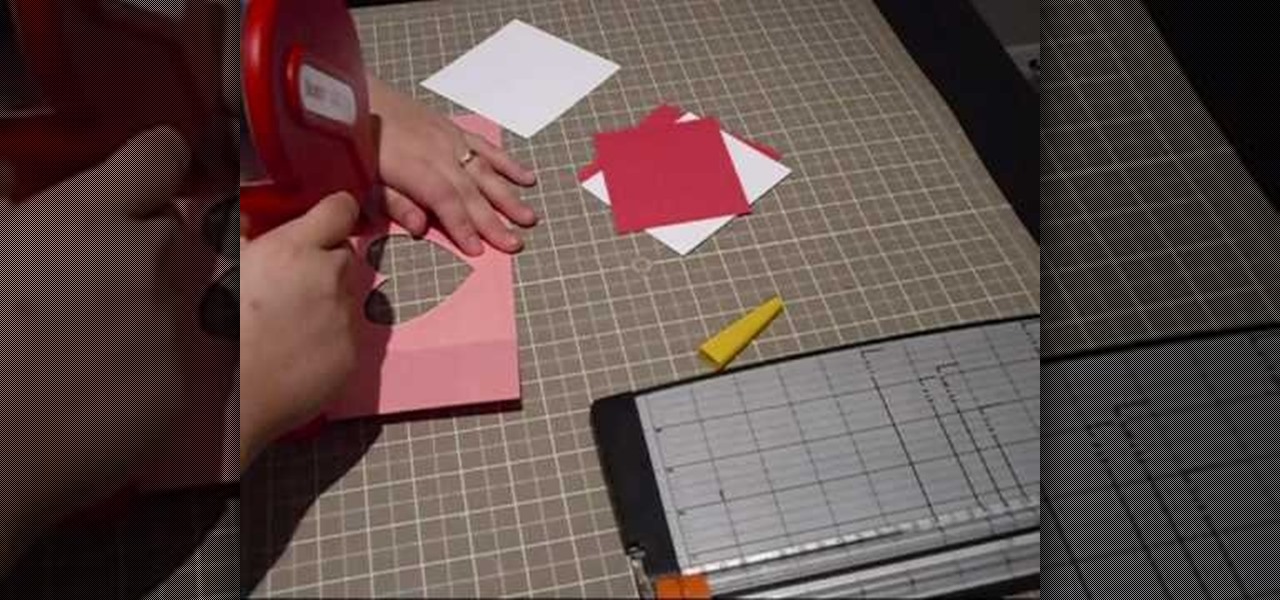
How To: Make a double candy holder nugget
This video will teach you to make your very own candy nugget. This nugget is filled with candy and extremely cute. Your friends and family will love it when you give them this adorable little hand made arts and crafts project!

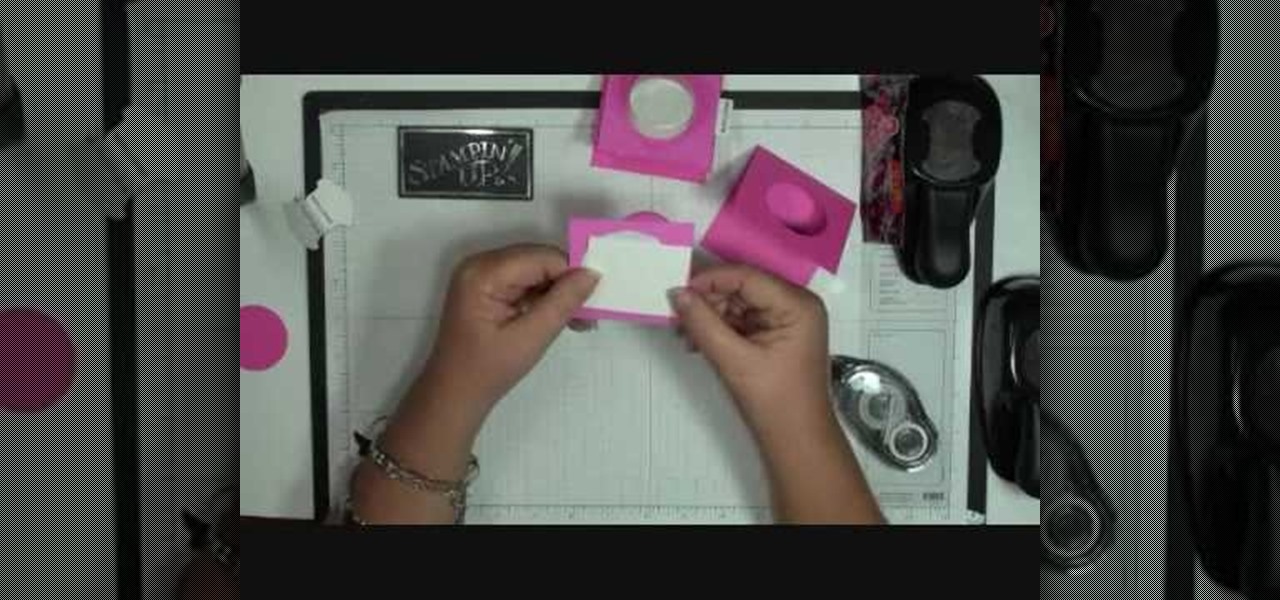
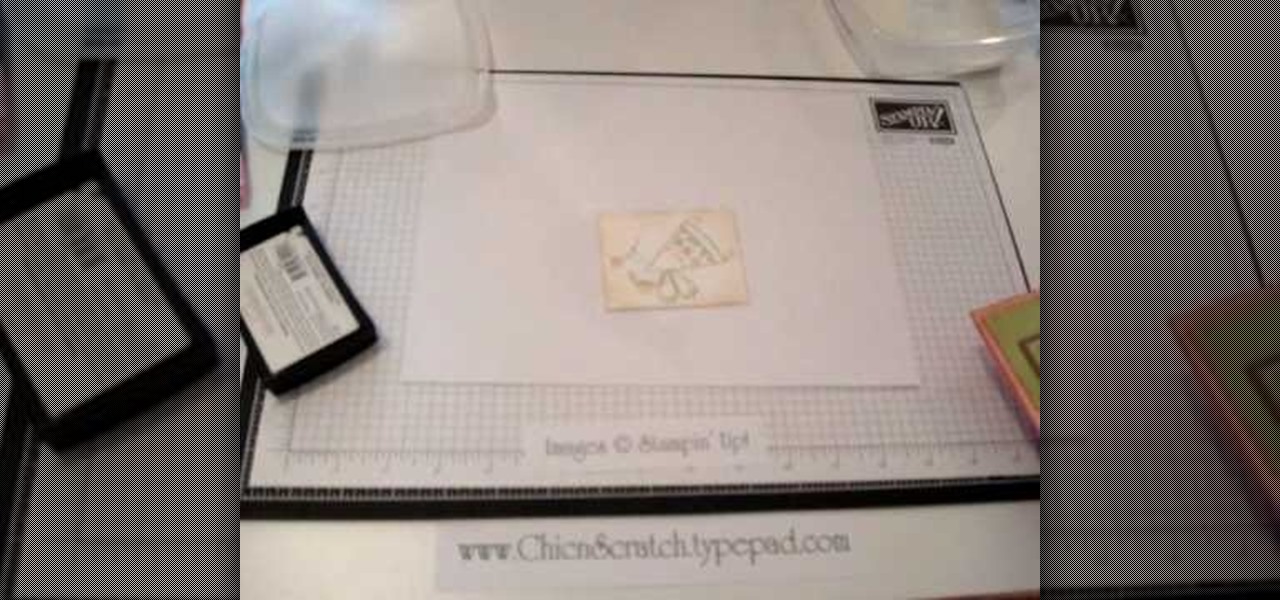
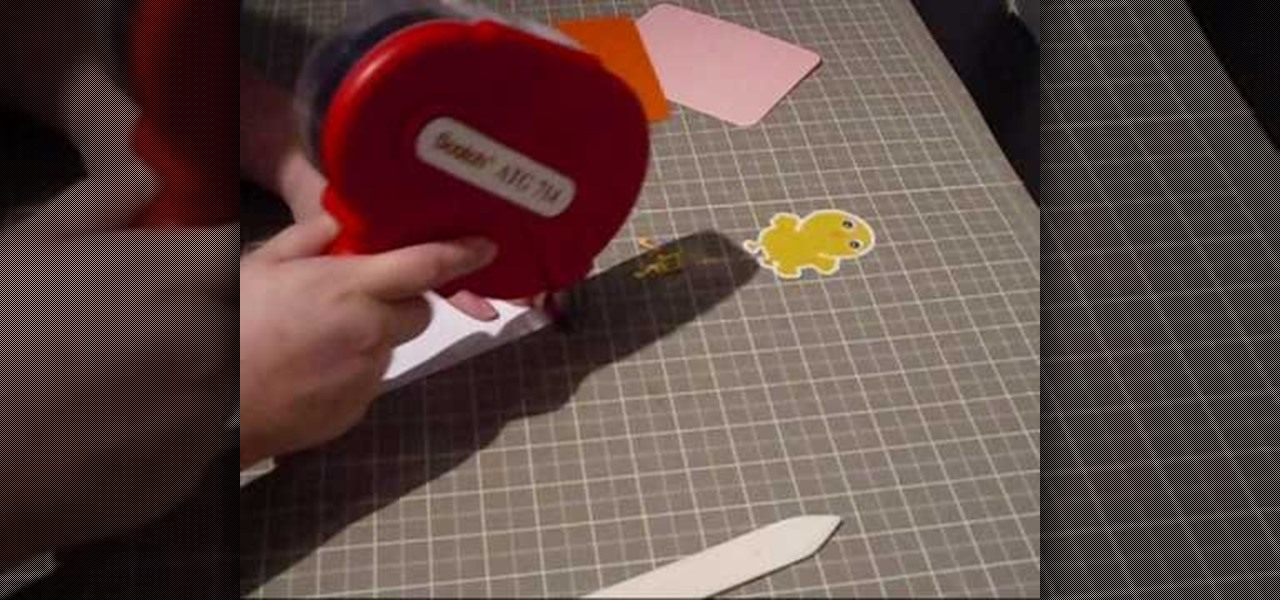
How To: Use a Cuttlebug & make a congratulations card
This video shows us how to use a cuttlebug and make a congratulations card. Here are the following steps:
How To: Make a sweet treat cup door with Stampin' Up!
Dawn5377 teaches you how to make a pink sweet treat cup door. You need a stamp from the sweet center set and you use it on a small piece of pink cardboard. You punch the middle out. Also punch the middle of another piece of pink cardboard. Insert the treat cup door and stick it in. You use dimensionals to hold a white piece of paper, which acts like a tray under the plastic dome. You add some sweet treats inside and stick the other pink piece (with the heart) on the other side. Also remember ...

How To: Make a gift box out of fabric with little sewing
This project requires very little sewing experience. If you can do a basic whip-stitch, cut fabric and use an iron, you can do this. This is a great gift idea and you can use up those old fabric scraps, trims and beads. The best thing about it, is that you can customize the box to any occasion. Watch this how to video tutorial and learn how to make a fabric gift box.
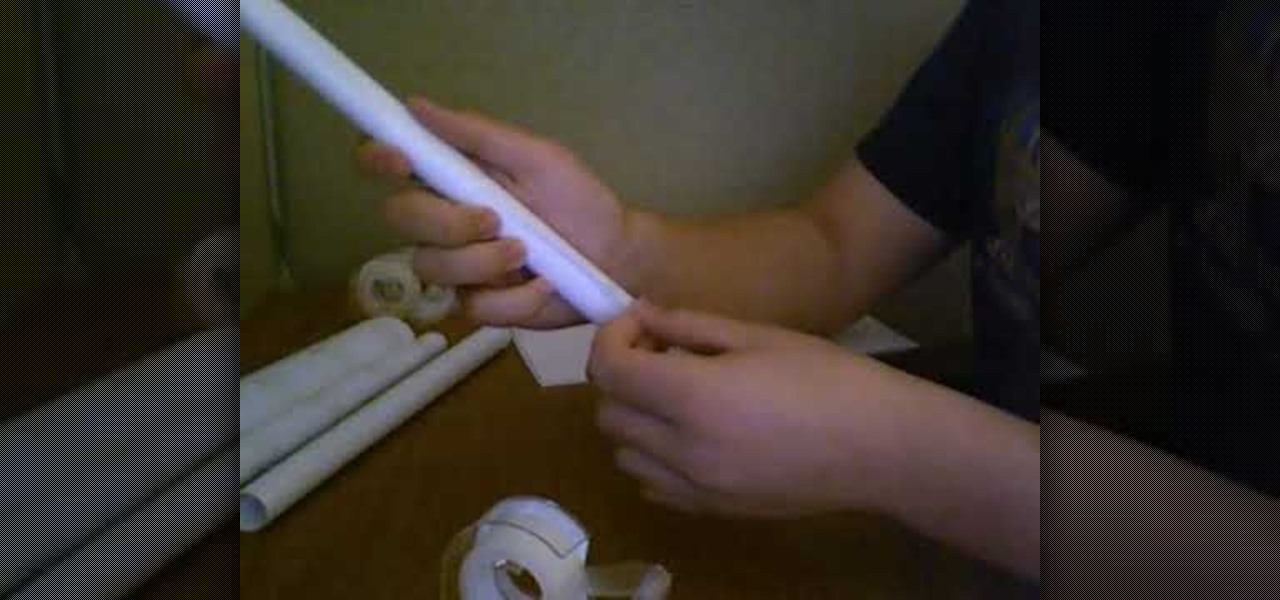
How To: Make a paper airplane quickly
You can learn how to quickly make a paper airplane. You fold one piece of paper in half, unfold it, and then fold two triangles on the inside. The airplane should be able to fly if you follow all the instructions.
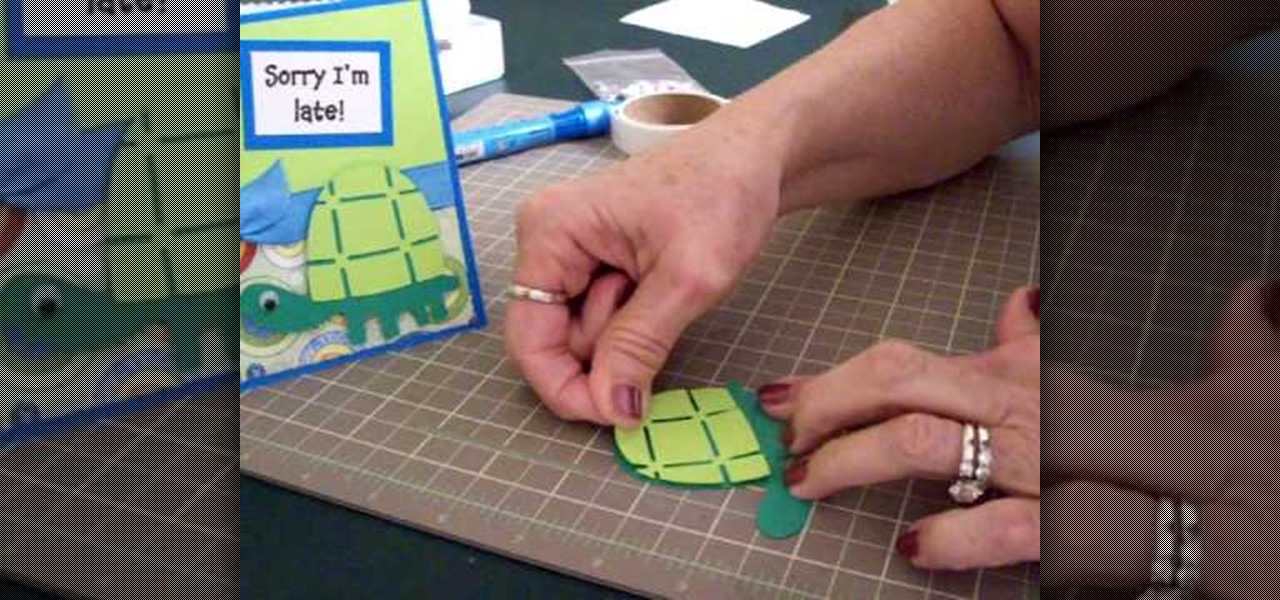
How To: Make a Cricut belated birthday card
In this tutorial, we learn how to make a Cricut belated birthday card. First, cut the turtle out using the Walk in my Garden cartridge. After you cut this out, add in details to the shell using different colors. After you put the turtle together, place it on a blue card stock that has a pattern over the bottom of it. Next, place a ribbon around the middle of the card. On the top, place a message in a framed piece of card stock that says "Sorry I'm Late!". After you make this, fill out the car...
How To: Make paper look old with tea
In this video, we learn how to make paper look old with tea. First, make tea in a plastic container by placing warm water in it and leaving a couple tea bags in. Next, take a normal piece of copy paper and submerge it in the water. Get all the air pockets out so it is completely soaked into the water. Next, press down on all the areas of the paper and leave there for several minutes, or until you have your desired color. When this is done, lay the paper out to dry. When it's done drying, the ...

How To: Do an amazing paper throwing star trick
Check out this video to learn how to do the amazing paper throwing star trick. First, just fold along the diagonal.

How To: Make a ribbon bow with the help of toothpicks
In this tutorial, we learn how to make a ribbon bow with the help of toothpicks. Start with a full twist on your ribbon, then place it behind the toothpick and hold it in place with another toothpick. Next, make another loop and then do a front loop with a half of a twist. Now, secure those in place with toothpicks and do three side loops with half twists. Secure them with toothpicks, then continue with larger loops made with half twists. When finished, hold the ribbon in the middle with your...
How To: Make a cracked glass technique card
This video tutorial instructs how to make a card using the cracked glass technique. Learn how to give art cards or craft paper a cracked glass finish.
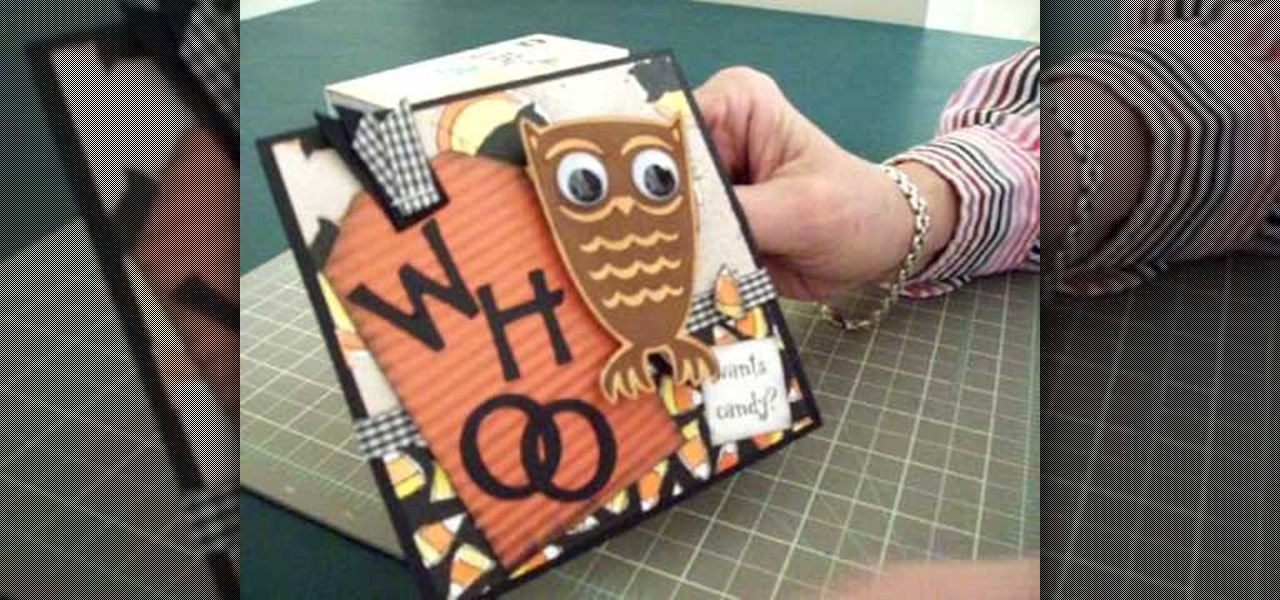
How To: Make an owl Halloween card using Cricut Storybook
Learn how to make an owl Halloween card using the Cricut Storybook cartridge: Mary explains how to make a 5 x 5 inch square Halloween card in a few simple steps. On page 34 of the Cricut Storybook manual you'll find the owl. Cut the owl at 3 inches out of the darker brown by hitting shift and the owl. Then cut the owl out in the shadow and layer it. Give the owl big google eyes. Cut a tag out of Tags, Bags, Boxes and More at 4 inches. Then run it through the crimper. Then cut the letters W-H-...
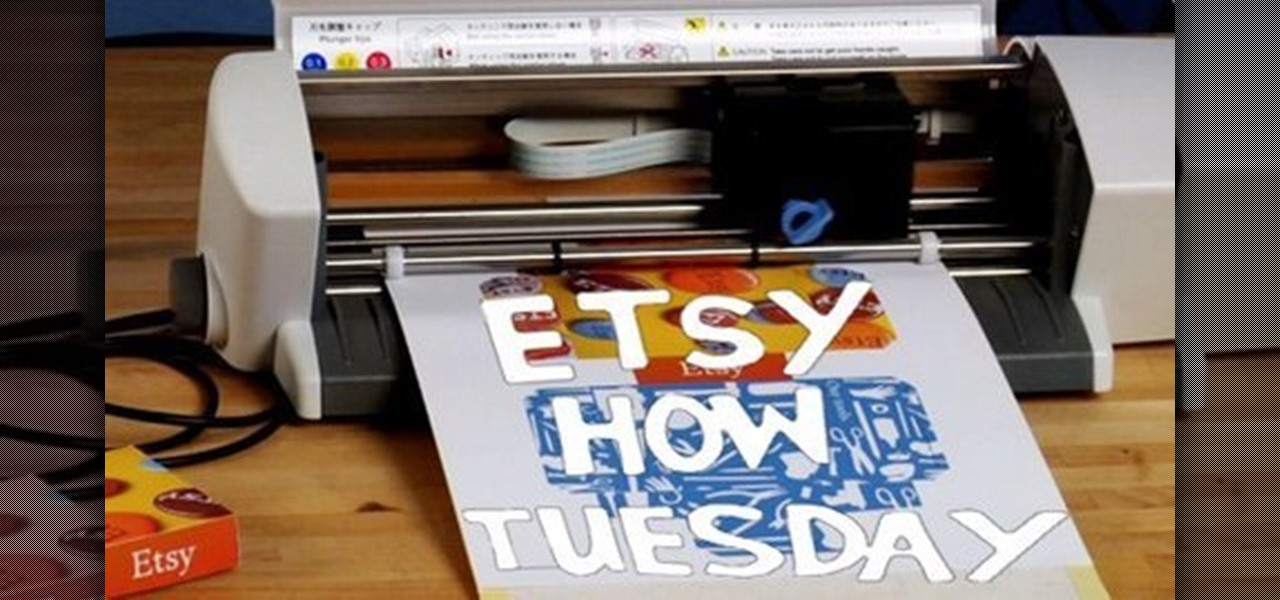
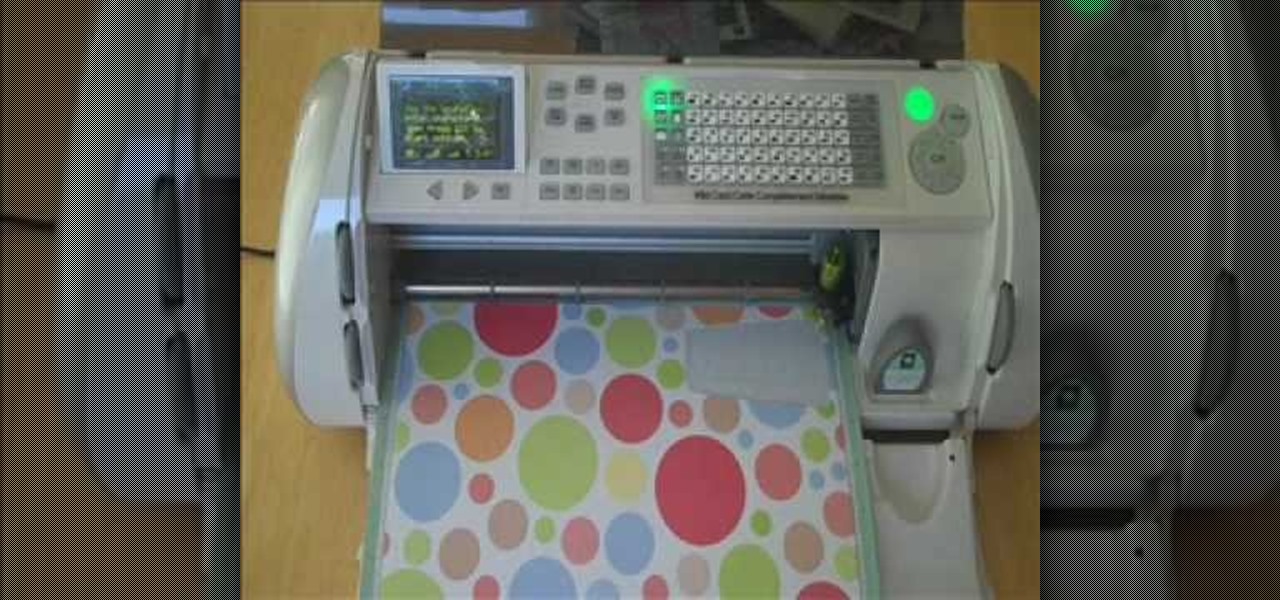
How To: Fold Kirigami with the Craft ROBO
The Craft ROBO is a machine that lets you cut and score paper with precision and repetition. This is really handy if you're into scrapbooking or want to make shipping boxes, envelopes or promos for your Etsy shop. Perhaps you want to take it to the next level to create unique paper sculptures, pop-up books or custom vinyl stickers.
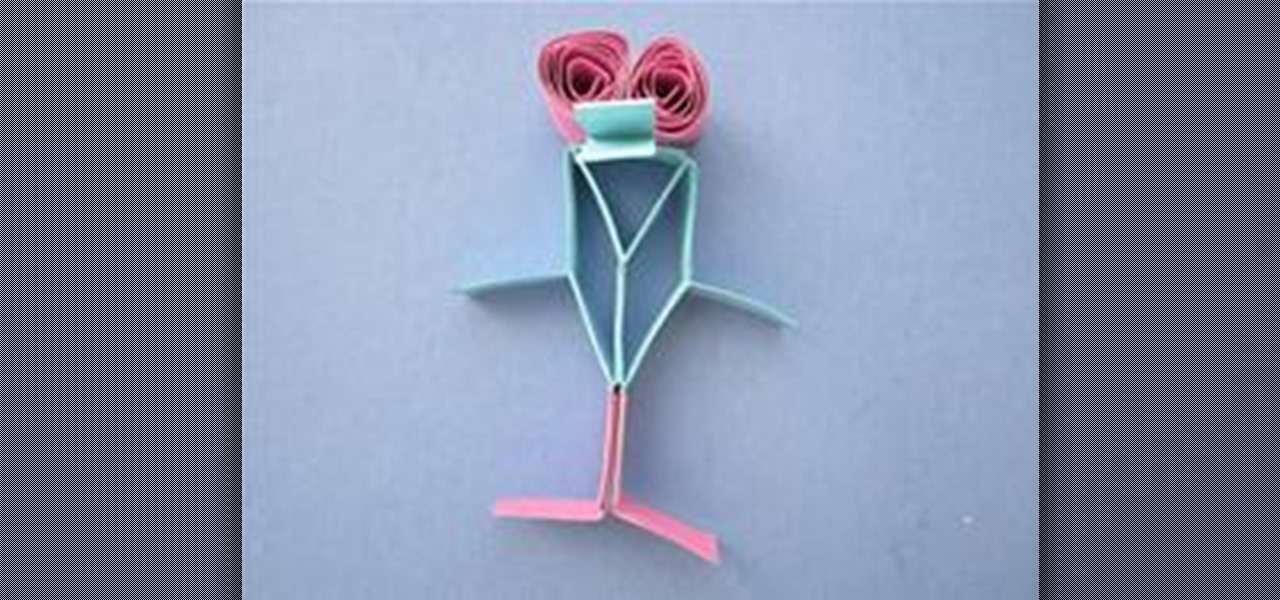
How To: Make a Heel Klickin' Jitterbug Out of McCormick Vertex Elements
Use geometry to make an adorable and fun heel klickin' friend using McCormick vertex elements! You will need:
How To: Make a present-embellished Happy Birthday invitation using Cricut
Let's face it: When it comes to the main Hallmark holidays - Christmas, Valentine's Day, and birthdays - we tend to take the easy way out. Party invitations are usually purchased in bulk at the drugstore, balloons purchased in a value sized bundle, and food catered or also purchased at the store.
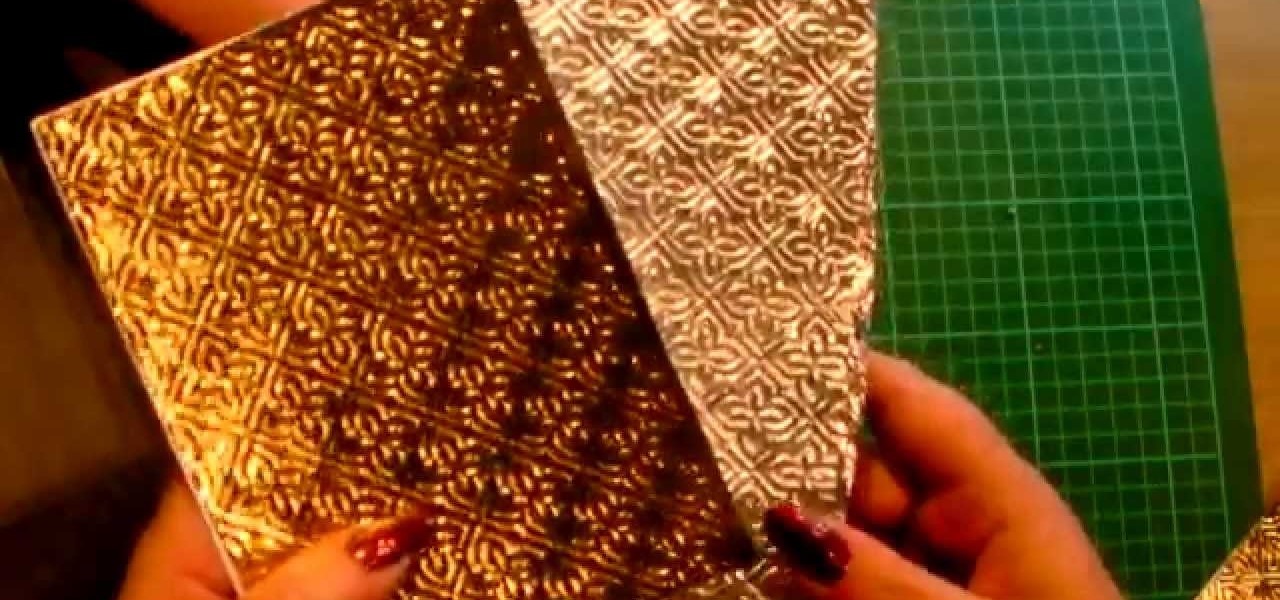
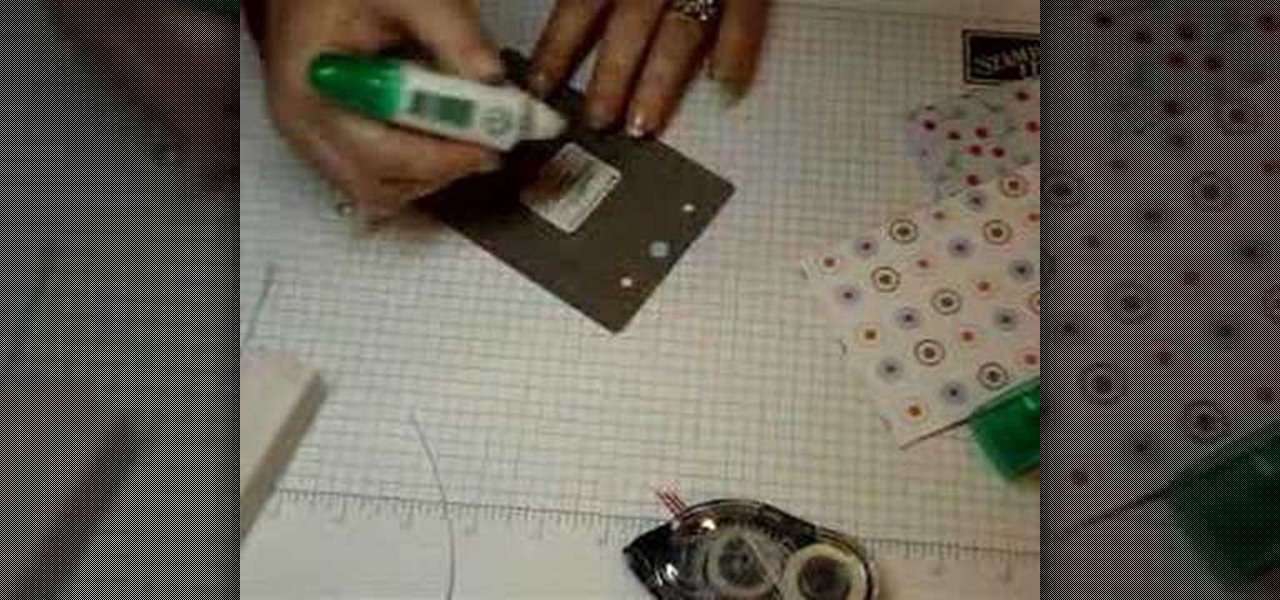
How To: Use Kitchen Foil with Your Embossing Folders
All papercrafters and cardmakers and scrapbookers use metallic paper and card but what happens when you run out? and what is an easy why of making some? well here is the answer.

How To: Make lucky folded-paper stars with origami
With this guide, you'll learn how to make lucky folded-paper stars with origami, the traditional Japanese folk art of paper folding. For more information, including a step-by-step overview of the folding process, as well as to get started making your own colorful paper stars, watch this free origami lesson.

How To: Antique your own paper
Aging paper is a great way incorporate learning about antiquities from the past while doing a fun hands on project in the classroom. It's easy and really adds something special to projects or even to do just for fun in your spare time.

How To: Fold durable paper ninja stars
This tutorial demonstrates how to make Ninja stars out of 2 pieces of lined notebook paper. Lined paper make your star look cooler and help you keep track of your folds. Fold you paper into five equal sections with a small section left over at the top. This is about five and a half lines per section. Next fold over one corner of the edge that is farthest away from you and then fold over the corner of the opposite edge. Set this paper aside. Repeat the process with your second sheet of paper e...
How To: Craft a "Loads of Love" wheelbarrow of hearts Valentine's Day card
How much do you love your amor? They say love can't be quanfied in sheer numbers or even words, but we think this wheelbarrow, filled to the brim with loads of hearts, will do the trick for the time being.
How To: Craft a heart-patterned "Love You" Valentine's Day card
We know that you're probably still reeling from the winter holidays, but lo and behold Valentine's Day is just around the corner. While indulgent gifts like a massage or trip to see a musical are best, when it comes to Valentine's Day cards handmade cards are often the most appreciated.

How To: Make a spider piñata
Are you expecting a party? Make your party fun by learning how to make a piñata! This tutorial teaches you how to make a piñata and design the piñata into a spider. This is great for a Halloween party. Upon completion of the video, you will also be able to make a piñata and design it into a spider. By showing the creation process, you can follow the instructions accurately and the piñata will look as though you purchased it from a party store.

How To: Make a paper design photo wallet
The viewer learns how to place make a photo wallet. This is a very detailed description of a simple yet beautiful project. As noted at the start of the video there are many ways to make a photo wallet. This video serves as a example of one of the many ways a photo wallet can be made. Before attempting this project the viewer should watch the video to make sure that they have all the materials needed. (Scorer, paper, tool for measurement etc.) This is a detailed project that may take some time...

How To: Make a popsicle card by using paper punches
This video tutorial shows how to make a sweet card in the shape of a popsicle. Learn how to make this unique card for any occasion.
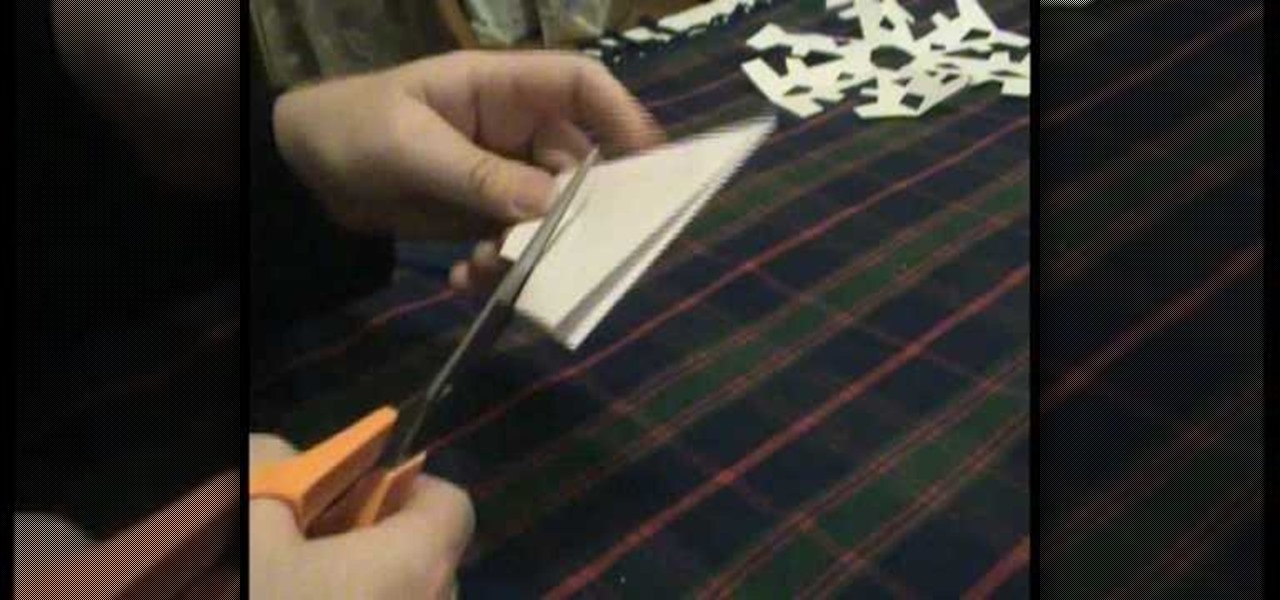
How To: Make a six pointed paper snowflake
This video shows you how you can easily make a simple but beautiful 6-pointed paper snowflake. The video starts with all the things you need to make this snowflake, like a A4 size paper, a scissors etc. The instructions are shown on the screen as the skilled hands show you how easily you too can make a paper snowflake within a couple of minutes. Can't say you will find a better video tutorial on how to make a beautiful paper snowflake.

How To: Make a paper ninja star
Check out this video to learn how to make a paper ninja star by folding paper and licking it.
How To: Craft an easy 2-step Christmas tree card
Now that it's down to the wire close to Christmas, if you haven't made out your Christmas cards yet then you sure as hell better start now. Since we know you probably have few materials and very little time to work on them, check out this paper design tutorial to learn how to craft an easy 2-step Christmas tree card.
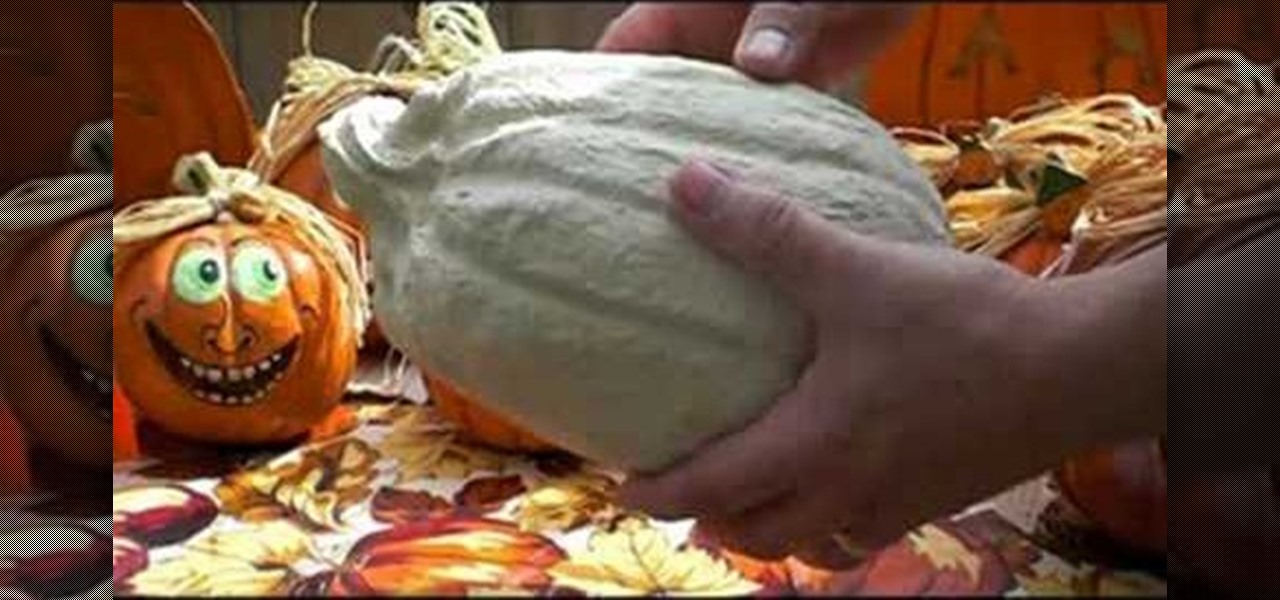
How To: Make a papier-mâché Halloween pumpkin
In this tutorial, we learn how to make paper mache Halloween pumpkins. You can purchase the pumpkin already made in the correct shape. When you are read to paint it, use orange pain and then a darker color in the creases to make it look realistic. You may need to smooth the pumpkin out before you paint, to make it easier to paint. Let the paint dry when finished, then add a gloss on. You can also paint on faces and different designs if you want to spice things up. You don't have to paint them...

How To: Make an earth friendly paper wallet
This video illustrates the method of making a eco-friendly earth wallet at home. You will need a paper sheet , glue and a pair of scissors.This can be done as follows -Step 1Take a sheet of paper and fold it so as to create a envelope. Glue it properly to ensure it is bonded properly.Step 2Repeating the above procedure , make two more such paper envelopes - One with a smaller size while the other one a bit bigger.Step 3Stick these envelopes together. Now , using the scissors cut the ends of t...

How To: Make your own texture molds
This video is a tutorial on using Amazing Mold Putty to make texture sheets for use with polymer clay.
How To: Craft an Easter bird Easter greeting card
We know that Valentine's Day is the greeting card holiday extraordinaire, but that doesn't mean you can't hand out cards to friends and loved ones during other holidays as well.
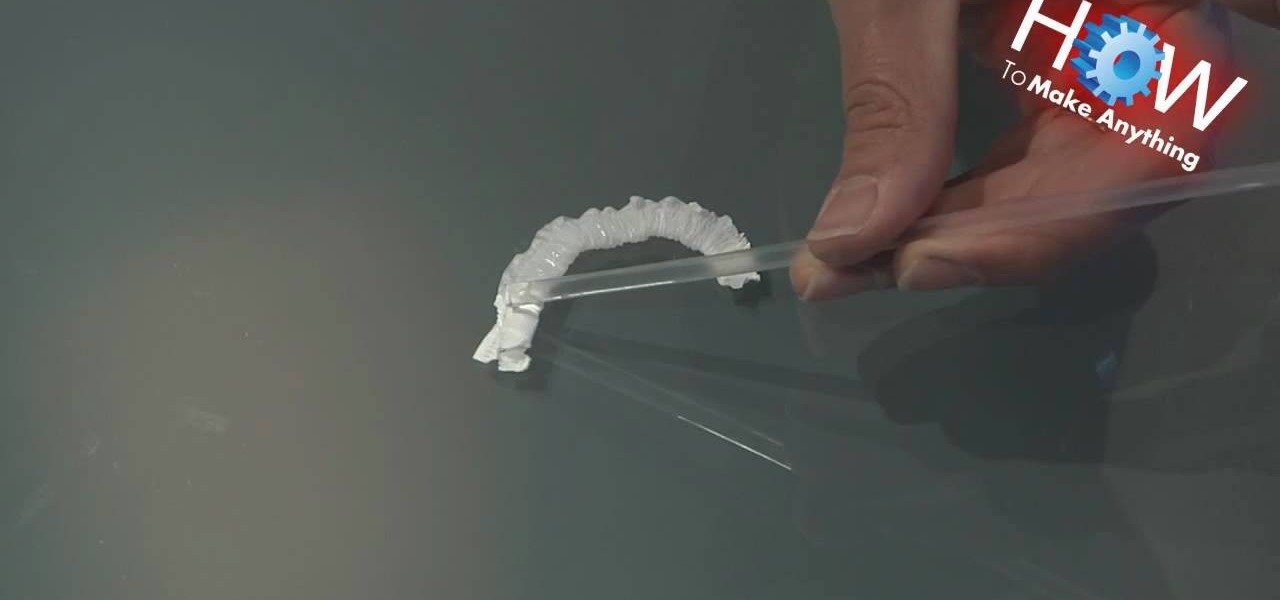
How To: Make a paper inchworm from a wrapped straw
Sure, individually wrapped straws of the sort found at your favorite café, diner or fast-food joint might seem like a colossal waste — and actually be a colossal waste, for that matter — but there's no denying that there's a lot of fun to be had with the straw wrappers themselves. With this tutorial, for instance, you'll learn how to make a cinchy paper inchworm.
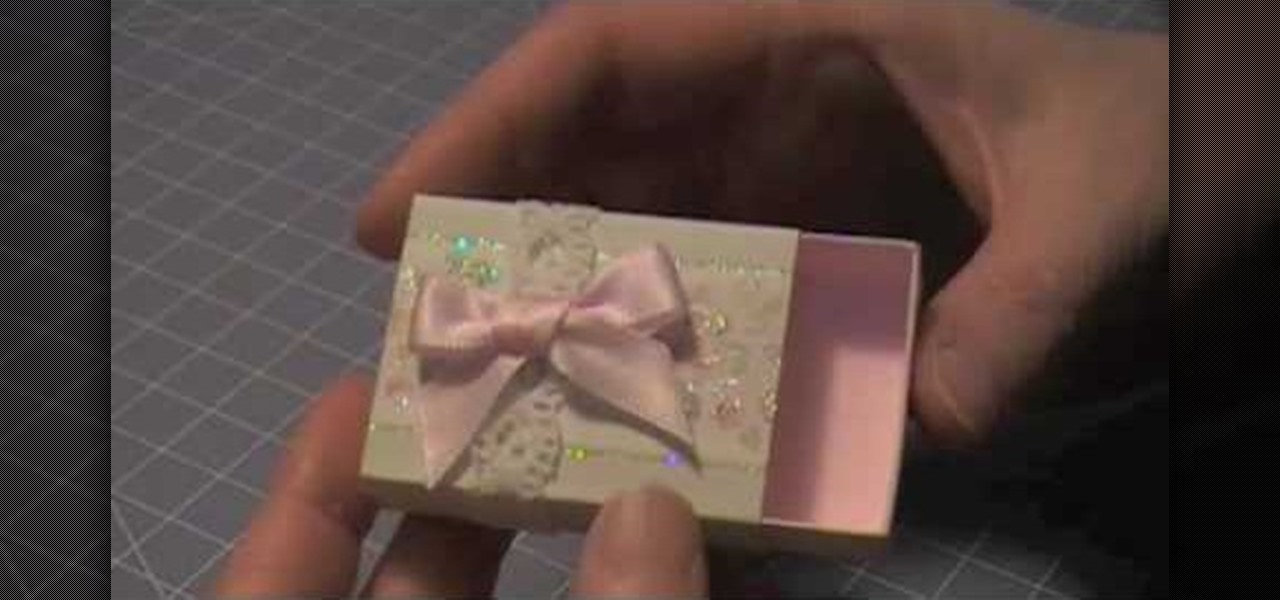
How To: Make a Marie Antoinette inspired matchbox
The Artful Paper Doll demonstrates how to make a Marie Antoinette inspired matchbox. Trace the matchbox template onto a piece of decorative paper. Score the template on the creases and then cut the template out of the decorative paper. Fold the creases up. Affix the creases into a square basket shape with dabs of glue to hold the flaps closed. Fold and glue the ends of the box sleeve together. Slide the basket into the sleeve to form the matchbox. Embellish the box as desired. The box can be ...
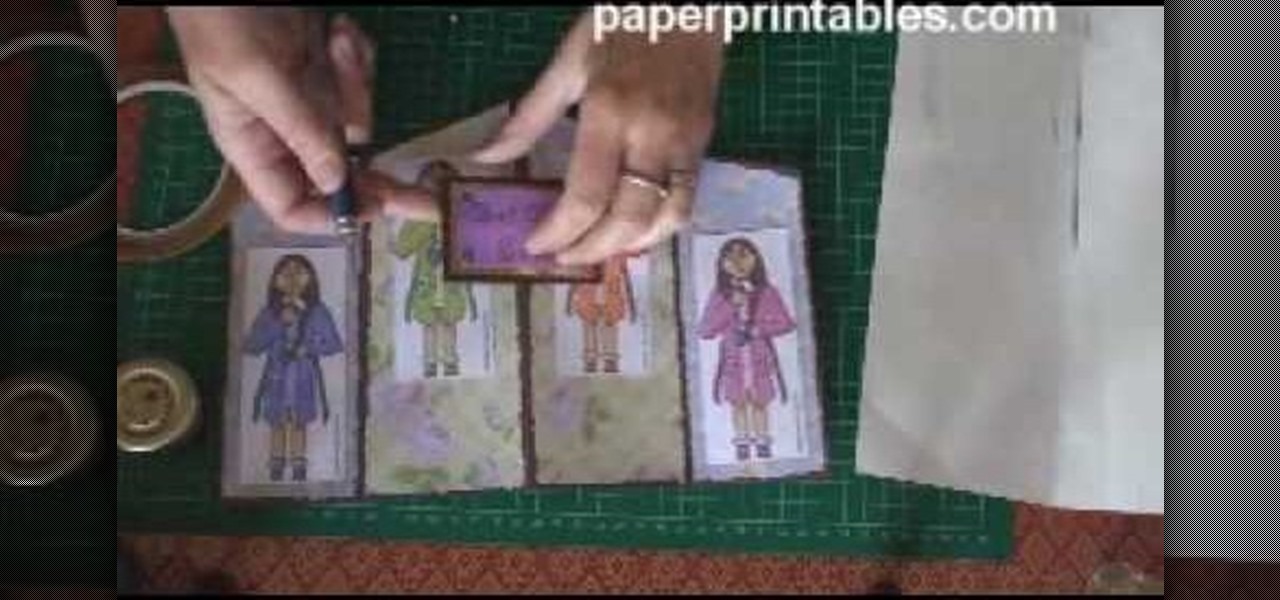
How To: Create a hinged panel concertina greeting card
What exactly does a concertina card imply? We all know the concertina is a musical instrumental, much like the accordion and bandoneon, which is basically played by stretching and squeezing. Well, this concertina greeting card applies the same principle, though without as many folds.
How To: Make a decorative paper star
This is a great instructional video on how to make a decorative paper star. The materials you need are color papers, ruler, stapler, scissors, adhesive tape, pencil and cutting pliers. Take a paper and make a square of 20 cm side. Now fold the paper twice and get a triangular shape. Now draw four lines on it. Then cut along the lines with the help of scissors. Take the middle square and staple it. Then go to the back side and staple the ends. Repeat this process and get a star. You can make t...
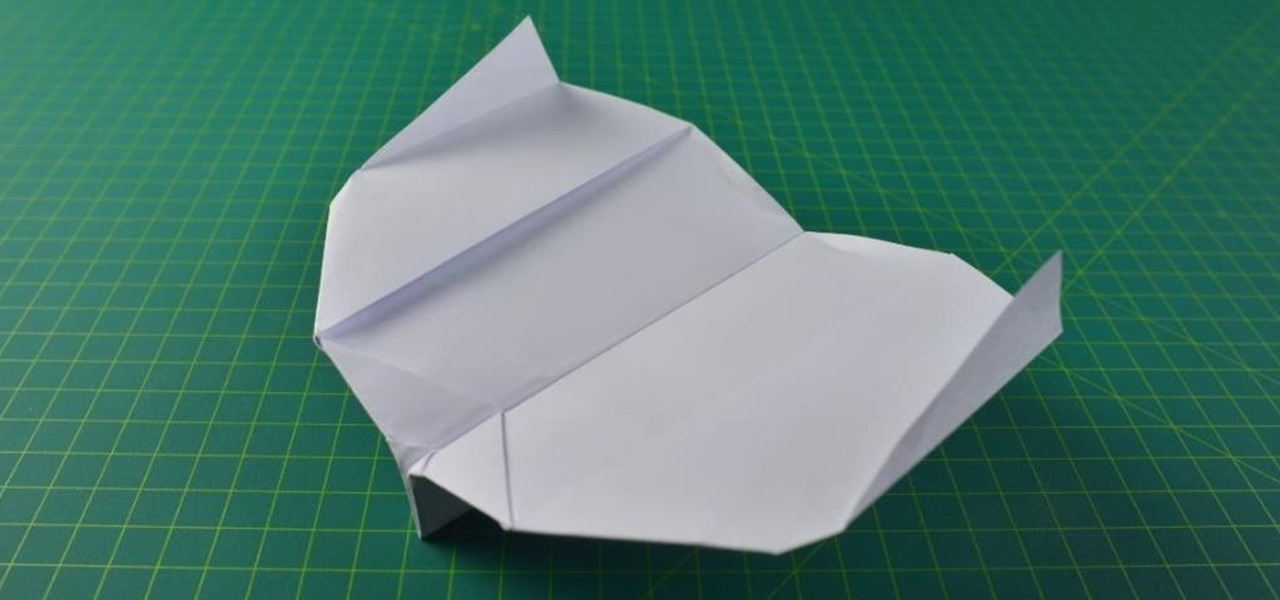
How To: Make a sabertooth paper airplane
Yes, this paper airplane does kind of look like a sabertooth cat's teeth.

How To: Make a paper bullet for a paper gun
See how to make a paper gun -- this video tutorial will show you how to make a paper bullet for a paper gun. It's not that hard to make your own paper gun, so why not try and make paper bullets to go with them? Every paper gun needs paper bullets. You will need tape, scissors, and paper.
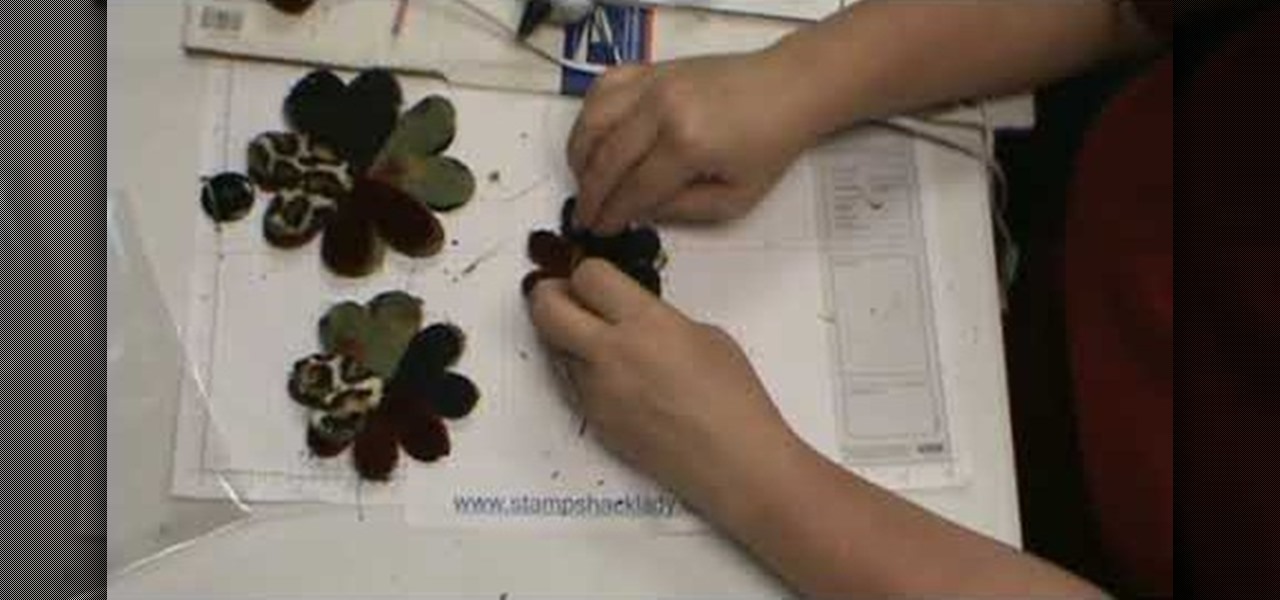
How To: Assemble a flower-fold die-cut flowers w/ a glue gun
In this video, we learn how to assemble a flower-fold die-cut with a glue gun. First, cut out different fabrics in the flower shape. Put them all into different piles according to their sizes. After this, put hot glue into the middle of the fabric and fold the flowers in half. When finished, put the pieces together with hot glue going in a circle. Continue to do this with all the different sizes. When you are done, all the colors of fabrics should show, then place a button in the middle with ...
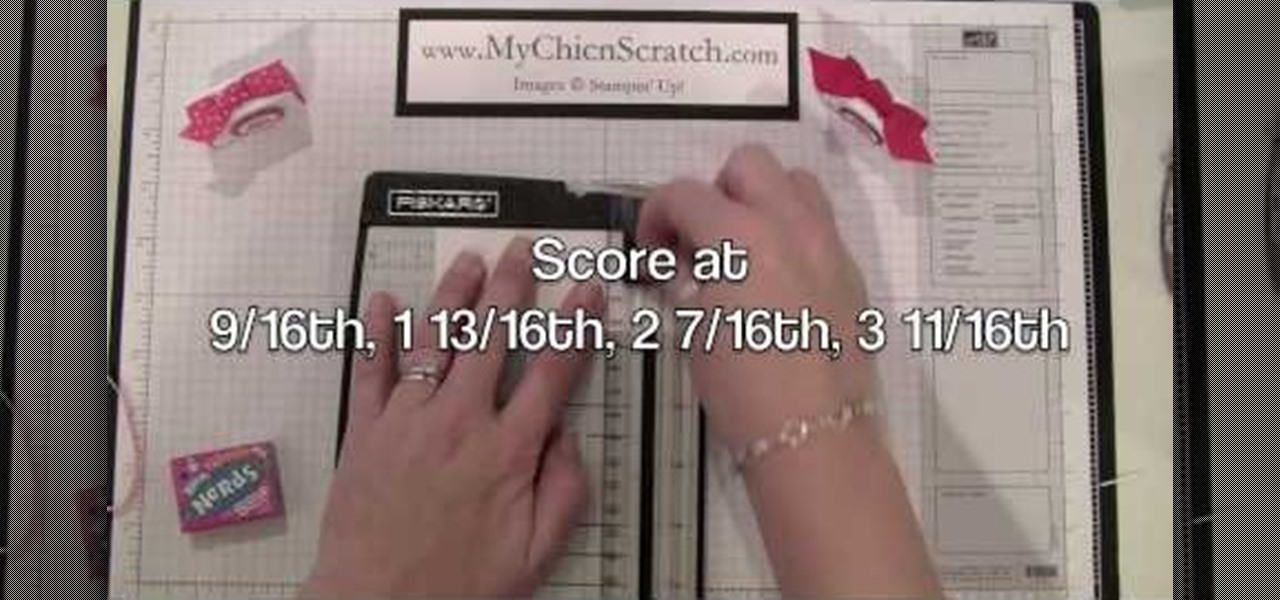
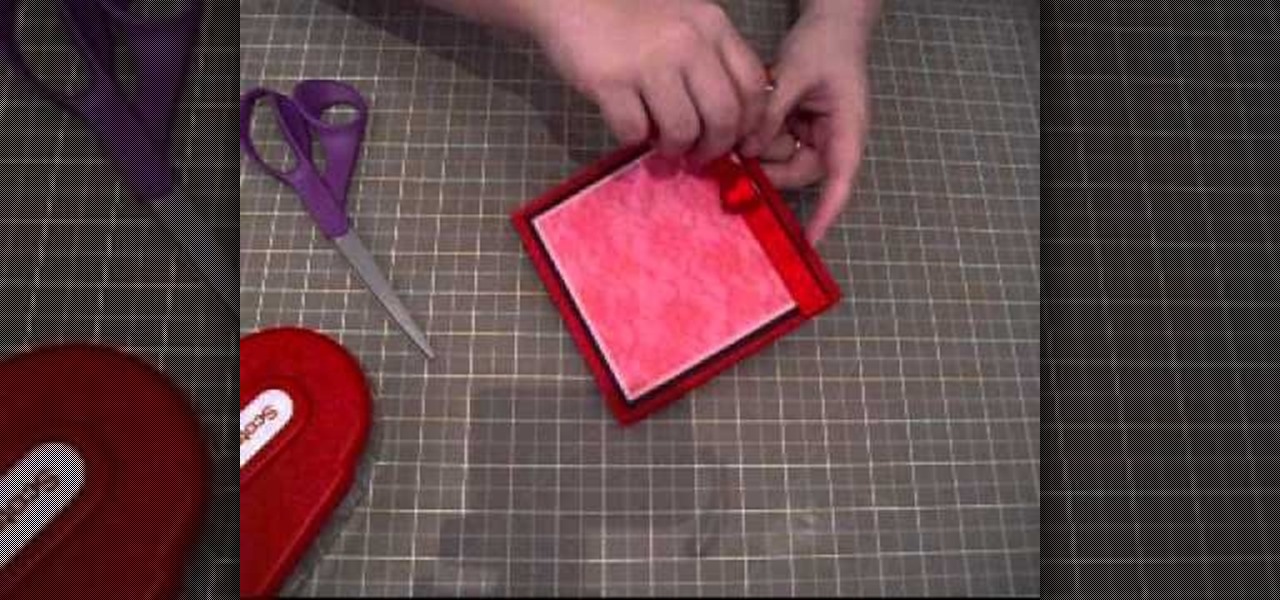
How To: Craft mini lovebird owls Valentine's Day Nerds candy holders
Valentine's Day is coming up in only a little more than a month (we know, it seems like it was just Christmas a few days ago), so get ready to shower your amor - or amores - with love and candy by crafting this cute candy box.