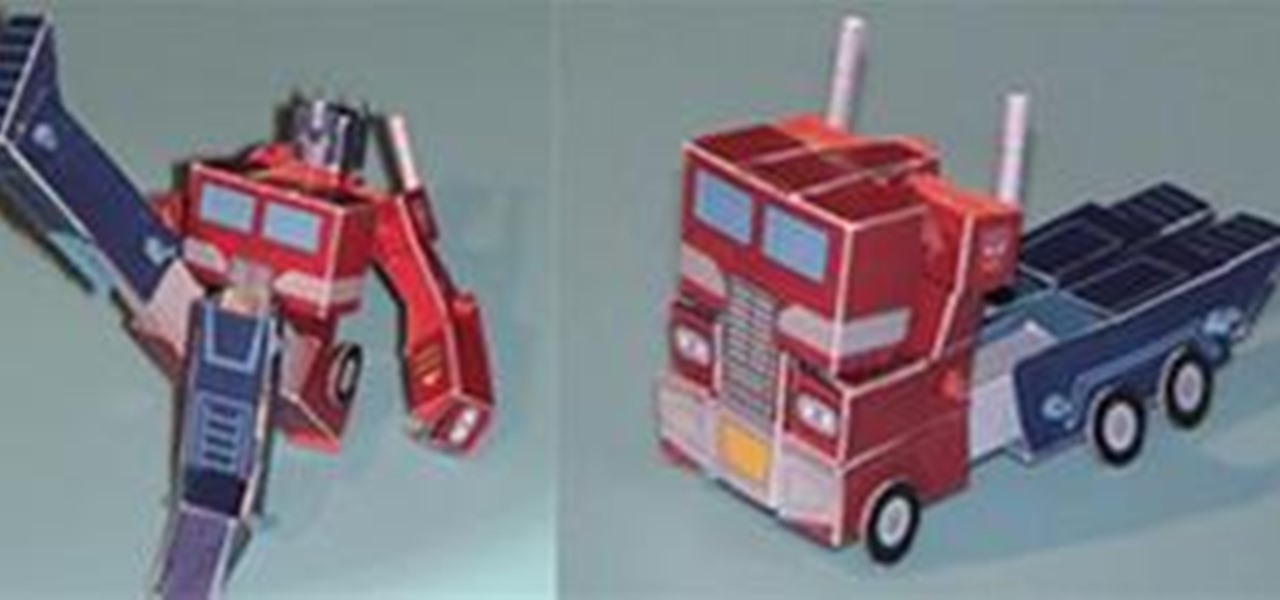
Papercraft Features

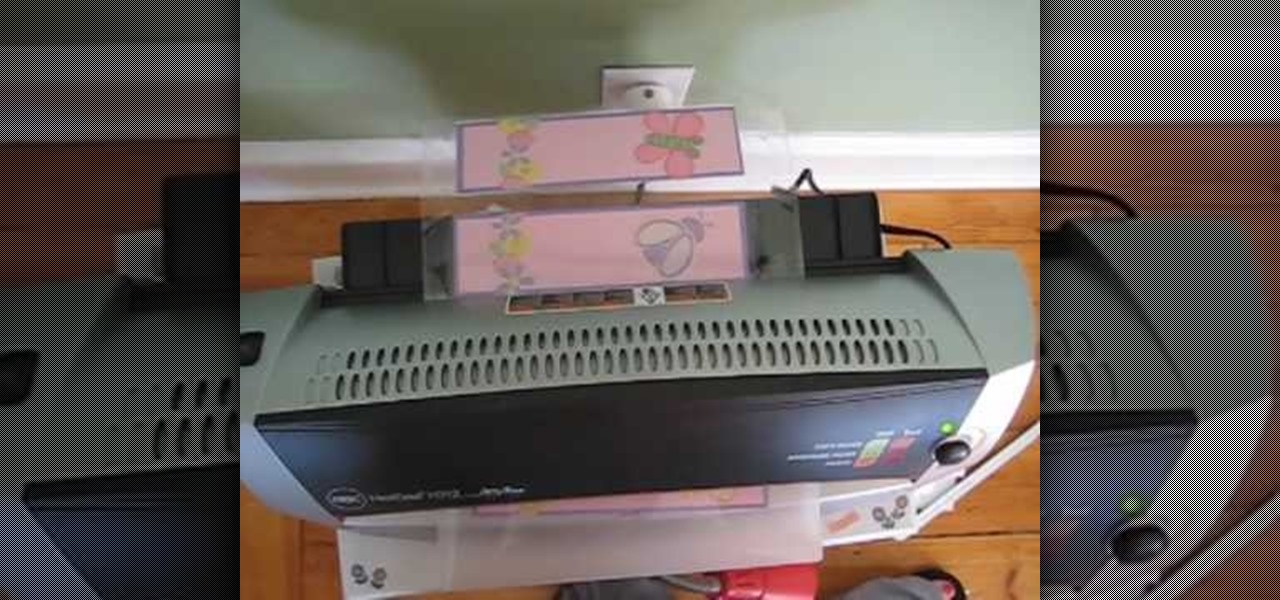
How To: Craft a laminated kid's spring bookmark
One way to get your kids to read more books is not by forcing them to do so, but by making the reading experience fun by giving them these cute handcrafted bookmarks.
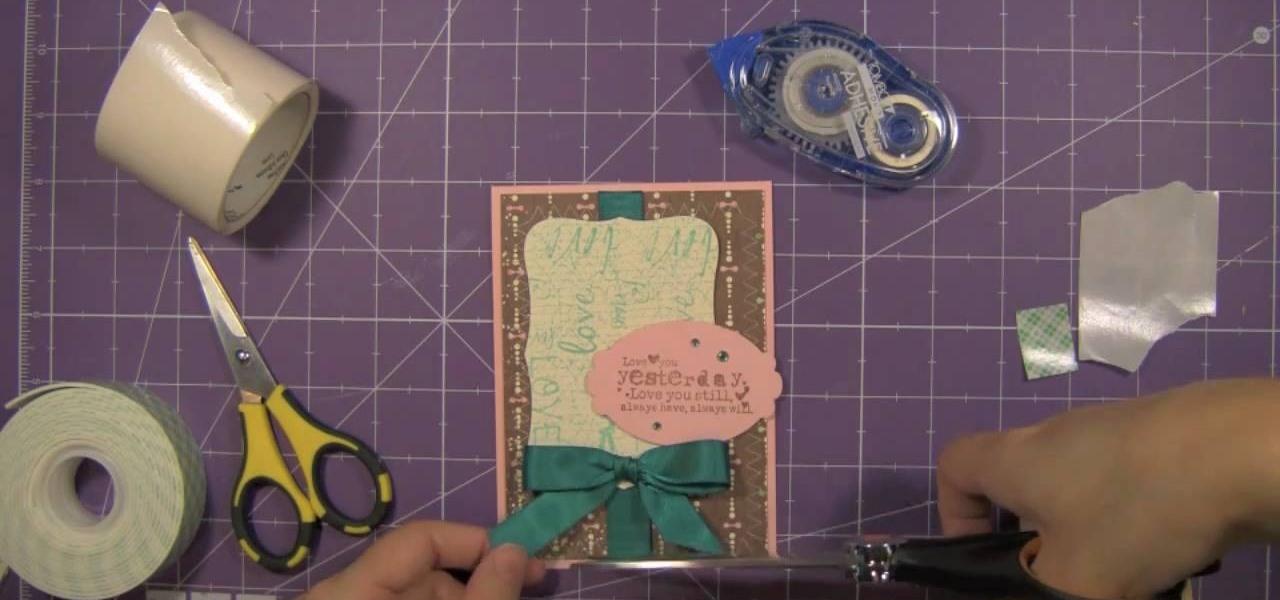
How To: Create an "I Love You" Valentine's Day card
Want to show your love in a creative and heartfelt way? Make a handmade I Love You card using Ippity stamps! This tutorial shows you how to make a basic, flowery card to show the people you love how you feel about them.

How To: Make Christmas cards
Learn how to create an eye-catching Christmas card with a difference, as Corinne Bradd shows the easiest way to add dimension. The quirky three tiered tree design is sure to delight, and you can adapt the technique to make other seasonal favorites, such as an angel or snowman.
How To: Make a simple paper wallet
This tutorial video will show you how to make your very own paper wallet. This wallet is simple and extremely nifty.
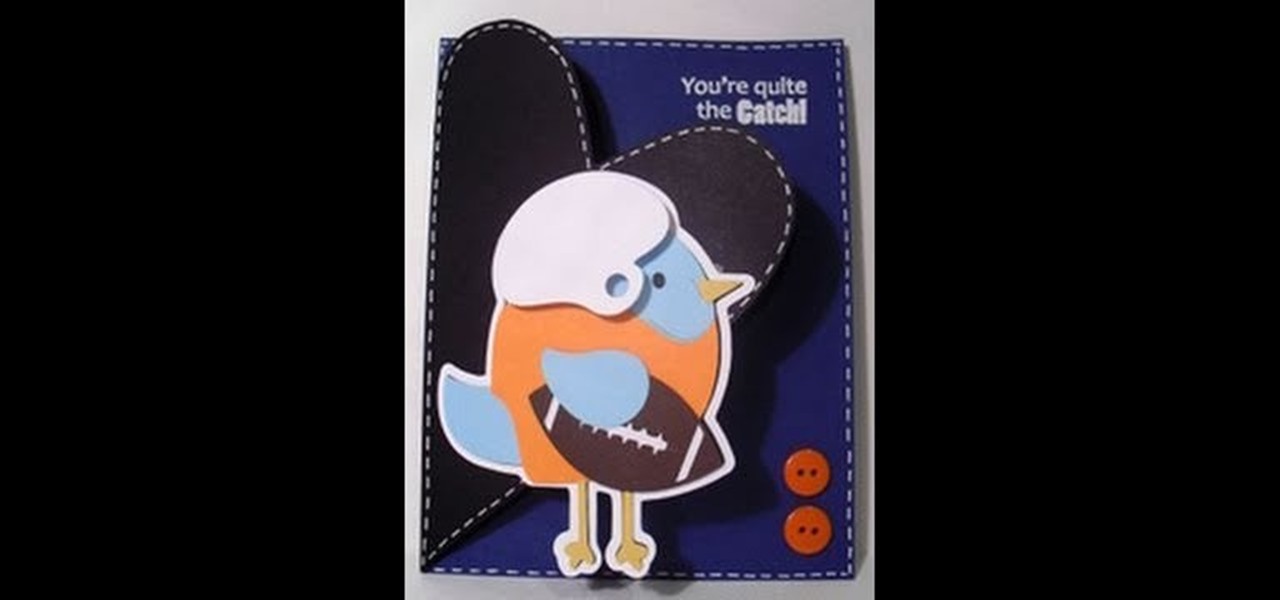
How To: Craft an adorable football fan birdie greeting card
With football season in full swing and the famed Superbowl coming up, if you have a football fan in your life you've probably been updated as to which nights have been X-ed out on his calender for game night with the boys.
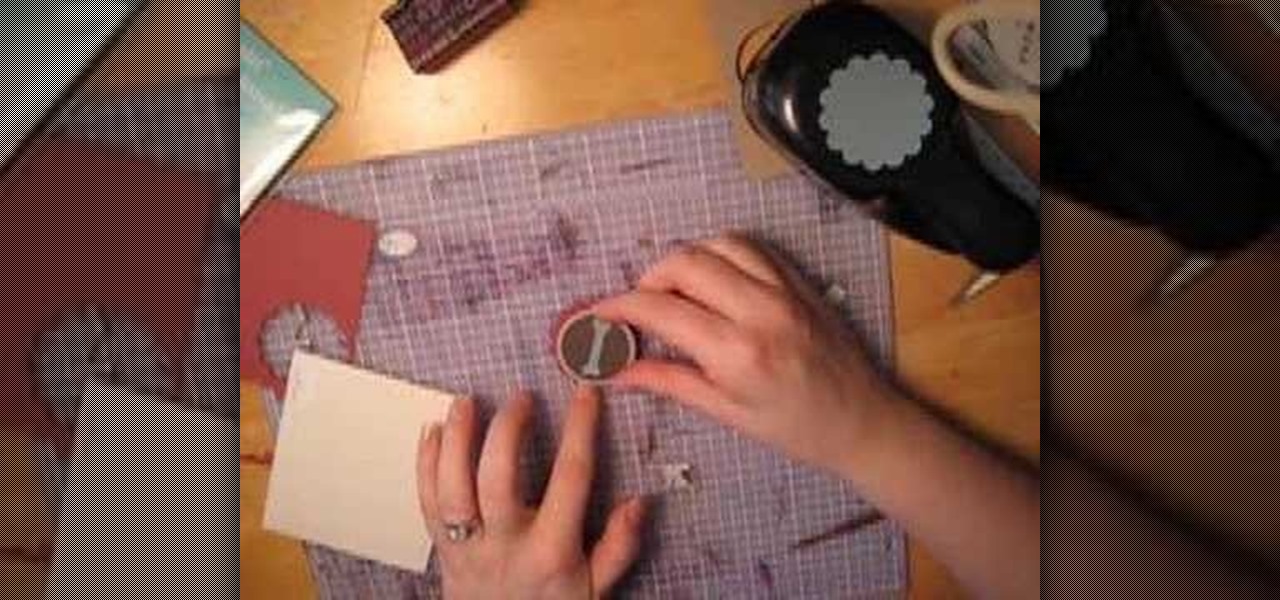
How To: Craft a dog bone and ribbon embellished binder clip
Is your dog the apple of your eye? Then integrate some doggy decor into your life by crafting this useful and highly cute binder clip. Embellished with an adorable scalloped stamp featuring a teeny blue bone in the center, this binder clip is possibly the chicest we've seen.

How To: Make a mini trash box
Is your trash bin overflowing? Grab a piece of paper and make a mini trash box by watching this tutorial! Make a mini trash box.
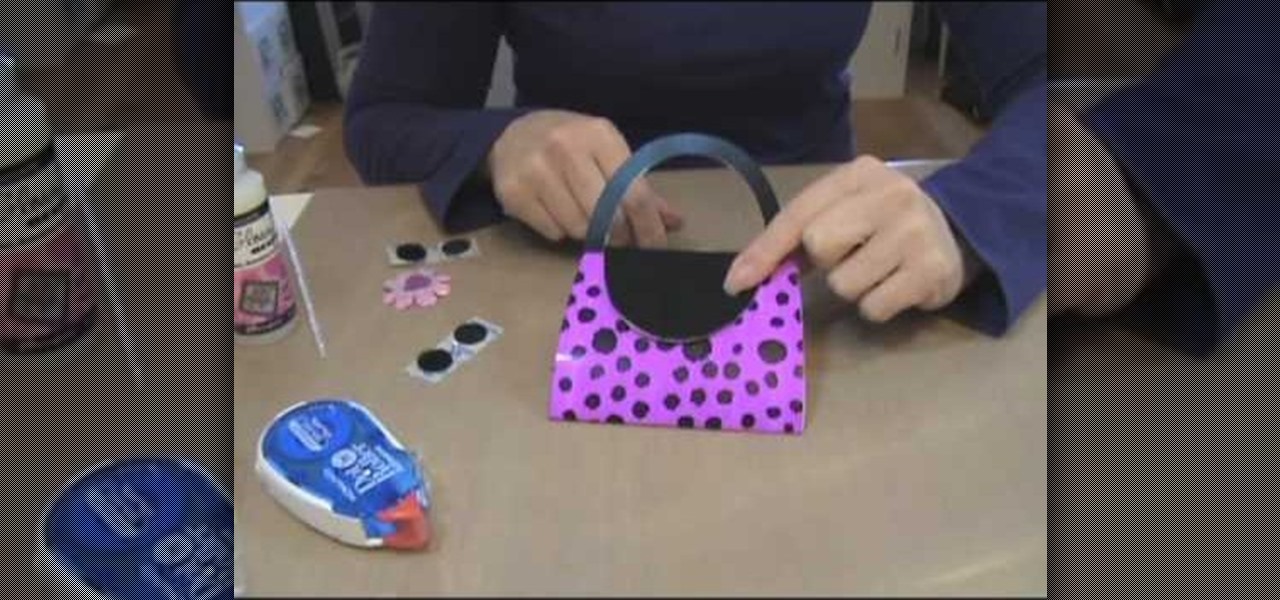
How To: Make a flirty purse card with alcohol ink
In this how-to video, Patti Behan shows you how to make a cute and darling flirty purse card with alcohol ink. She uses the Ranger's Adirondack Alcohol inks. She'll take you through each step of the card, from painting it purple to decorating it with dots. Make this card for your mother or your best friend!
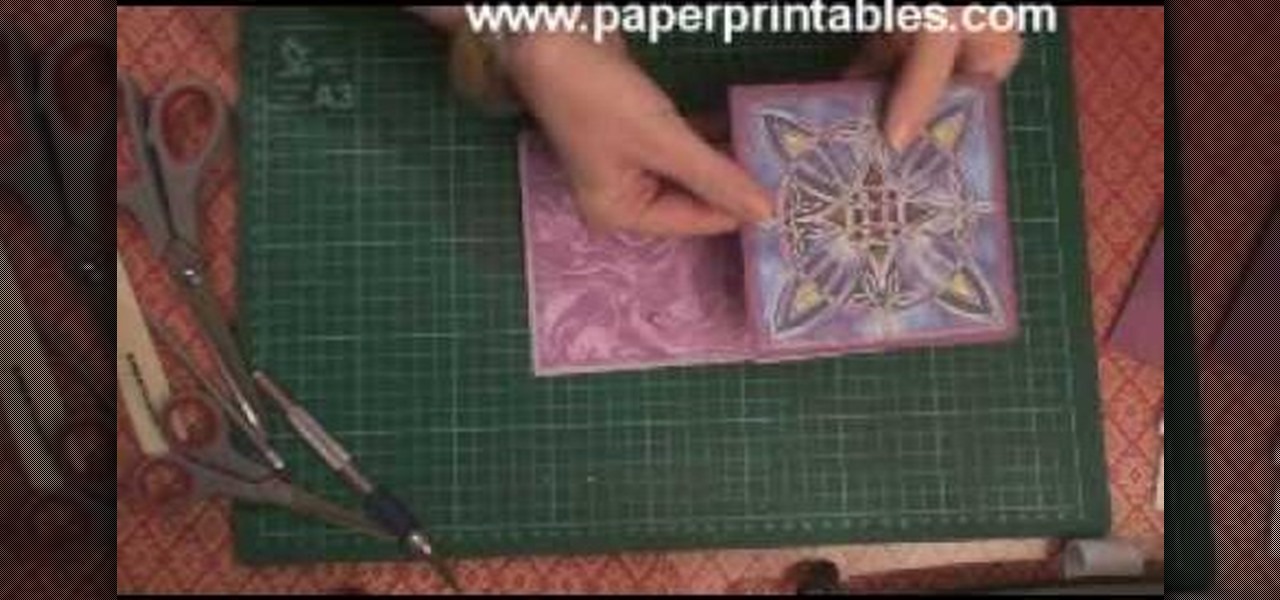
How To: Make a half/quarter easel card
In this tutorial, we learn how to make a half/quarter easel card. First, grab several pieces of colors of card stock that you like. After this, fold the main one up into a square. After you have folded this, fold the edges into the middle and push the creases down. From here, you will glue the bottoms of the other pieces and glue them onto each other so they are backgrounds. After this, you will create a border around the front main picture. When finished, fold this up and then you will have ...

How To: Make photo magnets
In this video, we learn how to make photo magnets. First, clean your glass with vinegar, make sure it's small enough for the magnet. After this, cut your preferred image to fit in the glass, then apply adhesive to the image. Apply the glass with the texture side down, then push it around to work out all the bubbles. Clean the glass off with a damp towel before it dries. Next, apply Diamond Glaze to the back of the magnet and then allow it to dry completely. When finished, attach a magnet to t...
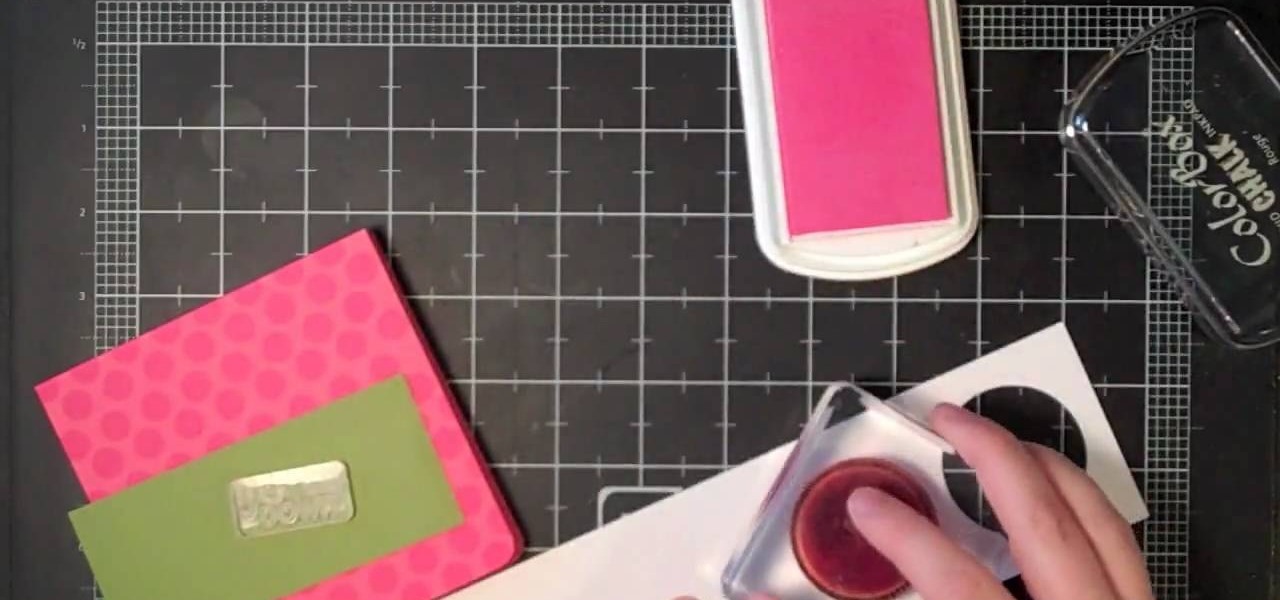
How To: Make a scalloped bright post-it note holder
Post-it notes are definitely not the chicest of accessories. After all, they spend 99% of the time grazing our office cube walls and computers and organizers. But they can be turned into a hefty decorative item when you slip one of the pads into this scalloped bright post-it note holder.

How To: Make a dangling picture frame
This video tutorial is in the Arts & Crafts which will show you how to make a dangling picture frame. You will need pictures that you want to frame, old CD cases, a drill with a very thin drill bit and fishing line. Remove all paper from inside the CD cases, cut the pictures to the size of the CD case and place two pictures inside one case back to back. Next you drill a small hole at the top and the bottom of the case in the center. String one CD case with another with the fishing line. You c...
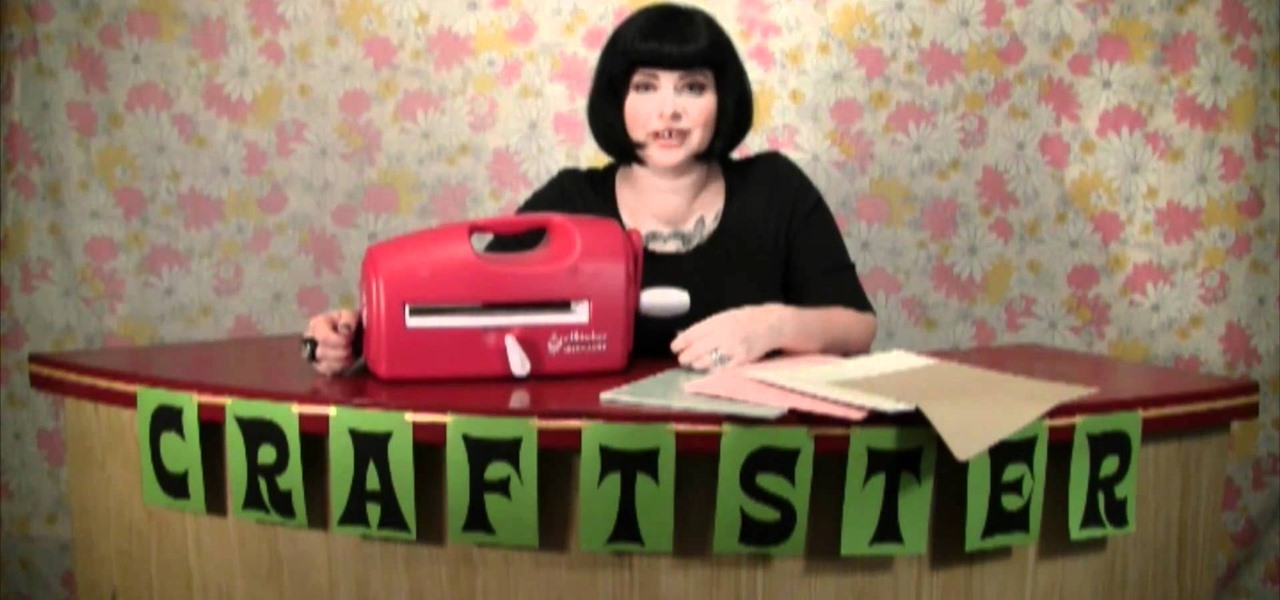
How To: Use the Spellbinders Grand Calibur to make a silhouette Christmas tag
Silhouettes are the hottest thing in the indie craft world right now, and are as widely embraced in craft blogs as embroidered hickory wood slabs and baker's twine.
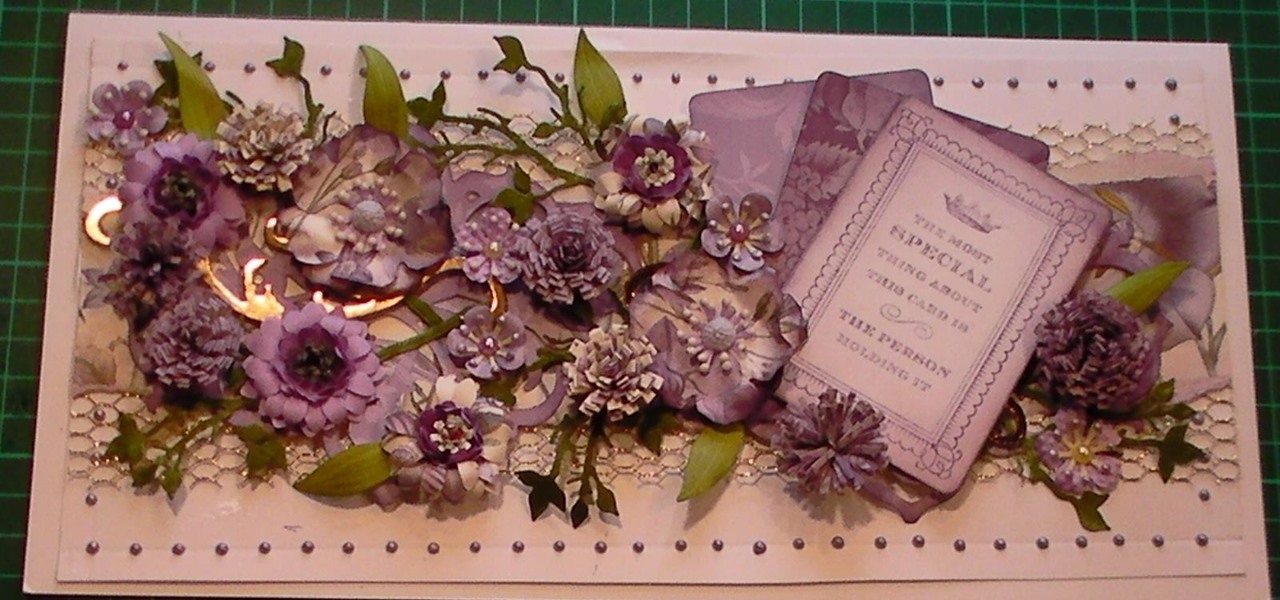
How To: Make Large Anna Griffin Lilac Floral Texture Layer Card
This cardmaking tutorial shows you how I have made and built up this card using papers and flowers, with swirls and a stamped sentiment, all to create a fabulous card. Step 1: Items Used

How To: Make a photo wallet
Corinne from crafts beautiful magazine teaches how to make a photo wallet. Get an A4 colored paper. Fold about an inch on both short edge and one of the remaining 2 longer edges. Bring the top part to the bottom of the longer edge and tuck it inside the fold. Divide into three. Put a ribbon around it and decorate the way You want it. Follow these steps and You'll be able to make Your own photo wallet.
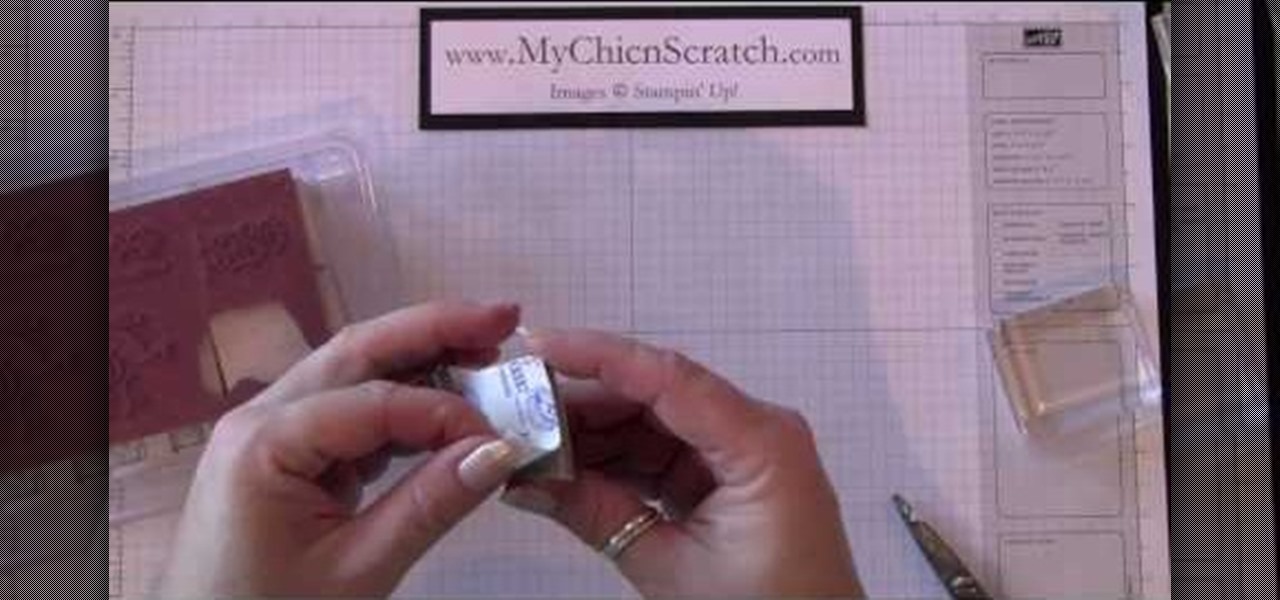
How To: Turn wood mount stamps to clear mount
In this how-to video, you will learn how to convert your wood mounted stamps to clear mounts. First, be careful and go slow if your stamps are already mounted on wood. You will need stamps and an EZ mount. Find a spot where the image fits and trim it around the stamp. Once this is done, remove everything from the rubber. Next, peel back the sticky side of the EZ mount piece that has been cut. Now, position the piece so that it is completely covered. Trim the excess EZ mount. Make sure you use...
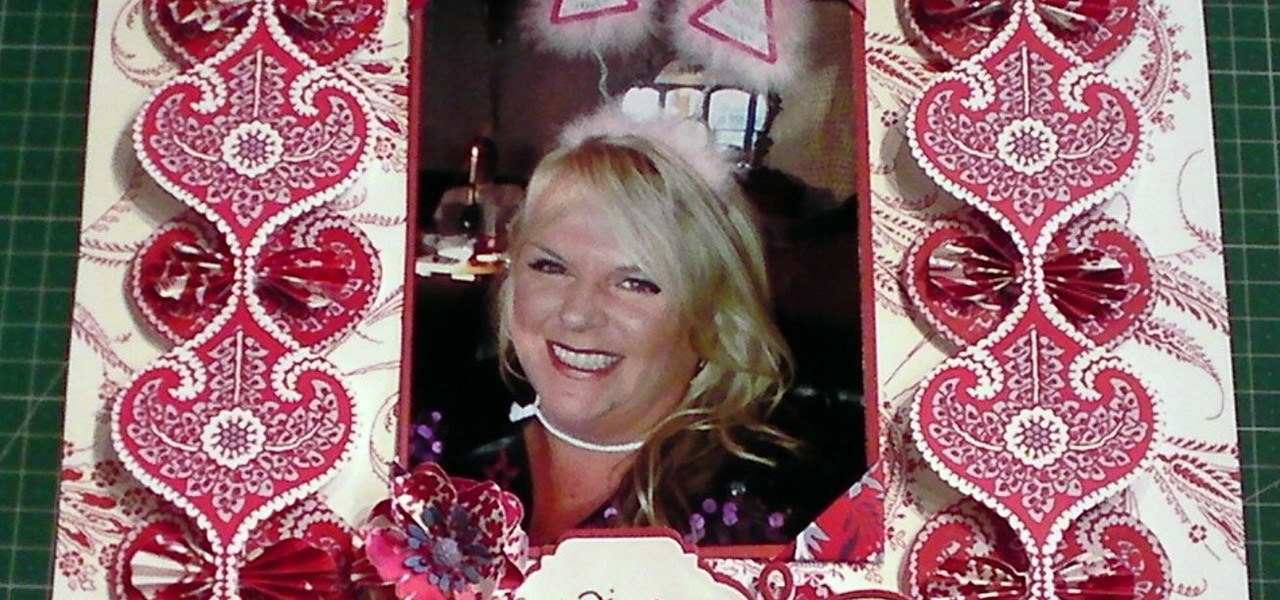
How To: Make a Fancy Madison Hen Night Scrapbooking Page
In this demonstration I show you how I have created a really pretty scrapbooking page using papers from the Madison Collection from Anna Griffin and a great photo of me from my Hen Night.
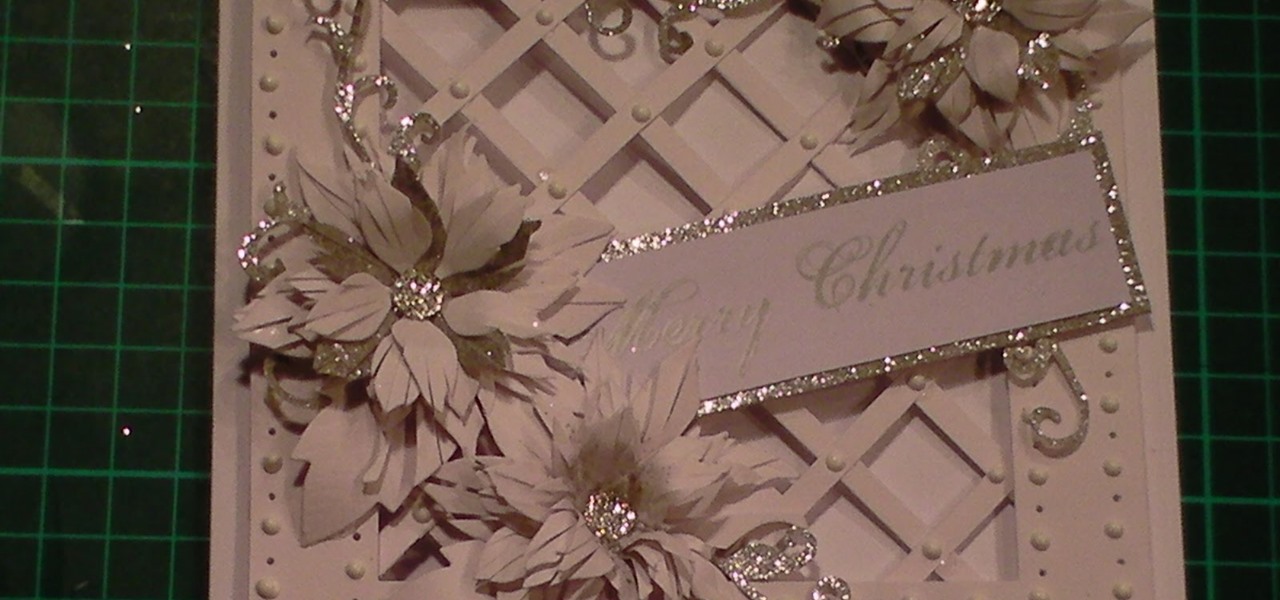
How to Make: Christmas Sparkly Poinsettia Lattice Card
This card is so easy to make and very eyecatching with its sparkle, not to much but just enough to give it a good twinkle. This cardmaking tutorial shows you how to make a gorgeous Sparkly Poinsettia Christmas Lattice Card, ideal for someone special. This card looks like it is a tricky one but infact it is quick and easy to put together.
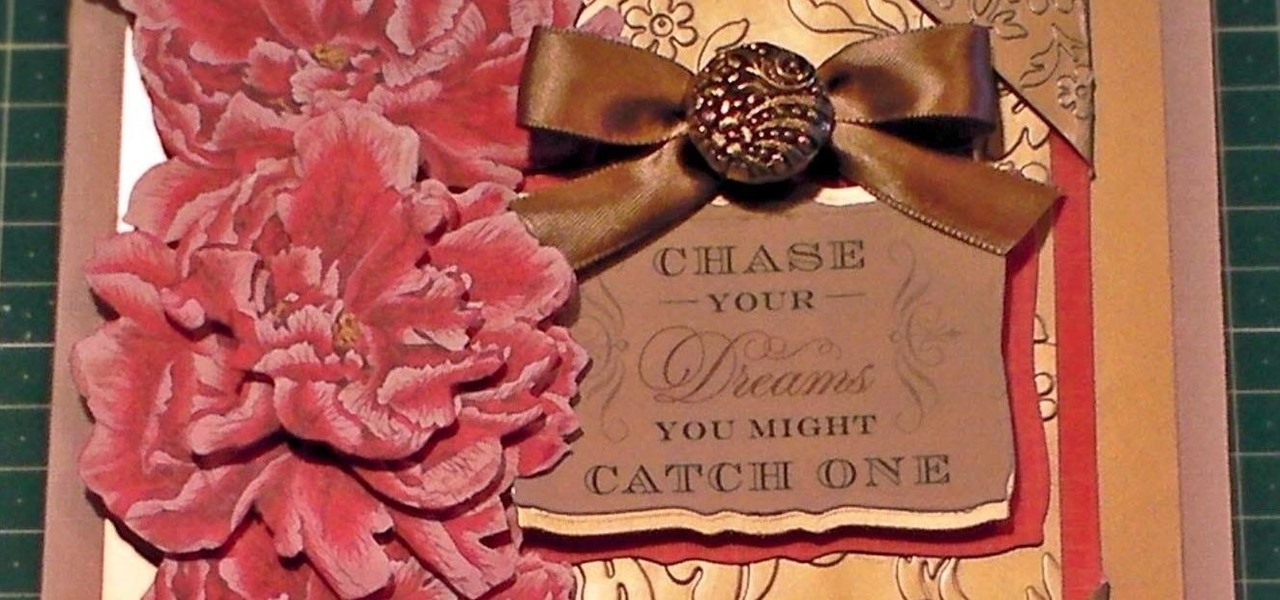
How To: Make a Peony Decoupage Gold Embossed Card
In this cardmaking tutorial, I make a 7x7inch square card using the Pink Peonies from a decoupage collection kit. I also use embossed card and some gorgeous corners to create a really pretty card. Step 1: Items Used

How To: Airbrush onto a mini canvas using Copic markers
Looking for more interesting things to do with your Copic airbrush? This technique shows you how to master the art of airbrushing on a very small canvas, using markers that have been designed to work with this airbrush. Great for holiday projects!
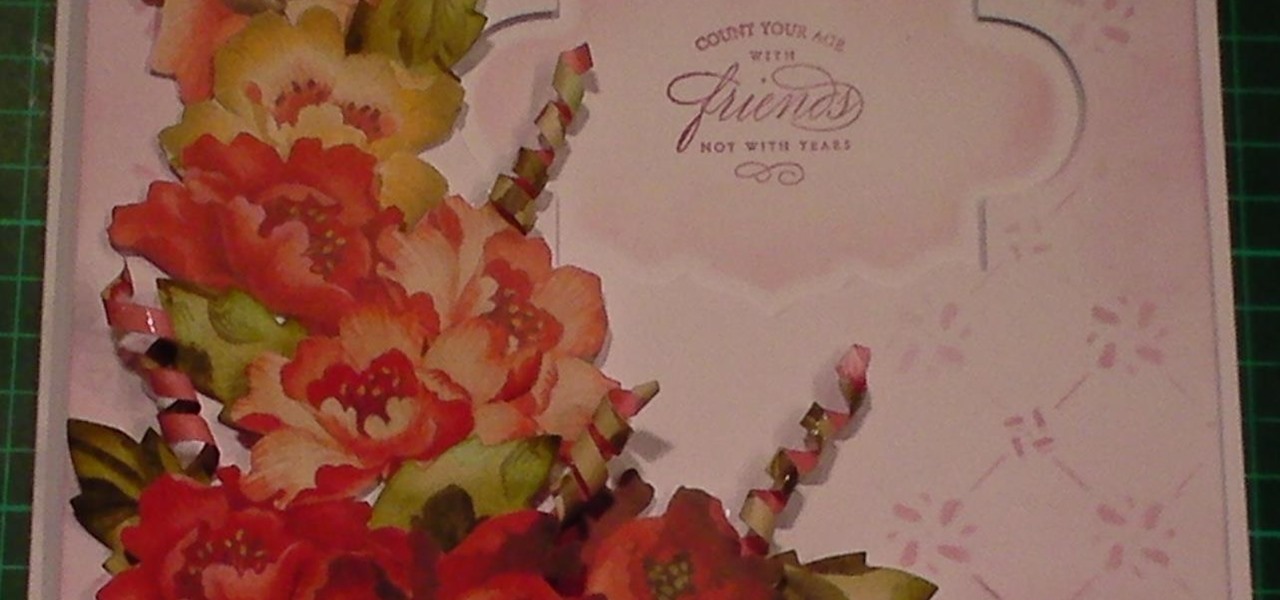
How To: Make Anna Griffin Paper Decoupage Red Floral Card
In this cardmaking tutorial I make a gorgeous card using cut out decoupage from a sheet of 12x12inch paper from Anna Griffins range of fabulous papers. I finish off the card with the matching leaves and paper curls. This looks like a time consuming card but apart from the cutting out of the flowers, it is quite quick & easy and all from 1 sheet of paper. Step 1: Items Used
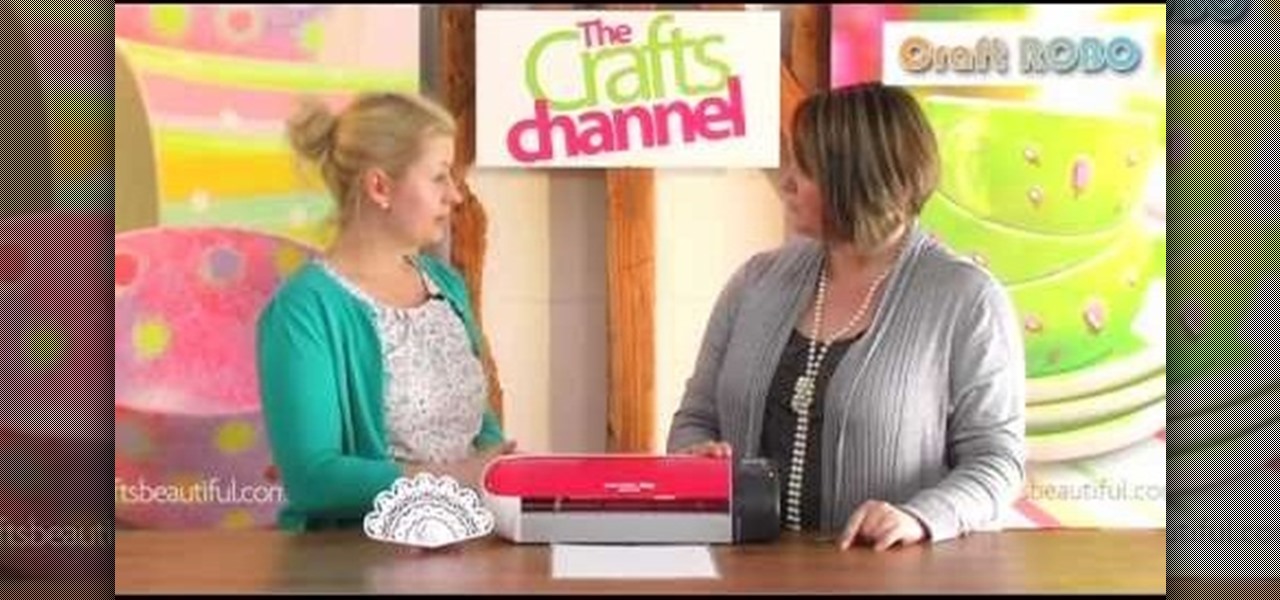
How To: Cut out intricate shapes on your Craft Robo with an SD card
While you can hook up your Craft Robo to a computer, you might sometimes want a little extra mobility. You can load your designs onto an SD card and cut out your favorite shapes directly from the card. No cords needed!
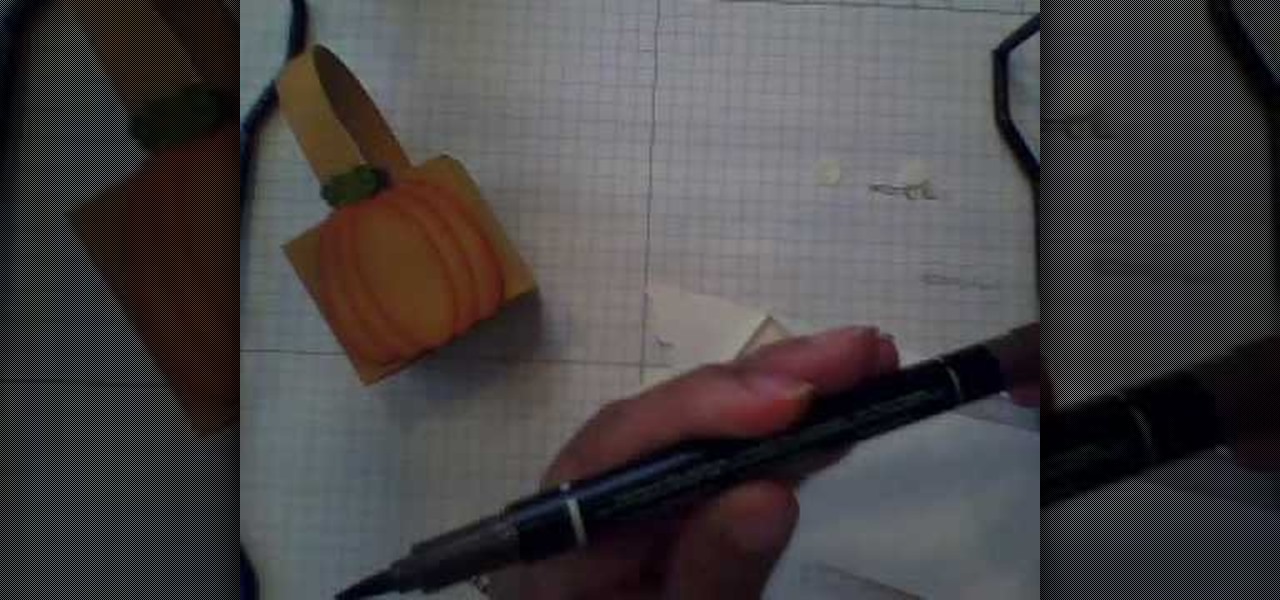
How To: Make a mini basket for Thanksgiving as a table decoration or favor
The basket in this tutorial says 'Give Thanks', but you can always change the lettering and turn it into a place card instead. It's a mini basket that you can fill with anything, and give away as a favor or use as a table decoration.

How To: Make textured cards
Make the most of those left-over paper scraps by creating textured greeting cards. Q & C designer, Corinne Bradd, shows how to add bright shades, a modern design and a clever pattern without too much hard work. This handy technique is perfect for making crafty, textured cards.

How To: Build a cardboard cemetery for pro-life activism
Pro-life college students can learn how to make and display a cardboard cemetery of the innocents set in this video featuring UCLA student, former SFLA intern, and pro-life activist Lila Rose.

How To: Make a Cricut friendship card
Cardcrazy09 teaches you how to create a friendship card using Cricut. First cut out the dog, then it's brown shadow. Since the umbrella is not cardboard, make sure to apply less pressure than before. Then simply stick the white dog on top of its brown shadow. The umbrella also has a brown shadow, which again comes under the object itself. It's also a bit larger for the shadow effect to work. You take these elements and stick them on top of a cardboard piece. The friendship card is done.
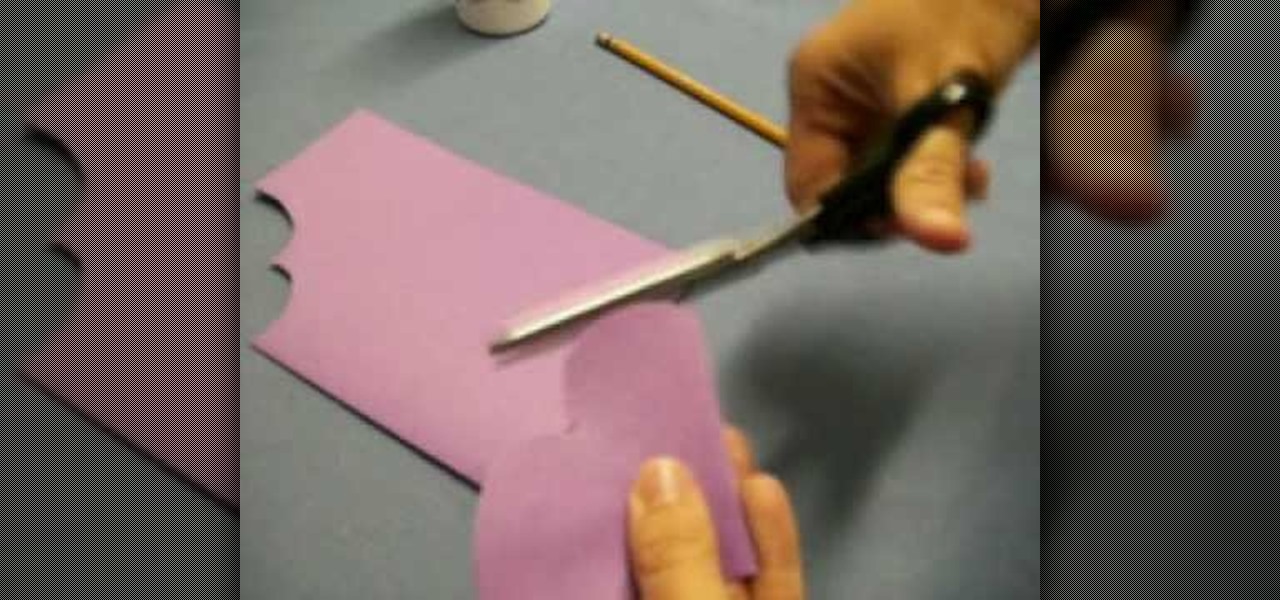
How To: Craft a heart shaped bookmark
In this tutorial, we learn how to make a heart bookmark. First, take a sheet of paper and fold it in half, folding the crease. Now, take a pencil and draw two heart humps from one edge to the next. After this, cut them out, leaving the fold together. Trim any edges that aren't round, then add glue to the edge of the heart, and fold it over and let it dry. You can now decorate this will markers and ribbons. To use as a bookmark place your page in the center of the heart. This is a great craft ...
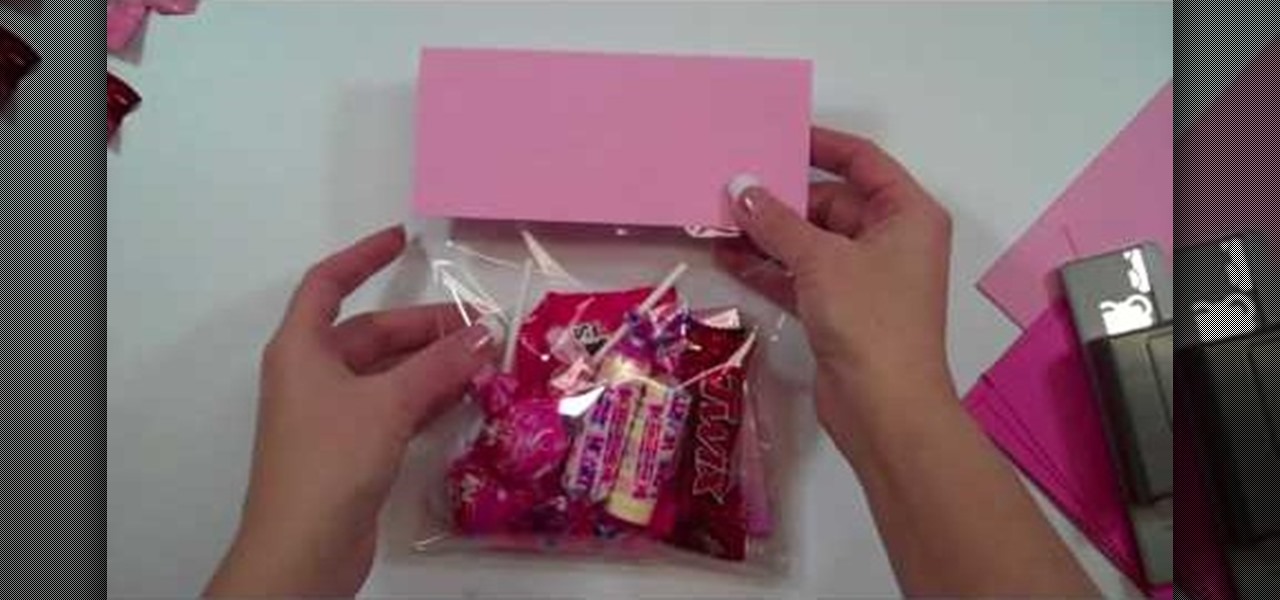
How To: Craft a Valentine's Day "Sweethearts" treat bag
We know that every pink and red Hallmark card out there tells us that Valentine's Day is about smoochin' it up with your amor and generally cherishing the ones you love, but to be honest, the holiday is also about cherishing your love for candy and sweets.
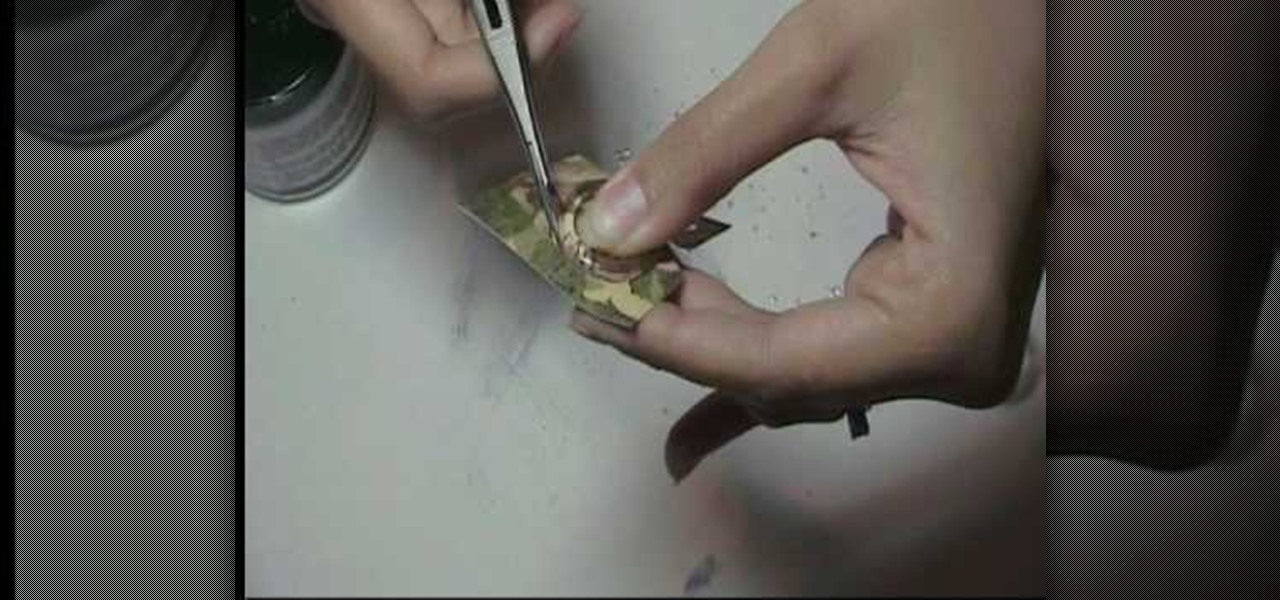
How To: Make custom buttons out of paper & clear buttons
In this video, Marion shows you how make your own custom buttons. She first picks-out a piece of scratch paper, a clear button, and glue (glassy accents). You then apply some of the glue onto the button and lay the button onto the paper and let it dry. Next you would cut the paper around the button as close as you can with precision scissors. You would now use a file to sand the edges of the paper down. That is how Marion shows you, how to make a customized button.

How To: Make a festive paper box with Dawn of Dawn's Stamping Thoughts
Looking for your next craft project? Why not a bright and festive paper box? This video guide from Dawn of Dawn's Stamping Thoughts will teach you everything you need to know. For all of the details, and step-by-step instructions, take a look.
How To: Make a small folding box for Easter
In this tutorial, we learn how to make a small folding box for Easter. First, cut a shimmery white piece of card stock to 6" x 8 1/4". After this, score the paper at 2 and 3/8". Then score again at 2 and 7/8", flip it over and do again on the other side. After this, cut the four corners with score lines off, then fold the score lines that are left. Now, grab an Easter stamp and stamp the inside of the box underneath the top flap. Place a candy inside of the box, then fold it up and place an E...

How To: Make Valentine’s Day cards
Who needs a Hallmark card? You can make your own Valentine's card with these free video clips on home crafts.
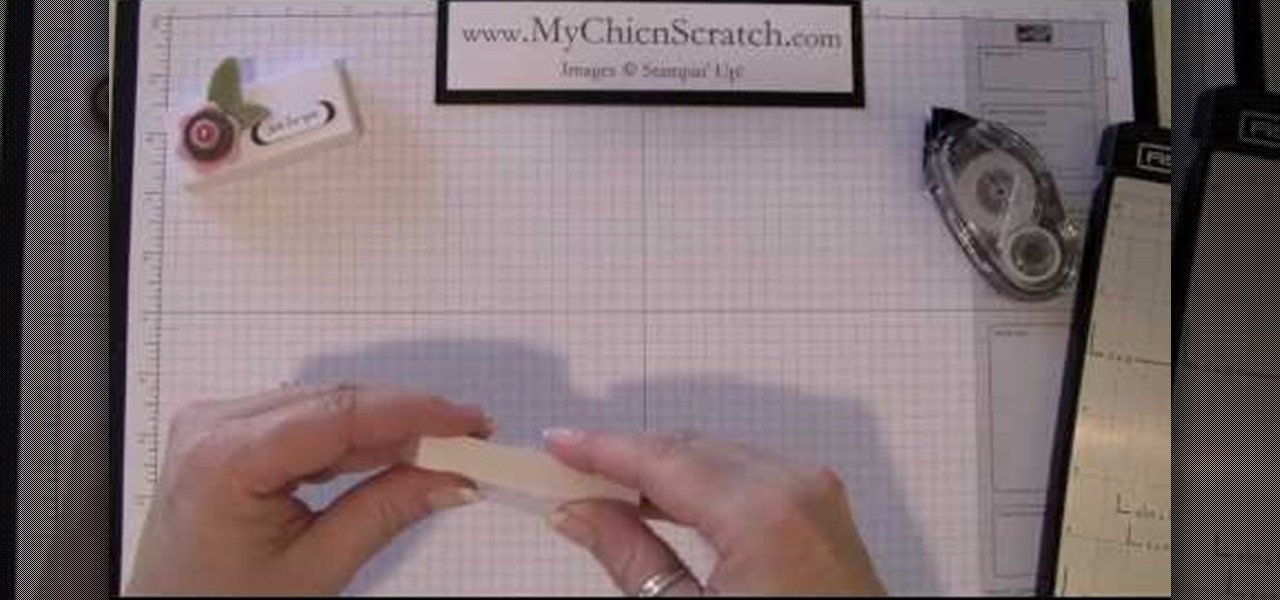
How To: Make a scallop hugs box with Stampin' Up!
Expand your crafting horizons and learn how to make this cute little box creation! In this video, learn from Angie Kennedy of My Chic n Scratch (and who is also a certified Stampin' Up! demonstrator] how to make a scallop hugs box,. This mini hugs box is perfect to give to someone you'd like to hug! Make an impression with this adorable hand crafted gift idea!
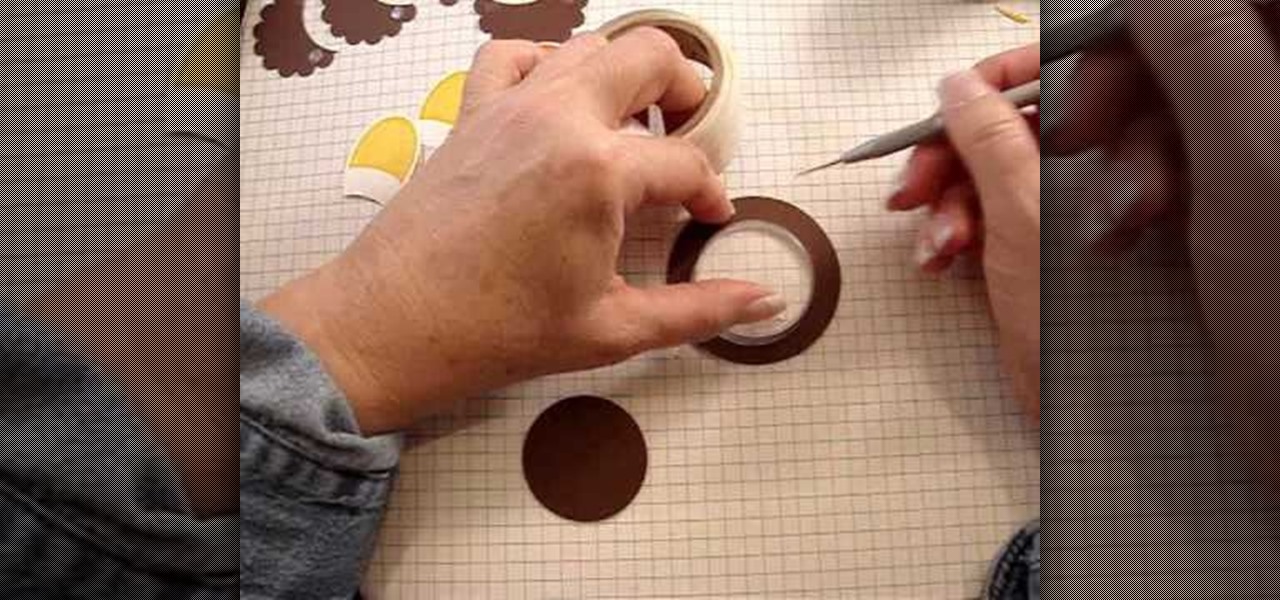
How To: Make a sweet treat turkey out of paper and jelly beans
By using the Sweet Treat cups, cardstock and a few extra crafting supplies, you can incorproate delicious jelly beans (or any other small, autumn-colored candy) into a crafted paper turkey. This is a great little decoration to put on the kids' table this Thanksigving season!
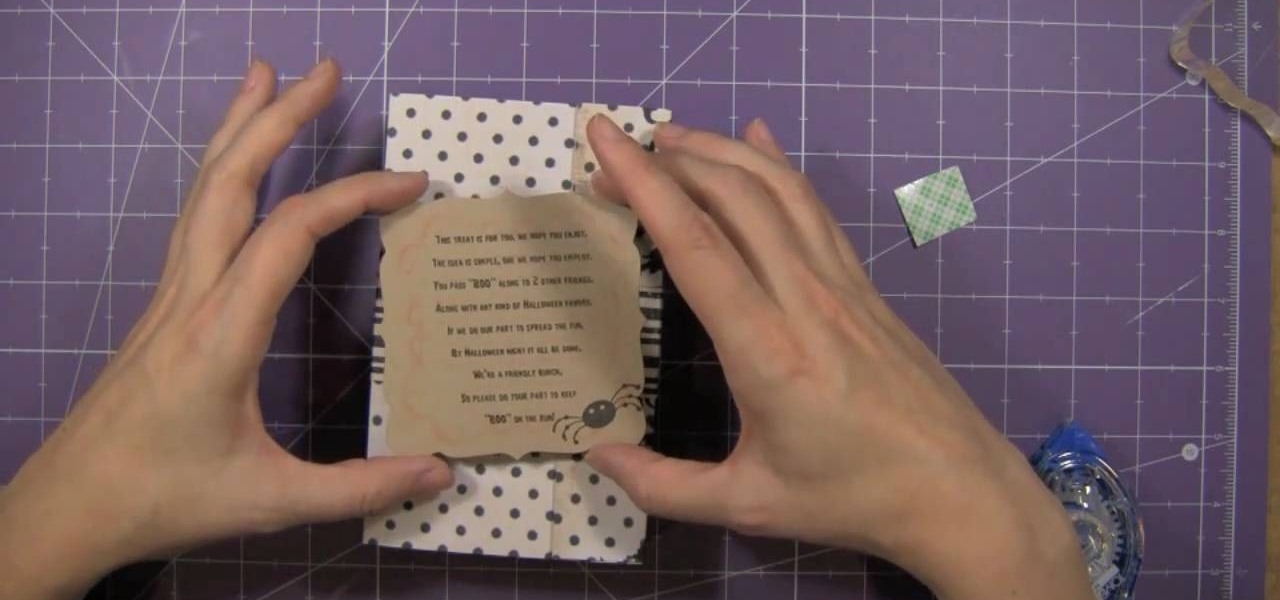
How To: Craft a spooky "Boo'd" Halloween box
Halloween just isn't Halloween without your fair share of spooks, frights, and spine-tingling delights. If you're planning to host a Halloween party this year, why not craft your own favor boxes? It's really not as hard as you think.
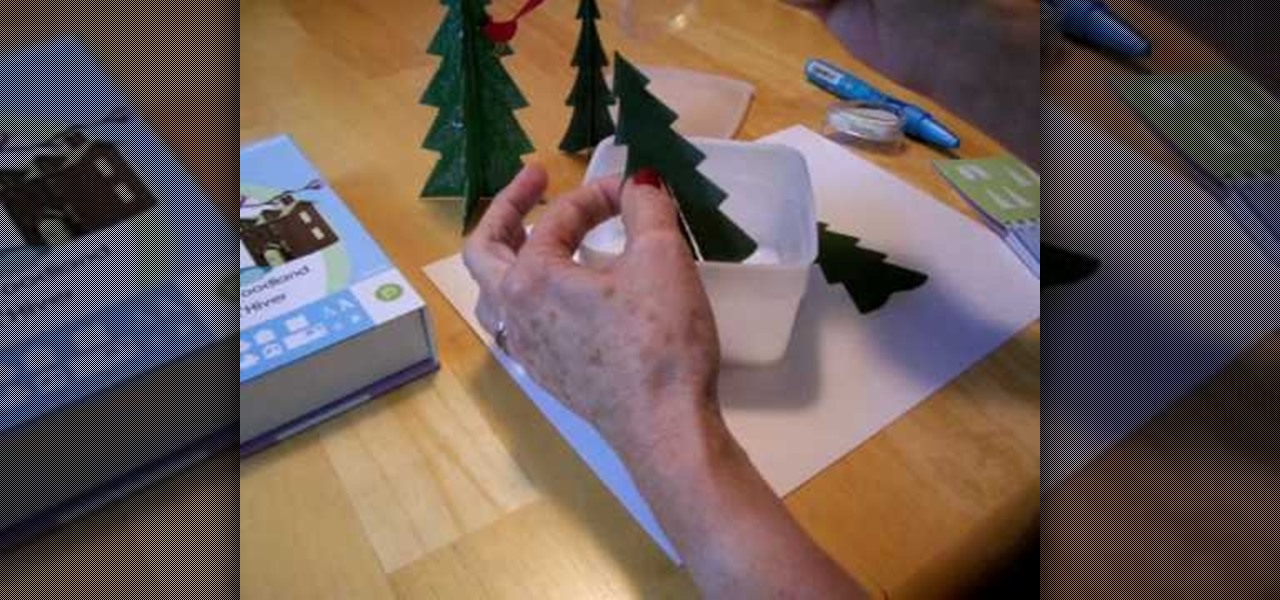
How To: Make Cricut winter woodland trees
Cardcrazy09 teaches you how to create green woodland Cricut trees. You cut two pieces of the tree. Each one has a slid, on the top and bottom and you glue them together. You can also add glitter as snow. What you can do is smear it with a white ink pad to make it look frosted. The cardinal in the tree is made out of three pieces that you cut and stick together. A red body, yellow legs and brown face is all that's needed. After that, you just stick in the tree for the complete look.
How To: Use the Memory Makers curvy cutter to cut circles
Watch this video to learn how to use the Memory Makers curvy cutter to cut paper circles.
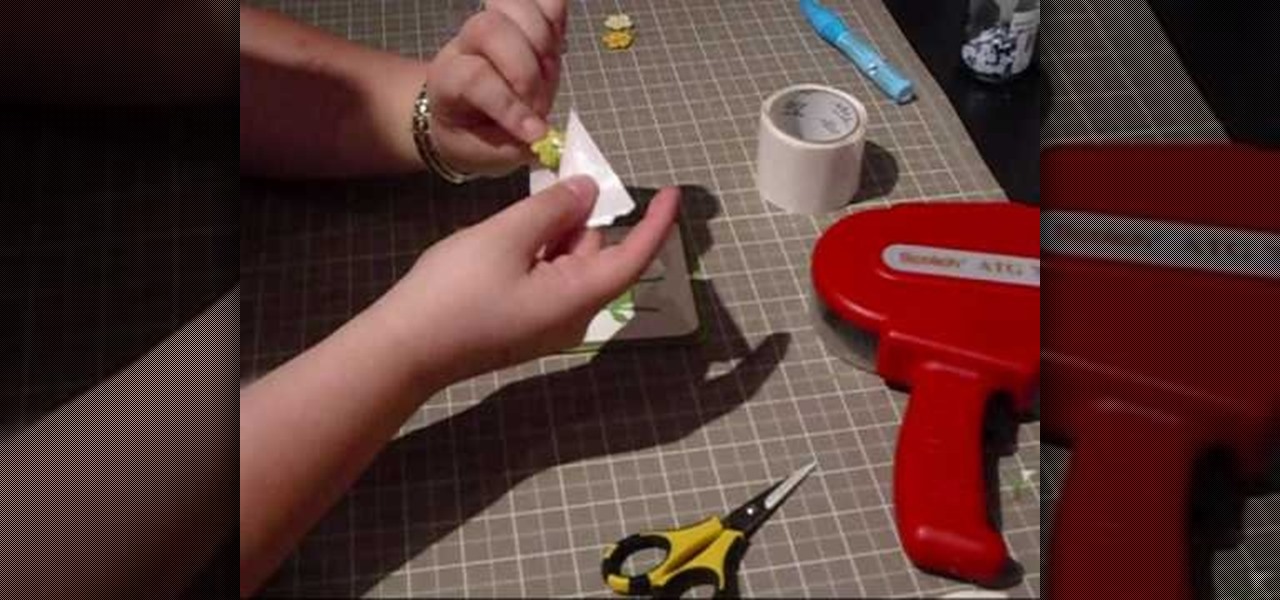
How To: Make a ladybug embellished notepad holder for spring
Notepads are some of the most banal objects on your office desk. Usually you don't think twice about them other than to check when your dentist appointment is.
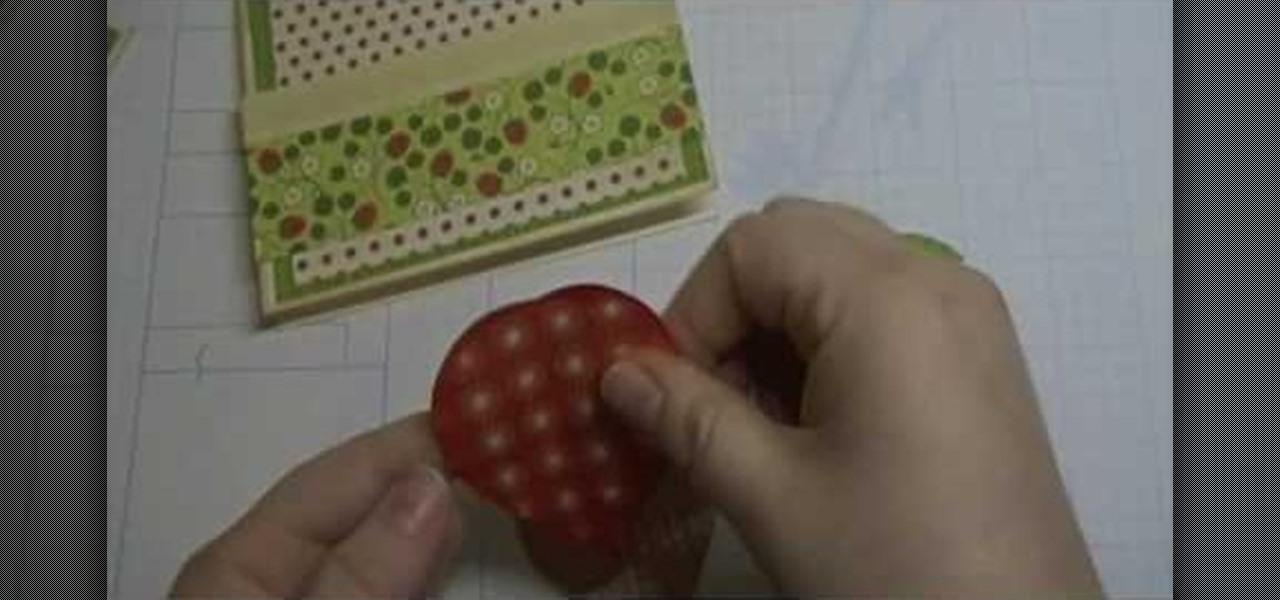
How To: Make an berry-themed card using Preserves Cricut
Simple Card Monday teaches viewers how to make a berry-themed card using Preserves Cricut! You'll want to use the Garden Variety Cricket Preserves paper for this berry-theme project. First, you should start off with an A-2 sized 5.5 inches by 4 inches sheet paper. Ink this using chamomile ink on all of the edges of the card. Next, add green onto the top of the card. It should leave a tiny border around. Now stick this strawberry paper with ribbon onto the polka dot paper. Cut your strawberry ...
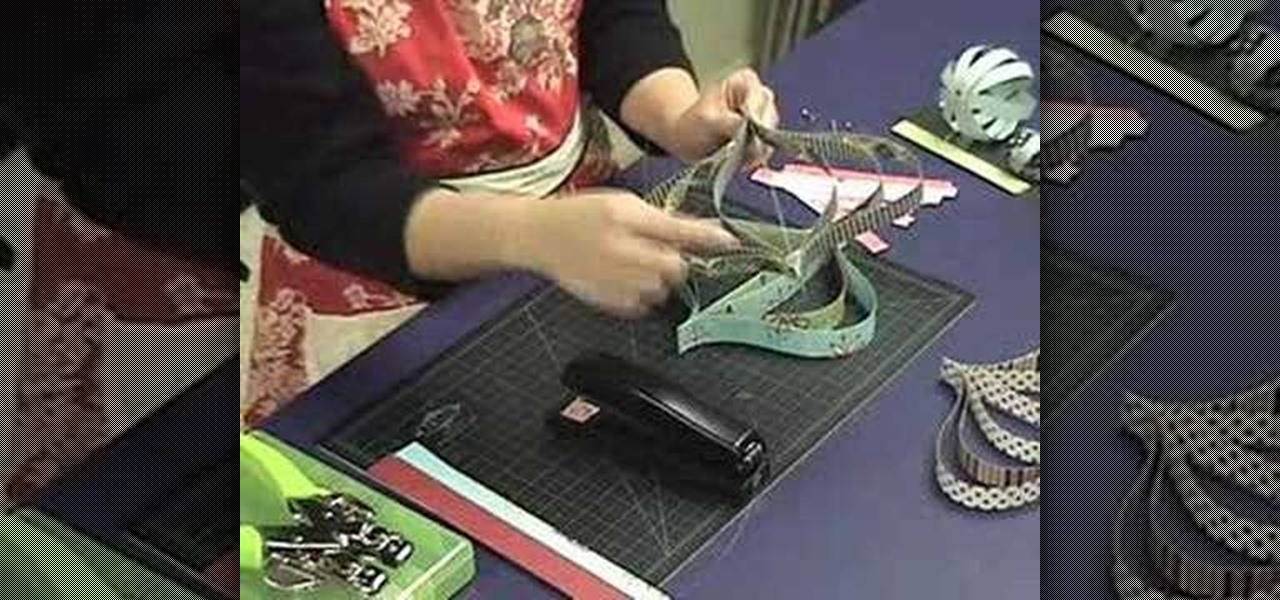
How To: Make retro paper ornaments
These paper design projects make perfect kid's activities, or an activity for the whole family. These eco-friendly ornaments are made from recycled scrap strips. When you're done, you can hang them to decorate your home!


