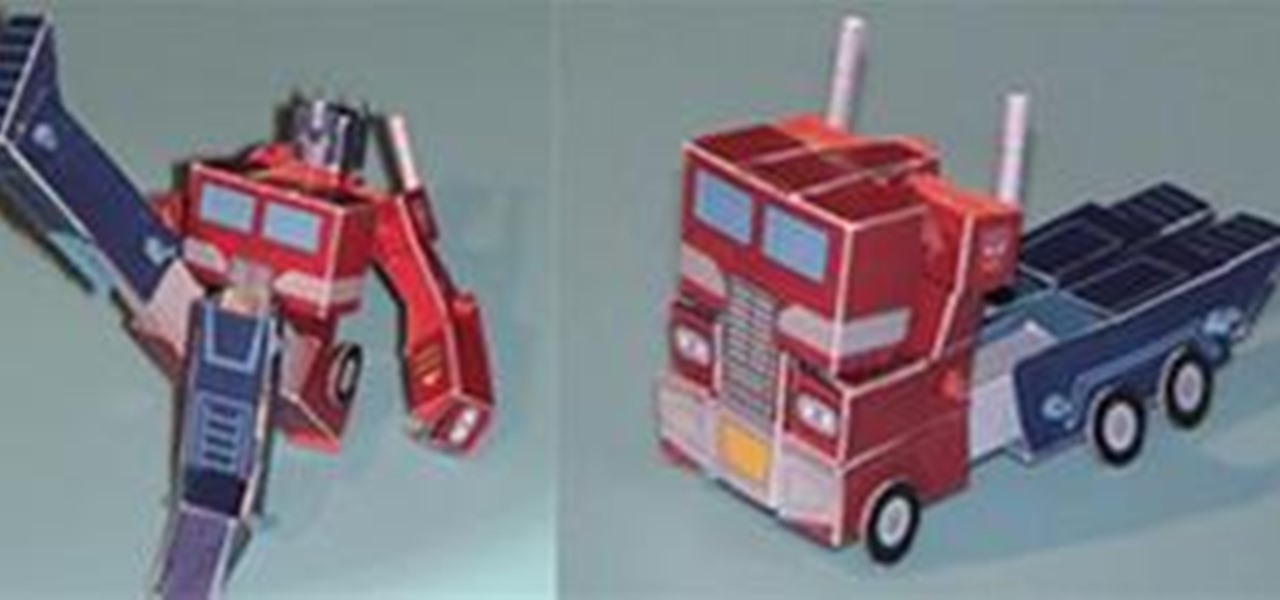
Papercraft Features

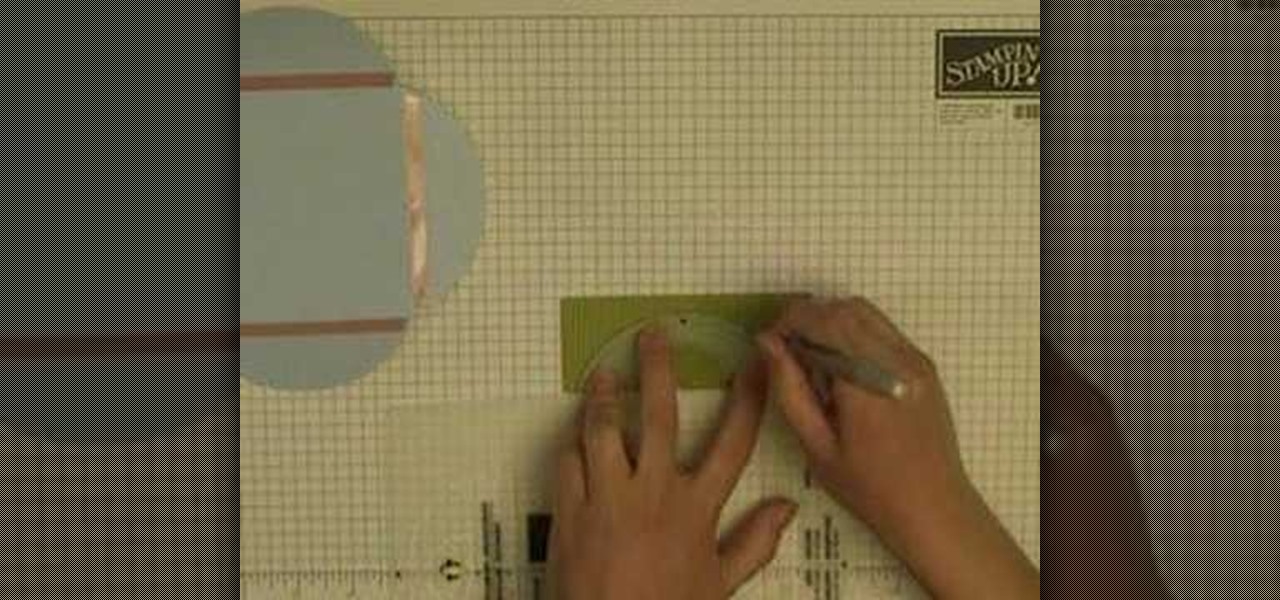
How To: Make a box with scalloped lid
This is a video tutorial on how to make a box with a scalloped lid. You will need a large piece of cardstock to craft this box. Use double stick tape to hold the joints of the box together. You might need a stenciling tool to make accurate cuts. You can use store bought or use recycled scraps of paper ad ribbon to decorate the outside of the box.
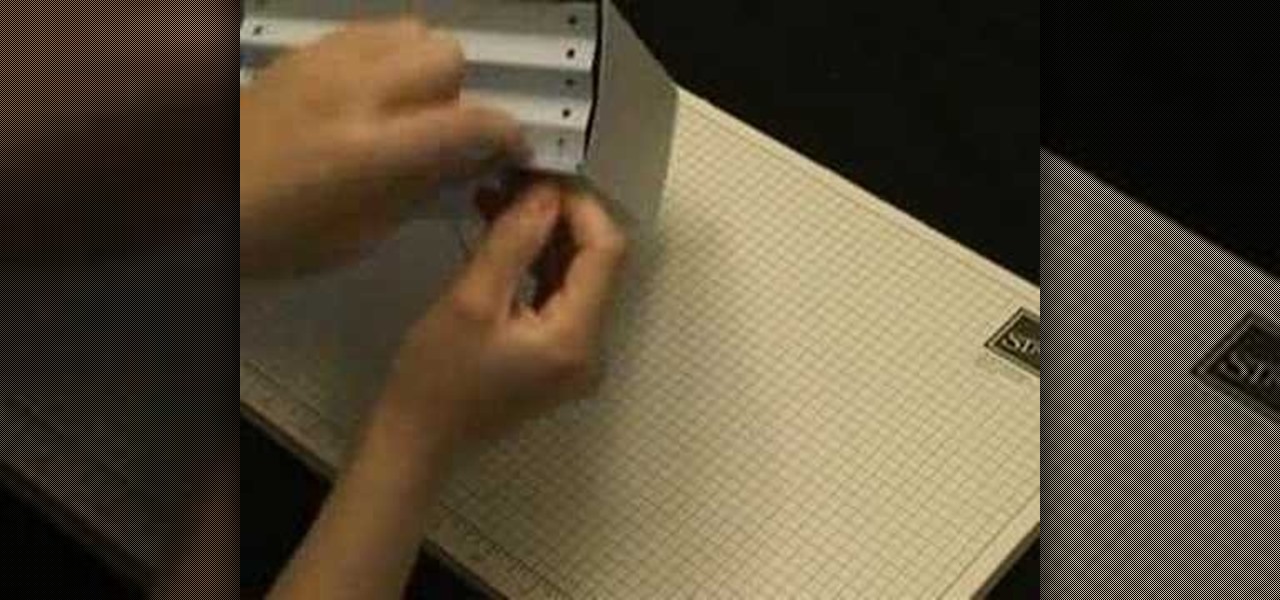
How To: Make a card organizer
Watch this video tutorial on how to make a card organizer. You will need one large pice of cardstock to make this paper box. Use double stick tape to hold the joints together. When finished, you will enjoy having this homemade box to keep your hand crafted greeting cards.
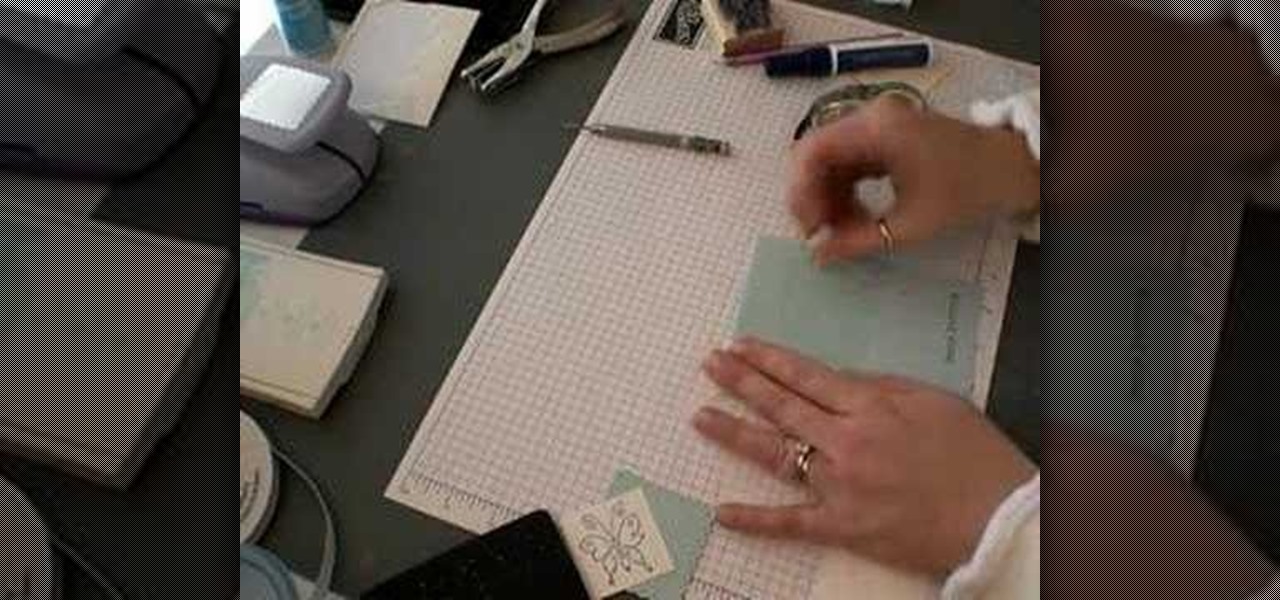
How To: Make a greeting card
This sequence shows various designs of cards you can create and design. These are perfect for all occasions.
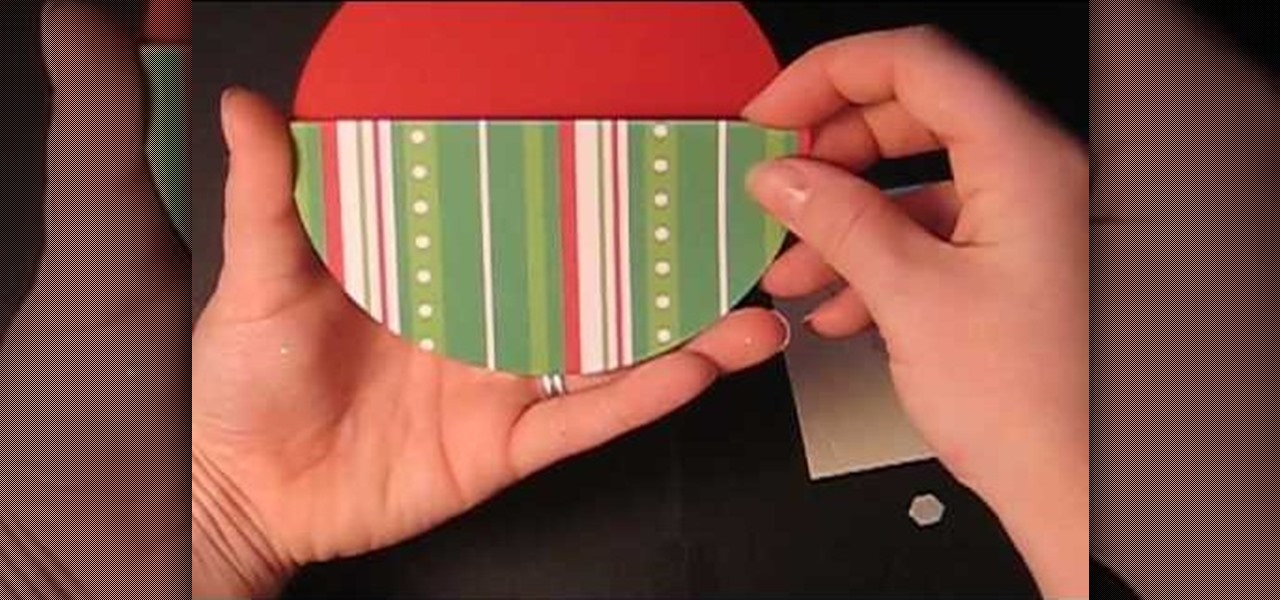
How To: Craft a festive ornament gift card holder
While this ornament gift card holder is indeed intended for Christmas gift giving, it can be easily modified into an egg or heart shape for Easter and Valentine's Day, respectively.

How To: Use PVA and methyl cellulose glues
Sue at Paper Source demonstrates how to glue like a pro. PVA is a great paper glue, while methyl cellulose extends drying time (which is perfect for precise adjustment) and is also reversible (making it really handy for archiving). Watch this video crafting tutorial and learn how to use PVA and methyl cellulose glues.

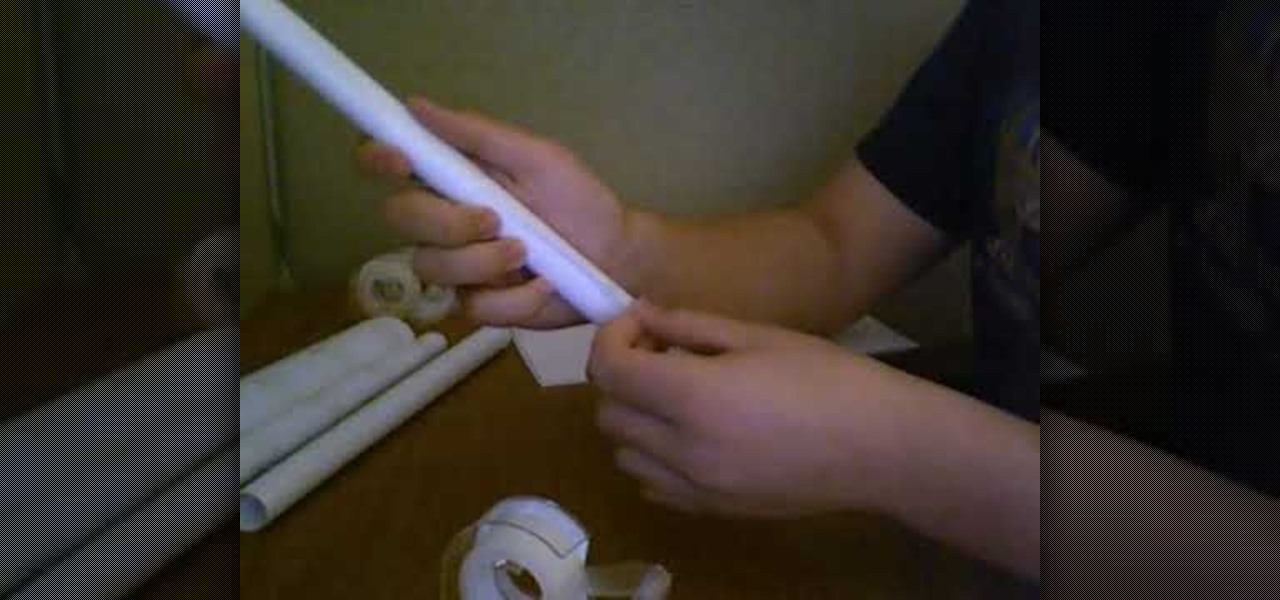
How To: Make a paper gun
See how to make your own paper gun! This video tutorial will show you exactly how to cut and fold your way to making a cool paper gun. Try using junk paper, or your homework. Watch both parts to see the whole paper gun making process. You'll need paper, tape and scissors.
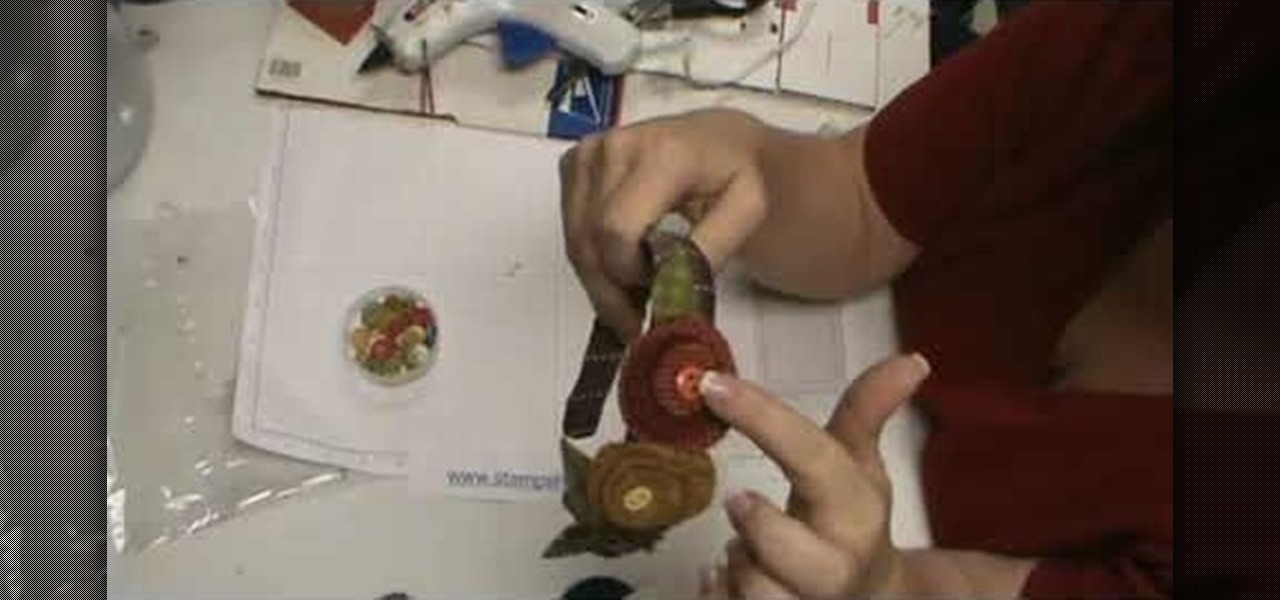
How To: Make lollipop flowers out of fabric
In this video, we learn how to make lollipop flowers out of fabric. First, start out with dye that has four circles in different sizes. You will also need the Big Shot to cut out the circles and wool cut out to fit on the cutting board. Put the board through the machine and your circles will be cut out. After this, start with the largest circle and start to add the other circles on top with a hot glue gun. Now, add a button to the middle of the top smallest circle using a hot glue gun. Add a ...
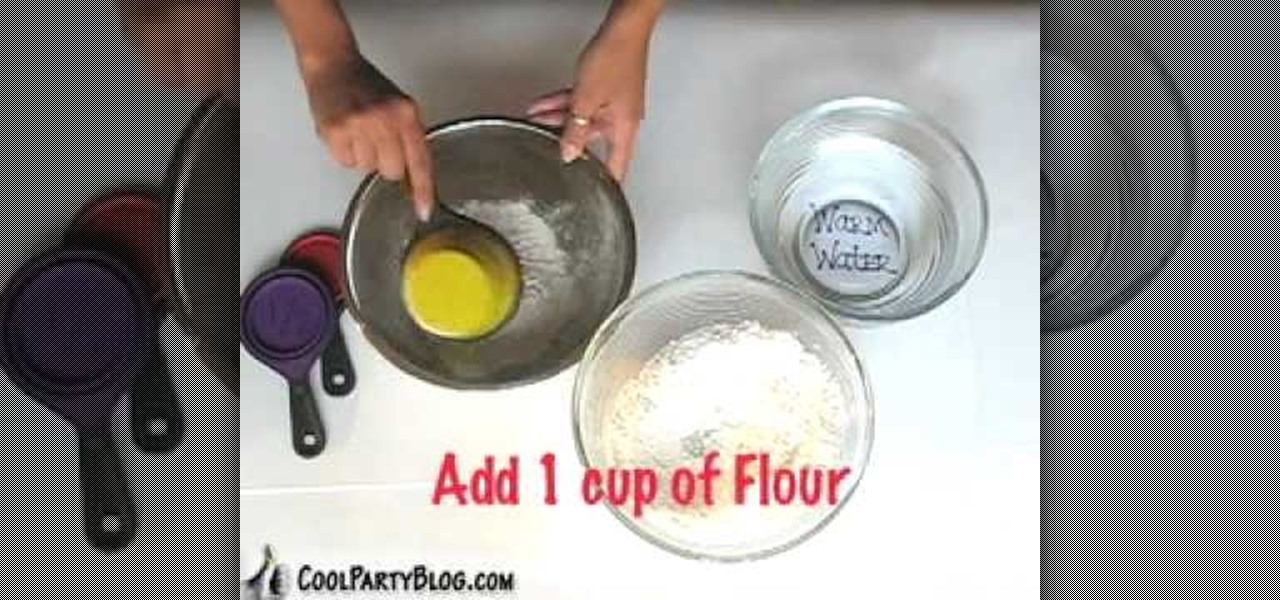
How To: Prepare the mixture for paper mache
In this video, we learn how to prepare the mixture for paper mache. First, take a cup of flour and a cup of warm water and mix it together until well combined and a paste is made. Add in more water or flour if needed to make the right consistency. After you have done this, continue to mix until there are no flour lumps left in the mixture. Once you are finished, use this to dip your newspaper into so you can correctly make your paper mache. Make sure it's not too thick or too thin so you have...
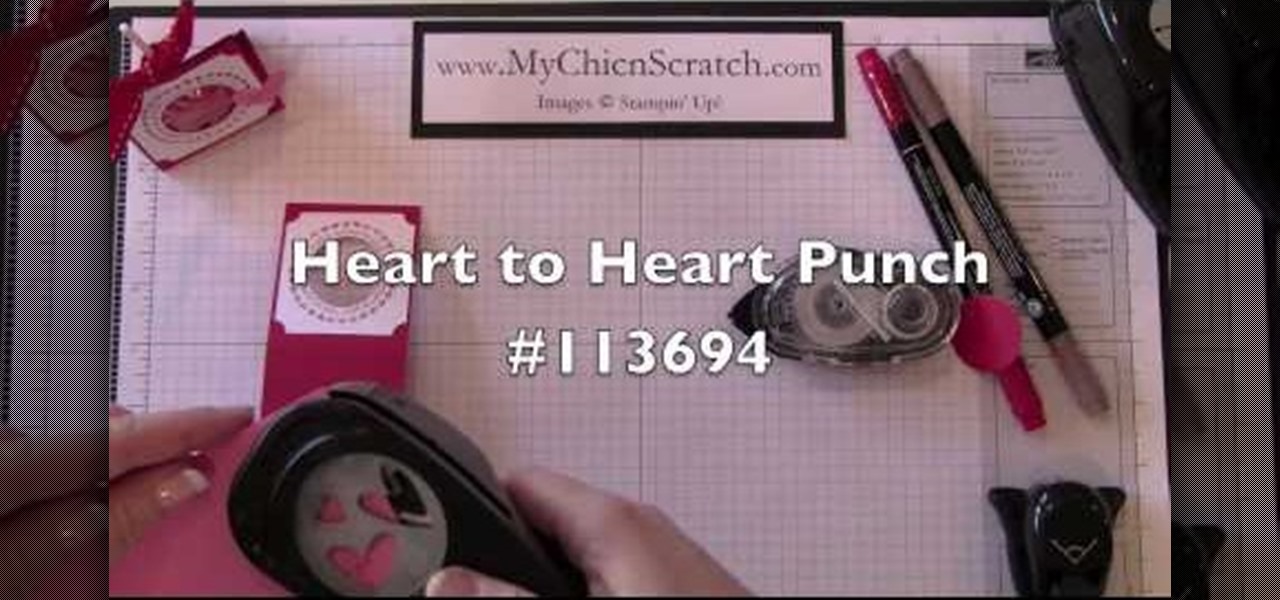
How To: Make a simple Valentine's Day lollipop holder
At its core, Valentine's Day is about giving and getting sweet treats. While one could argue that the same idea applies for both Halloween and Christmas, on Valentine's Day these sweets are packaged in the most adoring, lovey dovey ribbons and wrappings.
How To: Make an origami gift box with lid
With this guide, you'll learn how to make a paper gift or party favor box using origami, the traditional art of Japanese paper folding. For more information, including a step-by-step overview of the folding process, as well as to get started making your own folded-paper gift boxes, watch this free origami lesson.

How To: Fold a housefly paper airplane
Watch this instructional paper craft video to fold a paper airplane called the housefly. The housefly airplane is a good, slow flyer. This is an intermediate origami project. Doesn't this paper plane sort of look like a housefly? Fold a housefly paper airplane.

How To: Make the world's biggest and best paper airplane
Bored in class and need something to toss around? Check out this video!

How To: Make a cube out of triangular paper strips
This is a quick video tutorial that shows how to make a cube out of seven triangles. Learn how to fold, cut, and weave triangular paper strips together to make a paper cube.

How To: Make bead embellishments
Create gorgeous, sparkly motifs and embellishments out of beads to give your greetings a bit of bling. Corinne Bradd shows how easy it is to combine stunning gems, bright sequins and coloured wire for a unique, eye-catching effect. The finished bead decorations can be applied to cards, tags or gift-bags.
How To: Create a Valentine's Day heart card with iris folding
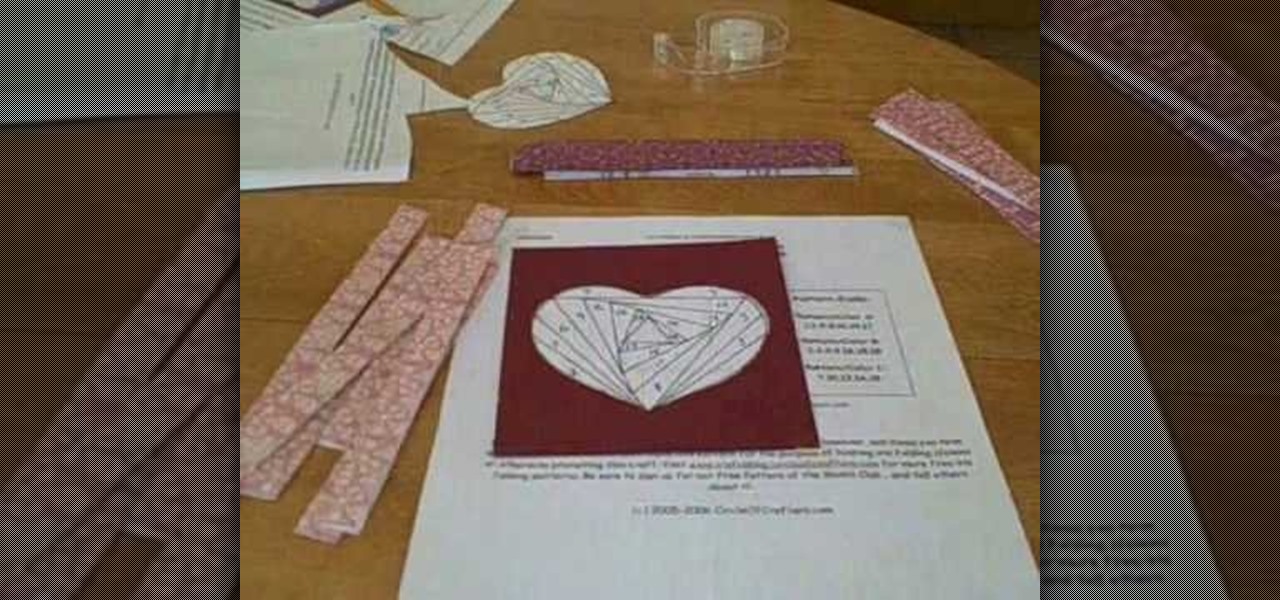
If you're new to iris folding, then let this beautiful Valentine's Day project be your introduction to this complexly layered yet easy to do paper folding style. Iris folding is based on the iris, or opening, of a camera, with multiple layers folding on top of one another until you get to the opening in the center.
How To: Craft a chubby purple skunk kid's greeting card
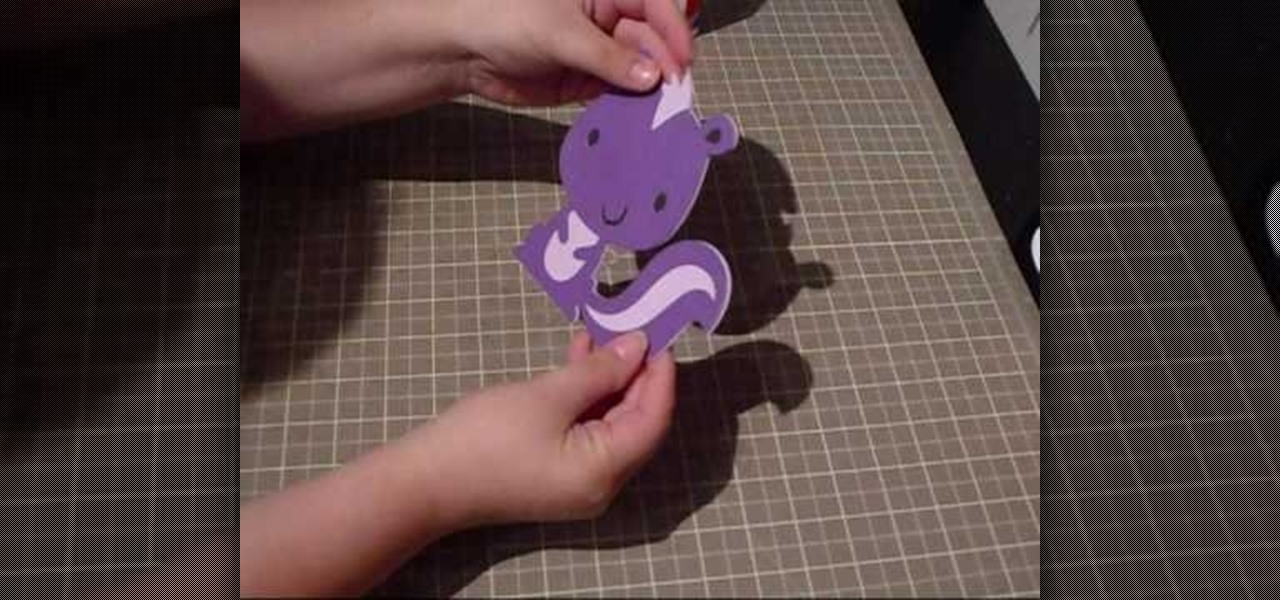
This purple skunk greeting card doubles as a Valentine's Day card and a kid's birthday card. It depicts a smiling purple skunk holding a cute bouquet of flowers, an adorable tableau that will perk up your recipient's day.

How To: Make a multi-layered embossed floral gift card
This video tutorial is in the Arts & Crafts category where you will learn how to make a multi-layered embossed floral gift card. Take a piece of 11 x 8 1/2 inch Stampin' Up card stock and fold it in half. Next you punch out layers of colored paper of rose red, very vanilla, regal rose and blush blossom colors of different sizes as stated in the video using the Boho Blossom Paper Punch. Now you take a Sizzix Big Shot Die and cut out a craft paper and set the cut outs aside. Now you got to stam...
How To: Make your own piñata
Don't waste money on a poorly built piñata at the toy store or anywhere else they sell them. You can save money and give your party a much more personalized feel by making your own piñata. This video will show the simple, easy way to make your own piñata.

How To: Make a side step Christmas card using Cricut Winter Wonderland
In order to make the side step Christmas card, using Cricut, you will need the following: card stock, cutter/trimmer, adhesive, rhinestone, ribbon, and a bone folder.
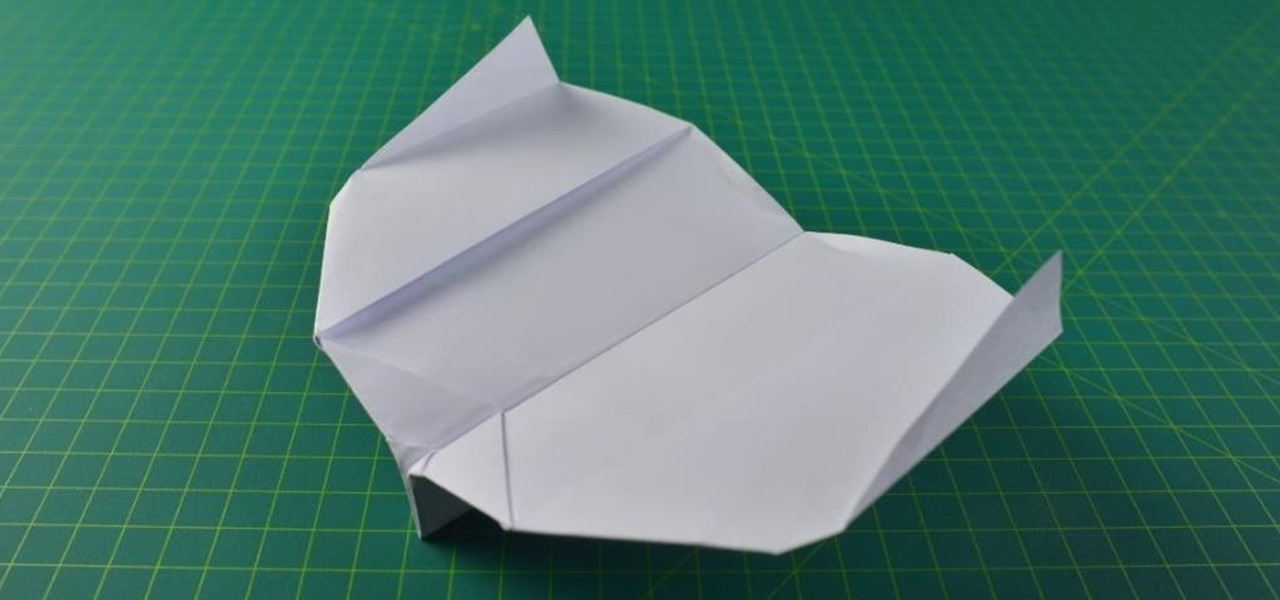
How To: Make a harrier style paper airplane
This is a demonstration of how to make a harrier paper airplane. First fold the paper in half lengthwise, making sure the corners line up. Unfold it and fold the corner toward the center line. Fold the top triangle down almost to the bottom of the paper. Fold the top corner in to the center line again. Fold in the first point. Fold the plane in half lengthwise. He demonstrates how to fold the wings in the right place so that the plane looks like a harrier. The plane can be customized and deco...

How To: Make the best paper snowflakes
In this video, we learn how to make the best paper snowflakes. First, take a dark blue and white piece of paper and fold it up into a square, then fold into a triangle. Next, grab a pair of scissors and start to cut along all of the sides of the paper. You may have to do this a couple of times to get the shape right, it will be helpful to use a diagram to show you where to place the scissors. When you are finished, open up the piece of paper to see your snowflake! String this with other snowf...
How To: Make a decoupage chessboard tabletop
This is a great video clip series that will not only give you a great start on your decoupage idea but maybe also give you a few new ones. Our expert, Karen Weisman, is a whiz with arts and crafts.

How To: Fold a shuttle dart paper airplane
Watch this instructional paper craft video to fold a paper airplane called the shuttle dart. The shuttle dart airplane is an accurate, long distance flyer. This is an intermediate origami project. You will need one piece of origami paper to complete this paper craft plane. You can almost fly the shuttle dart to the moon. Fold a shuttle dart paper airplane.

How To: Make a dragon piñata
This is an easy project where you make a piñata shaped like a dragon. Add a wooden or toy sword and you can bring the dragon down from the air. A very fun pinata!

How To: Do the marbling technique on paper
Corinne Bradd demonstrates the technique of marbling, using specialist inks dropped onto the surface of water.

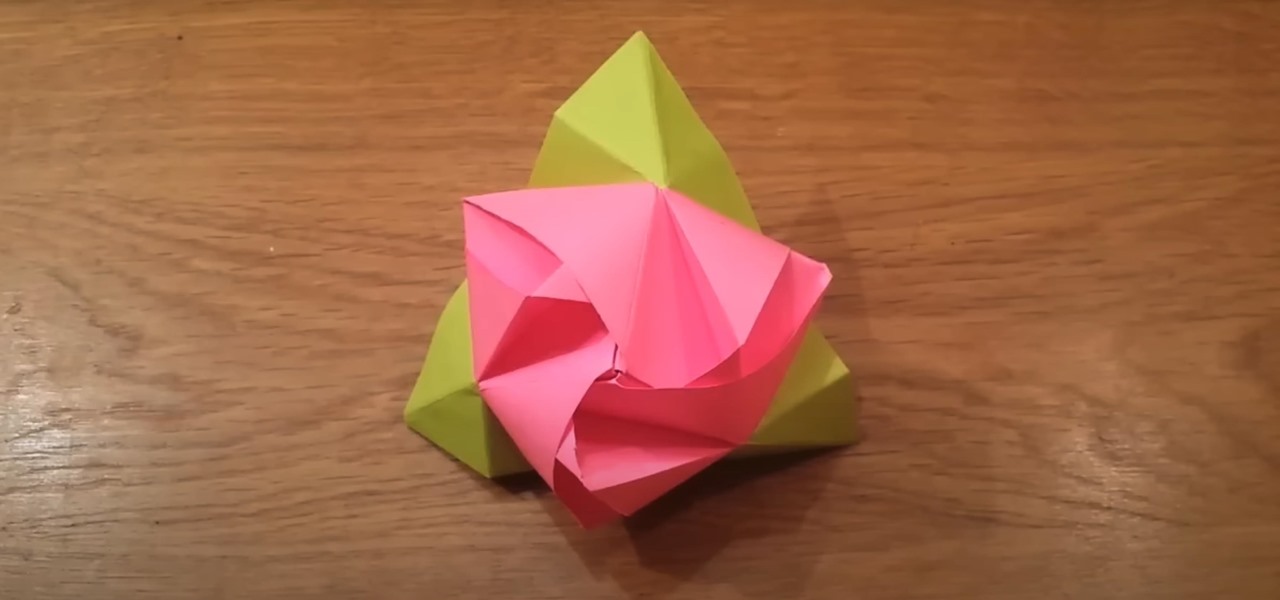
How To: Make a paper rose with a napkin
Forgot to bring flowers to dinner for your date? This video will guide you through napkin selection and the folding necessary to make a paper rose!

How To: Make polyhedra using hanger tape paper and zip ties
Watch this how to video to learn to make polyhedra using hanger tape paper and zip ties. This step by step tutorial will teach you to make a cuboctahedron.
How To: Make your own hang tags for packaging
If you have an Etsy store, or a small business, this video is full of great ideas. Learn how to make your own creative tags for your items.
How To: Make rolling pinwheels with post it's
From the creators of the Diet Coke and Mentos experiment, EeepyBird demonstrates how to have fun with sticky notes. All you need is a stack of post its, and a glue stick. Glue each post it to one another, alternating sides, to create a chain. Next connect in a post it circle & you get an amazing post it pinwheel! Fun paper craft project. Enjoy.
How To: Make a paper cup cake/muffin basket
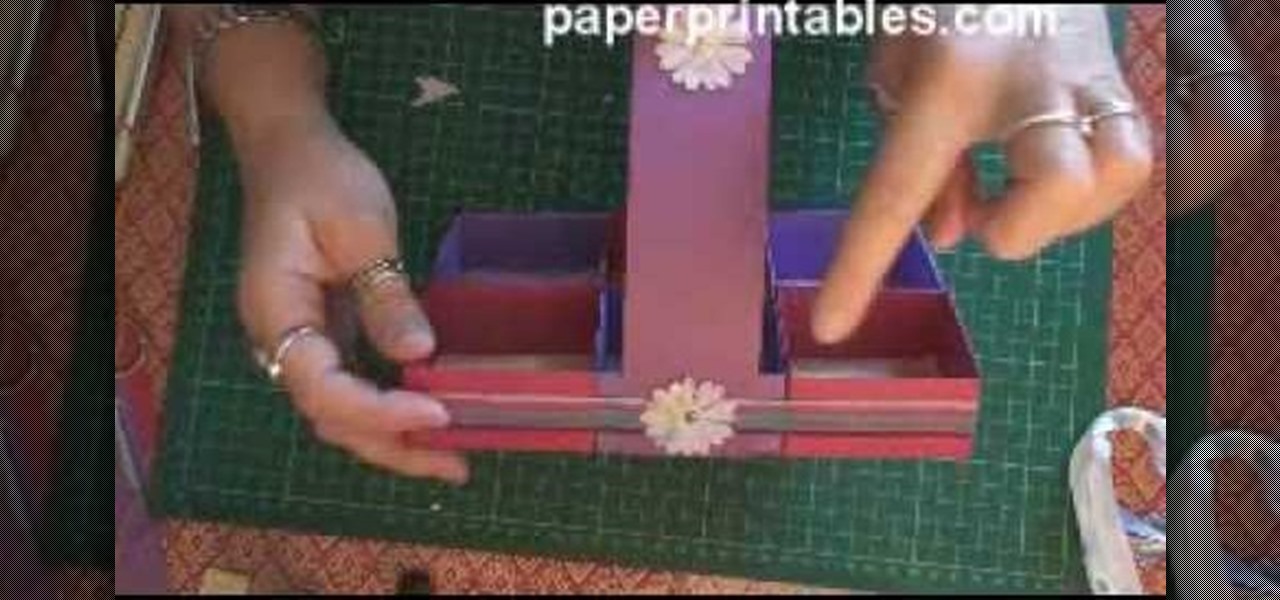
In this tutorial, we learn how to make a paper cup cake/muffin basket. First, take a piece of paper and fold it in half. After this, curl the edges up from each of the corners until you end up with a small square in the middle of the paper. Use scissors to create slits where you will make the tabs to construct the box. After all the tabs are cut, push them together so you have a small basket with a neat line. To finish this up, add a handle to the top and push into the sides. Then, draw on an...

How To: Make a mouse hat with construction paper
In this video, we learn how to make a mouse hat with construction paper. You will need: 2 small pompoms, 1 large pompom, poster board in blue, black, white, and yellow, lace, scissors, and glue to make this. First, cut the blue piece of construction paper on once side, then twist into a cone shape and tape it together. After this, take the rest of the blue paper and cut it into half circle shapes for the ears. Now, take the yellow paper and cut it into a smaller half circle and place inside t...
How To: Make Coffee Filter Butterflies & Flowers
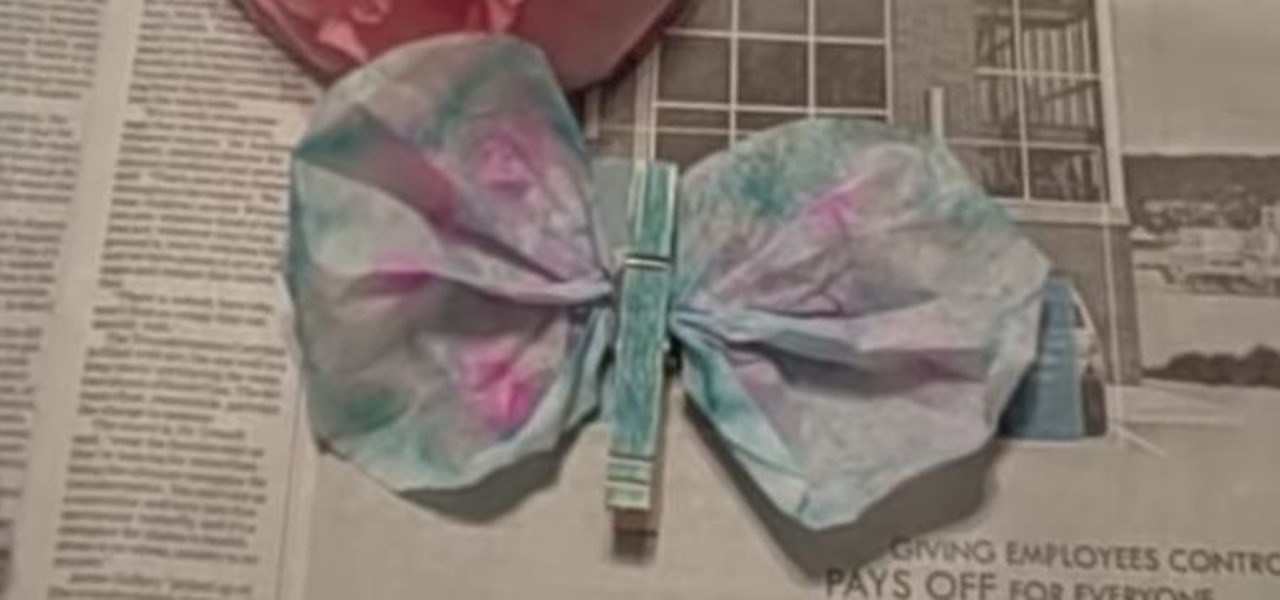
Learn to make beautiful coffee filter butterflies and flowers by watching this video by Kim Janocko. The following materials are required to make them:
How To: Make handmade paper
Making handmade paper adds a personal touch to invitations, stationary, and other crafts. Learn how to make your own recycled handmade paper with this free paper making video series.
How To: Pierce paper with a template
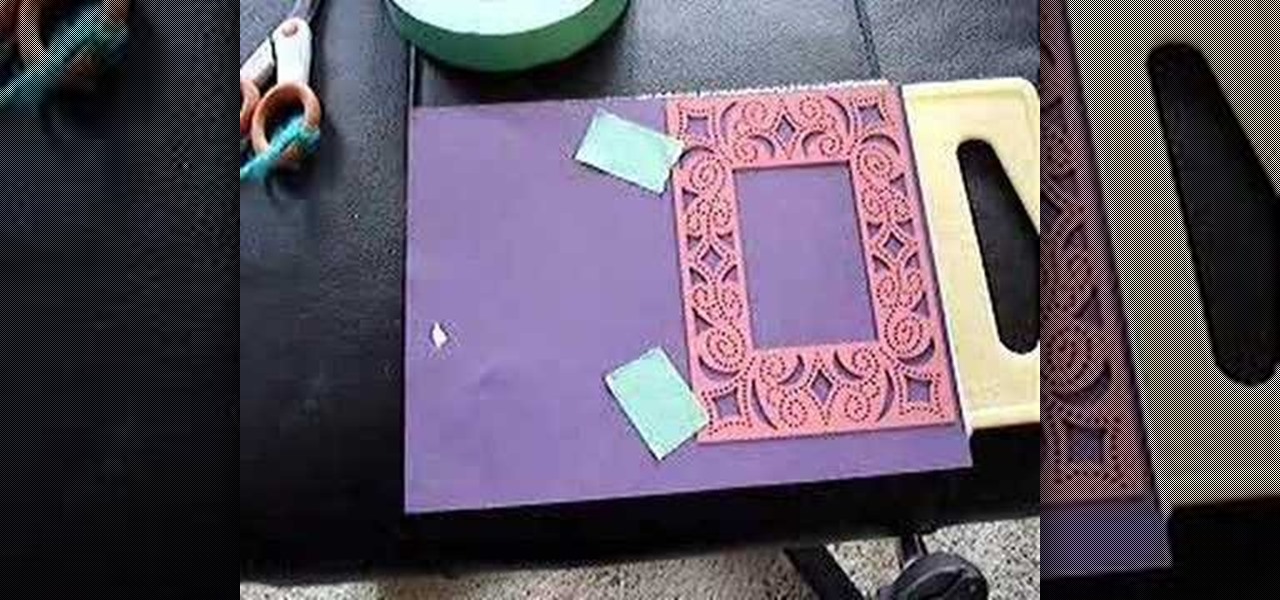
This video demonstrates making a paper piercing and cutting project using a template or stencil. The demonstration produces a frame with decorative piercings and cuttings. The frame shown is suitable for scrapbooking, card making or other paper crafts.

How To: Decoupage
In this video series, our expert will demonstrate how to decoupage a variety of household items. With step-by-step instructions, our expert will show you how to cut the paper for your decoupage project, how to glue the paper to your object and how to smooth and cut the edges for a beautiful finish to your craft project. In this video series, our expert will decoupage a glass platter, a wooden box and a candle, but you can experiment with many household items with this fun and easy craft the w...
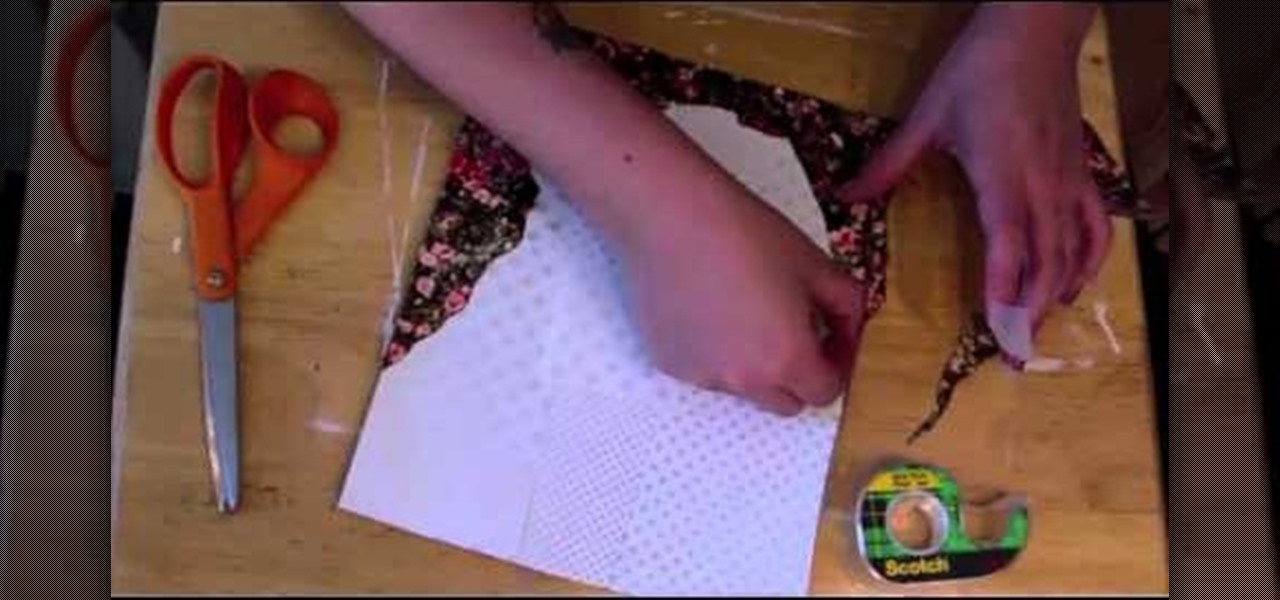
How To: Decorate a plain picture frame to give as a Christmas or holiday present
These are great, personal gifts that you can hand out to friends this holiday season. Find a picture and a quote you like, then dress them up in a picture frame! All you really need is the frame, some paint, a few old magazines and some paper!

How To: Create your own water bottle holder
The card stock used is a celery card stock that is 2 by 7 and 3/4. You then fold the ends of the card 2 inches into the card on both sides. So now it should look like two 2 inch squares on the ends that are folded and then a rectangle in the middle. The designer paper used measures 3 and a 1/4 by 1 and 7/8 inches. To make the decoration on top you use the paper punch that punches a 1 and 1/4 inch circle in the paper and then you use the scallop punch around the area of that same punched out h...
How To: Make a hot cocoa holder with Stampin' Up!
In order to make hot cocoa holders with Stampin' Up, you'll need the following: a whisper white Stampin' Up envelope, scissors, a paper cutter, cocoa, a jumbo wheel, ink pad, adhesive, stamps, ribbon, pen, stapler, glitter, and card stock.
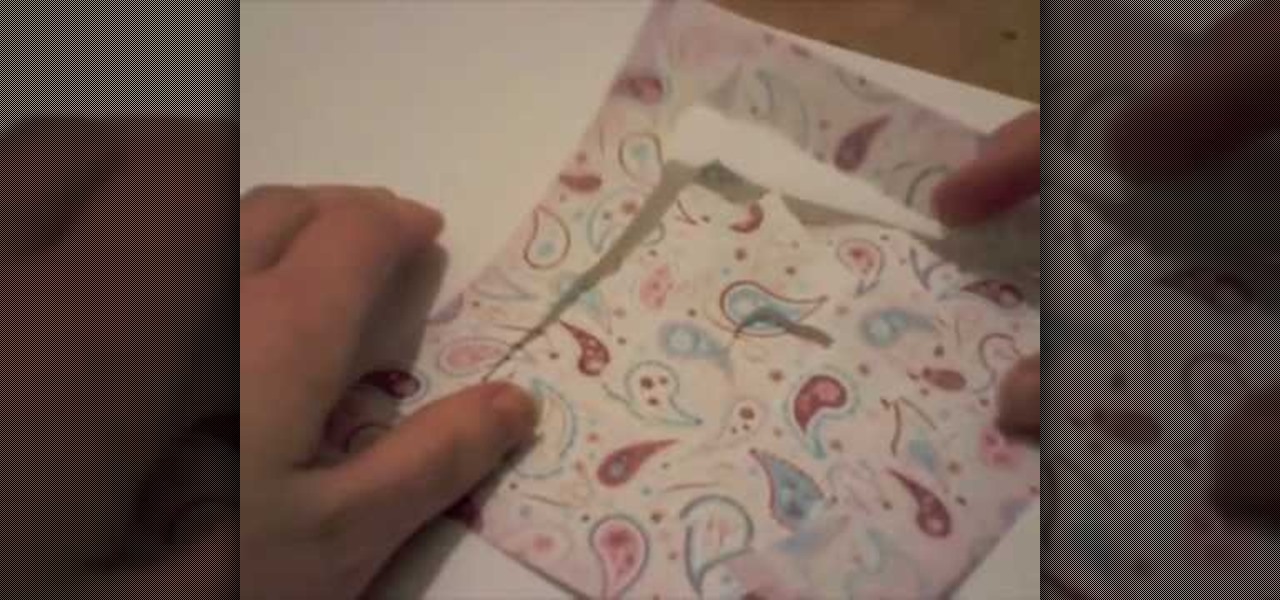
How To: Make paper roses for cards or scrapbooking
In this arts & crafts tutorial, learn how to make a beautiful rose embellishment out of a piece of 6x6 pattern paper and Glimmer mists to give it a pearlescent sheen. This is a fun technique and great to apply to all your craft projects including cards, scrapbook layouts or home decor projects.
How To: Construct a 4 pointed ninja star
This is an 4 pointed ninja star or shuriken. You need a regular sheet of paper or a origami square sheet of paper, also scissors are optional for constructing this 4 pointed ninja star.


