

Papercraft Features


How To: Make a Christmas greeting card for kids
Take this year's Christmas cards to new heights by making your own unique cards! In this vido, learn how to make a pop out Christmas card with these easy to follow instructions from Leona of Artists Resource. Surprise your Christmas card list with this wonderfully inspired card sure to appease the eye and hearts of the ones you love and hold dear.

How To: Make a flower out of tissue paper for cards
Lay several layers of tissue paper on top of each other. At least 10 You can use different colors to make a colorful flower or one color to make a flower that is one color. Multiple color flowers are great for 4th of July celebrations (red, white and blue). And single color flowers are great for wedding receptions or graduation parties.
How To: Make an ornament accordion book
This versatile paper accordion book can be used as a holiday tree ornament, a personalized card, a wedding favor, a gift, or a photo holder. If you enjoy scrapbooking, card making, or making personalized stationary, you will love this crafts project. Learn how to cut, fold, and score your own accordion booklet by watching this video!
How To: Build a Harry Potter wizard style ink pot and quill
Send an owl to mum carrying a term update letter handwritten with on a parchment with a quill using this wizard style ink pot and quill. While the quill pot is just for show and you shouldn't actually pour any ink into it, the pot looks very authentic and is a cool prop for the quarters of any Harry Potter fan.

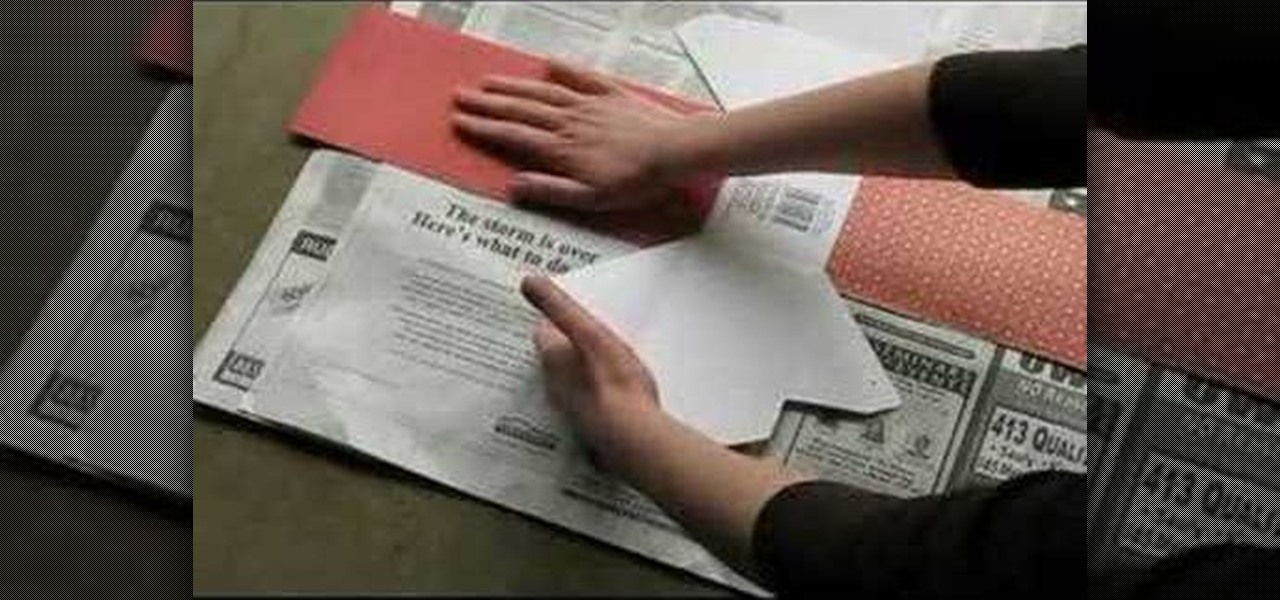
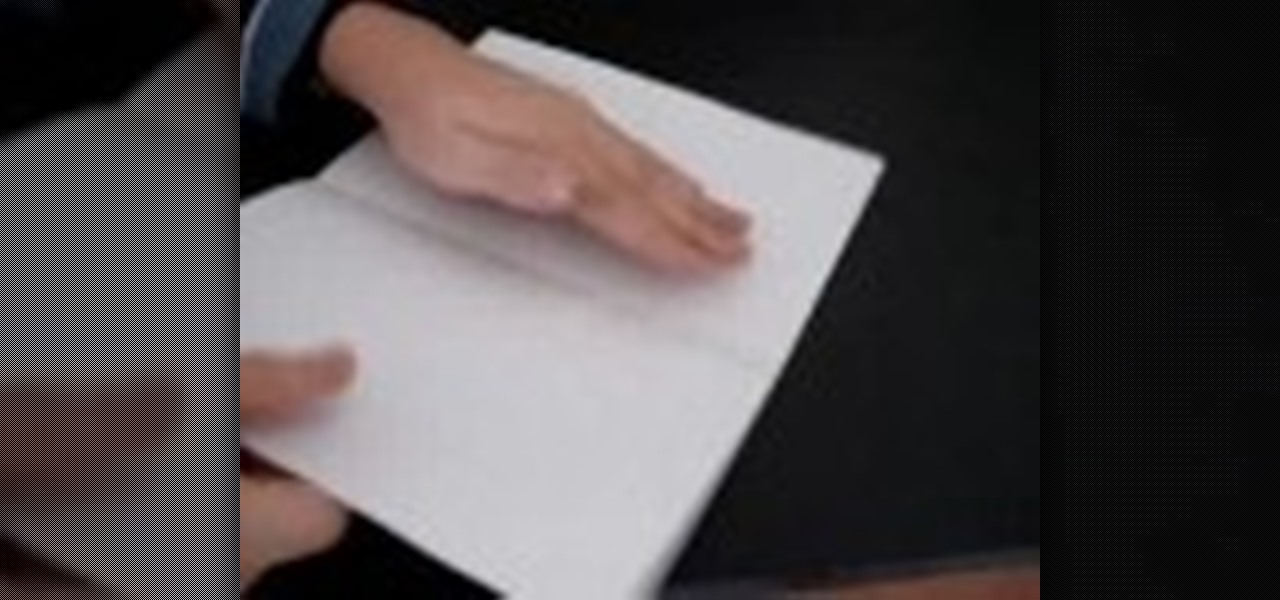
How To: Fold your own paper envelopes
In order to make your own envelopes, you will need a piece of paper, glue, scissors, and optional decorating tools/stickers.
How To: Turn take-away containers into gift or storage boxes
This video crafting tutorial shows a quick and easy way to turn plain take-away containers into decorative gift and storages boxes. Paper take-out boxes are a convenient size for organizing supplies and tools, but this project can multi-task as a reusable gift box. Learn how to transform paper take-out boxes into a storage or gift box by watching this instructional video.
How To: Make a French-style fabric memo board for photos and letters
This crafty project is inexpensive, it's easy to do and it's really handy for attaching things like letters, photos and to-do lists. This isn't like a cork memo board, because you won't need any push pins or cork pins! Watch and learn how to make this French memo board. This is the pretty alternative to drab store-bought memo boards.
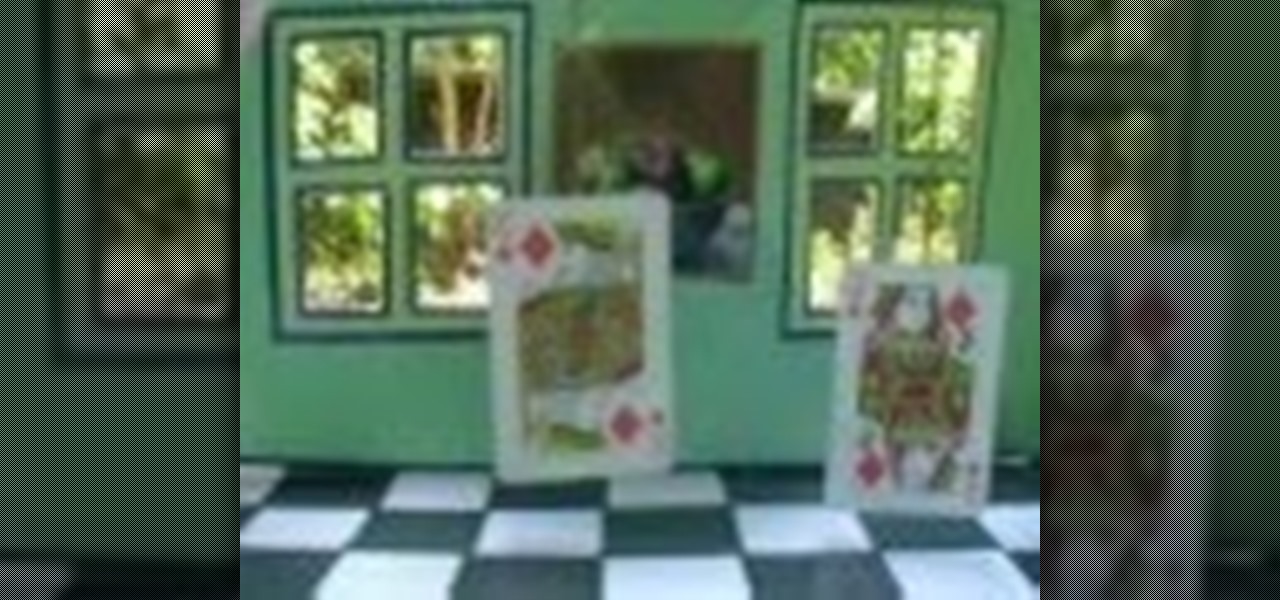
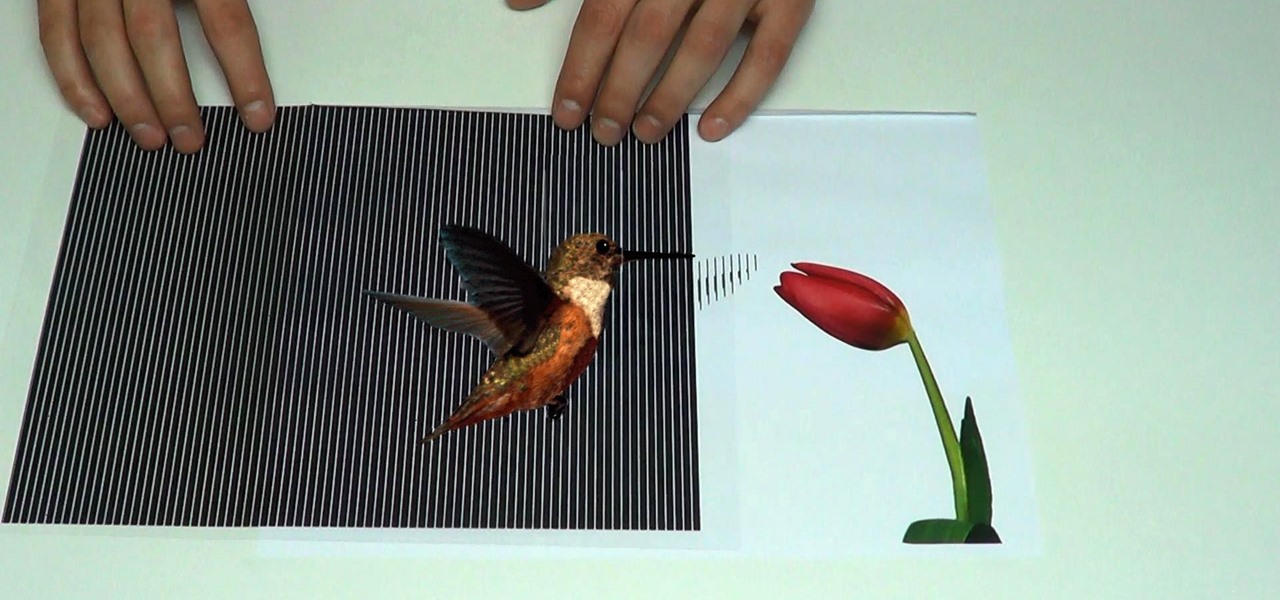
How To: construct a miniature Ames Room using paper similar to the ones in LOTR movies.
This video shows you how to construct a miniature Ames Room from a layout using paper. An Ames room is a distorted room that gives the optical illusion of depth, distance and varying size. Setups like this were used in 'The Lord of the Rings' movies.

News: Oh-So-Elegant Paper Wigs
Atlanta based designers Amy Flurry and Nikki Salk collaborate on some fantastic paper installations, which are “fueled by a love of fashion and an appreciation of grace and nuance of this humble material.”
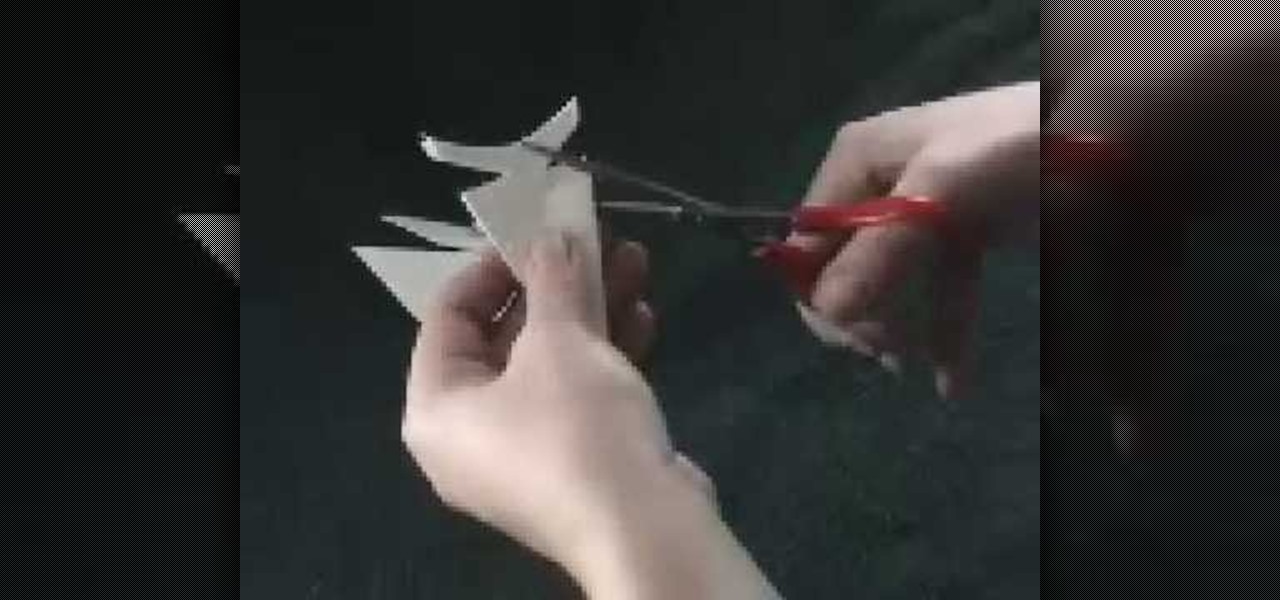
How To: Make your very own paper spinner
Evil Penguin Master demonstrates how to make a paper spinner. First fold a regular sheet of paper in half, defining the lines well. Then, cut the paper along the crease with scissors or tear it with your hands. Next, fold the halved paper again lengthwise. Then, fold down the corner. Flip the paper over and fold down the other corner so it forms a slanted rectangle. Repeat the technique with the other sheet. Lay the sheets on top of each other so they form an X or a star. Fold each triangle i...

How To: Make cool 3D paper snowflakes
This video is about how to make a cool snowflake using a paper. For this you have to take six equal square of any paper. Cut 4 silts on both the sides. Do not join cuts. Take 1 piece of paper and place tap .Flip over one repeat on all . This will be one side of snowflake. Repeat on all the pieces of paper. Staple together ends. Join all 6 in the middle .The 3d cool snowflake is ready to use it.

How To: Make buttons from paper scraps
This video shows how to make buttons from paper scraps. You need some patterned paper scraps left over from scrapbooking. The best working surface is a Teflon sheet. You also need some shiny glaze product, a pin, and a punch, for example a circle punch, but square, hearts or flowers will do just as well. You need scissors too. Cut or punch out several button shapes. Use a small hole punch to make two holes or four holes in the centre of the button. Use the pin to clear the glaze nozzle. Add t...

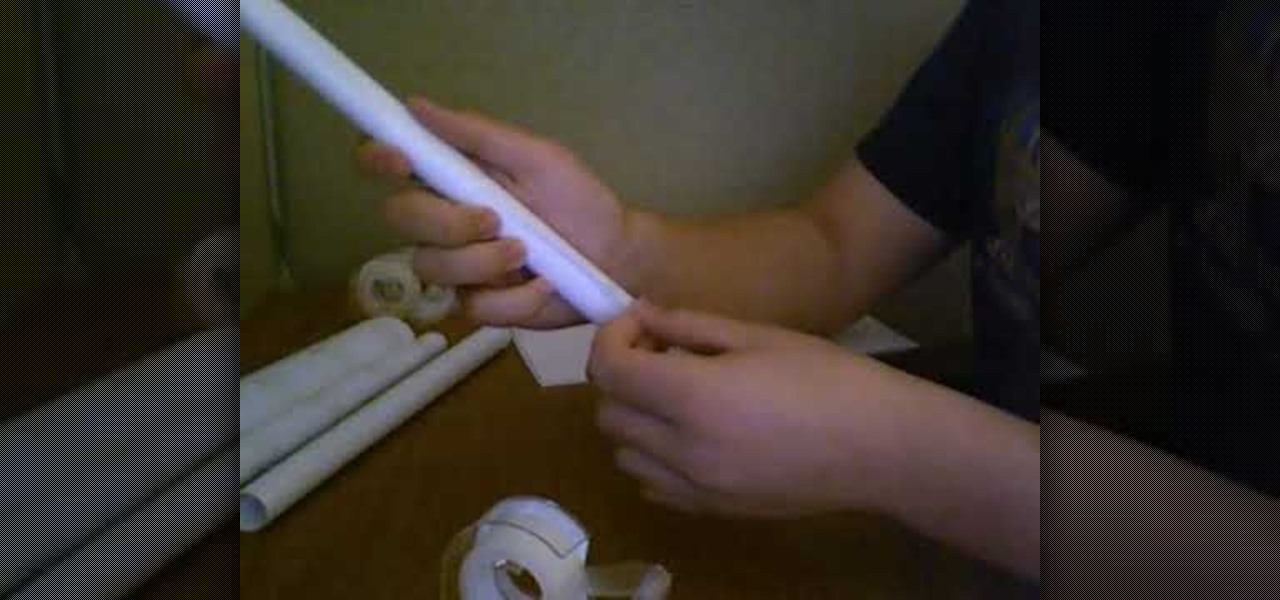
How To: Make a MAC-11 paper gun
See how to make a paper gun -- this four-part video tutorial will show you how to make a MAC-11 paper gun. It's not that hard to make your own paper gun, so why not try out this MAC-11? You can even make paper bullets for the paper MAC-11.
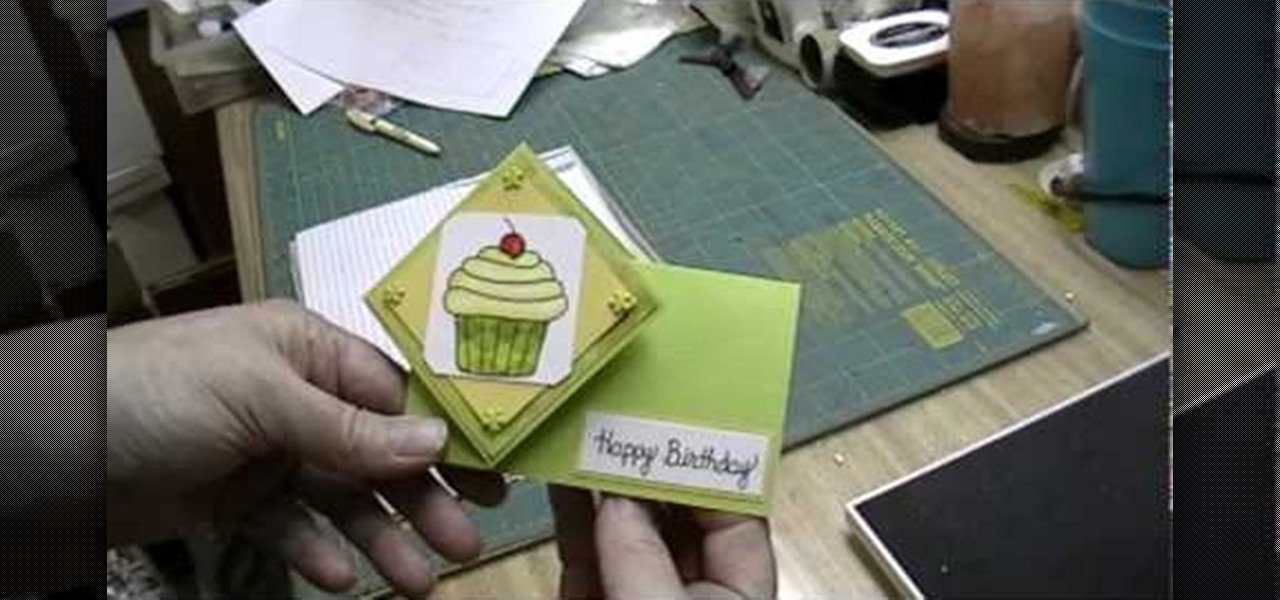
How To: Craft a "Happy Birthday" car card and "Thank You" card
This video is a 2 in 1 tutorial on how to make two gorgeous greeting cards for two different occasions.

How To: Create a super cute accordion greeting card
This tutorial arts and crafts video will show you how to make your very own accordion greeting card that's super cute. This card will be praised by your friends and family for its adorable nature.

News: Retro Electronics Papercraft For the Brazil '66 Crowd
Dan McPharlin has created some super-sweet retro electronics papercraft models. Click through to Dan's Flickr page to view the entire collection.
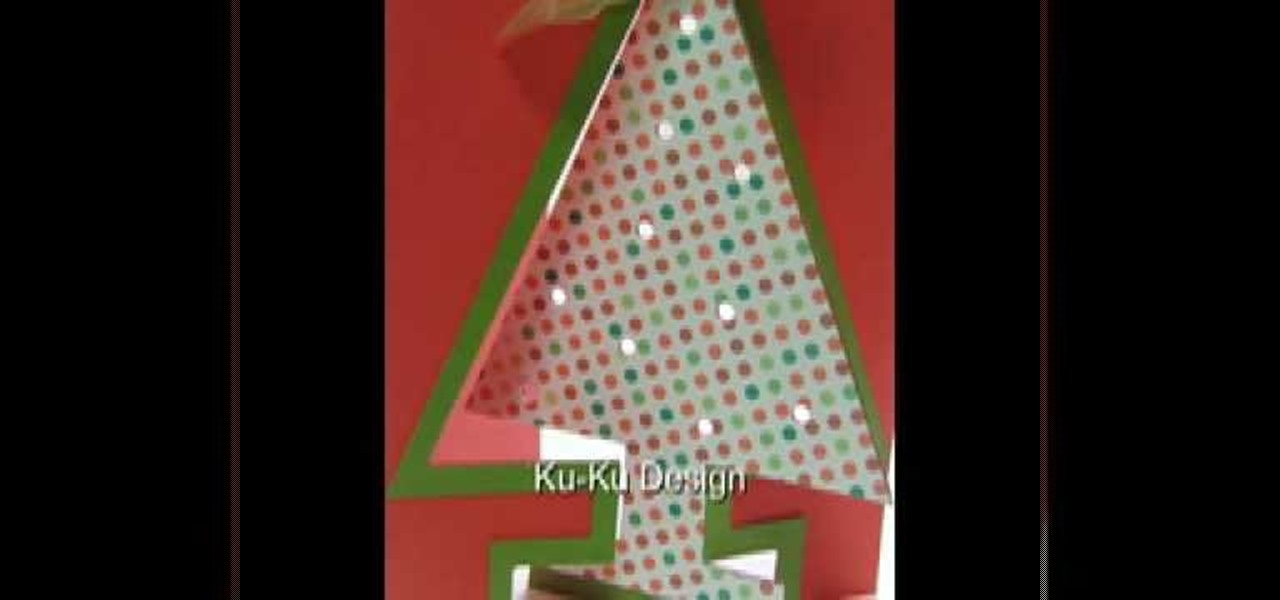
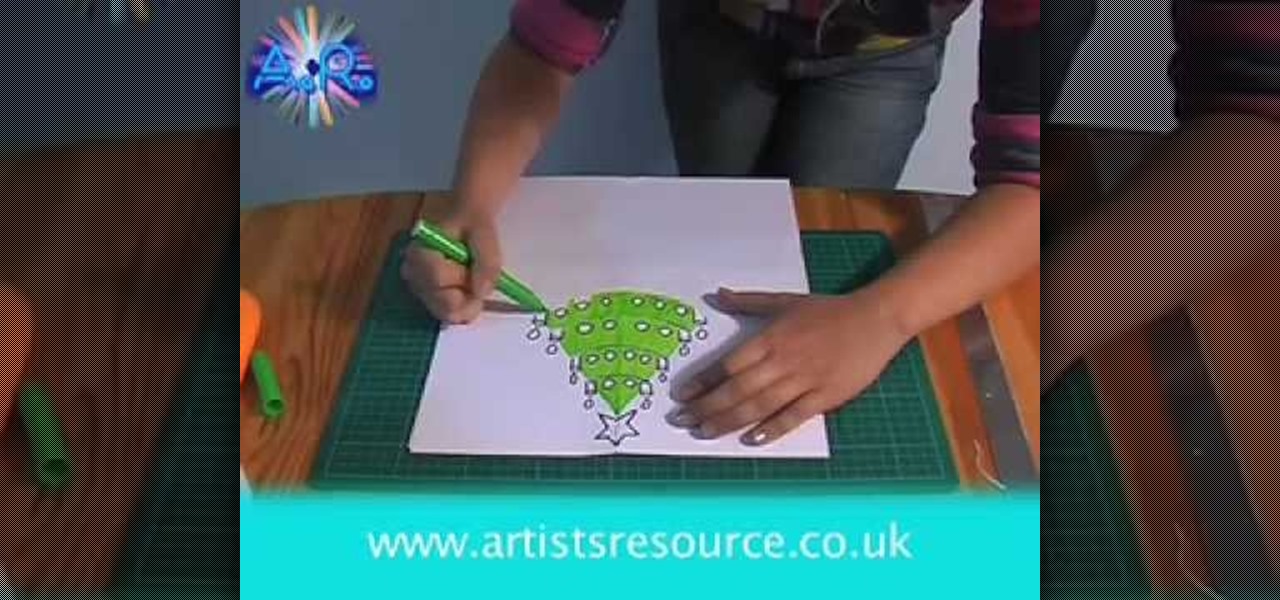
How To: Craft a modern 3D Christmas tree card
The holidays are all about giving and glitz and glamour, so combine them all together by crafting this cute modern Christmas tree card. A very geometric 3D Christmas tree stands out from its red background, adorned with sparkly glitter dots.

How To: Make a paper rose ball
With just some paper, scissors, and staples you can make this cool ball of paper roses. It will make a great centerpiece.
How To: Make a six sided paper snowflake
Most paper snowflakes are not representative of the proper 6-sided shape of snowflakes. This tutorial will show you a method which will allow you to make a beautiful and symmetrical realistic six sided paper snowflake. You will need to start with a square piece of paper, which you will then fold over diagonally to make a triangle shape. Taking the inner edge towards yourself, you will then need to fold the paper over into thirds and cut off the excess on an angle. After this, proceed as you w...

How To: Make a handmade gift bag
In this video, you will learn how to create a custom gift bag. Before you watch, you will want to download the pdf template for the bag, by visiting artycrafty.wordpress.com. First, you will print the template out onto decorative craft paper, which should be A4 letter-sized. Next, you will cut around the solid lines, as shown on the template, and cut out any additional decorative stencils, as you wish. While watching the video, you are free to decorate the pieces of paper any way you would li...

How To: Make a CD cover using A4 paper
If you ever run out of cd cases, or those plastic baggie. Have no fear because this tutorial teaches you how to make a CD cover using only A4 size paper in less than a minute.
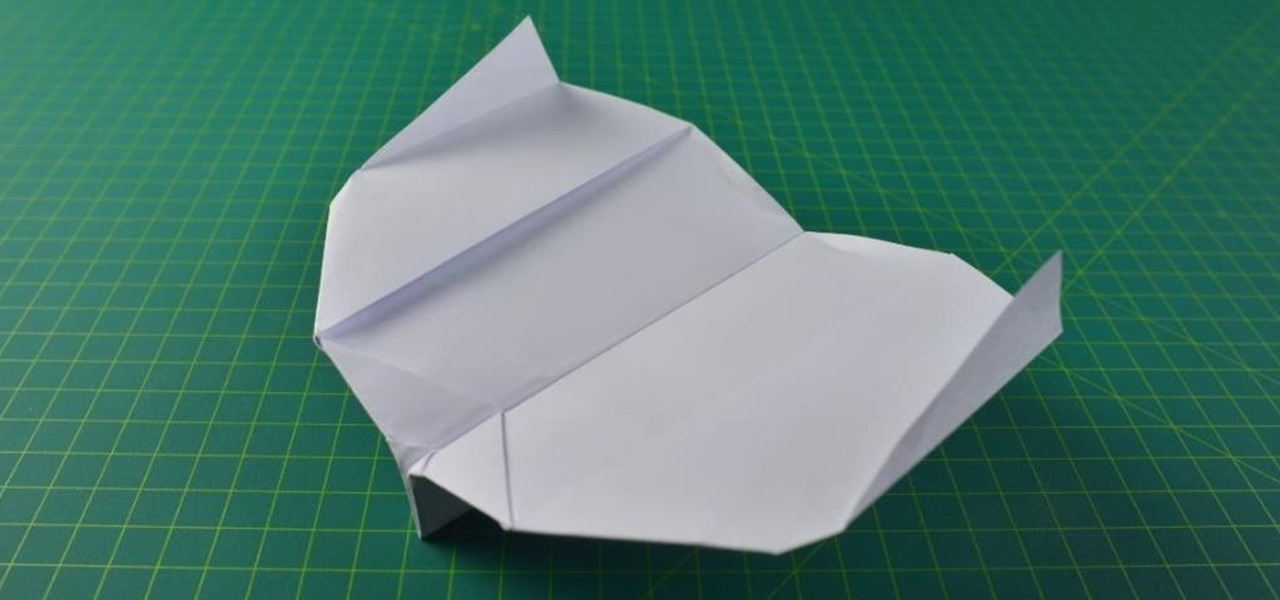
How To: Make a slingshot paper
Check out this amazing practice which shows how to make a simple slingshot paper with schoolboy material... you can almost see your teacher screaming !

How To: Make a sphere out of picnic materials
Do you have a picnic coming up. Bre Pettis shows you how to make spheres out of paper cups, paper plates, or plastic sheeting. These spheres make great outdoor props, and are very exciting. A glue gun and understanding of geometry necessary.

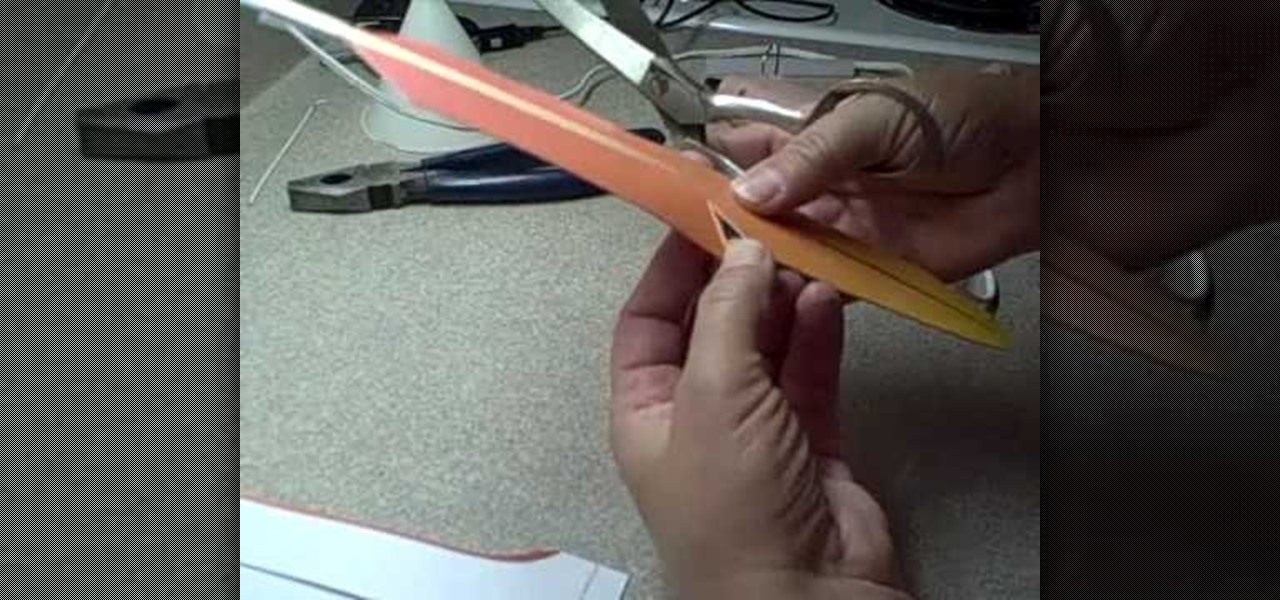
How To: Make a spiral rose easily
In this video Jennie shows us how to make a perfect spiral paper rose. All you need for this is a piece of 6X6 inches of paper, scissors, some glue and, if you really want to be creative, some ink. For starters you're going to need a 6X6 inch piece of card stock. Jennie chose a double-sided card stock because she thinks it will look more interesting but you can also use a plain piece of paper. The first step in creating your rose is making a spiral patterned cut alongside the paper. The ideal...

News: Make Your Own Racist 1920's Mechanical Papercraft
Very cool 1920's papercraft toys from the LA Times "Junior Times" section. Just print, cut out and assemble (if you don't mind turning a blind eye to the dated racial association, e.g. Lee Ling...the Chinese Laundry Man).
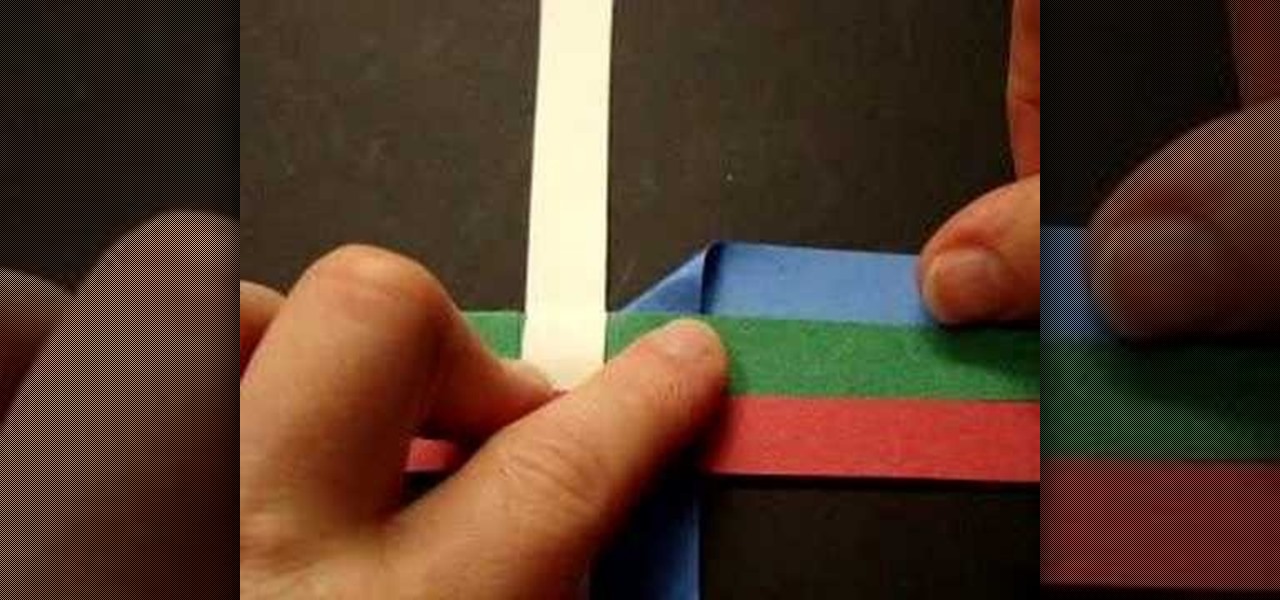
How To: Make a German paper star
Make a German paper star. You need 4 strips of paper that are 17 inches long and 1/2 and inch wide. Part 1 of 2 - How to Make a German paper star.
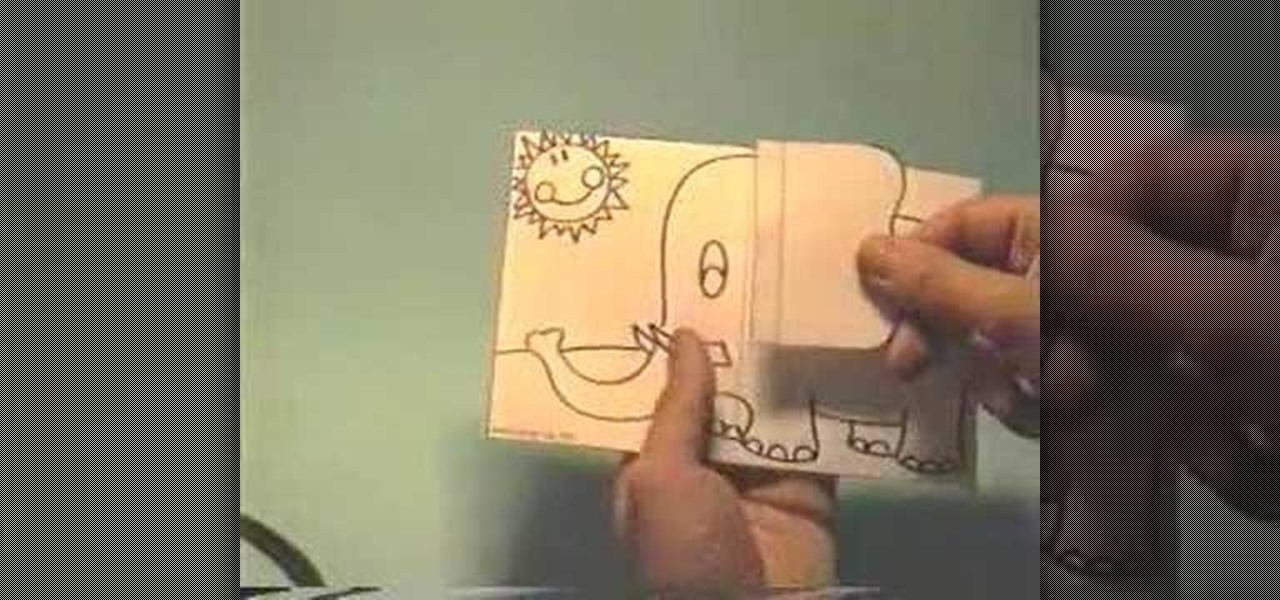
How To: Make an elephant pop-up card
In this video we learn how to make an elephant pop-up card. First, draw a picture of an elephant on a 4x6 card. You can make this anyway that you want and put whatever other characters on it as well! After this, clip a small piece of paper into the shape of an ear. Then, glue the side of it and place it onto the elephant. The other half shouldn't be glued so it will flap up! Then, put this on the inside of a card and color it. When the person receives it, it will be a pop up card, enjoy!

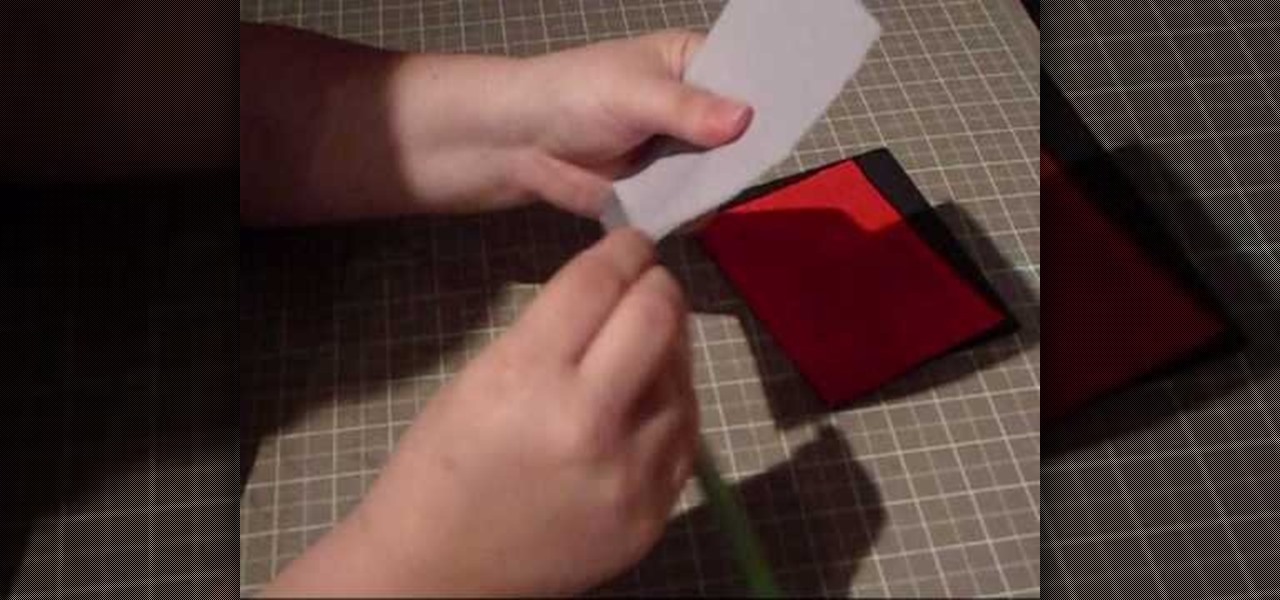
How To: Make a name card placard with a Cuttlebug
This video card making tutorial shows how to make a name placard, great for social functions. Also demonstrated are how to use a Cuttlebug embossing machine and how to replicate the stamp kissing technique. Watch this instructional video and learn how to make a name card placard.

How To: Make cactus and cowboy cutouts
Actor-comedian Mario Cantone and Martha Stewart create a life-sized cowboy and cactus paper cutout. Make cactus and cowboy cutouts.

How To: Make a simple pinwheel
Don't you miss the good old days of summer that was filled with pinwheels, apple pie and lemonade? This paper design video will give you tips on how to make a cute pinwheel for summertime fun. Bring these along to your next barbecue or summer picnic and everyone will love you!
How To: Make an awesome tissue paper flower
In this tutorial, we learn how to make a tissue paper flower. You will need: pipe cleaners, scissors, and tissue paper (three different colors). First, twist three pipe cleaners together to make a stem. Next, cut your tissue papers all into the same size, mix colors to get a prettier flower. Now, layer the sheet and fold the papers as many times as possible. Cut the ends in a triangle shape, then spread the papers again and fold up again in the alternate direction. Now using your papers and p...
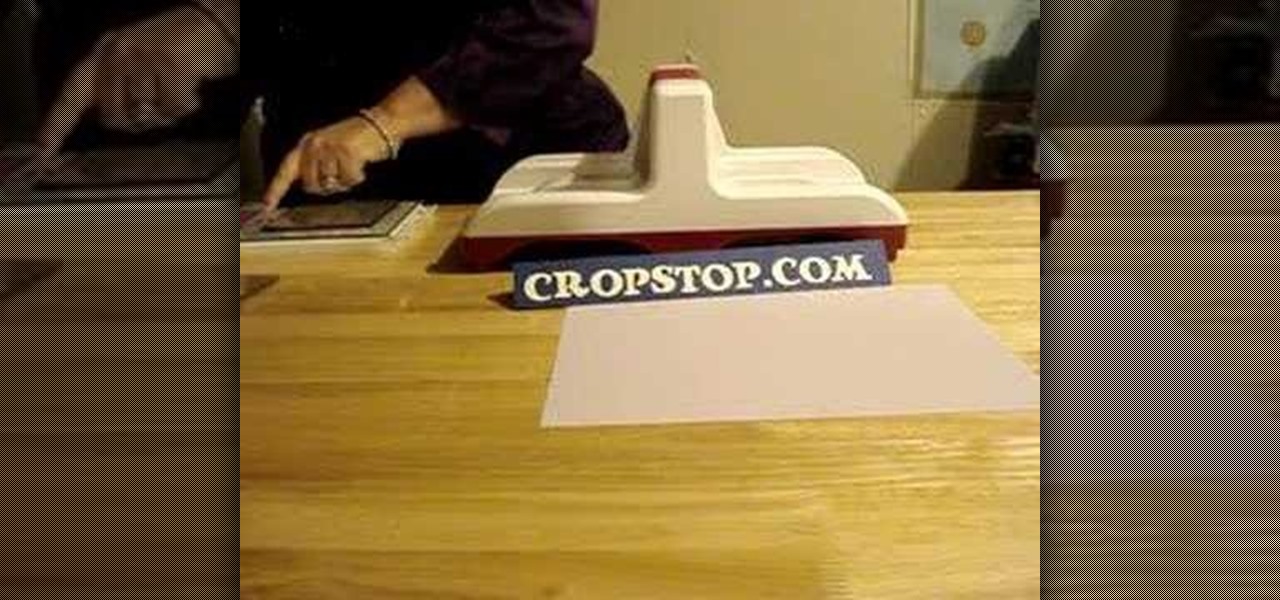
How To: Cut QuicKutz dies in a Sizzix Big Kick machine
While embossing machines are marketed to be used brand specifically, all those QuicKutz dies and embossing folders are completely compatible with a Sizzix Big Kick embossing machine. Make the most of your stamping materials without having to purchase to much of everything. Watch this video crafting tutorial and learn how to use QuicKutz dies and embossing folders to make die cuts with a Sizzix Big Kick.

How To: Make a secret panel card
Store bought cards can be so impersonal and cold. This tutorial video sequence will teach you how to make your very own, extremely cute secret panel card. This cute card it great for holidays, birthdays and other occasions!
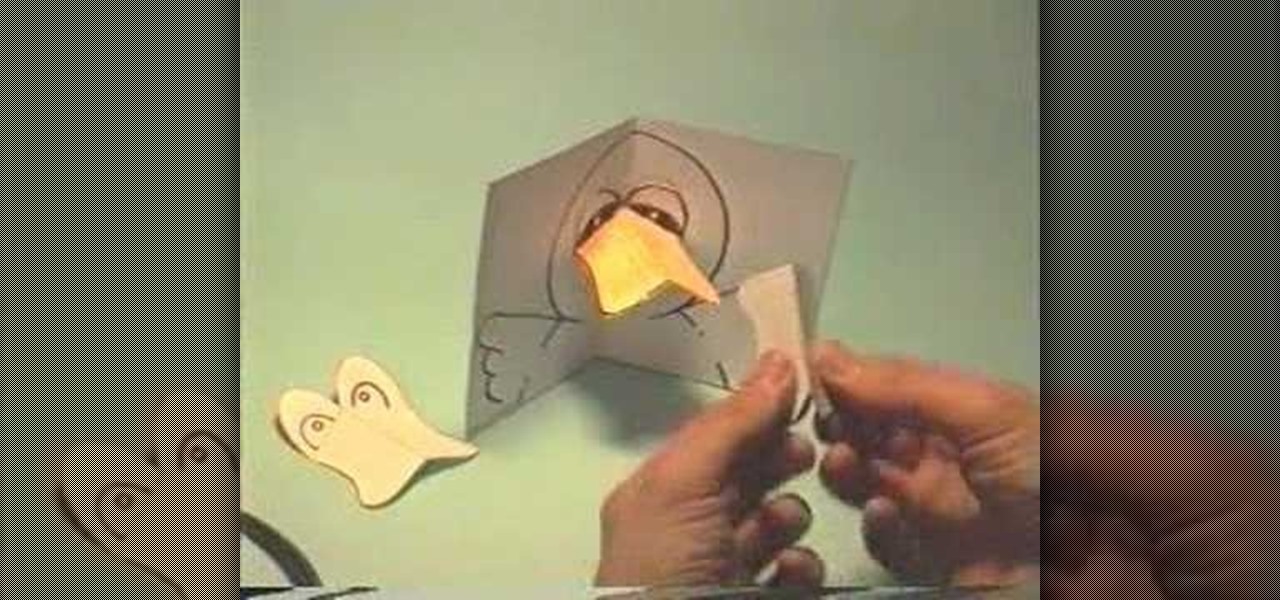
How To: Make a little duck pop-up card
In this tutorial, we learn how to make a little duck pop-up card. First, draw a duck on a 4x6 piece of paper. Simply draw the big head with the wings coming out at both sides. From here, fold it in half so it closes together. Then, make another small piece of paper that has the eyes drawn onto it and the beak colored in. Place this on the duck to get it in the right spot. Then, adhere it with glue on the top part and fold it in again. Now, when it opens up in the card, the beak will pop up, e...
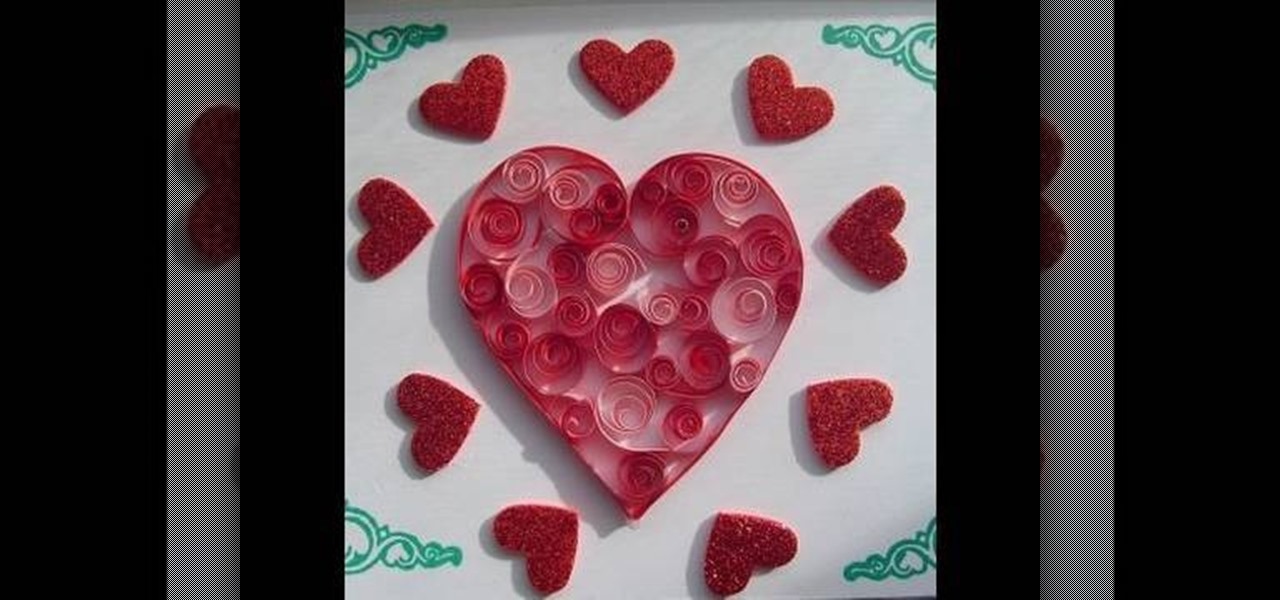
How To: Craft a super easy quilled Valentine's Day heart
We know you probably haven't quilled anything since fifth grade, but that doesn't mean you should leave this paper curling skill to your tender elementary school years. In fact, quilling adds quite a lovely feminine touch to any project.
How To: Make a masculine birthday card
Classy Craft Quickies are video tutorials for cards that can be made in 10 minutes or less. This step by step guide features a masculine themed birthday card. Watch this instructional video and learn how to make a man-friendly greeting or birthday card that can be sent to anyone wary of overly cutesy cards.
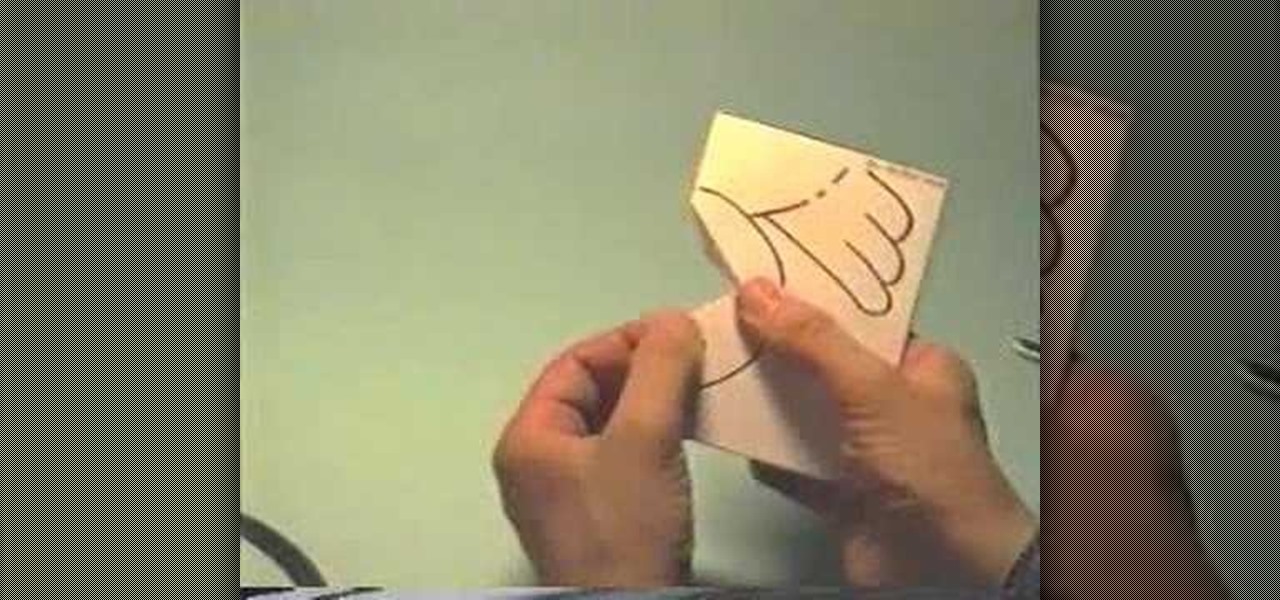
How To: Make a chicks pop-up card
In this tutorial, we learn how to make a chicks pop-up card. First, draw a chick on the front of the card, with the beak in the very middle. After this, use your scissors to cut the beak in the middle around the top and bottom but not the sides. After this, bend the beak from side to side to make it pop out from the card. Then, open the card back up and fold it the opposite way. From here, color in the chick and then glue it to the inside of the card you're going to use and give to someone!

How To: Make an easy paper popper
In this how-to video, you will learn how to make a paper popper. First, fold the piece of paper up once. Crease the fold and fold up again. Crease and repeat. Next, fold it vertically. Now, take the thinner corner of the center and pull back so you have a triangular cone shape. Hold it in front of the tip. Once you are holding it, quickly raise your hand and slam it down in the air. This will create a loud popping noise with the paper. This video shows you an easy way to make a paper popper t...

How To: Make the crown/mask from Lady Gaga's "Bad Romance"
Those weird and creepy crown/mask things were one of the most memorable parts of Lady Gaga's "Bad Romance" video. But they're actually pretty simple, and you can make them yourself with stuff you probably already have at home. This video shows you how. (Of course, if you're planning to wear this to a party or something, bear in mind that you won't be able to see anything!)
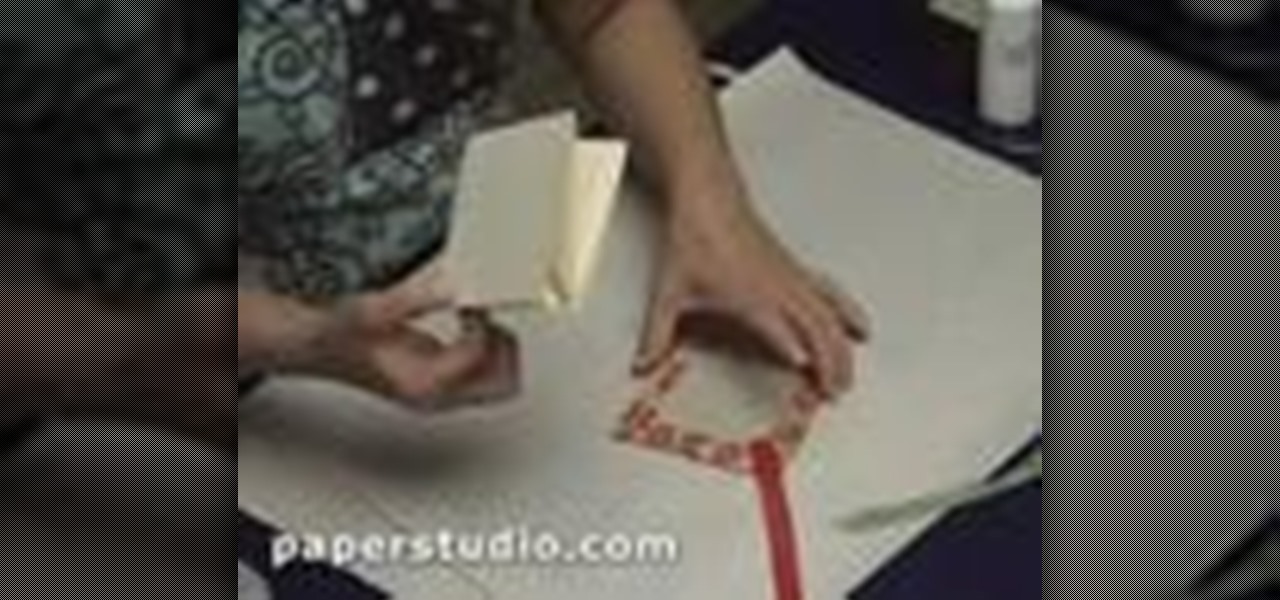
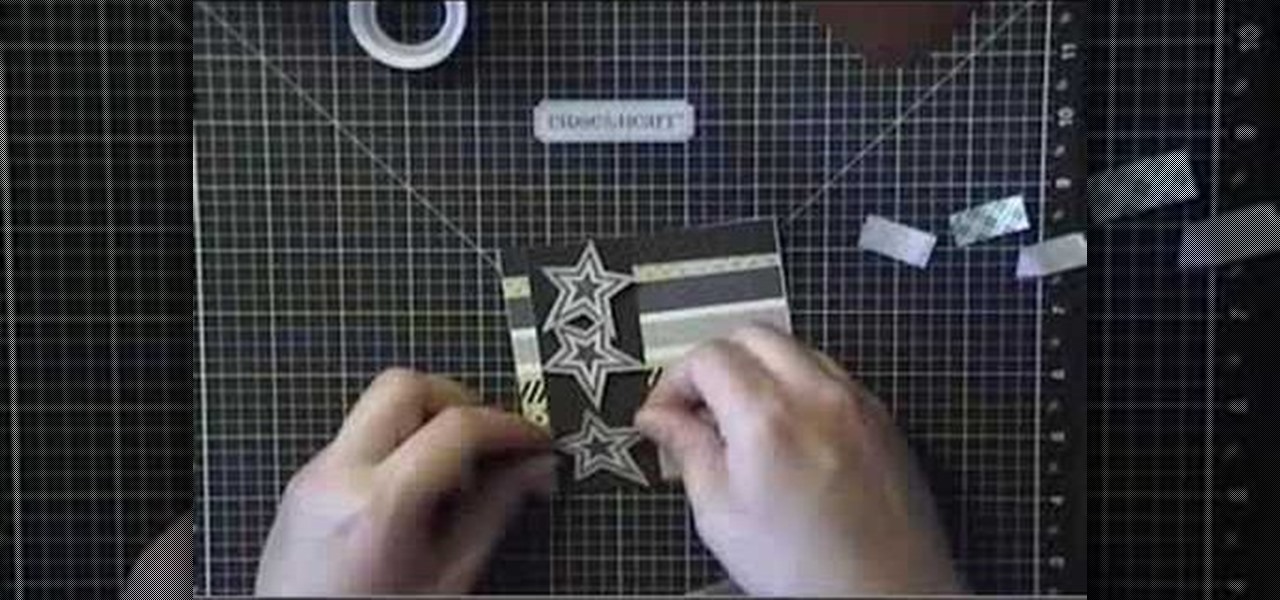
How To: Make a twist turn style card
In this video, we learn how to make a twist turn style card. The card will open with a neat pop out image on the front of the card! First, get an 8 1/2 x 5 1/2 piece of card stock and then score it 2 and 3/4 inches from the left edge and 4 inches over from the left edge. Then, turn the card the other way and find the center, then score from the right end to the very first score line. Then flip the card over and score the rest of the center line up to the first line. Now, make a score line fro...