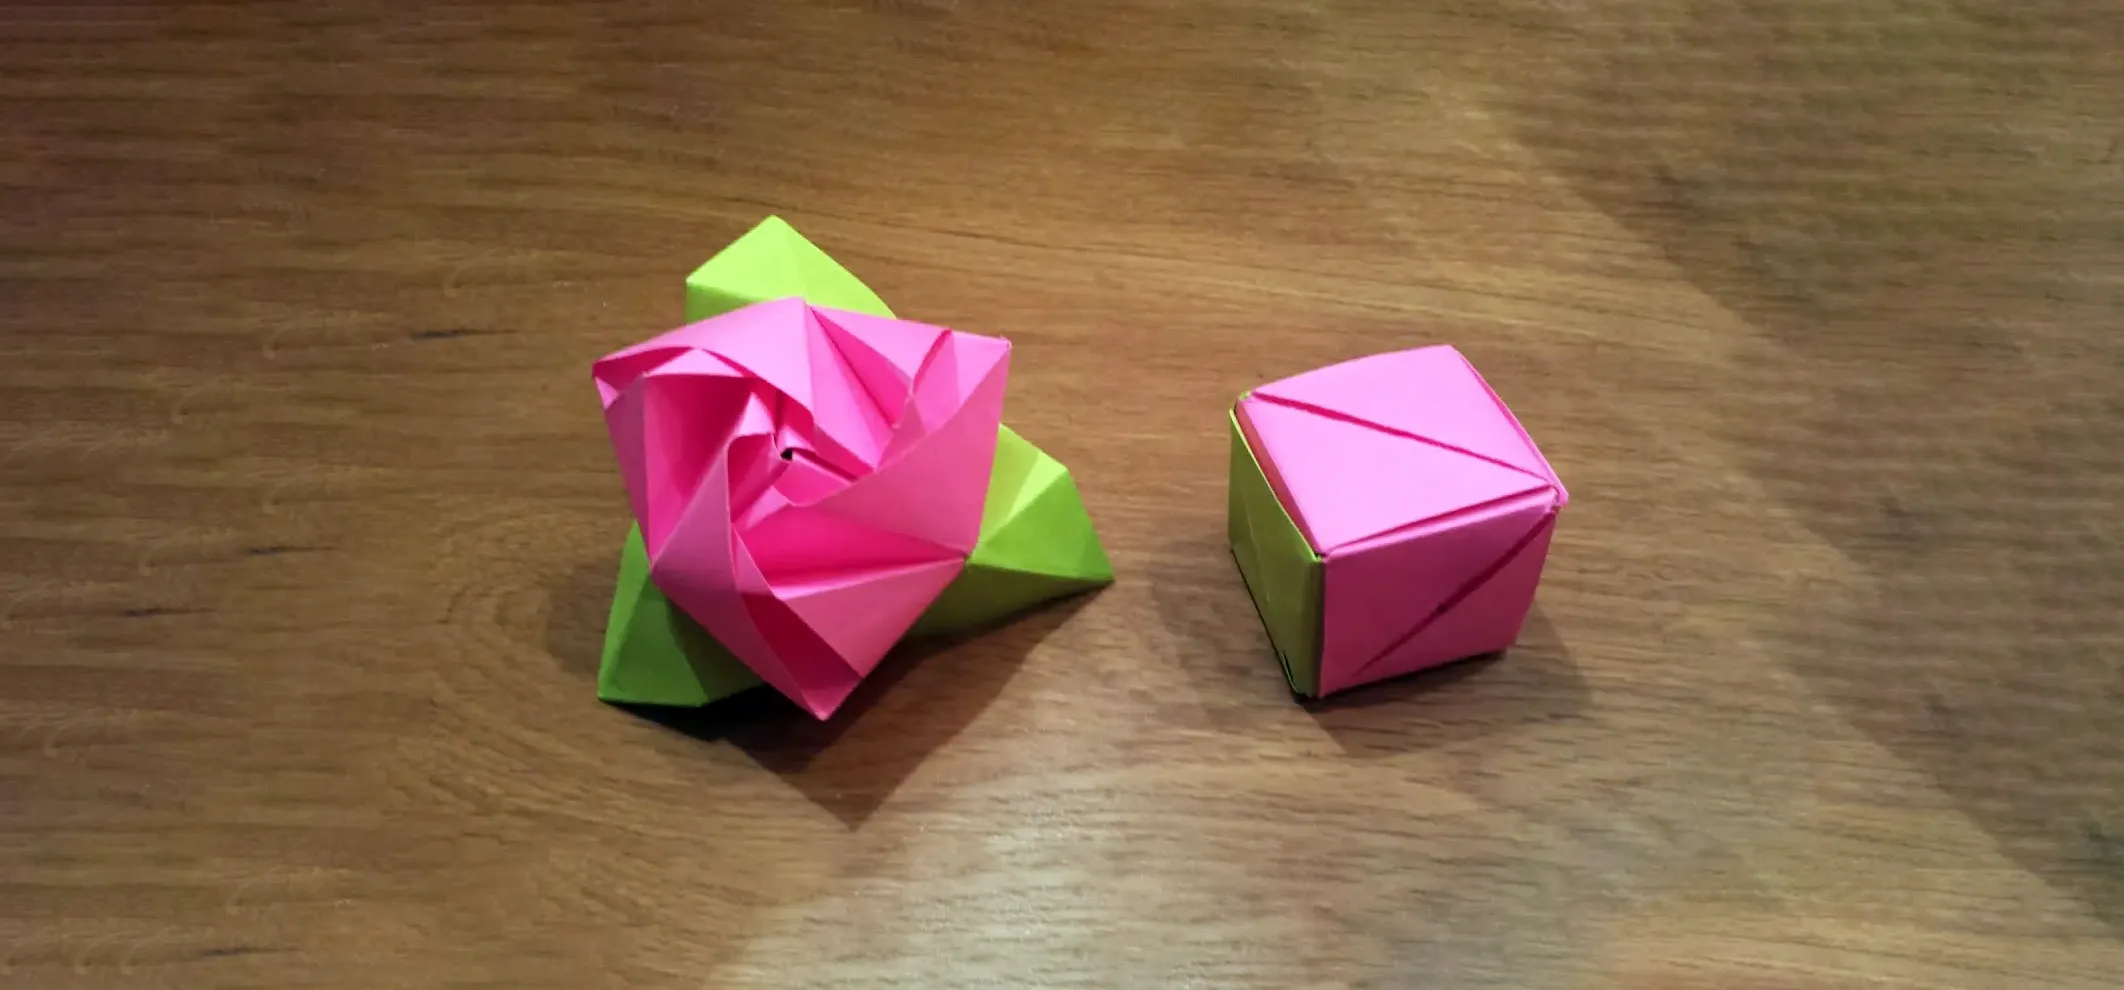
Everything Else

How To: Distress patterned paper

Crinkle top part and go over it with distress ink. Do edges front and back. Put extra ink on scallops. Spray with mustard seed and tattered jewels, olive vine and pine cone to add color. Place paper on pocket and iron on both sides. Spray with iridescent gold. Use brush to spread out. Iron again on both sides. This process makes it look aged. Take a film strip and spray with tattered leather. You want to use an iron when spraying grunge board with tattered jewels because it will make it seep ...

How To: Make photo magnets

In this video, we learn how to make photo magnets. First, clean your glass with vinegar, make sure it's small enough for the magnet. After this, cut your preferred image to fit in the glass, then apply adhesive to the image. Apply the glass with the texture side down, then push it around to work out all the bubbles. Clean the glass off with a damp towel before it dries. Next, apply Diamond Glaze to the back of the magnet and then allow it to dry completely. When finished, attach a magnet to t...

HowTo: Build a Papercraft NSX Super GT Race Car

Is your love of race cars exceeded only by your love of elaborate papercraft? Do you have easy access to industrial-size printers and a surfeit of clean cardboard? If you answered yes to all of the above, odds are you're the Seiko Epson printer corporation, who recently set about assembling an impressive 1:1-scale 3D cardboard replica of a Honda/Acura NSX Super GT race car for the 2010 Tokyo Auto Salon:

How To: Make a paper hat to wear on your head

In this video tutorial, viewers learn how to fold a paper hat. This task is very easy, fast and simple to do. Begin by folding the paper horizontally in half. Then fold it vertically in half. Now open the fold and fold down the top corners to the center to form a triangle top point. Then fold the bottom flap over the edge of the triangle point. Do the same on the other side. Now open the bottom to shape the hat. This video will benefit those viewers who are interested in making origami, and w...

How To: Make a Cricut belated birthday card

In this tutorial, we learn how to make a Cricut belated birthday card. First, cut the turtle out using the Walk in my Garden cartridge. After you cut this out, add in details to the shell using different colors. After you put the turtle together, place it on a blue card stock that has a pattern over the bottom of it. Next, place a ribbon around the middle of the card. On the top, place a message in a framed piece of card stock that says "Sorry I'm Late!". After you make this, fill out the car...

How To: Make an easy art journal

In this video, we learn how to make an easy art journal. You will need: card stock or thick paper (10 pcs), fabric, scissors, ruler, clips, string, and a button. First, fold your paper in half and push down the crease so the paper stays folded. Now, lay your fabric down onto a flat surface and measure it out so it fits over the paper while laid flat. Now, place marks an inch into the side of the crease of the paper. Now, line the edge of the fabric up with your paper and mark on the fabric wh...

How To: Make a mouse hat with construction paper

In this video, we learn how to make a mouse hat with construction paper. You will need: 2 small pompoms, 1 large pompom, poster board in blue, black, white, and yellow, lace, scissors, and glue to make this. First, cut the blue piece of construction paper on once side, then twist into a cone shape and tape it together. After this, take the rest of the blue paper and cut it into half circle shapes for the ears. Now, take the yellow paper and cut it into a smaller half circle and place inside t...

How To: Make a stylish Halloween bag tag

In this tutorial, we learn how to make a stylish Halloween bag tag. You will need: ink blending tool in black soot color, black paint, orange paint, white card stock, stencils, cutters, scissors, and glue. First, place your white card stock underneath the stencil, then cut out the shape of a house. After this, mark lines in opposite directions onto the shape. After this, you should have the shape of a spider web. Next, add the ink pain on the top to highlight the spider web and you will be ab...

How To: Make paper look old with tea

In this video, we learn how to make paper look old with tea. First, make tea in a plastic container by placing warm water in it and leaving a couple tea bags in. Next, take a normal piece of copy paper and submerge it in the water. Get all the air pockets out so it is completely soaked into the water. Next, press down on all the areas of the paper and leave there for several minutes, or until you have your desired color. When this is done, lay the paper out to dry. When it's done drying, the ...

How To: Make a box

In this video, we learn how to make a box. First, fold the piece of paper into a triangle, then another triangle. Now, unfold the paper and fold all the sides into each other, making a square. After this, fold in the sides once more, making sharp creases on the edges. Now, open up the paper and do this again on the other sides, opening up again when finished. Now, fold the sides of the paper and turn it upside down. Follow the creases that you just made to fold the box up into a secure box. M...

How To: Make a "puppy love" box for Valentine's Day

In this video, we learn how to make a "puppy love" box for Valentine's Day. To key to creating this box is a thin strip of paper that has teeth (pointy spikes) at the end of this. Turn this into a heart shape, then tape it around the heart to make a perfect box. It will be easier to find your center and cold it in half, then place it on the box. Glue the heart onto a black card stock to situate it, then tie a cute ribbon along the edge of the heart. This is very cute and a great idea for Vale...

How To: Make a fabric gift bag for any occasion

In this tutorial, we learn how to make a fabric gift bag for any occasion. First, you will need to grab any type of fabric with any design that you want the bag to be in. Next, you will fold in the edges of the fabric so it has a hemmed look, then sew them down. After you do this, sew the two sides of the bag together, then sew the bottom. Next, grab a piece of ribbon that you don't want and wrap it around the bag. Top it off with a felt flower and sew a button into the middle of it. Glue thi...

How To: Make a whirlybird paper helicopter from printer paper

In this video, we learn how to make a whirlybird paper helicopter from printer paper. First, fold two triangles together on the paper. Next, fold the back to the triangle you just created. Next, fold the paper back and, then cut on the folded line but not all the way through. After this, fold the middle flaps until they reach each other. Then, cut through the middle of the bottom and fold one flap on the top, then fold the other flap on the flip side. Now you will be finished with your helico...

How To: Assemble a flower-fold die-cut flowers w/ a glue gun

In this video, we learn how to assemble a flower-fold die-cut with a glue gun. First, cut out different fabrics in the flower shape. Put them all into different piles according to their sizes. After this, put hot glue into the middle of the fabric and fold the flowers in half. When finished, put the pieces together with hot glue going in a circle. Continue to do this with all the different sizes. When you are done, all the colors of fabrics should show, then place a button in the middle with ...

How To: Make January thank you notes with Stampin' Up!

In this video, we learn how to make January thank you notes with Stampin' Up. First, you want to choose what you want your notes to say. You can use a small card stock that is 3" x 3". Then, use a border hole punch and apply it on in different colors you prefer. After this, you will want to stamp on a message that says thank you in black on the front of the card. Next, you can lay a heart punch out on top of the card to give it more personality. You can also place the heart on first and let t...

How To: Color with Copic pens

In this tutorial, we learn how to color with Copic pens. First, grab a picture that you want to color with your pens. After this, start to color in the picture with your different colored pens. After you fill in the colors, use a darker colored pen to add in shading and make the lines darker along the sides. Continue to color in your picture, adding shading where you prefer. Add in different colors and make the lines darker when you want them to look more bold. Make sure to add in highlights ...

How To: Transfer a printed photograph onto trading card-sized watercolor paper

Make homemade trading cards of your family! These won't look exactly like baseball cards, or even feel like them, but they're cute and somewhat artsy depictions of your favorite photographs. You only need a few items (listed below), but make sure you have a nice photograph to transfer over. It won't look exactly like the picture, but it will look roughly hand drawn, but not quite. Definitely an interesting paper craft. Try it out. Experiment.

How To: Upcycle an old book into a planter

A planter from a book? Recycling - or, rather, upcycling - these days seems to get weirder and weirder, but hear us out on this one. After all, there's no need to purchase new planters for small house plants at Home Depot when you can make a super cool vintage book planter yourself!

How To: Make a simple flying paper helicopter

No, this isn't an elaborate paper helicopter design that will take you weeks to master. Just because it can fly doesn't mean it's difficult to make. In fact, this is one of the simplest paper helicopters you could make. And it's a great instructional tool for a science classroom to learn about the principles of flight and the heat of the sun. It flies like it has a mind of it's own! Sometimes it will even hover in one spot for an extended period of time. Check it out, both videos, then make y...

How To: Make a lattice edge on a card

This video features an image from Squizzlefly. The card is Spring suite 2. Use a regular A2 size card. Cut 8 1/2 x 5 1/2. Score in the middle. Go down another 1/2 inch and score. Take a ruler across the top of the fold. Make a pencil mark at every 1/4 inch. Should be 21 small hash marks. Measure down 1/4 inch on both sides. Go 1/2 inch in and make a dot every 1/2 inch. Go down 1/2 inch from the fold and make a dot every 1/2 inch. Make long-short, long-short cuts with the dots along the whole ...

How To: Make a paper lily pad with a cool pop up flower

In this video, we learn how to make a paper lily pad with a cool pop up flower. First, take a piece of paper and fold it in half, then unfold it and fold the bottom half up to the middle, then fold the top half into the middle. Now take the scissors and cut off the edges, leaving the middle crease. Now, cut down the middle crease and then fold the right half of the crease in half twice. Fold it once more, then flip it over and take half of it and fold it up. Now, take your scissors and cut it...

How To: Make a small folding box for Easter

In this tutorial, we learn how to make a small folding box for Easter. First, cut a shimmery white piece of card stock to 6" x 8 1/4". After this, score the paper at 2 and 3/8". Then score again at 2 and 7/8", flip it over and do again on the other side. After this, cut the four corners with score lines off, then fold the score lines that are left. Now, grab an Easter stamp and stamp the inside of the box underneath the top flap. Place a candy inside of the box, then fold it up and place an E...

How To: Make a file folder organizer

In this tutorial, we learn how to make a file folder organizer. First, you will need to apply double sided tape to paper, then apply a thicker cardboard paper over it. Now, cut most of the excess paper off, except around 1/2". After you have this cover made, apply tacky glue to some manila folders, and stick them into the cover you just made. After you complete this, you will be able to apply the backing to the folder as well. When you are finished, you can add different decorations to your f...

How To: Make mini paper square boxes

In this tutorial, we learn how to make mini paper square boxes. First, grab a piece of paper and fold two ends in so they touch in the middle. After this, fold the bottom up so it covers the triangles and they meet at the middle. Crease the edges, then cut down the edges on both sides where the crease is. Next, fold the sides in so you have a shape that looks like a sword. After this, fold the sides up, then fold the other sides in. When finished, push the creases in and you will form a box, ...

How To: Make papel picado using chisels

This video tutorial is in the Arts & Crafts category where you will learn how to make papel picado using chisels. This is a traditional paper craft of Mexico. The designs you can cut on paper are only limited by your imagination. First you got to make a design on paper. Then you got to stack up 40 to 50 sheets of paper and staple them together. Now you can start cutting the paper stack using a chisel and a hammer. Choose the appropriate chisel for the design and place it close to the outline ...

How To: Make a multi-layered embossed floral gift card

This video tutorial is in the Arts & Crafts category where you will learn how to make a multi-layered embossed floral gift card. Take a piece of 11 x 8 1/2 inch Stampin' Up card stock and fold it in half. Next you punch out layers of colored paper of rose red, very vanilla, regal rose and blush blossom colors of different sizes as stated in the video using the Boho Blossom Paper Punch. Now you take a Sizzix Big Shot Die and cut out a craft paper and set the cut outs aside. Now you got to stam...

How To: Make a Halloween card using Cricut Paper Doll

In this tutorial, we learn how to make a Halloween card using Cricut Paper Doll. First, cut a skeleton out of the PaperDoll Dressup package, then cut it out two more times. Glue these together to make the skeleton thicker, so it pops out of the page. You can place this next to a paper sentiment that says "bone to be wild", with a black card stock underneath it. You can use die cuts with a view papers to make it look more interesting. Use any other type of decorations you like to decorate your...

HowTo: Clone Yourself

"Welcome to the chamber of paper and glue, Frankenstein Junior," says Instructables user ddi7i4d. Time to papercraft yourself. Apparently you'll need to set aside 7 whole days for this ambitious project, and you'll need lots of paper, a camera, and free software program Anim8or. Better get started!

How To: Make a folded paper hat out of spare newspaper

In this tutorial, we learn how to make a folded paper hat out of newspaper. First, take your newspaper and fold it in half length wise. Next, take and fold the corners into the center, pressing the creases down. Next, take the bottom corners and fold it up to hold the paper into place. Flip the paper over and fold it up on the other side as well. Now, fold the corners in on both sides and fold the paper up one more time on both sides. Open up the middle and you will be left with an easy paper...

How To: Make a paper hat out of discarded newspaper

In this tutorial, we learn how to make a paper hat out of newspaper. First, open the newspaper up and then fold it together. Next, take a corner and fold it into the middle After this, do it once more on the other side. Now take the rectangular side and fold it into the triangle on both sides. Now, open up the hat and you will have a cool paper hat that is not only cheap to make but uses recycled paper! This is a great project to do with children that will help teach shapes and learn how to f...

How To: Make Day of the Dead paper mache sculptures

In this tutorial, we learn how to make day of the dead paper mache sculptures. First, you will make the paper mache sculptures into different body shapes, then use a sharp knife to carve along the sculpture. Use different paints and colors to make the characters more believable and realistic. Use a thick paper mache when making these, because you will lose a lot of layers when you are thinning it down and shaving it into shape. When finished, you will attach the different pieces of body parts...