


how to
PhD in Paper Craft: Make This Insanely Detailed & Anatomically Correct Human Torso—Complete with Removable Organs

how to
How to Make a Christmas Tree Out of Recycled Paper

how to
Trippy DIY Animations: Use These Printable Templates to Make Your Own Moving Optical Illusions


Featured On WonderHowTo:
Productivity & Shortcuts


Featured On WonderHowTo:
Music & Audio


Featured On WonderHowTo:
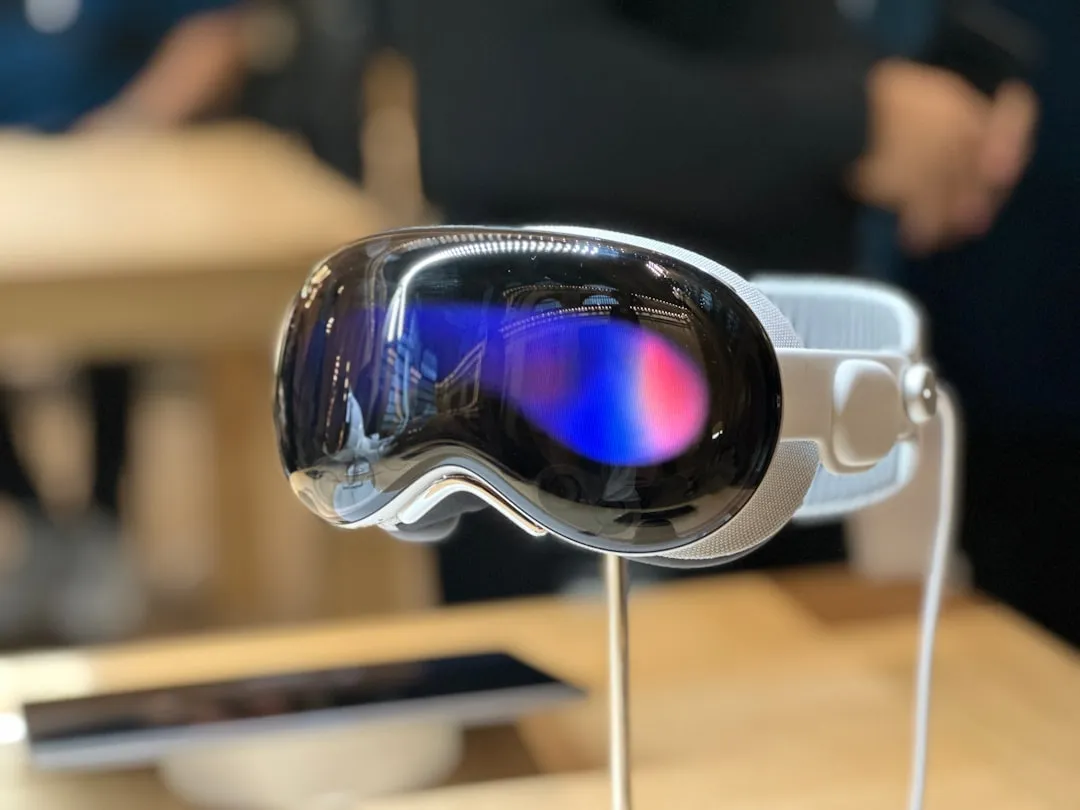
Augmented Reality


Featured On WonderHowTo:
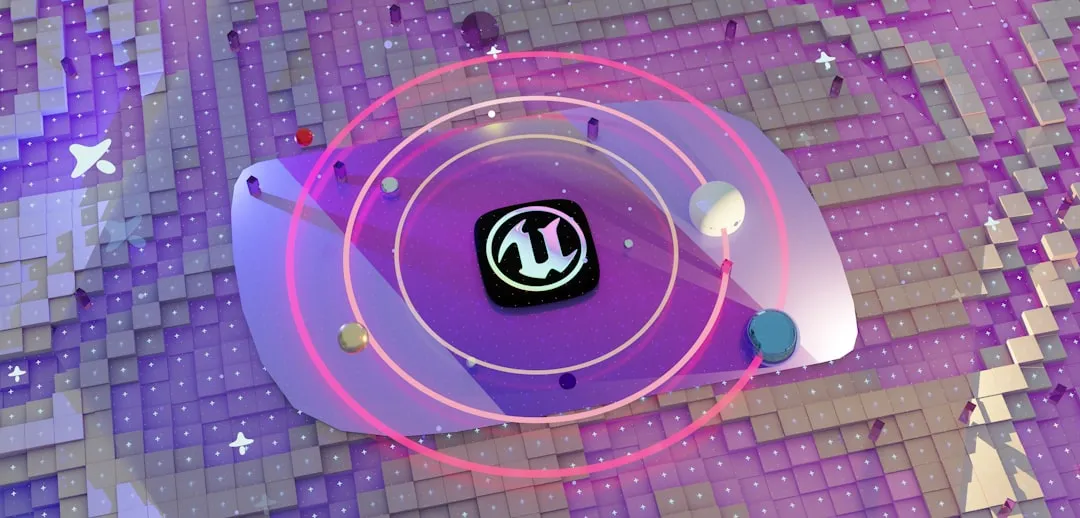
Gaming


