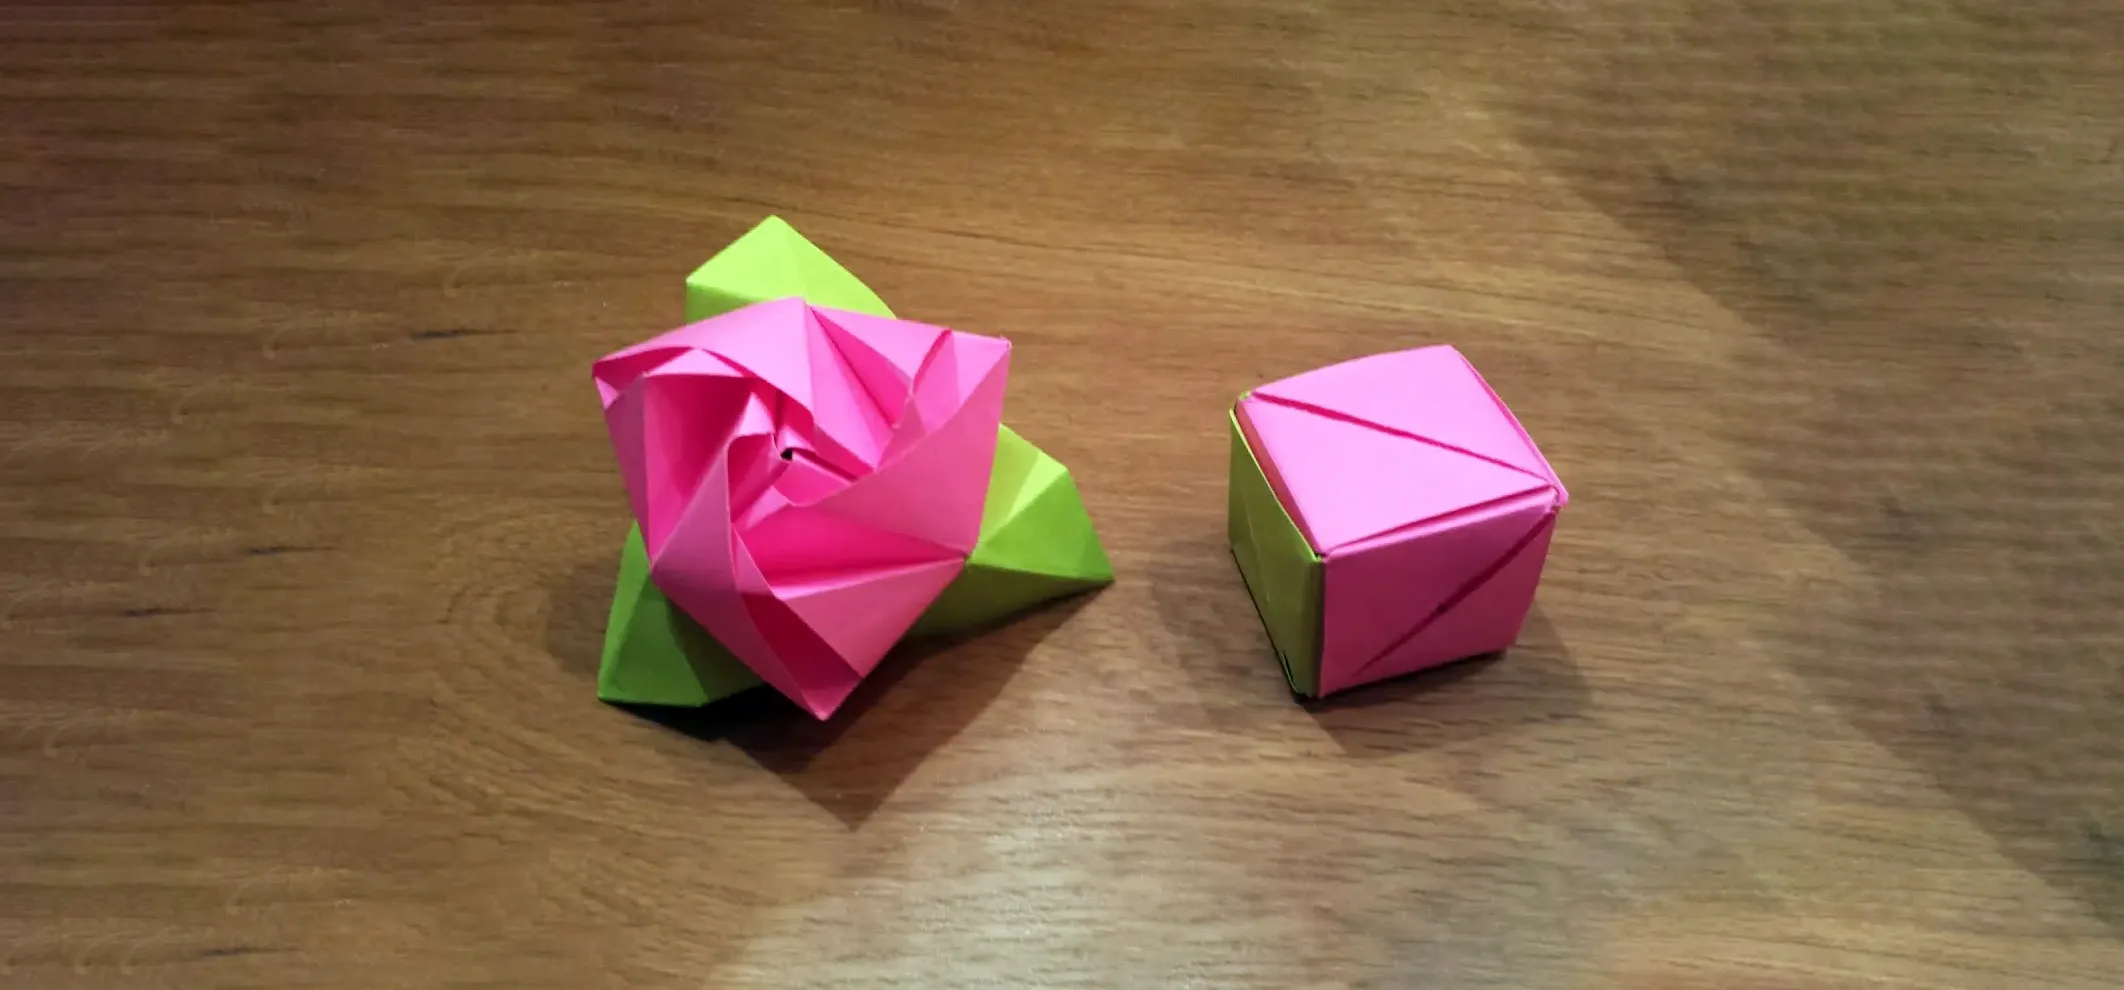
To make a Paper Orchid you need to know the steps as follows: First fold a square sheet of origami stock paper into a triangle, bringing both points together. Use this as your flower base. Fold the paper again bringing both corners together. Rub your finger along the crease of the fold to make sure that it stays put. This step completes the triangle base. Begin making the flower base by taking the triangle base folded over twice and adding a third piece, folding it over as well to meet with the opposite corner point. Open a top section of the fold and crease it so that it remains in place. Open it up and repeat with the other flaps. Once you finish all of the flaps you will have the flower portion of your orchid. Move on to create a frog base, taking the flower base and folding part of the corner toward the center, opening it, then folding it back in on all four sides until you get a petal bend. Finish by folding the corner of your petal points and smooth along the crease. Then flip it over and open it up to spread open the leaves to reveal the shape of the orchid flower. If you follow the steps in this video, you can make a paper orchid by your own to design your home or anywhere else.

Apple's iOS 26 and iPadOS 26 updates are packed with new features, and you can try them before almost everyone else. First, check Gadget Hacks' list of supported iPhone and iPad models, then follow the step-by-step guide to install the iOS/iPadOS 26 beta — no paid developer account required.


Comments
Be the first, drop a comment!